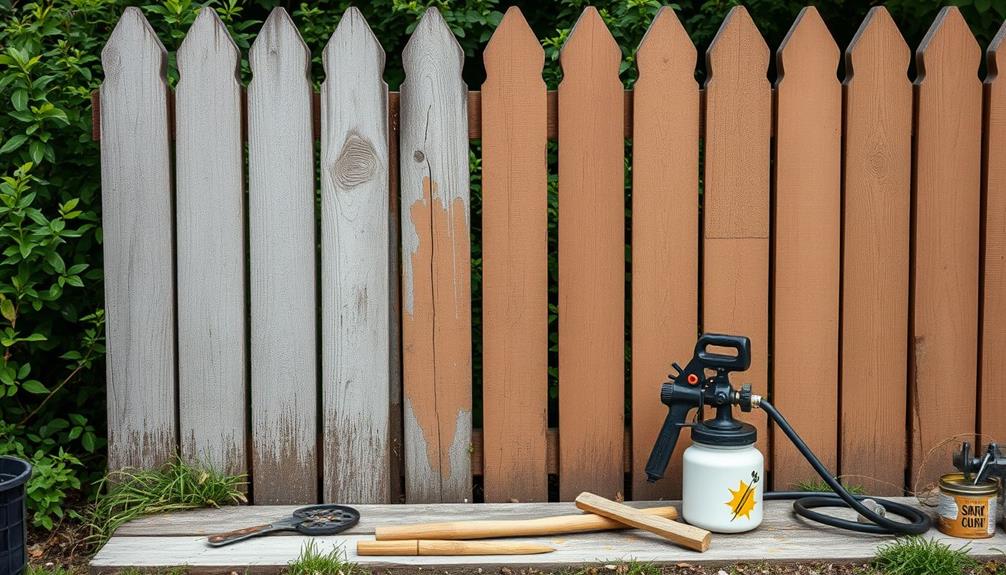
To achieve a rustic finish with an airless paint sprayer, start by selecting a matte or satin latex paint and thinning it with water for better flow. Set your sprayer pressure between 1500 and 2500 PSI and choose a tip size of 0.017 to 0.019 inches for thicker application. Apply in multiple thin layers, allowing each coat to dry. Experiment with spraying techniques and consider light sanding between coats for added texture. Finish with a protective top coat to enhance durability. There's more to this process that can help you nail that perfect rustic look without any fuss.
Key Takeaways
- Thin the paint with water (10-20%) for smoother application and to prevent clogging in the sprayer.
- Use a larger spray tip (0.017 to 0.019 inches) for thicker paint and enhanced texture.
- Apply multiple thin layers, allowing each coat to dry completely for a more rustic effect.
- Experiment with different spraying techniques to intentionally create texture in your finish.
- Protect the finish with a water-repellent top coat for added durability and longevity.
Selecting the Right Paint
When you're aiming for a rustic finish, choosing the right paint is essential. Go for matte or satin latex paint, as these sheens enhance the texture finish without reflecting too much light.
If you're working outdoors, select paint formulations specifically designed for exterior use. These options provide better durability against weather elements, ensuring your rustic appearance lasts longer. Additionally, it's important to take into account the right sprayer capacity for your project size to achieve the best results.
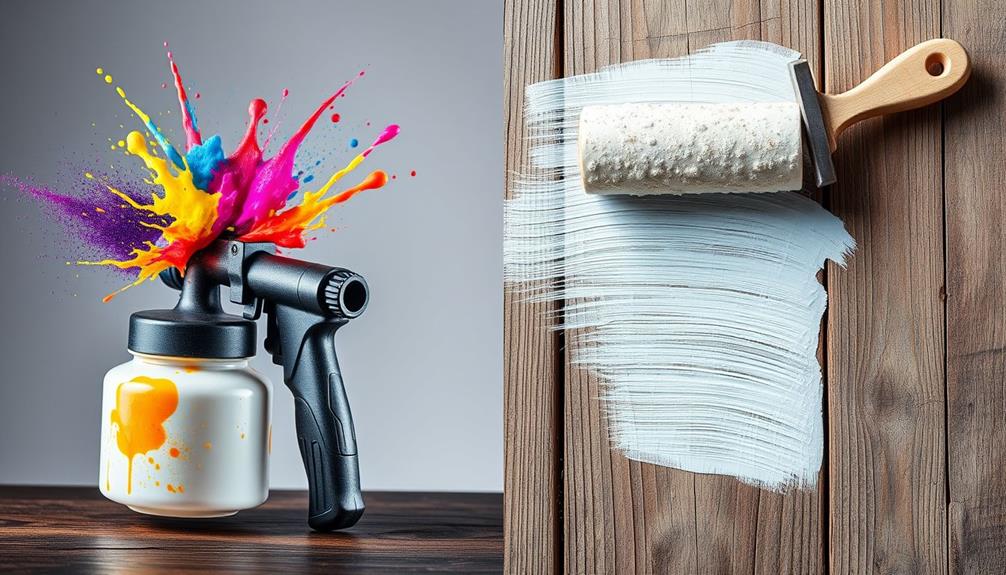
Consider thinning the paint with water—up to 20%—to improve flow through airless sprayers. This can help you achieve a more even finish, vital for that rustic look.
Additionally, use paint with a higher viscosity to create a more textured finish, mimicking the natural wear and aging of rustic surfaces.
Before diving into your entire project, don't forget to test the chosen paint on a sample piece or cardboard. This step allows you to evaluate its suitability for achieving the desired rustic effect, saving you time and effort later.
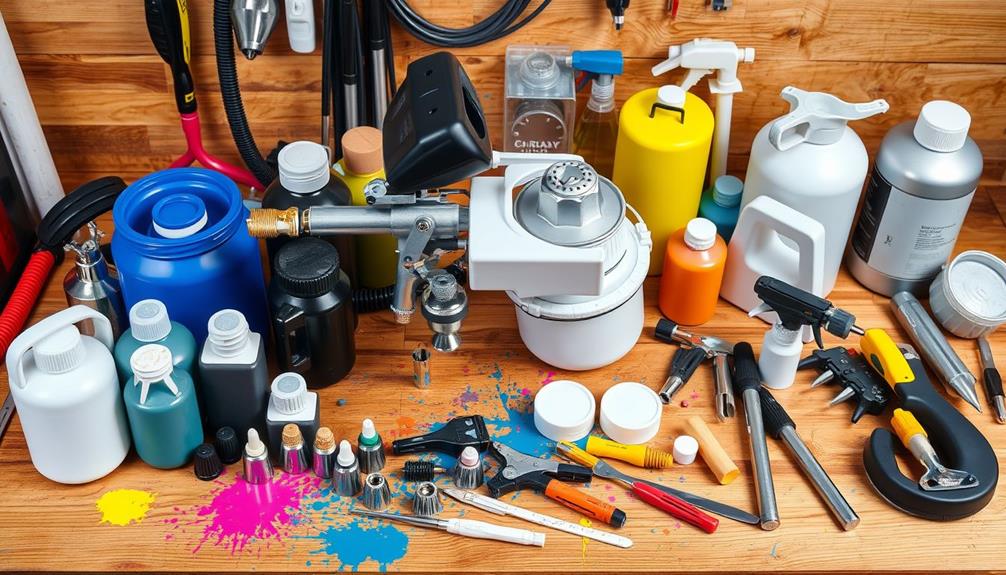
Preparing Your Workspace
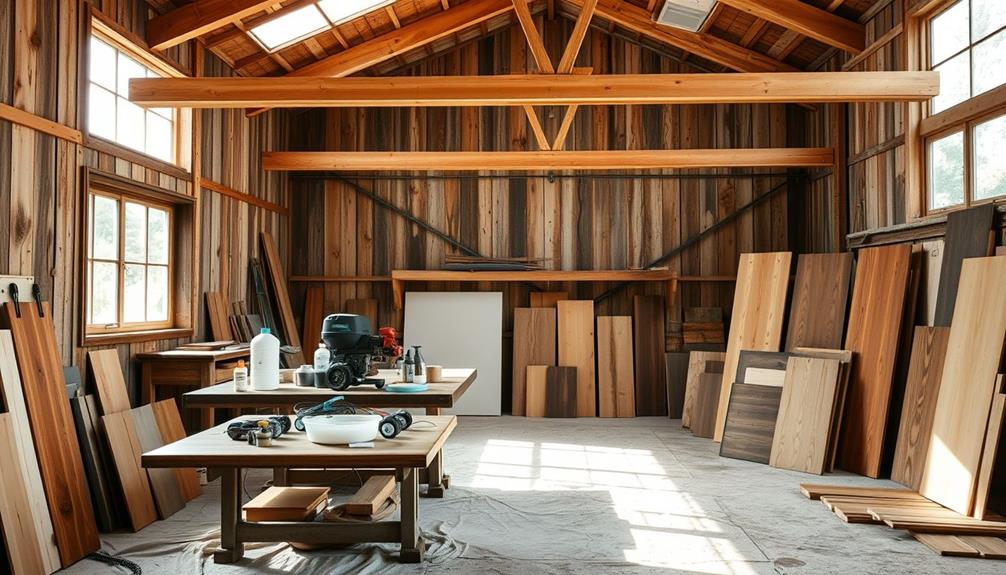
Creating a well-prepared workspace is essential for achieving a successful rustic finish with your airless paint sprayer. Start by setting up a spray booth using PVC pipes and plastic sheeting to contain overspray and protect your workspace from dust. Lay down drop cloths or cardboard to cover the floors and any furniture, making cleanup easier and preventing paint splatters.
Guarantee your workspace has adequate ventilation to promote airflow, helping with drying times and reducing inhalation of paint fumes. Organizing all tools and materials, including your paint sprayer, paint, and personal protective equipment, can streamline your workflow and reduce interruptions.
Here's a quick checklist to help you prepare your workspace effectively:
| Task | Purpose |
|---|---|
| Set up a spray booth | Contain overspray |
| Lay down drop cloths | Protect surfaces from paint splatter |
| Guarantee ventilation | Improve airflow and safety |
| Organize tools and materials | Streamline workflow |
| Clean the area | Enhance paint adhesion |
Adjusting the Sprayer Settings
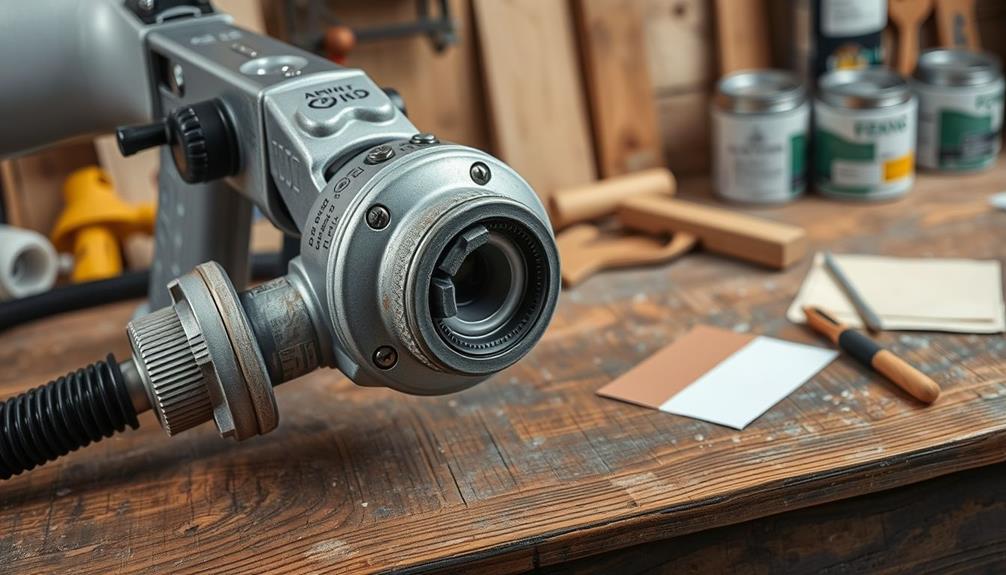
To achieve the best rustic finish with your airless paint sprayer, you'll need to adjust the sprayer settings meticulously. Start by setting the pressure settings between 1500 and 2500 PSI. This range guarantees ideal paint atomization, critical for achieving that desired rustic look.
Additionally, utilizing a Graco FFLP Fine Finish Low Pressure Reversible Tip can enhance control and reduce overspray, making it perfect for intricate rustic details. Next, choose a larger spray tip, ideally between .015 to .019 inches. This accommodates thicker paint and helps create the textured appearance typical of rustic finishes.
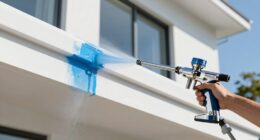
It's essential to maintain a consistent distance of 12 to 18 inches from the surface while spraying. This distance ensures even coverage and minimizes the risk of overspray. Before you begin on the actual project, test the spray pattern on a piece of cardboard. This allows you to fine-tune the settings and guarantee the rustic texture meets your expectations.
As you work, don't forget to regularly check and clean the spray tip. Clogs can disrupt your application process, leading to an uneven rustic finish. By adjusting these settings carefully, you'll be well on your way to achieving that charming rustic aesthetic you desire.
Application Techniques for Rustic Finish
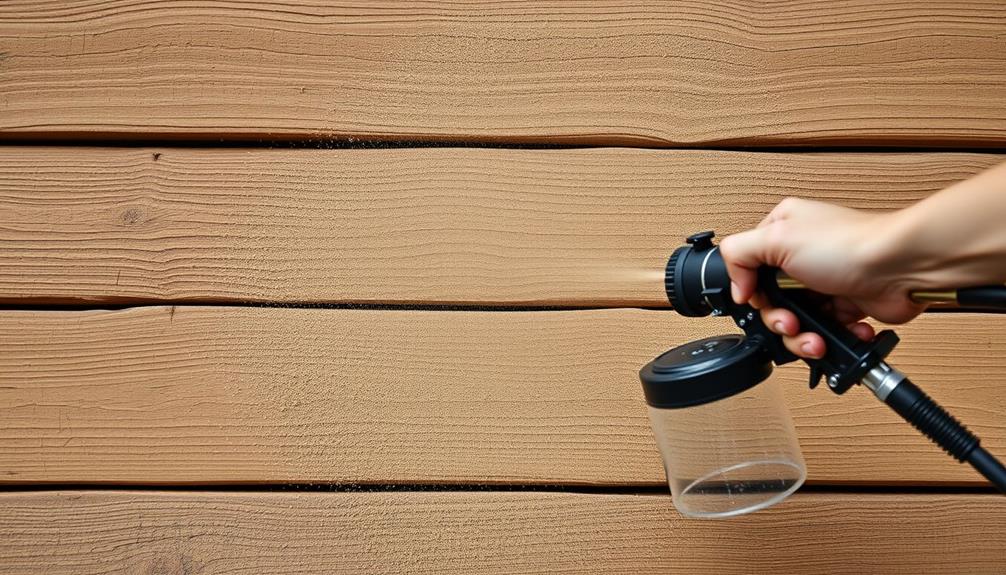
With the sprayer settings fine-tuned, you're ready to focus on application techniques that enhance the rustic finish. Begin by thinning your paint with water, aiming for a 10-20% dilution ratio. This guarantees a smooth application and prevents clogging in your airless sprayer.
Additionally, using high-quality tools can make a significant difference in achieving a professional result, similar to how garage door openers enhance home security with advanced technology. Next, opt for a larger tip size, around 0.017 to 0.019 inches, which allows for thicker paint and helps create the textured appearance associated with rustic finishes.
When you start to spray, apply the paint in multiple thin layers. Let each coat dry completely before adding another; this builds depth and dimension in your finish.
Experiment with different spraying techniques, adjusting your speed and maintaining a distance of about 12 inches from the surface. This variation helps you create intentional texture rather than a too-smooth appearance.
For added character, consider sanding between coats or using a stippling technique. These application techniques not only enhance the overall rustic effect but also give your project a unique touch.
Finishing Touches and Protection

Once you've achieved your desired rustic finish, it's essential to apply the right protective top coat to guarantee your project endures. A well-organized approach to your painting project can greatly enhance the outcome, much like how having a reliable home cleaning service guarantees a great clean.
Allow your finish to dry completely, ideally overnight, before proceeding. A water-repellent top coat, like Dixie Belle Gator Hide, is perfect for enhancing durability while maintaining that rustic charm. When applying, use a 50% overlap to ensure an even finish.
After letting the top coat dry for about two hours, lightly scuff sand any imperfections. This step is critical for achieving a super smooth final surface.
Once fully cured, consider buffing the top coat with a Super Fine Surf Prep Rad Pad to add depth and character to your polished rustic look.
Before you apply the protective top coat, don't forget to clean dust or debris from the surface with a dry cloth. This simple step greatly improves adhesion, ensuring your finish remains both beautiful and long-lasting.
Frequently Asked Questions
How to Get Smooth Finish With Airless Sprayer?
To get a smooth finish with your airless sprayer, keep a distance of 12 to 18 inches from the surface, adjust the pressure to 2000-3000 PSI, and use a fine finish tip for best results.
What Pressure Should I Set My Airless Sprayer At?
You should set your airless sprayer between 1500 to 3000 PSI, depending on the paint type. Start low for better control, then adjust to find the right pressure for your specific project needs.
How Long Should You Wait Between Coats of Paint With an Airless Sprayer?
Waiting between coats isn't just important; it's vital for a flawless finish! You should wait at least 2 to 4 hours, depending on paint type and conditions, to guarantee each coat dries perfectly.
Can You Spray Wood Stain With Airless Paint Sprayer?
Yes, you can spray wood stain with an airless paint sprayer. Just make sure you thin the stain properly, use the right spray tip, and maintain a consistent distance for an even application.
Conclusion
Now that you've mastered the art of achieving a rustic finish with your airless paint sprayer, let your creativity flow like a gentle river carving through ancient rocks. Embrace the beauty of imperfections, and don't shy away from experimenting; each brushstroke tells a story. With the right technique and a splash of passion, your projects will transform into rustic masterpieces that invite warmth and character into your space. Happy spraying!