To achieve a smooth finish on built-ins with an airless paint sprayer, start by thoroughly preparing the surfaces. Clean them well, fix any imperfections, and sand lightly for uniformity. Remove hardware and cover areas prone to overspray. When spraying, use a 311 tip for fine finishes and practice your technique on cardboard. Apply a quality primer first, then wait for it to dry before sanding lightly again. Make sure to apply multiple thin coats, allowing adequate drying time between them. Pay attention to the details, and you'll craft a flawless look—more tips await to enhance your project even further.
Key Takeaways
- Properly prepare surfaces by cleaning, sanding, and filling imperfections to ensure maximum paint adhesion and a smooth finish.
- Use a non-flammable, oil-based primer before applying paint for a strong bond and enhanced smoothness.
- Select an appropriate spray tip, such as a 311, and adjust the airless sprayer's pressure for an even spray pattern.
- Lightly sand between coats and after priming to improve adhesion and achieve a flawless final surface.
- Allow sufficient drying time between coats and inspect for imperfections before reassembling hardware to maintain quality.
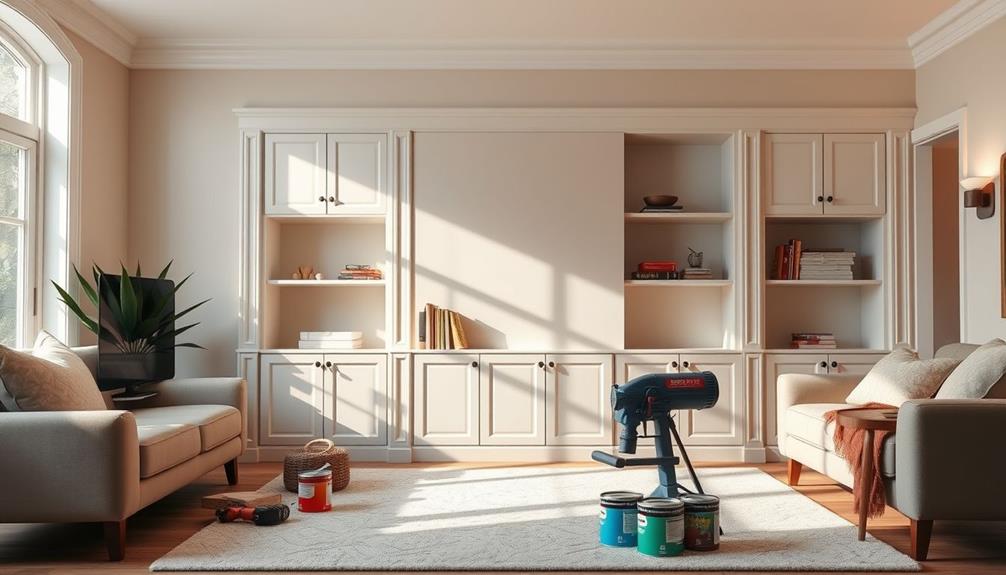
Project Overview
When tackling a painting project, especially with built-in cabinets, you can transform a room's look without breaking the bank. By painting or staining these features, you'll greatly enhance the aesthetic appeal and save on costly renovations.
Using a Magnum airless sprayer will enable you to apply paint quickly while achieving a professional finish that's free from unsightly brush strokes. Proper airless paint sprayer techniques can further enhance your results, guaranteeing a flawless application.
To make certain that your final result is first-rate, you'll need to plan on applying multiple coats. This might seem like a hassle, but it's essential for durability and an even look.
Light sanding between applications will help improve adhesion and create a smoother surface.
Preparation Steps
Before you start painting, you need to prepare your surfaces properly. This includes making sure that the area is well-ventilated, which can help improve drying times and the overall finish.
Remove all doors and hardware, then clean everything thoroughly to guarantee the paint sticks.
Don't forget to sand and fill any imperfections for a flawless finish, as this step is vital for achieving a smooth and professional look.
Regular maintenance, similar to caring for your home's features like garage door openers, can greatly enhance the longevity of your paint job.
Surface Cleaning Techniques
To achieve the best results with your airless paint sprayer, start by thoroughly cleaning the surfaces you'll be painting. Use TSP (trisodium phosphate) to remove dirt, grease, and any contaminants that may affect paint adhesion. After cleaning, inspect for damage or imperfections and repair them to guarantee a smooth surface before painting.
Here's a helpful table summarizing the essential surface cleaning techniques:
| Step | Action | Purpose |
|---|---|---|
| 1. Clean | Use TSP to scrub surfaces | Remove dirt and grease |
| 2. Inspect | Check for damage or imperfections | Identify repair needs |
| 3. Sand (150-grit) | Lightly sand surfaces with 150-grit paper | Create a uniform texture |
| 4. Sand (220-grit) | Final pass with 220-grit for fine finish | Smooth out any roughness |
| 5. Wipe | Use a microfiber cloth to remove dust | Prepare for primer/paint |
Following these surface cleaning techniques will set you up for success. Proper preparation guarantees maximum paint adhesion and a fine finish when using your airless paint sprayer.
Sanding for Adhesion
After confirming the surfaces are clean and free of imperfections, focus on sanding for ideal adhesion. Start by using a palm sander with 150 grit sandpaper for your initial smoothing. This step helps to create a uniform surface that promotes better paint adhesion, making it easier to achieve a perfect finish with tools like the Graco FFLP Fine Finish Low Pressure Reversible Tip.
Lightly move the sander in even strokes, as this prevents any ripples or uneven surfaces that could compromise the finish.
Once you've completed the first pass, follow up with a final sanding using 220 grit sandpaper. This finer grit guarantees a smooth finish that will enhance the overall look of your built-ins.
After sanding, thoroughly clean the surfaces with a microfiber or tack cloth to remove all dust and debris, which can hinder paint adhesion.
Don't forget to inspect the surfaces for any holes or damage. If you find any, fill them with wood filler to create a smooth, uniform base for painting.
Allow the surfaces to completely dry and cure after cleaning. This guarantees ideal adhesion before you apply primer and paint to the top and bottom of your built-ins.
Taking these steps will greatly enhance the quality of your final finish.
Hardware Removal Process
Removing hardware from your built-in cabinets is an important step in achieving a flawless finish. Start the hardware removal process by carefully unscrewing knobs, handles, and hinges using a screwdriver. This prevents damage to the surfaces. Label each door and drawer with a corresponding number or letter to simplify reassembly after painting.
Here's a quick guide to help you stay organized during the process:
| Step | Action |
|---|---|
| 1. Unscrew | Remove knobs, handles, and hinges. |
| 2. Label | Mark each door and drawer for reassembly. |
| 3. Fill nail holes | Use wood filler for any existing holes. |
| 4. Sand | Smooth filled areas for a seamless finish. |
| 5. Clean | Verify surfaces are clean for better adhesion. |
If you're replacing the existing hardware, filling any nail holes with wood filler is vital. Sand down these areas to create a smooth surface, which is especially important when using airless sprayers. Finally, keep all removed hardware in labeled containers to avoid misplacement, confirming you have everything needed for reinstallation.
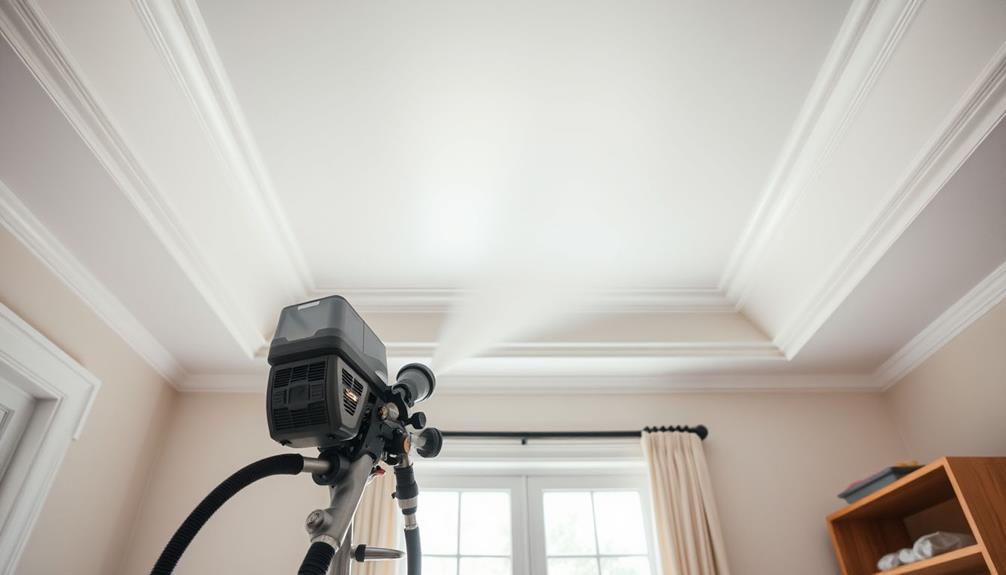
Jobsite Preparation
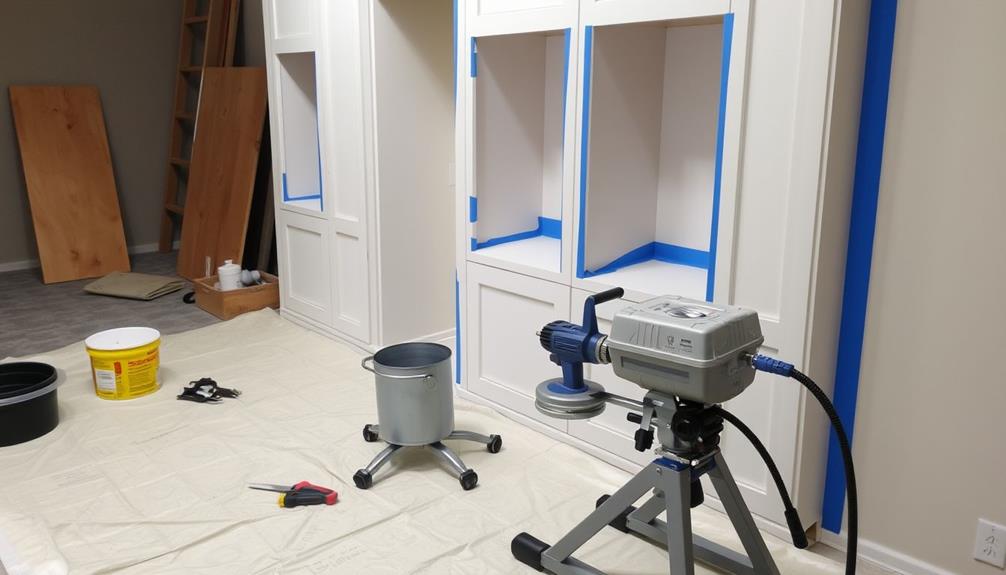
When preparing your jobsite for painting, covering all areas not intended for paint is essential to prevent overspray and maintain a clean workspace.
Start by laying down plastic and canvas tarps to protect floors and any furniture nearby. Use tape and plastic sheeting to shield walls and ceilings from potential paint splatters. This step is vital for keeping your environment tidy and guaranteeing a quality finish.
Additionally, if you're considering hiring professionals, look for reputable cleaning services that can help manage your space during the project.
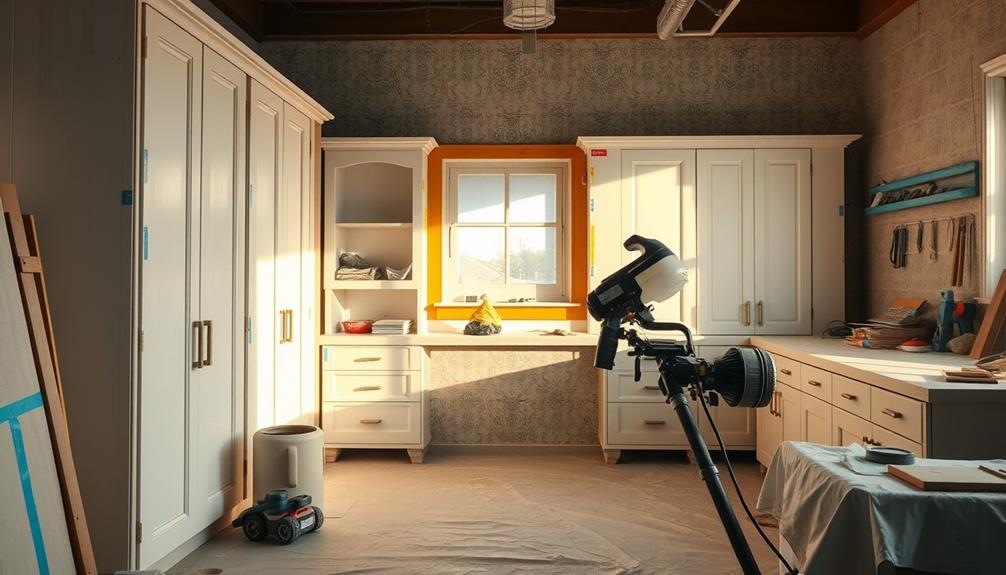
Next, consider setting up a temporary spray booth in unfinished areas. This will help contain dust and debris, which can adversely affect the final look of your built-ins.
Elevating cabinet doors on sawhorses will also enhance your access and control during the spraying process, making it easier to achieve that smooth finish you're after.
Lastly, confirm you have adequate ventilation in your workspace. Open windows or use fans to promote airflow, which will help the paint dry properly and reduce the risk of inhaling harmful fumes.
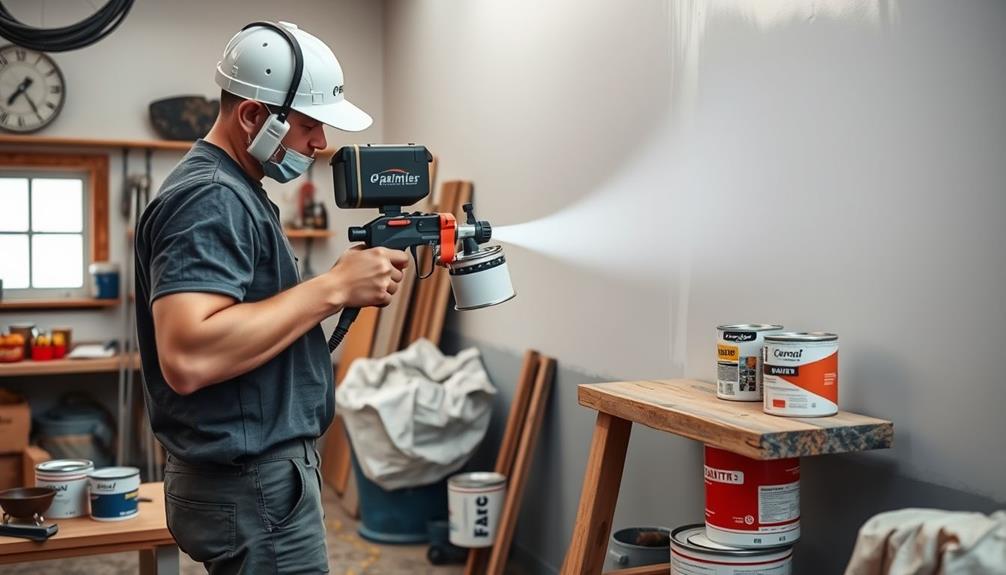
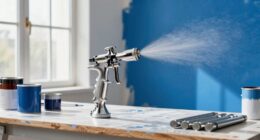
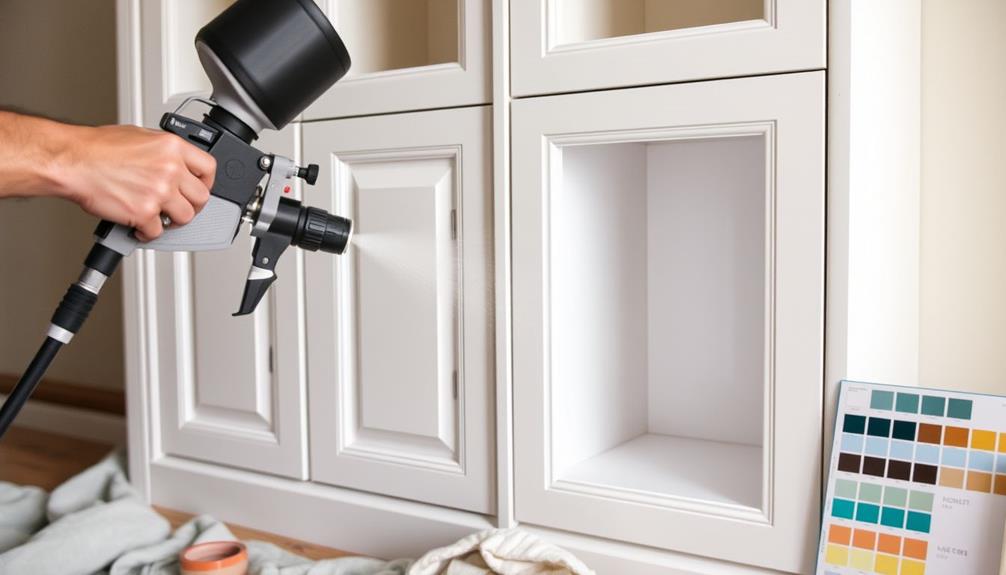
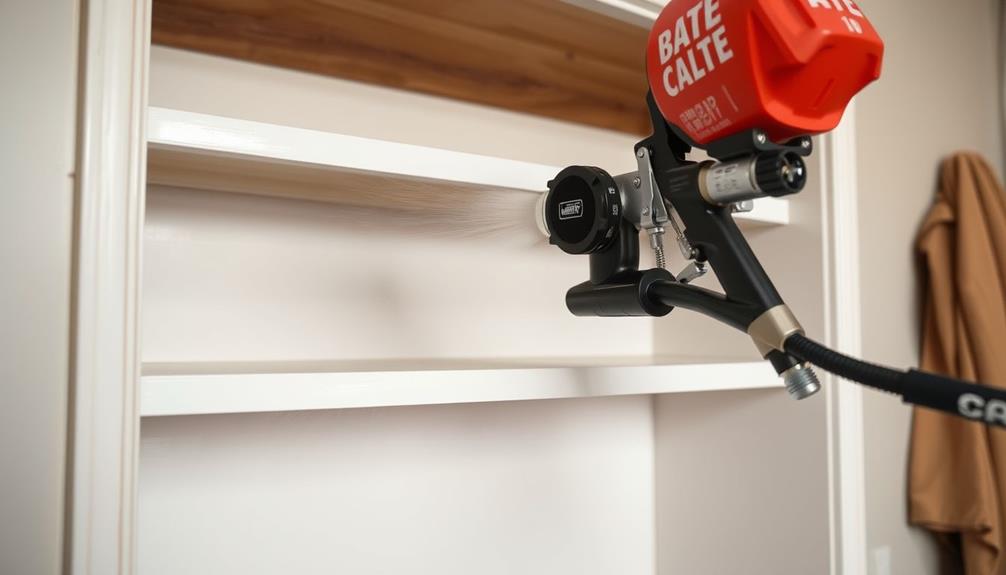
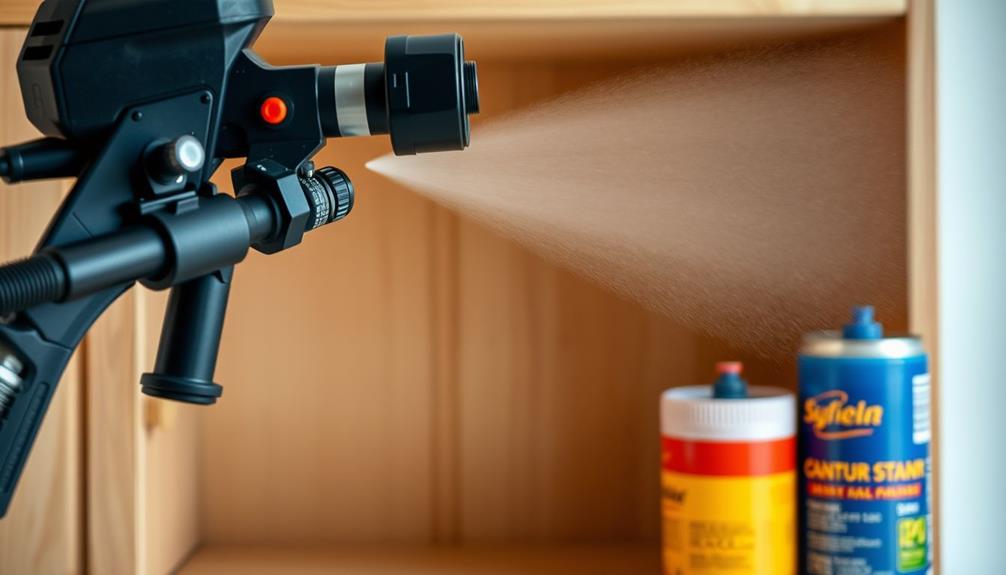
Spraying Process
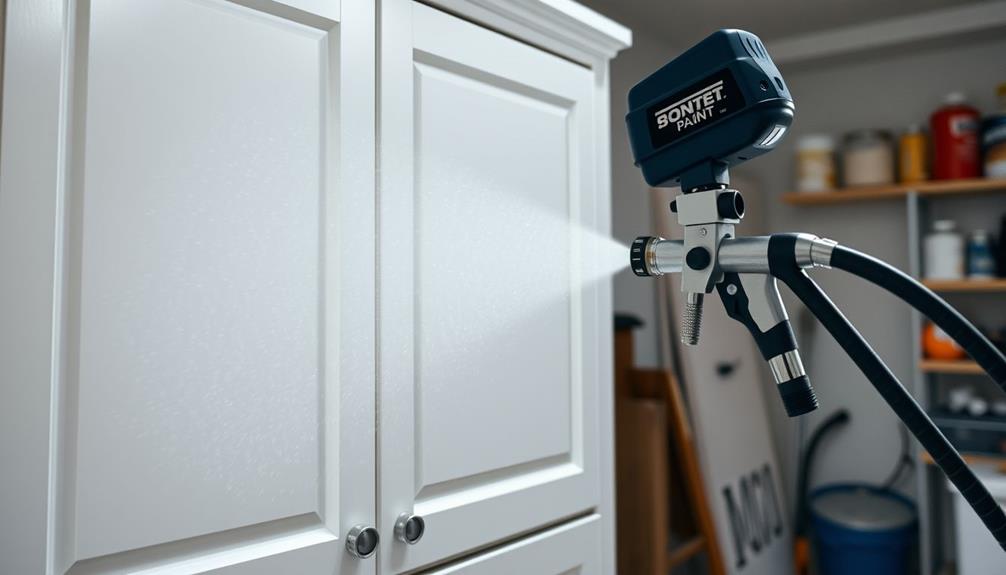
To start the spraying process effectively, apply a non-flammable, oil-based primer as your foundation. This will guarantee a strong bond for your paint and enhance adhesion on built-ins.
Once the primer is dry, it's vital to prep your airless sprayer. Use a 311 spray tip designed for small surfaces like cabinets, which helps you achieve a fine finish with soft edges. Proper air quality is also important during this process; consider using an air purifier to reduce airborne dust and allergens that can interfere with your project improve indoor air quality.
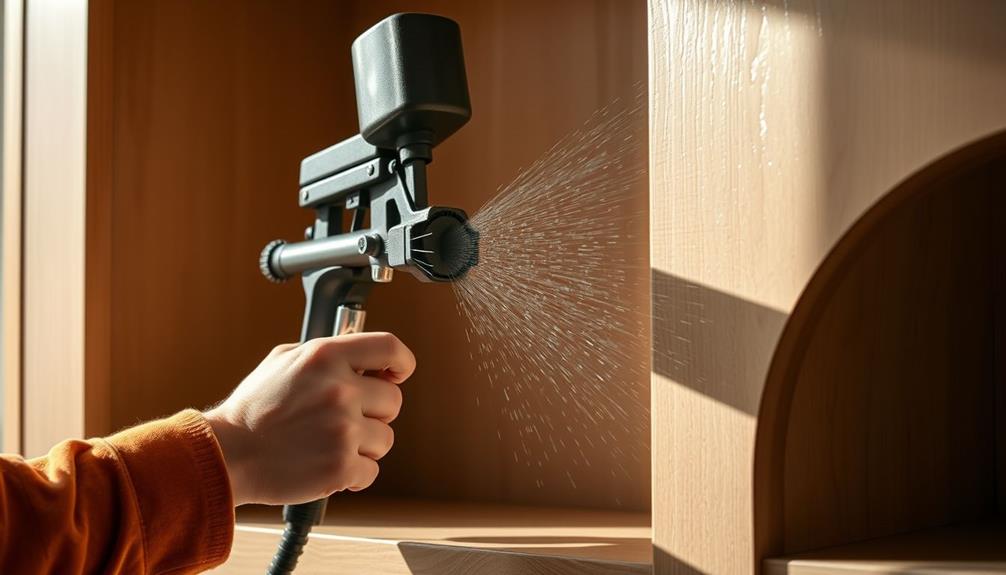
Before you apply paint to the built-ins, practice your spraying technique on a piece of cardboard. Maintain a distance of about 12 inches from the surface for ideal coverage. This step is significant to mastering the spraying process and avoiding any mishaps.
Next, adjust the pressure on your airless sprayer. Proper pressure is key to achieving a smooth spray pattern; inadequate pressure can lead to an uneven finish or overspray.
After you've primed and practiced, lightly sand the surface to enhance adhesion for the topcoat. This step guarantees your final appearance is flawless.
Finishing Touches
Achieving a flawless finish on your built-ins requires a few essential finishing touches after the final coat of paint. To guarantee your built-ins are visually appealing, consider incorporating decorative elements that complement your interior design style, such as cozy teenage girl room colors.
Start by lightly sanding the surface with 220 grit sandpaper. This helps eliminate any imperfections and guarantees a smooth finish. Remember, it's essential to allow each coat of paint to dry fully—typically, you should wait 24 hours before sanding or applying the next coat.
Once you've sanded, take a microfiber cloth and wipe down the surfaces to remove any dust and debris. This step is critical as it affects the final appearance of your satin finish.
For an ultra-smooth texture, consider rubbing down the painted surface with 2k paper after the final coat.
Troubleshooting Common Issues
Experiencing issues with your airless paint sprayer can be frustrating, but identifying and troubleshooting common problems will help you achieve that smooth finish you desire.
One major issue is air entrapment, which often leads to bubbles or texture problems in your paint job. If you notice these imperfections, pause and check for air entrapment; it's essential to address this promptly to maintain a consistent finish quality.
Additionally, much like how cats may display affection upon owner's return, your application technique should be consistent to guarantee a smooth result.
Another common problem stems from inconsistent application techniques. You might notice variations in finish quality across the same area, which can happen if you don't maintain a steady distance and pressure while spraying. Aim for a consistent speed of about three seconds for long passes to guarantee even coverage.
Additionally, don't overlook your tip size and pressure settings. Using a finer tip can meaningfully enhance smoothness and reduce roughness in your finish.
Finally, remember that environmental factors like airflow and temperature can impact drying times and the overall finish. Monitoring these conditions during application can help you avoid issues that compromise your project.
Product Recommendations
Identifying the right products can greatly impact your painting project and help you achieve that smooth finish you're after.
For your built-ins, consider using Benjamin Moore's Advance paint. It's known for its durability and provides a silky, smooth finish, making it perfect for high-traffic areas.
For a touch of rustic charm in your design, you might also explore island getaways that inspire cozy aesthetics.
If you're working on moldings, Sherwin Williams' Emerald urethane is an excellent choice, offering a gritty texture that complements various design styles.
Before painting, apply two coats of Benjamin Moore's Advanced Primer on any high-contact surfaces. This step enhances adhesion and coverage, ensuring your final result looks professional.
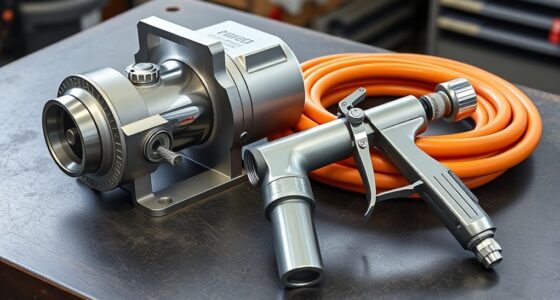
Pair your paint with a reliable airless paint sprayer, like the Graco 390 PC Airless Sprayer. It's designed to handle built-ins while achieving that fine finish you desire.
To further refine your application, experiment with fine finish tips, such as the Graco RAC X 310. This tip allows for low-pressure application, providing smooth coverage in detailed areas.
Community Insights
While steering through the world of painting, you'll find that tapping into community insights can greatly elevate your skills and outcomes. Engaging with a forum community dedicated to painting can provide you with invaluable tips from experienced painters. These members often emphasize the importance of proper surface preparation and dust management to achieve that coveted smooth finish.
Here's a quick overview of valuable community insights:
| Insight | Description | Benefit |
|---|---|---|
| Proper Surface Prep | Discuss techniques for prepping surfaces effectively | Reduces imperfections |
| Equipment Selection | Talk about the impact of sprayer tips and settings | Guarantees ideal finish quality |
| Troubleshooting Techniques | Share solutions for common issues like rough finishes | Enhances overall results |
Collaboration in professional painting forums allows you to exchange techniques and advice, fostering a learning environment for everyone. Networking with peers can lead to shared experiences, with members posting about successful methods and challenges faced. By engaging with experienced professionals, you can gain insights that will help you troubleshoot common issues, ultimately enhancing your painting outcomes.
Frequently Asked Questions
How to Get Smooth Finish With Airless Sprayer?
To get a smooth finish with an airless sprayer, maintain a 12-inch distance, use a fine tip, adjust pressure based on material, practice your technique, and sand lightly between coats for better adhesion.
Why Is My Paint Sprayer Not Spraying Smooth?
If your paint sprayer isn't spraying smooth, check for thick paint, clogged tips, and incorrect air pressure. Adjust these factors, maintain the right distance, and monitor environmental conditions to improve your finish.
What Is the Number One Rule When Using Airless Spray Guns?
When using airless spray guns, you've got to maintain a consistent distance of about 12 inches from the surface. This guarantees even application and minimizes overspray, giving you a smoother finish on your projects.
How to Get a Perfectly Smooth Paint Finish on Cabinets?
Imagine a serene lake, its surface perfectly still. To achieve that smooth paint finish on your cabinets, sand thoroughly, apply quality primer, and use an airless sprayer, keeping layers even and dust-free for a flawless look.
Conclusion
In the end, achieving a smooth finish with an airless paint sprayer isn't just about technique; it's about pride in your work. You're creating built-ins that not only enhance your space but also reflect your personal touch. Remember, each stroke counts, and the effort you put in now will resonate every time you walk into the room. Trust the process, embrace the challenges, and watch your vision come to life—because your home deserves that perfect finish.