To achieve a smooth finish on trim with an airless paint sprayer, start with proper surface preparation. Clean the surfaces and sand them lightly to create a solid base. Choose high-quality latex paint, and consider thinning it for easier application. Use a smaller spray tip and adjust the pressure for an even application, maintaining about 12 inches from the surface. Apply long, smooth strokes, overlapping each pass by 50%. Allow adequate drying time between coats and check environmental conditions. Focus on these details, and you'll be on your way to a flawless finish. There's more to enhance your technique!
Key Takeaways
- Use a high-quality latex paint and thin it with water if necessary for a smoother application.
- Select the appropriate spray tip size, with a recommendation of 310 or 312 for even coverage.
- Maintain a consistent distance of about 12 inches from the surface while spraying to avoid uneven finishes.
- Adjust pressure settings based on the selected tip size to achieve a smooth fan pattern during application.
- Ensure thorough surface preparation by cleaning, sanding, and priming, which significantly enhances paint adhesion and finish quality.
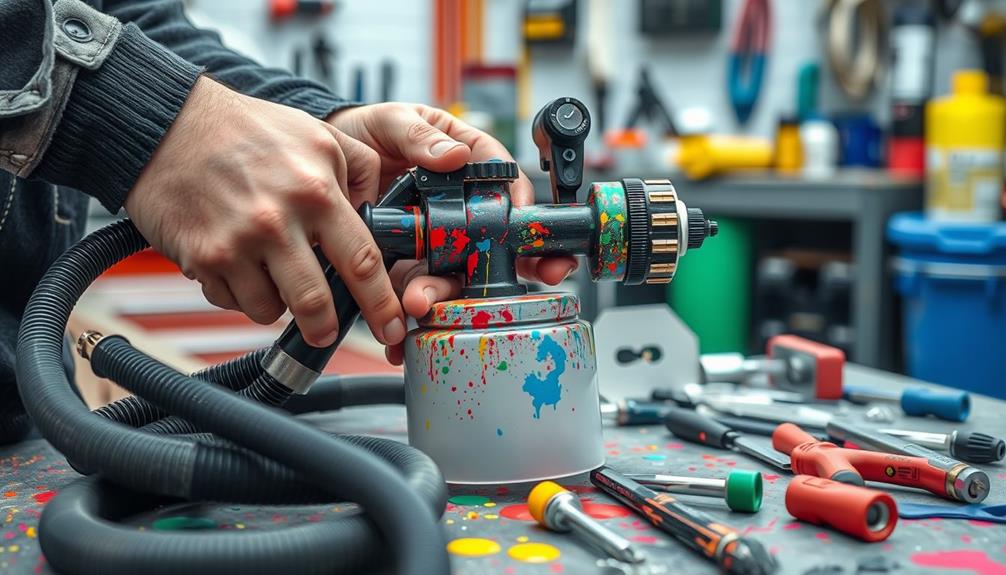
Tools and Equipment
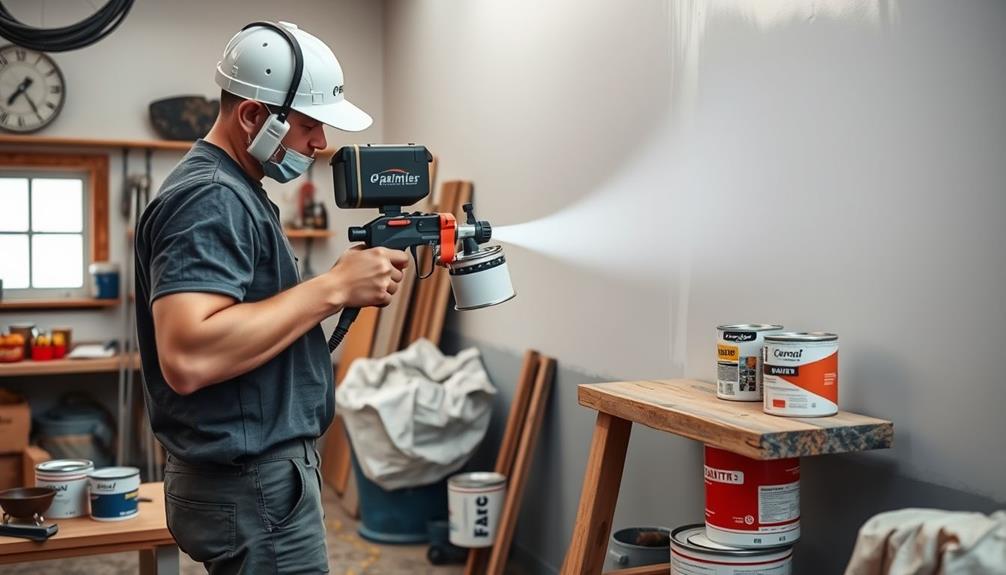
When it comes to achieving a smooth finish on trim, having the right tools and equipment is fundamental. An airless paint sprayer can be your best ally here, allowing you to efficiently apply latex paint with a professional touch.
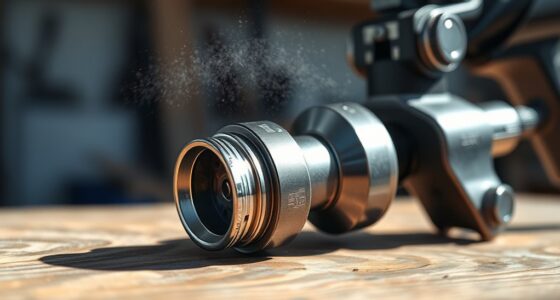
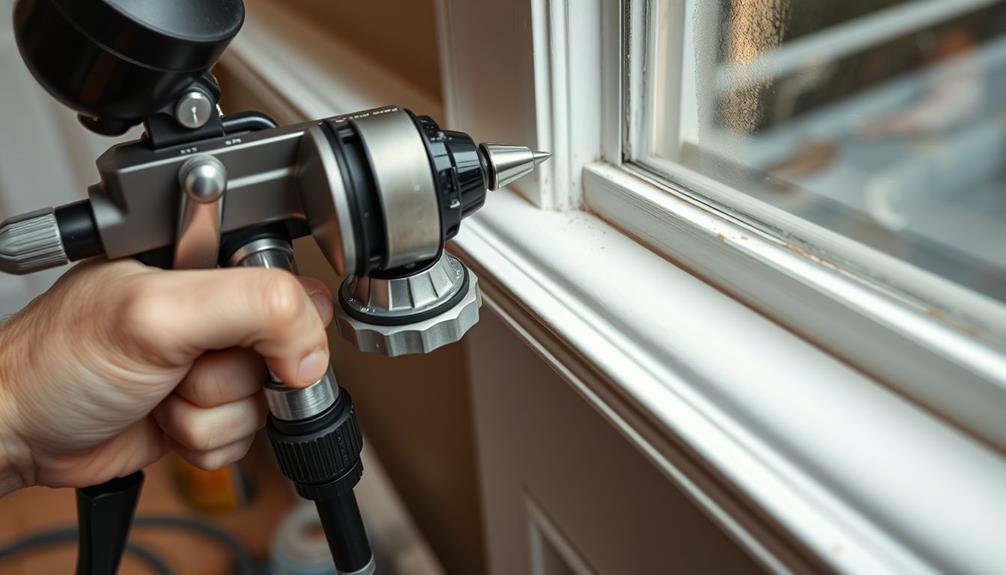
To guarantee peak results, it's important to follow specific techniques for effective painting when using the sprayer. When using the sprayer, selecting the right spray tip is significant; a fine tip will help you achieve that desired smooth finish, especially on intricate trim details.
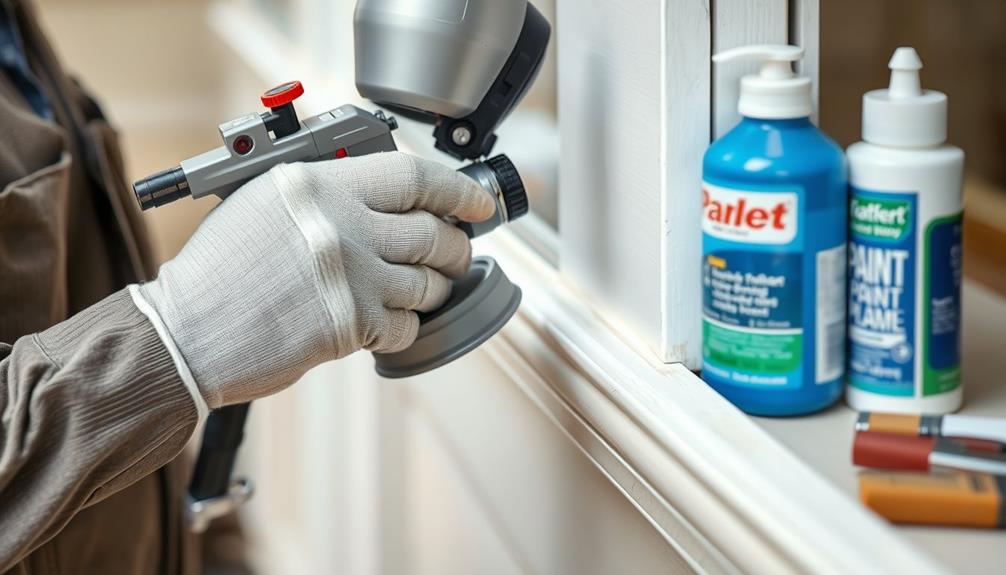
In addition to the airless sprayer, high-quality brushes, such as Purdy's latex paint brushes, are essential for touch-ups. For trim work, opt for sash brushes with an angled design. These brushes give you precision and help you reach corners with ease, making sure no area is overlooked.
If you want to enhance your paint's flow, consider adding Floetrol acrylic additive at a ratio of 1/2 pint per gallon. This can help thin your latex paint, making it easier to apply and leading to an even smoother finish.
With the right combination of tools, you're well on your way to achieving a flawless look on your trim.
Surface Preparation
To achieve a smooth finish on your trim, you'll want to start with thorough cleaning to eliminate any dust and debris. This is especially important when using a paint sprayer, as any particles left on the surface can lead to imperfections in the final coat.
Next, sanding the surface helps create a solid base for paint, while applying a quality primer guarantees an even finish, especially on materials like MDF.
For best results, consider utilizing Graco FFLP Fine Finish Low Pressure Reversible Tip to reduce overspray and improve control.
Each step in this preparation process is essential for achieving that flawless look you desire.
Cleaning the Surface
Achieving a flawless finish on trim hinges on meticulous surface preparation, starting with a thorough cleaning. Cleaning the surface is vital for enhancing paint adhesion and ensuring a smooth base for your project.
Begin by removing dust and debris with a damp cloth or vacuum. Pay special attention to corners and crevices where contaminants can hide. It's also important to evaluate the right tools and techniques for cleaning, as having the proper essential items for a home cleaning kit can greatly aid in the process.
If your trim is previously stained, proper surface preparation may involve sanding it down. Use 150 to 220 grit sandpaper to create a smooth base. This not only helps the paint adhere better but also prevents issues like face raising that can occur if the surface isn't adequately prepared.
For metal surfaces, scuff sand lightly to promote better paint adherence and reduce the risk of peeling. After sanding, be sure to clean the area again to eliminate any particles created during the process.
Priming Techniques
Priming techniques play an essential role in achieving a smooth finish on trim. Properly priming surfaces, especially unprimed MDF, with a quality oil-based primer can greatly enhance paint adhesion and prevent common issues like face raising.
Additionally, making sure that your environment is free from disruptive odors, as some 10 smells cats hate can cause distractions, will help maintain focus during your project.
Here are some effective priming techniques to take into account:
- Clean Thoroughly: Before applying primer, make sure the area is clean to remove dust and debris, which can hinder paint adhesion.
- Choose the Right Primer: Use a primer specifically designed for your surface. For new drywall, a drywall primer creates a smooth base for topcoats.
- Apply Evenly: Use your airless paint sprayer to apply the primer evenly, making sure of better control and avoiding drips or runs.
- Scuff Sanding: Lightly sand between primer coats to enhance adhesion and create a smoother finish for the topcoat.
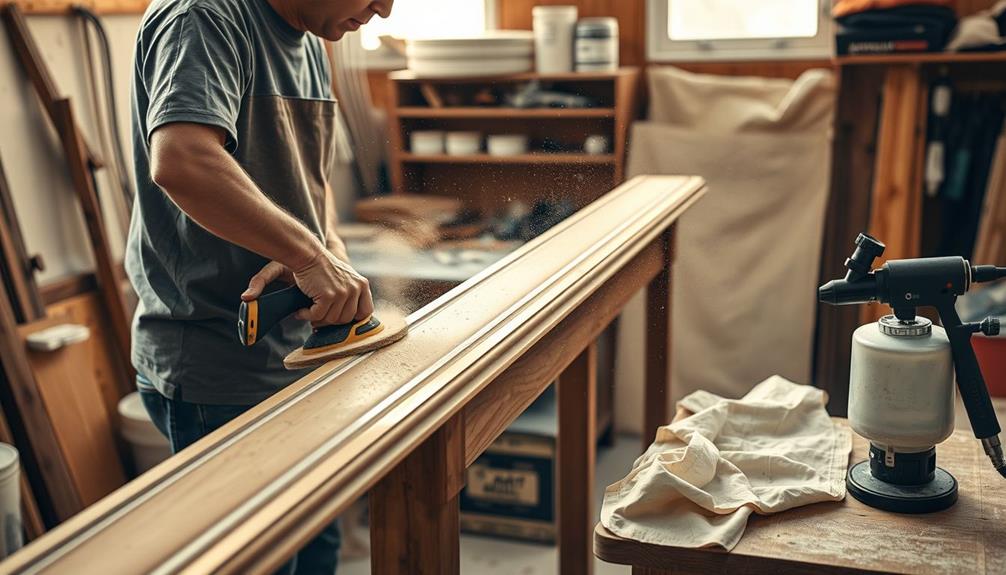
Sanding for Smoothness
Sanding is an essential step in preparing your trim for a flawless paint finish. Start by using 150 to 220 grit sandpaper to create a smooth base that promotes paint adhesion and minimizes imperfections.
If you're working with previously painted or metal surfaces, light scuff sanding is critical. This guarantees the new paint adheres properly, reducing the risk of peeling later on. Engaging in proper keyword research can help you identify the best practices for surface preparation and painting techniques.
After sanding, it's imperative to thoroughly clean the area to remove any dust or debris. These particles can compromise the quality of your paint finish, leading to unwanted textures.
Remember, achieving smoothness is best accomplished by sanding between paint coats instead of applying thicker layers of paint. This technique not only enhances the final appearance but also helps prevent issues like face raising on MDF.
Proper surface preparation through effective sanding guarantees that your project looks professional when you use an airless spray system.
Paint Selection
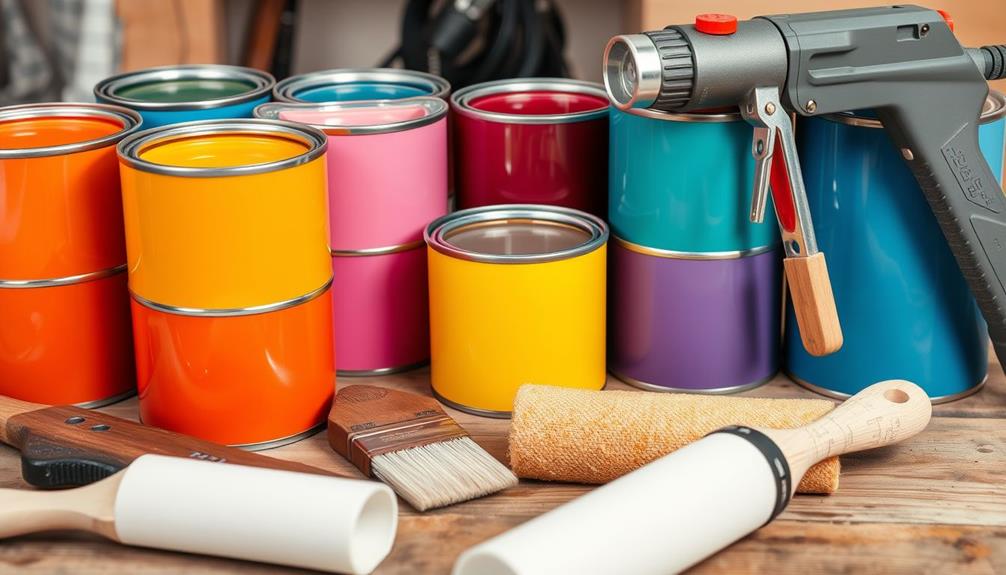
When selecting paint for trim, the right choice can make all the difference in achieving a smooth, flawless finish. You want to take into account several factors to guarantee your paint selection complements your project.
For instance, using a paint sprayer can enhance your application process and yield professional-quality results, especially if you're familiar with garage door openers that utilize smart technology for improved efficiency.
- Type of Paint: Opt for high-quality latex paint, like those from Sherwin Williams or Benjamin Moore, for a fine finish. While oil-based paints can provide a smoother result, they require careful handling and longer drying times.
- Thinning the Paint: If you're using thicker paint, you might need to thin the paint with water. Just remember to balance it; a maximum of 1 pint of Floetrol per gallon is recommended.
- Filtering: Always filter your paint before use. This step removes debris that could clog your sprayer, guaranteeing an even application.
- Temperature and Drying Times: Check the drying times and temperature guidance on the paint can. These factors play a significant role in achieving that flawless finish you're after.
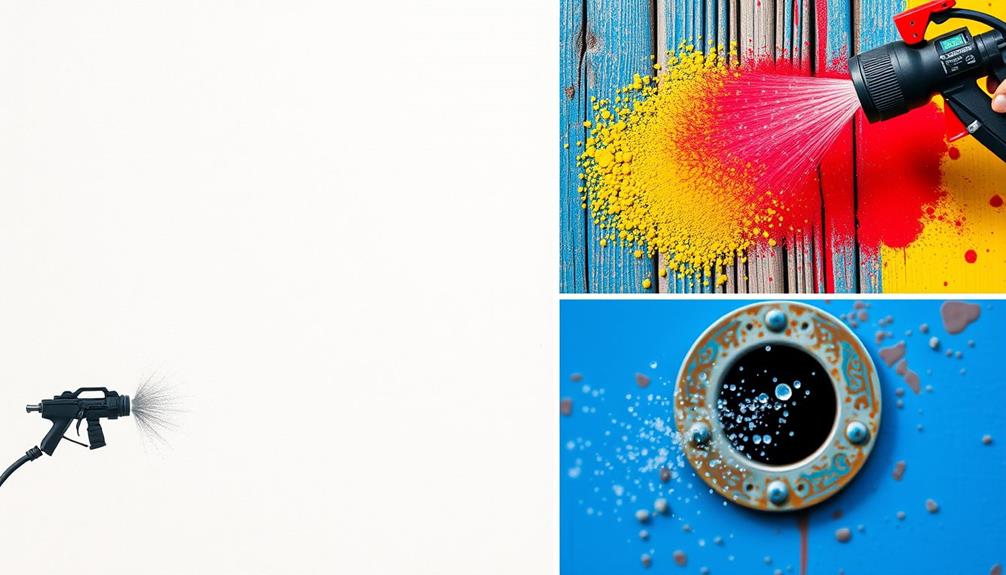
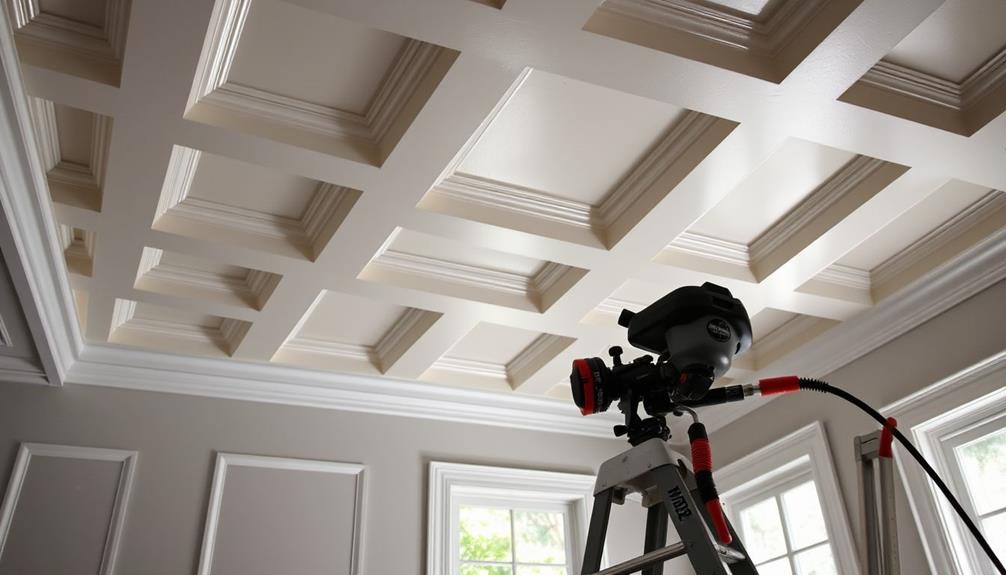
Application Techniques
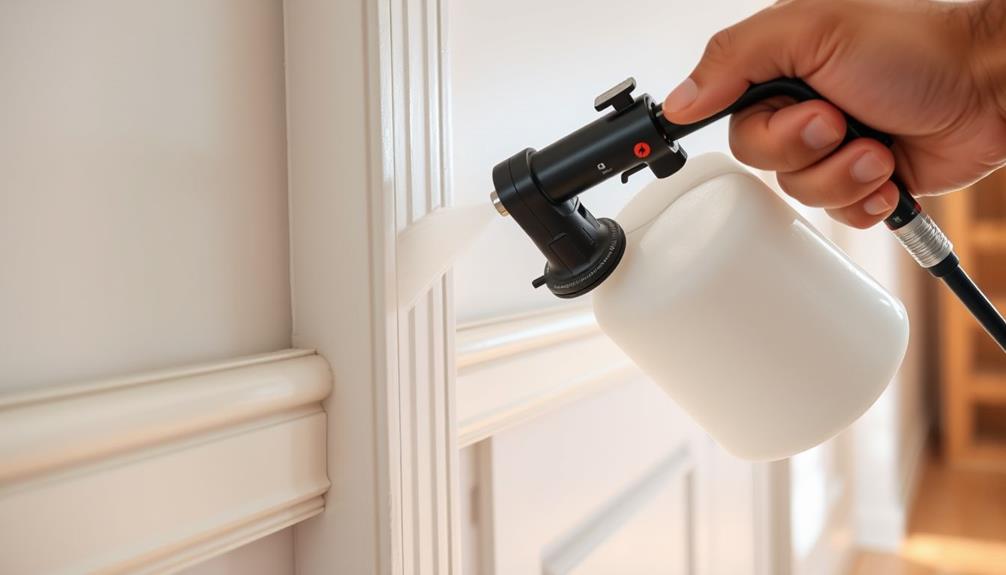
To achieve that flawless finish on your trim, mastering the right application techniques is important. Start by using long, smooth strokes with your sprayer. This guarantees even coverage and minimizes any brush strokes or texture issues.
Keep a consistent distance of about 12 inches from the surface while spraying to maintain a uniform finish without roughness or overspray. Consider incorporating elements of modern farmhouse design to complement your trim project and enhance the overall aesthetic of your space.
Overlap each spray pass by 50% to avoid lap marks and guarantee complete coverage. Adjust your pressure settings based on the type of paint you're using and the specific spray tip size to achieve ideal atomization. This adjustment is essential for a smoother application, much like what professional painters do for a pristine result.
Don't forget about dry time; allowing 3-6 hours between coats is critical. This guarantees that each layer adheres properly and contributes to that sought-after flawless finish.
Troubleshooting Common Issues
When you're aiming for a flawless finish, it's essential to address common spray issues right away.
Regular maintenance of your equipment can also help prevent inconsistencies in your spray pattern, similar to how neglecting HVAC maintenance can lead to reduced efficiency.
If you notice uneven coverage or a rough texture, adjusting your pressure settings can make a big difference.
Don't forget to keep an eye on your spray technique and distance to prevent problems like over-atomization.
Common Spray Issues
Achieving a flawless finish can sometimes feel like a challenging task, especially when faced with common spray issues. Understanding various factors that can affect your application, such as home security systems, can also help you focus on your painting project without distractions.
Here are some key problems you might encounter and how to address them to improve your results:
- Rough Finishes: These often occur from applying paint too quickly or using an improper tip size. Adjust the pressure for the paint type and guarantee a steady speed to maintain a smooth spray pattern.
- Air Entrapment: Bubbles and texture issues can arise when air gets trapped in the paint. Keep a consistent spraying distance and actively check for air bubbles to prevent imperfections.
- Inconsistent Finish: Variations can happen within the same project area. To achieve uniformity, stick to a consistent technique and pressure throughout your application.
- Environmental Conditions: Temperature and airflow greatly influence your spraying. Monitor these factors to avoid uneven coverage or premature drying, which can lead to rough finishes.
Adjusting Pressure Settings
Adjusting pressure settings is vital for a successful spray painting project, as it directly affects the fan pattern and overall finish quality. To achieve an even fan pattern, you'll want to experiment with different pressure levels, particularly when using smaller spray tips like 310 or 312. Higher pressures can help guarantee complete paint atomization, especially when dealing with higher viscosity paints.
| Pressure Level | Effect on Fan Pattern | Recommended Tip Size |
|---|---|---|
| Low | Uneven coverage | 515 |
| Medium | Moderate consistency | 310 |
| High | Even fan pattern | 312 |
Maintaining consistent pressure is essential for preventing tails and guaranteeing uniform coverage. Fluctuations can lead to texture issues, so keep an eye on your settings throughout the project. Monitor environmental conditions like temperature and humidity, as they can affect drying times and the effectiveness of your adjustments. Regularly checking and fine-tuning your pressure settings will help you tackle overspray or rough finishes, ultimately ensuring a smooth final result.
Final Touches and Adjustments
Attention to detail is essential for achieving a flawless finish on trim. After you've completed your spraying, it's time for some final touches and adjustments to guarantee a nice finish. Here are a few key steps to take into account:
- Wipe Down Surfaces: Use a dry cloth to wipe off any dust that may have settled after spraying. This can dramatically improve the overall appearance of your finish, much like the therapeutic benefits of essential oils enhance well-being.
- Allow Slow Drying: Let the paint dry slowly, away from direct light. This helps prevent rough textures and enhances the smoothness of the final coat.
- Learn from Professionals: Observing experienced painters can provide valuable insights. Pay attention to their techniques for achieving a perfect finish.
- Experiment with Spray Tips: Don't hesitate to experiment with different spray tips and application techniques. Each adjustment can lead to a better finish in future projects.
Frequently Asked Questions
How to Get Smooth Finish With Airless Sprayer?
To get a smooth finish with an airless sprayer, choose a fine tip, maintain a consistent distance, and use overlapping passes. Adjust pressure and allow drying time between coats for the best results.
How to Get the Smoothest Finish on Trim?
Did you know that 90% of painters prefer using high-quality latex paint for trim? To get the smoothest finish, choose premium paint, thin it properly, and use a suitable spray tip for even coverage.
Why Is My Paint Sprayer Not Spraying Smooth?
If your paint sprayer isn't spraying smoothly, check the tip size, thin the paint, and adjust the pressure. Also, clean the spray tip regularly and monitor environmental conditions to guarantee peak performance.
What Pressure Should I Spray Trim?
Oh sure, just spray trim willy-nilly! But really, you should stick to 2000 to 2500 PSI. Adjust as needed for different tips, and remember—smooth finishes don't just happen; they require a little finesse!
Conclusion
In the end, achieving a smooth finish on trim with an airless paint sprayer is all about preparation and technique. Remember, "Good things come to those who wait." Take your time with surface prep and choose your paint wisely. By following these steps and being patient, you'll create a beautiful, professional-looking finish that adds value to your space. So, roll up your sleeves and enjoy the process—your hard work will definitely pay off!