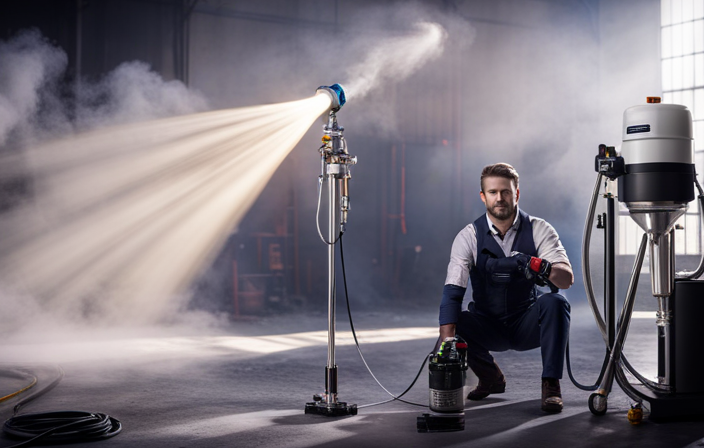

Have you experienced the annoyance of dealing with a blocked nozzle on your airless paint sprayer? It can be really frustrating to have your sprayer malfunction in the middle of a project. But don’t worry, I am here to help you effectively clean that stubborn nozzle and have your sprayer working perfectly again.
In this article, I will share with you a step-by-step method to effectively clean your airless paint sprayer tip. We’ll start by gathering the necessary materials and then move on to disconnecting the sprayer from the power source.
I’ll show you how to remove the tip and soak it in a cleaning solution, as well as using a brush to remove any remaining paint. And don’t worry, I’ll also explain how to reattach the tip and test the sprayer to ensure it’s working properly.
So let’s dive in and get that sprayer back to its full potential!
Key Takeaways
- Mix dish soap and warm water to clean the sprayer tip
- Gently scrub the tip with a brush to remove any paint residue
- Rinse the tip thoroughly to ensure it is completely clean
- Allow the tip to air dry before reassembling the sprayer
Gather the necessary materials
Now that you’ve got everything you need, it’s time to gather the necessary materials for cleaning the airless paint sprayer tip.
Choosing the right cleaning solution is crucial for effectively removing any paint residue or clogs. Look for a cleaning solution specifically designed for airless paint sprayers, as it will be formulated to break down the paint without damaging the tip.
Additionally, proper maintenance of the sprayer tip is essential to ensure optimal performance and longevity.
Along with the cleaning solution, you will also need a clean bucket or container to hold the solution, a soft-bristle brush or toothbrush for scrubbing, and a clean cloth for wiping away any excess paint.
Now that we have everything ready, let’s move on to the next step: disconnecting the sprayer from the power source.
Disconnect the sprayer from the power source
To safely disconnect the sprayer from the power source, follow these steps:
- Locate the power cord and unplug it from the power outlet.
- If the sprayer is battery-powered, remove the battery pack.
- If the sprayer is connected to an air compressor, turn off the compressor and disconnect the air hose.
By disconnecting the sprayer from the power source, you eliminate the risk of electric shock or accidental paint discharge.
Once the power source is disconnected, you can proceed to the next step of removing the tip from the sprayer. This will allow for thorough cleaning and prevent any paint clogs.
Remove the tip from the sprayer
To ensure a smooth and efficient cleaning process, you’ll want to detach the nozzle from the sprayer. This step is crucial in removing any paint stains and preventing clogging in the future.
Start by turning off the sprayer and releasing any pressure that may be present. Next, locate the tip of the sprayer and twist it counterclockwise to loosen it. Once it is loose, gently pull it out of the sprayer. Be careful not to damage the tip or any surrounding parts.
Now that the tip is removed, you can proceed to soak it in a cleaning solution to remove any remaining paint residue. This will be discussed further in the next section.
Soak the tip in a cleaning solution
Immerse the sprayer’s nozzle into a cleansing solution, allowing the solution to work its wonders and rejuvenate the sprayer for its next masterpiece.
Here are four cleaning solution alternatives that can effectively remove paint and prevent clogs in airless paint sprayer tips:
-
Vinegar and water solution: Mix equal parts of vinegar and water to create a powerful cleaning solution. This solution is great for removing water-based paints and can help prevent clogs in the sprayer tip.
-
Paint thinner: For oil-based paints, a paint thinner can be used to break down and dissolve the paint, making it easier to clean the sprayer tip. Make sure to wear gloves and work in a well-ventilated area when using paint thinner.
-
Lacquer thinner: Similar to paint thinner, lacquer thinner can effectively remove oil-based paints. It is a stronger solvent and should be used with caution. Always read and follow the manufacturer’s instructions.
-
Commercial cleaning solutions: There are also commercial cleaning solutions specifically designed for cleaning airless paint sprayer tips. These solutions are often formulated to remove various types of paint and can be highly effective.
After soaking the tip in the cleaning solution, use a brush to remove any remaining paint. This will ensure that the sprayer is thoroughly cleaned and ready for its next use.
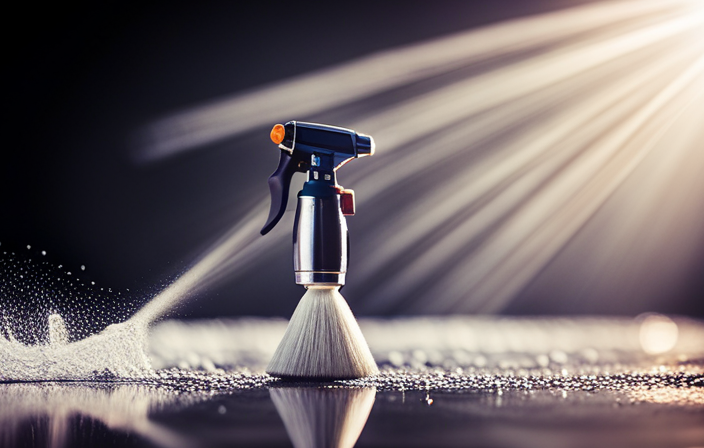
Use a brush to remove any remaining paint
Next, grab a small brush and gently sweep away any lingering paint. This will reveal a clean canvas for your next masterpiece. It’s important to thoroughly clean the paint sprayer tip, so take your time with this step. Pay attention to crevices and tight spaces where paint may have built up. Use precise strokes to effectively remove any remaining paint and prevent clogs. Remember, there are alternative cleaning methods available. Some people prefer using toothpicks or pipe cleaners for hard-to-reach areas. These techniques can be helpful if you encounter stubborn paint residue. Once the tip is free from excess paint, it’s time to move on to the next step and rinse it thoroughly.
Rinse the tip thoroughly
After removing any remaining paint with a brush, it’s essential to thoroughly rinse the tip to ensure it is fully cleaned and ready for future use. Here is a step-by-step guide to effectively rinse the tip of your airless paint sprayer:
-
Fill a container with vinegar: Vinegar is an excellent cleaning solution for paint sprayer tips. Submerge the tip in the vinegar and let it soak for a few minutes. The acidity of vinegar helps break down any leftover paint.
-
Use a toothpick for stubborn paint removal: If there are still traces of paint stuck in the tip, gently insert a toothpick into the nozzle to dislodge the paint particles. Be careful not to damage the tip during this process.
-
Rinse the tip with water: After soaking and removing any stubborn paint, rinse the tip under running water. Make sure to thoroughly remove any vinegar and paint residue.
-
Dry the tip: Finally, use a clean cloth or towel to dry the tip completely before reattaching it to the sprayer.
With the tip now clean and dry, it’s time to reattach it to the sprayer for your next painting project.
Reattach the tip to the sprayer
To ensure a smooth painting experience, it is crucial to reattach the tip properly to the sprayer after rinsing. This step is often overlooked, but it plays a significant role in the overall performance of the airless paint sprayer. When reattaching the tip, make sure it is securely screwed onto the sprayer’s tip guard. This will prevent any leakage or loss of pressure during operation. It is also important to troubleshoot common issues that may arise with paint sprayer tips, such as clogging or inconsistent spray patterns. Refer to the manufacturer’s instructions for guidance on troubleshooting and maintenance. Once the tip is securely attached, we can move on to the next step of testing the sprayer to ensure it is working properly.
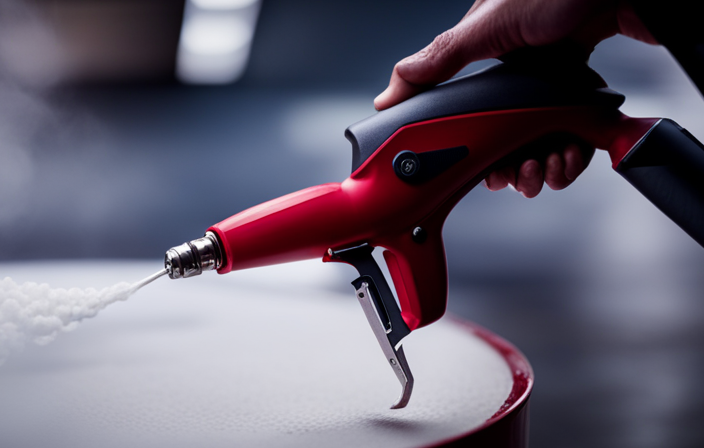
Test the sprayer to ensure it is working properly
Now let’s make sure your sprayer is good to go by giving it a quick test to ensure everything is working smoothly.
To test the sprayer’s pressure, fill the paint container with water and attach the tip securely.
Turn on the sprayer and gradually increase the pressure.
Observe the spray pattern and make sure it is consistent and even.
If you notice any issues such as clogging or uneven spray, it could indicate a problem with the tip or other components.
Troubleshoot common sprayer issues by checking for clogs, ensuring the tip is clean and properly aligned, and adjusting the pressure accordingly.
Once you are satisfied with the sprayer’s performance, you can move on to cleaning the rest of the sprayer components.
Clean the rest of the sprayer components
Once you’ve checked the sprayer’s performance, it’s time to give the other components a thorough scrub-down, ensuring they shine like a freshly polished diamond.
Cleaning the rest of the sprayer is just as crucial as testing it, as it helps maintain the sprayer’s efficiency and prolongs its lifespan.
Start by disassembling the sprayer and soaking the components in a cleaning solution. You can use a commercial cleaning solution or make your own using dish soap and warm water.
Scrub the parts gently with a brush to remove any paint residue or debris. Rinse everything thoroughly and allow them to air dry before reassembling the sprayer.
Regular maintenance is vital to keep your airless paint sprayer in top-notch condition. By cleaning it properly and regularly, you can avoid clogs and ensure consistent paint application.
Now that the sprayer is clean, let’s move on to storing it properly for future use.
Store the sprayer properly for future use
Properly storing the sprayer ensures its longevity for future use. After cleaning the sprayer components, it’s important to store the sprayer correctly to prevent any damage or clogging. Here are some proper storage techniques and maintenance tips to follow:
| Storage Tips | Maintenance Tips |
|---|---|
| Clean the sprayer | Lubricate moving parts |
| Remove any paint residue | Store in a dry and cool place |
| Disassemble the sprayer if possible | Keep away from direct sunlight |
| Use a storage bag or case | Check for any leaks or damage |
| Store in an upright position | Regularly inspect and clean the sprayer |
By following these proper storage techniques and maintenance tips, you can ensure that your airless paint sprayer remains in good condition for future use. Taking care of your sprayer not only extends its lifespan but also ensures optimal performance when you need it next.
Frequently Asked Questions
What are the necessary materials needed to clean an airless paint sprayer tip?
To clean an airless paint sprayer tip, you will need a few materials. First, gather a cleaning solution specifically designed for airless sprayer maintenance. This solution, along with a small brush and a clean cloth, will help you effectively clean the tip.
How long should the tip be soaked in the cleaning solution?
To prevent clogging of the sprayer tip, soak it in the cleaning solution for at least 30 minutes. This allows the solution to loosen any dried paint, making it easier to clean.
Is it necessary to use a specific type of brush to remove paint from the tip?
It is not necessary to use a specific type of brush to remove paint from the tip. However, different methods can be used, such as using a small wire brush or a soft-bristle brush, depending on personal preference. Regular cleaning has many benefits, including preventing clogs and maintaining optimal spray performance.
What should be done if the sprayer does not work properly after cleaning the tip?
If your sprayer isn’t working properly after cleaning the tip, there could be a few common issues. Are you experiencing clogs, uneven spray patterns, or low pressure? Troubleshooting tips can help you identify and resolve these problems.
How should the sprayer be stored to ensure its longevity for future use?
To ensure the longevity of your airless paint sprayer, it’s important to store it properly. Best practices for sprayer storage include cleaning the sprayer thoroughly, removing any remaining paint, and storing it in a cool, dry place.
Conclusion
In conclusion, cleaning an airless paint sprayer tip is a crucial step in maintaining the efficiency and longevity of the tool. By following the steps outlined in this article, you can ensure that your sprayer continues to work properly and deliver high-quality results.
Did you know that a clogged sprayer tip can reduce the coverage by up to 50%? Regularly cleaning the tip can help prevent this issue and save you time and money in the long run.
So, don’t forget to give your paint sprayer the care it deserves!