
I love the feeling of fresh paint on walls, but cleaning up after can be a hassle. That’s why I’m excited to share my proven method for cleaning an airless paint sprayer that has been used with oil-based paint. If you want to make your painting experience a breeze, keep reading!
Don’t worry, it’s not as daunting as it sounds. With the right supplies and a little know-how, you’ll have your sprayer looking good as new in no time.
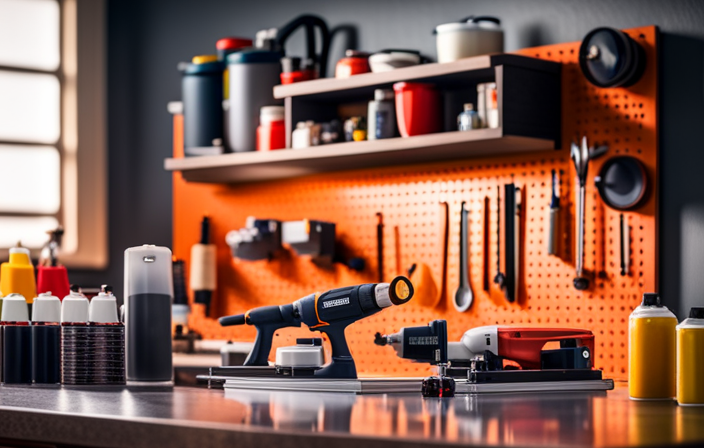
First, gather all the necessary supplies for the job. You’ll need some cleaning solution, a brush, and a few other tools to help you tackle the task at hand. Once you’re prepared, it’s time to get down to business.
Follow my step-by-step instructions to properly clean and maintain your airless paint sprayer. From preparing the sprayer for cleaning to disassembling and cleaning each component, I’ll guide you through the process with precision.
By the end, you’ll have a sprayer that’s ready for your next painting project.
Let’s get started!
Key Takeaways
- Choose the right type of paint for optimal results with oil-based paint when using an airless sprayer.
- Clean the sprayer thoroughly after each use to prevent clogging.
- Follow the manufacturer’s instructions for disassembling and cleaning sprayer components.
- Use recommended cleaning solutions and tools for proper maintenance and longevity of the sprayer.

Baotree Airless Paint Sprayer, High-Pressure Electric Paint Spray Gun with Extension Rod, Thinning-Free Professional Painting Tool for Interior/Exterior Walls, Fences, Ceilings, Cabinets
1. High efficiency and time saving, the spraying speed is 5 times faster than traditional brushing ✅ High...
As an affiliate, we earn on qualifying purchases.
Gather the necessary supplies for cleaning your airless paint sprayer
Now that you’ve got your oil-based paint sprayer ready to clean, it’s time to gather up all the supplies you’ll need for this satisfying task. To ensure a thorough and efficient cleaning process, here’s a supplies list for cleaning your airless paint sprayer:
-
Safety goggles and gloves: Protect your eyes and hands from any potential splatters or chemical exposure.
-
Cleaning solvent: Choose a solvent specifically designed for oil-based paints to effectively break down and remove any residue.
-
Cleaning brushes: Different sizes of brushes will help you access and clean various parts of the sprayer thoroughly.
-
Rags or paper towels: These will come in handy for wiping down surfaces and absorbing excess solvent.
-
Empty containers: Use these to collect and dispose of any leftover paint or cleaning solution.
Following this step-by-step guide to cleaning your airless paint sprayer, you’ll be able to prepare the sprayer for cleaning by removing any remaining paint smoothly.

VEVOR 750W Stand Airless Paint Sprayer, 3000PSI High Efficiency Electric Airless Sprayer, Fine and Even Painting Effect, Handheld Paint Sprayers for Home Interior and Exterior Furniture and Fences
Efficient Painting: Our stand airless paint sprayer is equipped with a powerful 750W motor, capable of delivering up...
As an affiliate, we earn on qualifying purchases.
Prepare the sprayer for cleaning by removing any remaining paint
First, make sure you’ve removed all the remaining paint from your sprayer, as leaving any behind can cause clogs and damage. Did you know that properly cleaning your sprayer after each use can extend its lifespan by up to 50%?
To prepare the sprayer for cleaning, start by disassembling and separating the different components. Begin by removing the spray tip, followed by the gun filter and guard. Next, detach the hose and disconnect it from the pump. After that, unscrew the pump housing and remove any remaining paint from it. Lastly, clean the suction tube and filter thoroughly.
When choosing the right paint for your project, consider the surface you’ll be painting on and the desired finish.
Now, let’s move on to disassembling the sprayer and separating the different components.

MaXpray M1 Airless Paint Sprayer, Highly Efficient Thinning-Free Minimal Overspray for Up to 10 Gallon DIY Painting Projects Home Interior & House Exterior, Comes with Sprayer Accessories
Your DIY Partner - All DIY Homeowners, upgrade your DIY game with the MaXpray M1 airless paint sprayer—far...
As an affiliate, we earn on qualifying purchases.
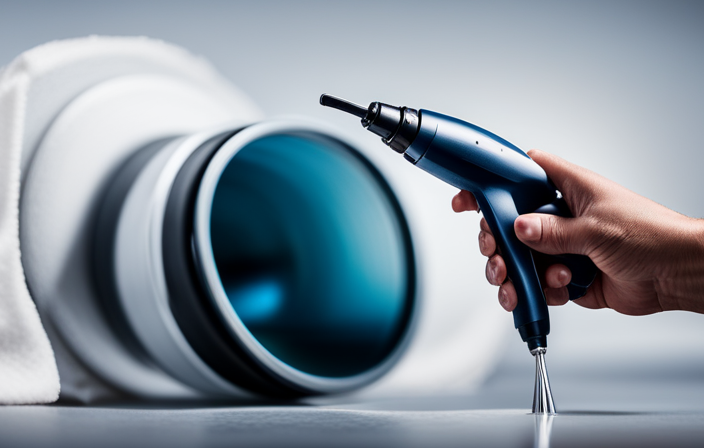
Disassemble the sprayer and separate the different components
To start enjoying the process, you can begin by breaking down the sprayer and separating its various components. Disassembling the sprayer is crucial for a thorough clean, and there are a few disassemble techniques you can use.
First, remove the spray tip and guard by unscrewing them from the gun.
Next, detach the fluid hose from the gun and release any pressure by triggering the gun and aiming it into a waste container.
Now, separate the gun handle from the main body by removing the retaining pin or screws.
Once the sprayer is disassembled, you can move on to selecting the right cleaning agent.
For oil-based paint, you have several cleaning agent options, such as mineral spirits or paint thinner. These solvents effectively break down the paint and make cleaning easier.
With the sprayer disassembled and the cleaning agent selected, you can now transition into the next section about cleaning the spray gun thoroughly to remove any paint residue.

Graco Magnum 262805 X7 Cart Airless Paint Sprayer, Gray
CONTROL PAINT FLOW: Fully adjustable pressure to give you ultimate control of paint flow for any project size;...
As an affiliate, we earn on qualifying purchases.
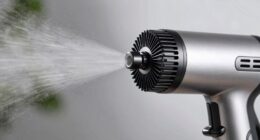
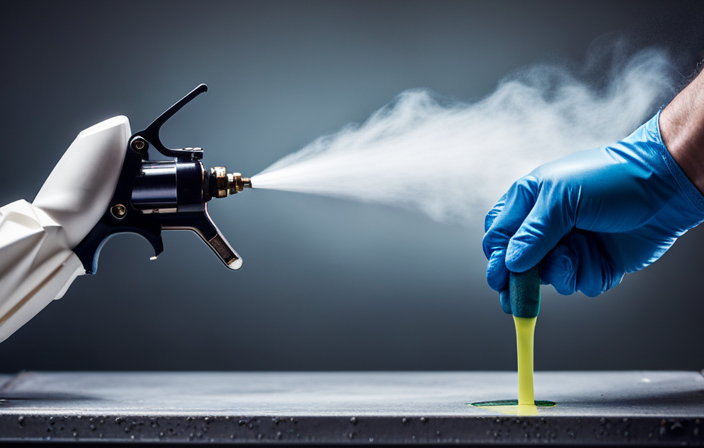
Clean the spray gun thoroughly to remove any paint residue
Once you’ve disassembled the sprayer and selected the right cleaning agent, it’s time to thoroughly clean the spray gun to ensure all paint residue is removed.
Start by detaching the spray tip and guard from the gun body. Use a clean, lint-free cloth to wipe away any excess paint on the exterior of the gun.
Then, using a small brush or toothbrush, gently scrub the inside of the gun body, paying special attention to the nozzle and trigger areas.
Flush the gun with a recommended cleaning solvent to remove any remaining paint particles.
Finally, reattach the spray tip and guard, and perform a test spray to ensure proper functionality.
With the spray gun cleaned, it’s now time to move on to the next step of cleaning the filters and screens to ensure proper paint flow.
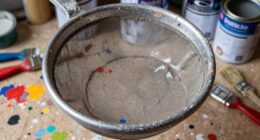
Clean the filters and screens to ensure proper paint flow
Now it’s time to give those filters and screens a good scrub to make sure the paint flows smoothly. Proper maintenance of these components is crucial for optimal performance of your airless paint sprayer.
Start by removing the filters and screens from the spray gun and inspect them for any clogs or debris. To clean them, you can use a cleaning solution specifically designed for oil-based paints or consider alternatives like mineral spirits or paint thinner.
Soak the filters and screens in the cleaning solution for a few minutes to loosen any dried paint or residue. Next, use a soft brush or toothbrush to gently scrub away any remaining paint particles. Rinse them thoroughly with clean water and allow them to air dry before reassembling.
This regular cleaning routine ensures the best practices for maintaining paint flow.
Moving on, let’s discuss how to flush out the hoses and pump with solvent or cleaning solution in the next section.
Flush out the hoses and pump with solvent or cleaning solution
Flush out the hoses and pump with a solvent or cleaning solution to ensure a thorough and efficient cleaning process. This step is crucial to remove any residual paint and prevent clogs in the future.
When selecting a cleaning solution, there are a few alternatives available. One option is to use mineral spirits, which effectively breaks down oil-based paint. Another alternative is to use a commercial paint sprayer cleaner, specifically designed for this purpose. Whichever product you choose, make sure to read and follow the manufacturer’s instructions for optimal results.
To begin the cleaning process, attach the solution container to the sprayer and run it through the system. This will effectively flush out any remaining paint and debris.
Once the hoses and pump are thoroughly cleaned, we can proceed to the next step of scrubbing the pump and other metal parts to remove any stubborn paint.
Scrub the pump and other metal parts to remove any stubborn paint
Scrubbing the pump and other metal components to eliminate any tenacious residue becomes an art of meticulous precision. To effectively remove paint and clean the metal parts of the airless paint sprayer, follow these steps:
-
Use a stiff-bristle brush or a nylon scrub pad to scrub the pump and metal parts thoroughly. Focus on areas where paint may have accumulated, such as around the intake valve or inside the pump chamber.
-
Apply a solvent or cleaning solution specifically designed for removing oil-based paint. This’ll help break down the stubborn paint residues and make them easier to remove.
-
Scrub in a circular motion, exerting moderate pressure to ensure all paint is loosened and lifted off the metal surfaces.
After scrubbing the pump and other metal parts to remove any stubborn paint, it’s time to reassemble the sprayer and perform a test run to ensure proper functioning.
Reassemble the sprayer and perform a test run to ensure proper functioning
Once all the metal parts have been scrubbed and the pump has been thoroughly cleaned, it’s time to reassemble the sprayer and put it to the test to ensure it operates smoothly. Performing a test run is crucial in order to identify any potential issues and troubleshoot them before starting your painting project.
To conduct a test run, follow these steps:
| Step | Actions |
|---|---|
| 1 | Reattach the pump to the sprayer body, ensuring a secure fit. |
| 2 | Connect the hoses, making sure they are tightly fastened. |
| 3 | Fill the paint container with a small amount of water or a compatible solvent. |
| 4 | Turn on the sprayer and adjust the pressure according to your painting needs. |
| 5 | Spray the water or solvent onto a test surface, observing the spray pattern and consistency. |
By conducting a test run, you can ensure that the sprayer is functioning properly and troubleshoot any common issues such as clogging or uneven spray. Once the test run is completed, you can proceed to the next section on how to store the sprayer properly to prevent any damage or clogging during storage.
Store the sprayer properly to prevent any damage or clogging
To ensure the longevity and optimal performance of your sprayer, it’s essential to store it correctly, preventing any potential damage or clogging. Here are some preventive maintenance and storage tips to keep in mind:
-
Clean the sprayer thoroughly after each use, removing any excess paint or debris.
-
Store the sprayer in a clean and dry area, away from direct sunlight and extreme temperatures.
-
Use a protective cover or case to prevent dust and dirt from accumulating on the sprayer.
-
Store the sprayer upright to avoid any leakage or damage to the internal components.
By following these storage tips, you can protect your airless paint sprayer from damage and ensure it remains in optimal condition for future use. Regularly cleaning and maintaining your sprayer will prolong its lifespan and ensure optimal performance.
Regularly clean and maintain your airless paint sprayer to prolong its lifespan and ensure optimal performance
Take good care of your sprayer like a diligent gardener tending to their prized orchids, and you’ll be rewarded with a longer-lasting, high-performance tool.
When using an airless paint sprayer with oil-based paint, it’s crucial to choose the right type of paint for optimal results. Look for oil-based paints specifically designed for airless sprayers, as they have the appropriate viscosity and formulation to ensure smooth and consistent spraying.
Additionally, regularly clean and maintain your sprayer to prevent clogging and ensure its longevity. Troubleshooting common issues with airless paint sprayers, such as uneven spray patterns or clogged nozzles, can be addressed by thorough cleaning and regular maintenance.
Follow the manufacturer’s instructions for disassembling and cleaning the sprayer components, and always use the recommended cleaning solutions and tools. By taking these steps, you’ll keep your airless paint sprayer in top-notch condition and achieve professional-quality results every time.
Frequently Asked Questions
Can I use a water-based cleaning solution instead of solvent to clean my airless paint sprayer?
Yes, water-based cleaning solutions can be used as an alternative method to solvent for cleaning an airless paint sprayer. They offer several benefits such as being safer for the environment, easier to handle, and less harmful to the equipment.
How often should I clean and maintain my airless paint sprayer?
I should clean and maintain my airless paint sprayer regularly to ensure optimal performance. It is recommended to clean it after each use and perform a thorough maintenance check every 50 hours of operation. Here are some cleaning tips and maintenance guidelines.
Are there any specific safety precautions I should take while cleaning the spray gun and other components?
When cleaning the spray gun and other components, it is crucial to follow safety precautions and use proper cleaning techniques. This ensures a safe and efficient process, minimizing any potential risks or accidents.
Can I use a pressure washer to clean the hoses and pump of my airless paint sprayer?
Pressure washer alternatives for cleaning the hoses and pump of an airless paint sprayer include using a high-pressure hose, a nozzle attachment with strong water pressure, or a cleaning solution specifically designed for paint equipment.
What should I do if I accidentally get paint on the motor or electrical parts of the sprayer during cleaning?
If paint accidentally spills on the motor or electrical parts of the sprayer during cleaning, immediately turn off the power and disconnect it from the power source. Use a clean cloth to gently wipe away the paint, being careful not to damage any components.
Conclusion
In conclusion, maintaining and cleaning your airless paint sprayer is essential for its longevity and optimal performance. By following the steps outlined in this guide, you can ensure that your sprayer remains free from clogs and damage.
Remember to regularly clean the spray gun, filters, and pump, and store the sprayer properly when not in use. By taking these simple steps, you can enjoy the juxtaposition of a clean and efficient sprayer that effortlessly brings your oil-based paint projects to life.