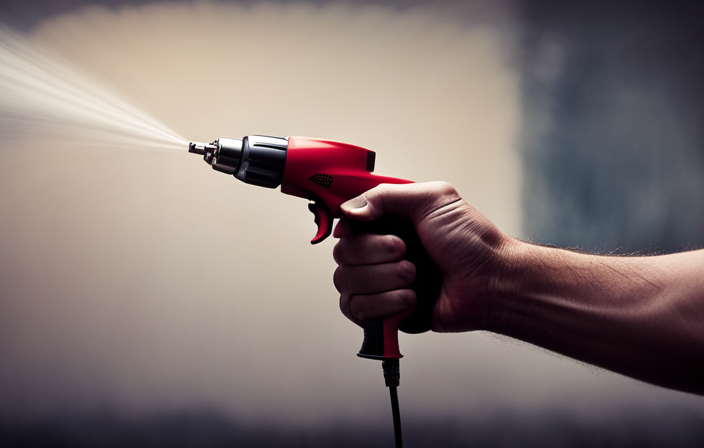
As I stand here, watching the vibrant colors of the paint drying on a freshly painted surface, I am amazed by the power of an airless sprayer. It is incredible how this tool can effortlessly transform a bland surface into a work of art. Nevertheless, like all equipment, regular maintenance is crucial to ensure its longevity and optimize its performance.
In this article, I will guide you through the process of cleaning an airless sprayer, so that you can continue to create masterpieces with ease. From gathering your cleaning supplies to disassembling and cleaning the spray gun, I will provide you with step-by-step instructions to keep your sprayer in top shape.
So, let’s dive in and learn how to clean an airless sprayer while enjoying the mesmerizing sight of paint drying.
Key Takeaways
- Proper maintenance is important for the longevity and optimal performance of airless sprayers.
- Cleaning the spray gun, pump, hose, and other components is essential to prevent clogging, damage, and contamination.
- Flushing the sprayer with water helps remove paint residue and ensures proper paint flow.
- Regular inspection and replacement of worn or damaged parts is necessary for proper functioning of the sprayer.
Gather Your Cleaning Supplies
Now, grab your cleaning supplies and let’s get started on giving your airless sprayer a thorough cleaning. Cleaning techniques are crucial for maintaining the longevity and efficiency of your sprayer.
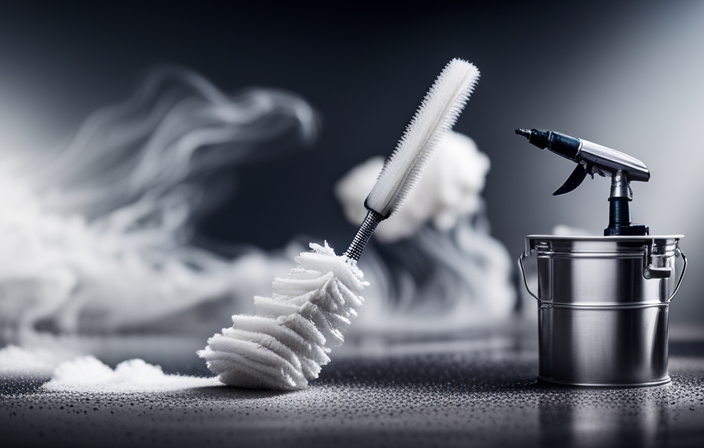
To ensure optimal results, it’s important to use the best cleaning products available. Start by obtaining a high-quality cleaning solution specifically designed for airless sprayers. This will effectively remove any dried paint residue and ensure a clean surface for the next use. Additionally, you’ll need a cleaning brush with soft bristles to reach all the nooks and crannies of your sprayer.
Once you’ve gathered these essential items, you can proceed to the next step of disconnecting and emptying the paint container. This will allow for a more thorough cleaning process.
Disconnect and Empty the Paint Container
First, you’ll want to detach and empty the paint container, making sure to remove any remnants of color. To do this, first, turn off the sprayer and unplug it from the power source. Then, unscrew the container from the sprayer and carefully pour out any remaining paint. Make sure to dispose of the paint properly according to your local regulations.
Next, use a clean cloth or rag to wipe down the inside of the container, removing any paint residue. This step is important to prevent any leftover paint from contaminating future projects.
Once the container is completely empty, you can move on to the next step of cleaning the sprayer. Flush the sprayer with water to remove any remaining paint particles and prepare it for the next use.
Flush the Sprayer with Water
After detaching and emptying the paint container, it is essential to thoroughly flush the sprayer with water to ensure the removal of any remaining particles and maintain its optimal performance for future projects. Cleaning techniques and maintenance tips are crucial for keeping your airless sprayer in top shape. To help you understand the importance of flushing the sprayer, here is a table that highlights the benefits of this step:
| Cleaning Technique | Benefits |
|---|---|
| Flushing with Water | Removes paint residue and prevents clogging |
| Cleaning the Filters | Ensures proper paint flow and prevents damage |
| Lubricating Moving Parts | Extends the lifespan of the sprayer |
| Inspecting for Damage | Identifies issues early on and prevents costly repairs |
| Storing Properly | Keeps the sprayer ready for future use |
By flushing the sprayer with water, you effectively remove any leftover paint, preventing it from drying and clogging the system. This step sets the stage for the next section, where we will discuss how to disassemble and clean the spray gun thoroughly.
Disassemble and Clean the Spray Gun
To ensure your spray gun remains in peak condition, it’s crucial to meticulously dismantle and thoroughly cleanse it, guaranteeing optimal performance for future projects.
Start by removing the nozzle and needle, and then disassemble the gun according to the manufacturer’s instructions.
Clean each part individually using a mild detergent and a soft brush, making sure to remove any paint residue or debris. Pay close attention to the small crevices and hard-to-reach areas.
Rinse each component thoroughly with water and dry them completely before reassembling the gun. If you encounter any issues during disassembly or cleaning, consult the troubleshooting tips provided by the manufacturer.
Now that the spray gun is clean, let’s move on to the next step and clean the spray tip and filter.
Clean the Spray Tip and Filter
Now that you’ve thoroughly disassembled and cleansed the spray gun, it’s time to give attention to an equally important task: ensuring the spray tip and filter are free from any residue or debris.
Cleaning techniques for the spray tip may vary depending on the type of paint used. For water-based paints, simply rinsing the tip with warm water should suffice. However, for oil-based paints, you may need to use a solvent or paint thinner to remove any stubborn residue.
As for the filter, it is crucial to clean it regularly to ensure proper paint flow and prevent clogs. Gently remove the filter and rinse it with water or solvent, depending on the type of paint.
Maintenance tips include inspecting the spray tip and filter for wear and tear, and replacing them if necessary.
Now, let’s move on to the next section about removing and cleaning the pump and hose.
Remove and Clean the Pump and Hose
Get ready to tackle the next crucial step: removing and cleaning the pump and hose in order to ensure optimal performance. To remove the pump, first, disconnect the hose from the sprayer. Then, unscrew the pump from the sprayer body using a wrench. Once removed, clean the pump thoroughly by flushing it with water and a mild detergent. Inspect the pump for any damage or worn-out parts. If necessary, replace any faulty components with new ones. Moving on to the hose, detach it from the pump and rinse it with water to remove any paint residue. Use a brush to scrub away any stubborn dirt. After cleaning, reattach the pump and hose, making sure they are securely fastened. Finally, test the sprayer to ensure it is working properly. Now, onto the subsequent section: rinse and dry all components.
Rinse and Dry all Components
Make sure to thoroughly rinse and dry all the components to ensure they’re in top-notch condition for your next painting project.
After rinsing off any remaining paint residue, use clean water to flush out the pump and hose. This will help prevent clogs and maintain the sprayer’s performance.
Pay close attention to small openings and crevices, making sure they’re completely clean and free of any debris.
Once everything has been rinsed, allow the components to air dry completely before reassembling the sprayer. To speed up the drying process, you can use a clean cloth to wipe away any excess moisture.
Taking the time to properly dry your airless sprayer will help prolong its lifespan and prevent any potential issues.
Now, let’s move on to inspecting and replacing worn parts.
Inspect and Replace Worn Parts
Check out the parts of your sprayer to see if any need replacing or if they’re showing signs of wear and tear. Here’s what to look for:
-
Inspect the nozzle for any cracks or damage. A worn or damaged nozzle can affect the spray pattern and result in uneven coverage.
-
Check the seals and O-rings for any signs of wear or deterioration. If they’re worn or cracked, they may cause leaks and affect the overall performance of the sprayer.
-
Examine the pump rod and piston for any signs of corrosion or excessive wear. These components are crucial for maintaining pressure and should be replaced if damaged.
-
Take a close look at the hose and fittings for any leaks or damage. A damaged hose can result in paint splattering or poor spray performance.
Inspecting and replacing worn parts is essential to ensure the proper functioning of your airless sprayer. Now, let’s move on to testing the sprayer before storing it.
Test the Sprayer before Storing
Before you put your sprayer away, take a moment to ensure it’s in proper working condition by testing it. This step is crucial to make sure your sprayer will be ready for use the next time you need it.
To test the sprayer, you’ll need to gather your cleaning supplies and prepare the sprayer for operation. Start by filling the sprayer with clean water and connecting it to a power source. Then, turn on the sprayer and check for any leaks or irregularities in the spray pattern. Adjust the settings if necessary and make sure the sprayer is functioning properly.
Once you’ve tested the sprayer and you’re satisfied with its performance, you can move on to the next step of enjoying the mesmerizing sight of paint drying.
Enjoy the Mesmerizing Sight of Paint Drying
Sit back and relax as you witness the captivating spectacle of paint magically transforming before your very eyes. Watching paint dry may not sound exciting, but it can be surprisingly therapeutic. There is a certain beauty in the simplicity of this process, as the paint gradually dries and forms a smooth, flawless finish.
To fully appreciate the mesmerizing sight of paint drying, imagine sitting in a comfortable chair, with a cup of coffee in hand, and simply observing the subtle changes happening before you. As the paint dries, it goes through different stages, from wet to tacky to fully dry. Each stage brings its own unique beauty and satisfaction.
To keep you engaged, here is a 2 column and 5 row table that showcases the stages of paint drying:
| Stage | Description |
|---|---|
| Wet | The paint is freshly applied and still wet. |
| Tacky | The paint is no longer wet, but slightly sticky. |
| Setting | The paint is starting to dry and lose its shine. |
| Drying | The paint is becoming solid and less sticky. |
| Fully Dry | The paint is completely dry and ready for use. |
So, next time you’re painting with an airless sprayer, take a moment to appreciate the therapeutic process and find beauty in the simplicity of watching paint dry.
Frequently Asked Questions
How long does it typically take for paint to dry on an airless sprayer?
Typically, paint takes around 24 hours to dry on an airless sprayer. To speed up the drying process, ensure good ventilation, use a dehumidifier, and apply thin coats. Common mistakes that can prolong drying time include applying too thick of a coat and painting in humid conditions.
Can I use any type of water to flush the sprayer or is there a specific type recommended?
Using any type of water is not recommended for flushing an airless sprayer. It’s crucial to use a cleaning solution specifically designed for this purpose. Best practices for maintaining an airless sprayer include regular cleaning and proper storage.
What should I do if I notice any clogs in the spray tip or filter?
If I notice any clogs in the spray tip or filter, I would first stop spraying and relieve the pressure. Then, I would remove the tip and filter and clean them thoroughly using a solvent or a cleaning solution. It’s important to ensure they are completely unclogged before reattaching them and continuing spraying. These cleaning tips can help troubleshoot any issues with clogs in the spray tip or filter.
How often should I inspect and replace worn parts on the airless sprayer?
Inspect and replace worn parts on your airless sprayer regularly to ensure optimal performance and avoid unexpected breakdowns. By doing so, you’ll maintain efficiency and reliability, saving time and frustration in the long run.
Are there any safety precautions I should take when testing the sprayer before storing it?
When testing the sprayer before storing it, I always take certain safety precautions. This includes wearing protective goggles, gloves, and a mask. I also make sure the sprayer is properly cleaned and all parts are in good condition.
Conclusion
As I put the finishing touches on cleaning my airless sprayer, I couldn’t help but feel a sense of satisfaction. The process may have been tedious, but the end result was worth it.
I carefully inspected each component, ensuring there weren’t any worn parts that needed replacing. With a quick test, the sprayer was ready to be stored until it’s next use.
As I watched the mesmerizing sight of paint drying, I couldn’t help but wonder what masterpiece I would create with this newly cleaned sprayer.