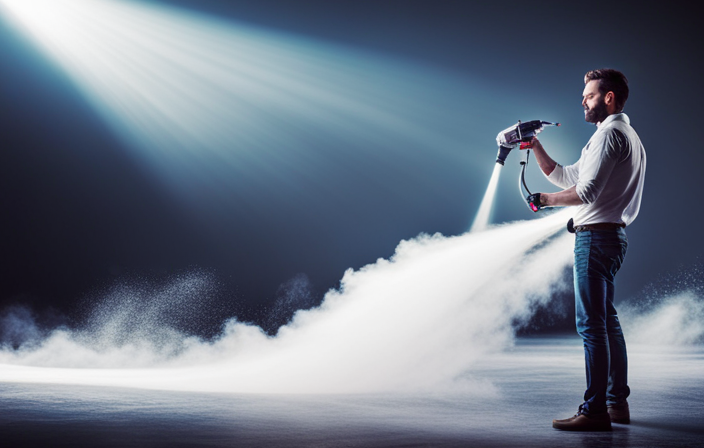
Did you know that keeping your paint sprayer gun clean can improve the quality and efficiency of your painting projects? Ensuring that your Wagner airless paint sprayer gun is free of debris is essential maintenance that ensures optimal performance and extends the lifespan of your device.
In this article, I will guide you through the step-by-step process of cleaning your Wagner airless paint sprayer gun.
First, let’s gather the necessary cleaning supplies, such as a cleaning solution, a bucket, and a brush. Then, we’ll disconnect the sprayer gun from the paint supply and release any remaining pressure in the gun.
Next, we’ll remove the nozzle and filter and soak them in a cleaning solution. After thoroughly rinsing the nozzle and filter, we’ll reassemble the sprayer gun and test it to ensure proper functionality.
By following these detailed instructions, you’ll be able to maintain a clean and efficient Wagner airless paint sprayer gun, ready for your next painting project. Let’s get started!
Key Takeaways
- Thoroughly rinse the nozzle and filter to ensure proper maintenance.
- Properly reassemble the sprayer gun and align the nozzle and filter.
- Ensure a snug and secure fit by tightening screws or bolts.
- Test the sprayer gun for functionality and troubleshoot any common issues.

NoCry Clear Safety Glasses for Men and Women with Anti-Fog and Scratch Resistant Wrap Around Lenses, Adjustable Temples and Nose Pads — ANSI Z87 Certified Protective Eyewear with 100% UV Shielding
- Durable Polycarbonate Frame: Wraparound design for full protection
- Lightweight & Comfortable Fit: Adjustable arms and soft nose pads
- Anti-Fog & Scratch Resistant Lenses: Ultrashield coating for clarity and durability
As an affiliate, we earn on qualifying purchases.
Gather the necessary cleaning supplies
Before you can start cleaning your Wagner airless paint sprayer gun, make sure you’ve gathered all the necessary cleaning supplies. There are a few cleaning solution options you can choose from, such as warm soapy water, mineral spirits, or paint thinner. It’s important to check your sprayer manual to see which cleaning solution is recommended for your specific model.
Additionally, you may want to consider alternative cleaning methods, like using a specialized cleaning agent designed for paint sprayers. These can help remove stubborn paint residue more effectively.
Once you have your cleaning supplies ready, you can proceed to the next step of disconnecting the sprayer gun from the paint supply, ensuring a thorough cleaning process.
Disconnect the sprayer gun from the paint supply
To start disconnecting the sprayer gun from the paint supply, you’ll need to first locate the quick-release latch. This latch is usually located near the base of the gun and can be easily identified by its distinct shape. Once you’ve located the latch, follow these steps to safely disconnect the sprayer gun:
- Press the latch firmly to release it from its locked position.
- Gently pull the gun away from the paint supply, being careful not to tug or twist it.
- Inspect the connection point for any signs of paint buildup or debris.
- Wipe down the connection point with a clean cloth to ensure it’s free from any residue.
Properly storing your Wagner airless paint sprayer gun is essential for maintaining its longevity. By following these steps and regularly cleaning your gun, you can ensure its optimal performance and extend its lifespan.
Now, let’s move on to the next section and learn how to release any remaining pressure in the gun.
Release any remaining pressure in the gun
Once you’ve finished disconnecting the sprayer gun from the paint supply, it’s important to safely release any remaining pressure within the system. This step is crucial to ensure the longevity and proper functioning of your paint sprayer gun. Proper maintenance is essential for paint sprayer guns to prevent common issues and ensure optimal performance. To engage the audience, let’s take a look at a table that highlights some common issues and troubleshooting tips for paint sprayer guns:
| Common Issues | Troubleshooting Tips |
|---|---|
| Uneven spray pattern | Check for clogged nozzle or worn spray tip |
| Drips or runs in the paint | Adjust the pressure or thin the paint |
| Excessive overspray | Check for worn or damaged seals |
| Loss of pressure or power | Inspect and clean the intake valve and filter |
By following these maintenance tips and troubleshooting techniques, you can ensure the proper functioning of your paint sprayer gun. In the next section, we will discuss how to remove the nozzle and filter.
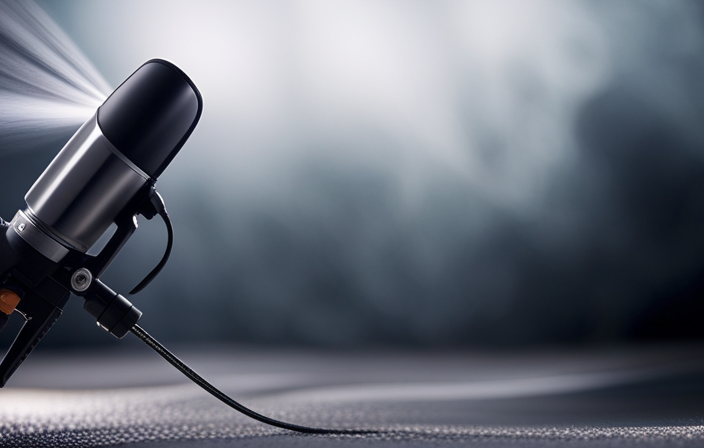
Remove the nozzle and filter
Now, you’ll want to take off the nozzle and filter to continue the maintenance process.
Cleaning techniques for the Wagner airless paint sprayer gun are crucial to ensure its optimal performance.
To remove the nozzle, locate the retaining nut at the front of the gun and use a wrench to loosen it counterclockwise. Once loose, carefully twist and pull the nozzle off.
Next, remove the filter located inside the gun handle. Gently unscrew the filter cap and pull out the filter using pliers if needed.
Cleaning the nozzle and filter is essential to remove any dried paint or debris that may affect the sprayer’s functionality. Soak the nozzle and filter in a cleaning solution to dissolve any stubborn particles and ensure a thorough cleaning.
Soak the nozzle and filter in a cleaning solution
Immerse the nozzle and filter in a cleaning solution, allowing them to soak and dissolve any stubborn particles for a thorough cleansing. This step is crucial to ensure optimal performance of your Wagner airless paint sprayer gun.
There are a few alternative cleaning methods you can try if you don’t have a specific cleaning solution on hand. For example, you can use a mixture of warm water and mild dish soap. However, it’s important to avoid using harsh chemicals or solvents as they can damage the nozzle and filter. Additionally, make sure to avoid scrubbing or scraping the nozzle and filter, as this can cause scratches or other damage.
Once the nozzle and filter have soaked for a sufficient amount of time, you can move on to the next step of cleaning the gun body with a brush and cleaning solution.
Clean the gun body with a brush and cleaning solution
To effectively maintain your equipment, take a moment to grab a brush and a powerful cleaning solution and give the body of your tool a thorough scrubbing. Cleaning the gun body is an essential step in maintaining your Wagner airless paint sprayer gun. By regularly cleaning the gun body, you can remove paint residue and prevent clogs or malfunctions.
When cleaning the gun body, it is important to use effective cleaning techniques to ensure optimal results. A brush and cleaning solution are the perfect tools for this task. The brush can reach into every nook and cranny, while the cleaning solution helps to break down and dissolve any stubborn paint residue.
To help you choose the right cleaning solution, here is a comparison table of different options:
| Cleaning Solution | Features |
|---|---|
| Vinegar | Natural, mild acid, effective on water-based paints |
| Mineral Spirits | Petroleum-based, strong solvent, effective on oil-based paints |
| Paint Thinner | Powerful solvent, effective on both water-based and oil-based paints |
| Dish Soap | Mild, gentle, effective on light paint residue |
Regular maintenance and proper cleaning techniques are vital for prolonging the lifespan of your paint sprayer gun. By keeping it clean and in optimal condition, you can avoid common issues and ensure smooth and efficient operation. Now, let’s move on to the next step: rinsing the nozzle and filter thoroughly.
Rinse the nozzle and filter thoroughly
After thoroughly scrubbing the gun body, you’ll want to make sure you rinse the nozzle and filter to remove any remaining paint residue and debris. Thoroughly rinsing the nozzle and filter is crucial for maintaining your Wagner airless paint sprayer gun and ensuring optimal performance. Here are four key steps to follow:
-
Use a high-pressure water source to flush out the nozzle and filter. This’ll help dislodge any paint particles or buildup.
-
Inspect the nozzle and filter for any clogs or obstructions. If necessary, use a soft brush or toothpick to remove any stubborn residue.
-
Continue rinsing until the water runs clear and free of any paint or debris. This step is essential for maintaining the spray gun’s functionality and preventing future blockages.
-
Once rinsed, allow the nozzle and filter to air dry completely before reassembling the sprayer gun.
By thoroughly rinsing the nozzle and filter, you’re taking the necessary steps for proper maintenance. Now, let’s move on to the next section about reassembling the sprayer gun.
Reassemble the sprayer gun
Now that you’ve thoroughly rinsed the nozzle and filter, it’s time to put everything back together and get your sprayer ready for your next painting project.
Reassembling the sprayer gun is a crucial step to ensure its proper functionality. Start by carefully aligning the nozzle and filter back into their respective positions. Make sure they fit snugly and securely.
Then, reconnect any detached parts, such as the trigger and safety latch, following the manufacturer’s instructions. Pay attention to any small screws or bolts that need to be tightened. If you encounter any difficulties during the reassembling process, refer to the user manual for troubleshooting tips.
Once everything is securely in place, it’s time to move on to the next step: testing the sprayer gun to ensure proper functionality.
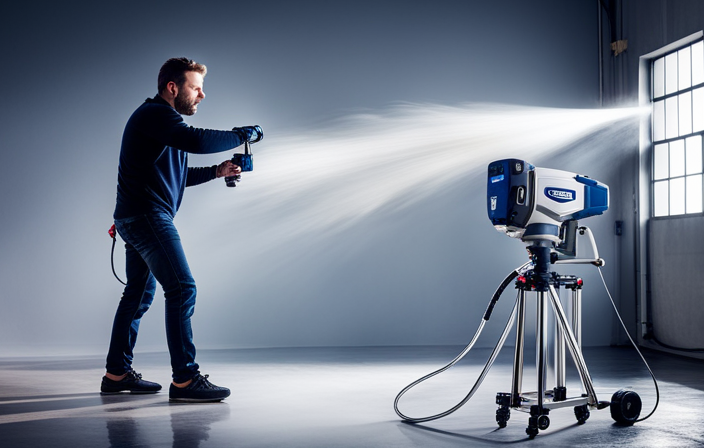
Test the sprayer gun to ensure proper functionality
Once you’ve reassembled the sprayer gun, it’s important to ensure its proper functionality by conducting a quick test. Test the sprayer gun to troubleshoot common issues and make sure it’s working correctly.
One way to do this is by spraying a small amount of water onto a scrap piece of cardboard. Observe if the spray pattern is even and consistent, without any clogs or sputtering. Check if the gun is producing the desired amount of pressure and if the trigger is functioning properly.
If you notice any issues, refer back to the previous steps to identify and fix the problem. Once you’re satisfied with the test results, you can confidently store the sprayer gun in a clean and dry place for future use.
Store the sprayer gun in a clean and dry place for future use
Ensure the sprayer gun’s proper storage to maintain its longevity and functionality. Here are some maintenance tips:
-
Clean the gun thoroughly after each use to remove paint residue and prevent clogs.
-
Disconnect the gun from the paint supply and relieve pressure before storing.
-
Store the gun in a clean and dry place, away from extreme temperatures and humidity.
-
Protect the gun from dust and dirt by using a storage case or covering it with a clean cloth.
By following these storage practices, you can ensure that your sprayer gun will be ready for use whenever you need it, and it will continue to provide excellent performance and results.
Frequently Asked Questions
Can I use any type of cleaning solution to soak the nozzle and filter?
Different types of cleaning solutions may be suitable for soaking the nozzle and filter. Properly cleaning the nozzle and filter involves using a solution that effectively removes paint residue without damaging the components.
How often should I clean my Wagner airless paint sprayer gun?
To maintain the longevity of your Wagner airless paint sprayer gun, it’s important to clean it regularly. I recommend cleaning the nozzle and filter after each use and replacing them when they become worn or clogged.
Can I use a different brush other than the one recommended to clean the gun body?
Yes, you can use different brushes to clean the gun body of a Wagner airless paint sprayer. However, it is important to choose brushes that are soft and won’t scratch the surface. Additionally, you can also use an alternative cleaning solution specifically designed for paint sprayers.
Is it necessary to rinse the nozzle and filter thoroughly after soaking them in the cleaning solution?
Yes, it is important to thoroughly rinse the nozzle and filter after soaking them in the cleaning solution. This ensures that any remaining paint or debris is removed, preventing clogs and ensuring optimal performance.
What should I do if the sprayer gun is not functioning properly after reassembling it?
If the sprayer gun is not functioning properly after reassembling it, there may be common reassembly mistakes. Check that all parts are correctly aligned and securely fastened. Ensure the nozzle and filter are clean and unclogged.
Conclusion
So there you have it, folks! After following these simple steps, my Wagner airless paint sprayer gun’s now clean and ready for its next paint job. I was amazed at how easy and efficient the cleaning process was. It’s like the universe aligned perfectly, providing me with the right knowledge and tools to make this task a breeze.
Now, I can confidently tackle any painting project, knowing that my sprayer gun’s in top-notch condition. Time to sit back, relax, and enjoy the flawless finish!