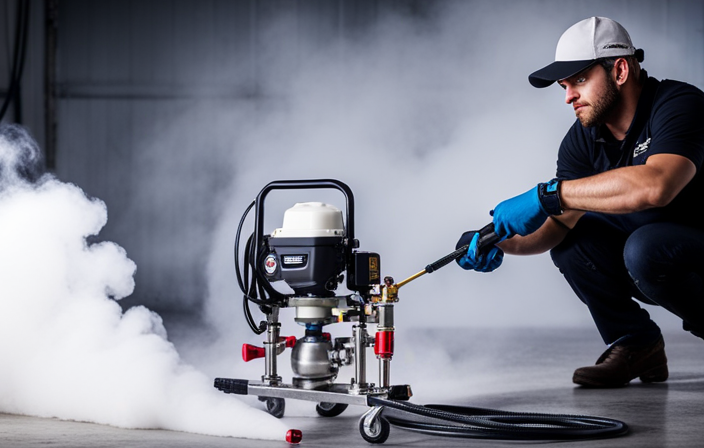
Have you ever been in the middle of a painting job and your airless paint sprayer suddenly gets clogged and stops working? Frustrating, isn’t it? But don’t fret! I have a solution for you. I will demonstrate my proven method for cleaning an airless paint sprayer, specifically ones from Graco.
Cleaning your paint sprayer is an essential step in maintaining its performance and longevity. Neglecting this task can lead to clogs, uneven spraying, and even permanent damage to the machine. But don’t worry, with just a few simple steps, you can ensure that your Graco airless paint sprayer stays in pristine condition.
In this article, I will guide you through the process of cleaning your sprayer, from gathering the necessary supplies to properly storing it after use. By following these steps, you’ll be able to keep your paint sprayer running smoothly and avoid any unnecessary headaches during your next painting project.
So let’s get started and get that sprayer back in tip-top shape!
Key Takeaways
- Regular cleaning and maintenance are essential for optimal performance and longevity of the airless paint sprayer.
- Proper storage in a cool, dry place and covering the sprayer with a dust cover or plastic bag can prevent future clogs or damage.
- Cleaning and drying all components thoroughly before storing, checking the sprayer periodically during storage, and regularly cleaning and replacing filters can prevent clogs and maintain paint flow.
- Inspecting and replacing worn or damaged pump packings, as well as lubricating moving parts, ensure smooth operation of the sprayer.
Gather the necessary cleaning supplies
Now, gather up all the necessary cleaning supplies so you can get started on cleaning your Graco airless paint sprayer.
When it comes to cleaning solutions, there are a few alternatives you can use. One option is to use warm soapy water, which is effective at removing most types of paint. Another alternative is to use a commercial paint thinner or solvent, but be sure to follow the manufacturer’s instructions and safety precautions.
To avoid clogs, it’s important to clean the sprayer thoroughly after each use. Make sure to remove any excess paint from the sprayer, as this can cause blockages. Additionally, regularly inspect and clean the filters and nozzles.
Once you have gathered all the supplies, it’s time to disconnect the sprayer from the power source and begin the cleaning process.
Disconnect the sprayer from the power source
After unplugging the sprayer, you’ll be able to give it a well-deserved break. Proper safety precautions should always be taken when cleaning an airless paint sprayer.
Disconnecting the sprayer from the power source is an important step in ensuring your safety. This will prevent any accidental spraying or electrical mishaps while you clean the machine. Troubleshooting common issues can also be easier when the sprayer is not connected to a power source. It allows you to inspect the machine more closely and identify any potential problems.
Once you have disconnected the sprayer, you can move on to the next step of releasing any pressure in the sprayer. This is an essential part of the cleaning process to avoid any unexpected spraying.
Release any pressure in the sprayer
First, make sure to disconnect the sprayer from the power source to release any pressure and keep yourself safe. Releasing pressure is an important step in cleaning an airless paint sprayer, as it prevents any accidental paint spray or injury. To release the pressure, follow these safety precautions:
| Safety Precautions | Steps to Release Pressure |
|---|---|
| Wear protective goggles | Turn off the sprayer |
| Wear gloves | Trigger the gun and hold it away from you |
| Use a clean cloth to cover the gun tip | Slowly release the trigger while pointing the gun away from you |
| Stand clear of the spray pattern | Wait until the pressure is fully released |
By following these steps, you can safely release the pressure in your airless paint sprayer. Once the pressure is released, you can proceed to the next step of removing the spray tip and guard.
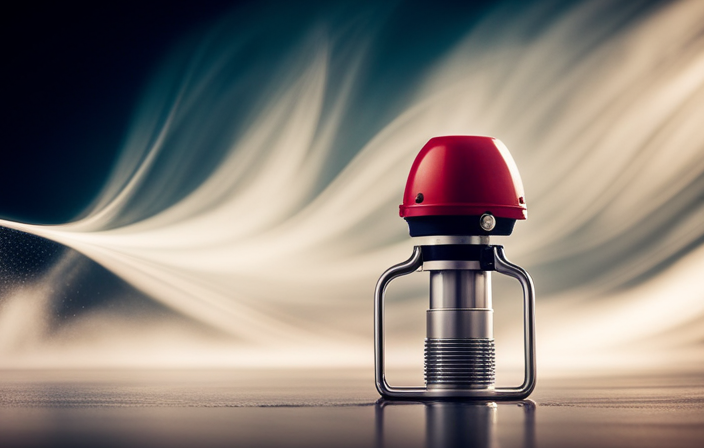
Remove the spray tip and guard
To remove the spray tip and guard, you’ll need to unscrew them like unscrewing the cap of a tightly sealed bottle. Start by turning the sprayer off and relieving any pressure.
Then, locate the spray tip and guard at the front of the gun. Using a wrench or pliers, gently grip the guard and twist counterclockwise until it loosens. Once loosened, you can easily remove it by hand.
Next, twist the spray tip counterclockwise until it comes off. Be careful not to force it, as it may be tightly secured.
Cleaning the spray gun properly is essential for its longevity and performance. After removing the spray tip and guard, be sure to clean them thoroughly with warm, soapy water.
Additionally, proper storage techniques, such as storing the spray gun in a clean and dry place, will help maintain its functionality.
Now, let’s move on to the next step: flushing the sprayer with clean water.
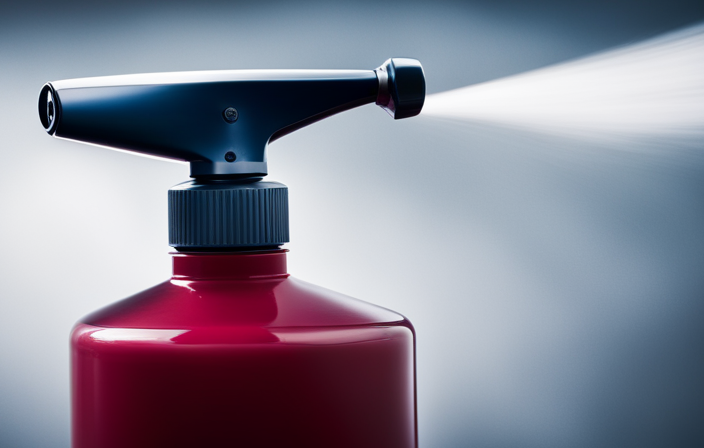
Flush the sprayer with clean water
Start by ensuring that the water you use for flushing is free from any impurities or contaminants. You can use distilled water or tap water that’s been filtered.
Here are three cleaning solution alternatives you can use to flush the sprayer:
-
Vinegar solution: Mix equal parts vinegar and water to create a solution that can dissolve any paint residue.
-
Soap and water: Use a mild dish soap and warm water to clean the sprayer. This solution is effective in removing water-based paints.
-
Paint thinner: If you’re dealing with oil-based paints, you can use paint thinner to flush the sprayer.
When flushing the sprayer, make sure to avoid these common mistakes:
-
Not flushing for a sufficient amount of time.
-
Using excessive pressure, which can damage the sprayer.
-
Neglecting to clean the intake tube and hose.
To transition into the next section about cleaning the filters and screens, it’s important to thoroughly flush the sprayer to remove any remaining paint and debris.
Clean the filters and screens
It’s crucial to remember that neglecting to clean the filters and screens can lead to clogs and decreased performance in your sprayer. To ensure optimal functioning, regular maintenance is essential. Cleaning the filters and screens is a simple yet important step in this process. Firstly, gather your cleaning solution options such as warm soapy water or a specialized cleaning solution recommended by Graco. Then, disassemble the filters and screens according to the manufacturer’s instructions. Place them in the cleaning solution and let them soak for a few minutes. After that, use a brush or cloth to gently scrub away any paint residue. Rinse them thoroughly with clean water and allow them to dry completely before reassembling. This regular maintenance will keep your airless paint sprayer running smoothly and prevent any potential issues. In the next section, we will discuss how to use a brush or cloth to remove any stubborn paint residue.
Use a brush or cloth to remove any stubborn paint residue
Get rid of any tough paint residue by using a brush or cloth, scrubbing away with determination to restore your sprayer’s peak performance. If there are stubborn paint residues that can’t be removed with just a brush or cloth, you can use solvents specifically designed for removing paint. Apply the solvent to a cloth or brush and gently scrub the affected areas until the residue is completely removed.
Additionally, you can use compressed air to clean the various parts of the sprayer. This will help remove any paint particles that may be stuck in the nooks and crannies. Once you’ve thoroughly cleaned the filters, screens, and other components, you can move on to reassembling the sprayer and performing a final flush to make sure all the residue is completely gone.
Reassemble the sprayer and perform a final flush
Once all the components have been thoroughly cleaned, it’s time to put the sprayer back together and give it a final flush to ensure a flawless finish. Performing maintenance on your airless paint sprayer is crucial to prolong its lifespan and keep it working efficiently. To reassemble the sprayer, refer to the manufacturer’s instructions and carefully attach each part back in its proper place. Once reassembled, perform a final flush by connecting the sprayer to a clean water source and spraying water through the system until it runs clear. This will remove any remaining paint residue and ensure that the sprayer is ready for future use. Troubleshooting common issues, such as clogs or inconsistent spray patterns, can also be done during this process. By following these steps, you can ensure that your airless paint sprayer is in optimal condition. Now, let’s move on to the next section about storing the sprayer properly to prevent future clogs or damage.
Store the sprayer properly to prevent future clogs or damage
Now that we’ve reassembled the airless paint sprayer and performed a final flush, it’s important to store the sprayer properly to prevent future clogs or damage. Preventive maintenance is key to ensuring the longevity of your sprayer and keeping it in optimal condition.
First, make sure to clean and dry all the components thoroughly before storing. Next, find a cool, dry place to store the sprayer where it won’t be exposed to extreme temperatures or humidity. It’s also a good idea to cover the sprayer with a dust cover or plastic bag to protect it from dust and debris.
Additionally, periodically check the sprayer during storage to ensure everything’s still in good working order. By following these storage tips, you can prolong the life of your airless paint sprayer.
In the next section, we’ll discuss how to regularly maintain and clean your sprayer for optimal performance.
Regularly maintain and clean your airless paint sprayer for optimal performance
To ensure the best performance of your sprayer, it’s essential to regularly maintain and clean it. Here are some tips for maintaining airless paint sprayers and troubleshooting common issues:
-
Clean the filters: Regularly clean and replace the filters to prevent clogs and maintain good paint flow.
-
Flush the system: After each use, flush the sprayer with water or a cleaning solution to remove any paint residue.
-
Check the pump packings: Inspect and replace worn or damaged pump packings to prevent leaks.
-
Lubricate moving parts: Apply lubricant to the piston rod and other moving parts to ensure smooth operation.
-
Store properly: When not in use, store the sprayer in a clean and dry area to prevent damage.
By following these maintenance steps, you can keep your airless paint sprayer in top-notch condition and avoid common issues that may arise during your painting projects.
Frequently Asked Questions
How often should I clean my airless paint sprayer?
You should clean your airless paint sprayer after every use to ensure optimal performance. Regular cleaning prevents clogs and buildup, allowing the sprayer to work efficiently and prolonging its lifespan. Follow these steps to clean your sprayer effectively.
Can I use any type of cleaning solution to flush the sprayer?
You can use a variety of cleaning solutions to flush your airless paint sprayer, but it’s important to choose the right one for the job. Some common options include water, mineral spirits, or a specialized paint thinner. Follow the manufacturer’s instructions for the best practices for cleaning.
Do I need to wear protective gear while cleaning the sprayer?
Yes, it is crucial to wear protective gear while cleaning the sprayer. This includes gloves, goggles, and a respirator. While there may be alternative cleaning methods, wearing protective gear ensures your safety and prevents any potential harm.
How do I properly store the sprayer to prevent clogs or damage?
To properly store an airless paint sprayer and prevent clogs or damage, it’s important to clean it thoroughly, remove any leftover paint, and store it in a cool, dry place. Regular maintenance and using proper cleaning solutions are also essential.
What are the signs that my airless paint sprayer needs to be cleaned or maintained?
Signs of paint sprayer clogs include uneven spray patterns, reduced pressure, and spitting or sputtering. Regular maintenance is crucial to prevent these issues. Cleaning the sprayer regularly ensures optimal performance and extends its lifespan.
Conclusion
Well, that’s a wrap on cleaning your airless paint sprayer! By following these steps, you can ensure that your sprayer stays in top-notch condition and continues to deliver flawless paint jobs.
Remember, regular maintenance and cleaning are key to optimal performance. So, don’t be a ‘painting dinosaur’ and neglect your sprayer. Take the time to clean it properly and store it correctly.
Your sprayer will thank you by providing you with years of reliable service. Happy painting!