
Standing here, with my clothes covered in oil-based paint, I am feeling quite irritated. Cleaning an airless sprayer after painting can be a challenging task, but fret not! I have mastered the art of removing stubborn oil-based paint stains from this efficient tool.
In this article, I will guide you through the step-by-step process of restoring your airless sprayer to its pristine condition.
First, we will gather all the necessary supplies for this endeavor.
Then, I will show you how to disconnect and empty the paint container, ensuring not a drop is left behind.
Next, we will flush the sprayer with a cleaning solution, effectively removing any remnants of paint.
We will also tackle the task of removing and cleaning the spray tip and guard, as well as the filters and screens.
By the end of this article, you will have the knowledge and skills needed to clean your airless sprayer with ease. So, let’s roll up our sleeves and get started!
Key Takeaways
- Disconnect and empty the paint container, properly disposing of any remaining paint according to local regulations.
- Flush the sprayer with a cleaning solution, following the manufacturer’s instructions.
- Remove and clean the spray tip and guard using warm water and mild dish soap, removing any debris or residue.
- Remove and clean the filters and screens, rinsing with warm water and using a soft brush or toothbrush to scrub away paint or debris.
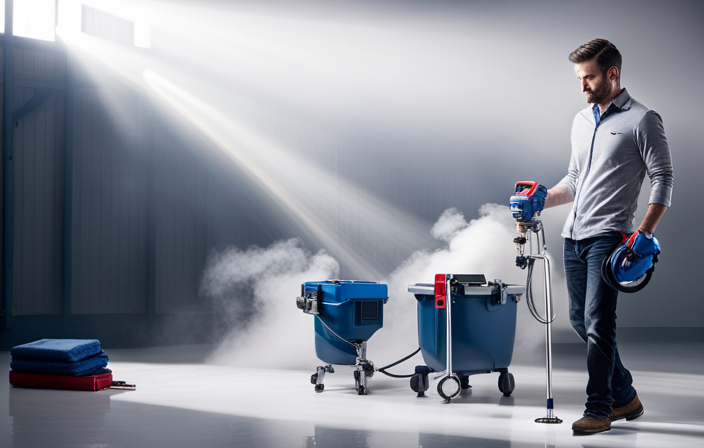
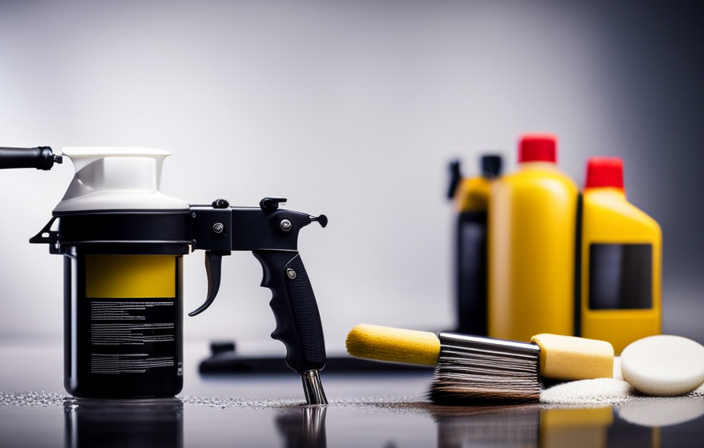
Gather the necessary supplies for cleaning
Now, you’re gonna need to gather all the necessary supplies for cleaning that airless sprayer. Before starting the cleaning process, make sure you have these essential items at hand.
Firstly, you’ll need a bucket or container to collect the waste paint and cleaning solution. This will prevent any spills and make the process more organized.
Next, grab some rags or paper towels to wipe away any excess paint or residue.
Additionally, you’ll need a cleaning solution specifically designed for oil-based paint. This solution will effectively break down the paint and remove it from the sprayer.
Finally, don’t forget to have a pair of gloves and safety glasses for personal protection.
With all these supplies in place, you’ll be ready to tackle the next step in disconnecting and emptying the paint container.
Disconnect and empty the paint container
First, make sure to disconnect and completely empty the container holding the paint. To disconnect, turn off the sprayer and unplug it from the power source. Then, remove the container from the sprayer by unscrewing it or releasing any fasteners.
Once disconnected, carefully pour any remaining paint back into its original container or into a designated waste disposal container. It’s important to dispose of the paint properly according to local regulations. Avoid pouring it down the drain or in regular trash.
Once the paint container is empty, you can move on to the next step of cleaning the airless sprayer.
Now that the container is taken care of, let’s move on to flushing the sprayer with a cleaning solution.
Flush the sprayer with a cleaning solution
To ensure proper maintenance, it’s essential to thoroughly rinse the equipment with a suitable cleaning solution. When it comes to cleaning oil-based paint from an airless sprayer, there are several cleaning solution alternatives available.
One option is to use a solvent-based cleaner specifically designed for oil-based paints. This type of cleaner effectively breaks down the paint particles and prevents oil buildup in the sprayer.
Another alternative is using a mixture of warm water and mild detergent. This solution can help remove the paint residue and keep the sprayer in good condition.
Whichever cleaning solution you choose, make sure to follow the manufacturer’s instructions and flush the sprayer thoroughly. By doing so, you’ll ensure that the sprayer is ready for the next use.
Now, let’s move on to the next step and learn how to remove and clean the spray tip and guard.
Remove and clean the spray tip and guard
Once you remove and clean the spray tip and guard, you’ll notice a significant improvement in the quality of your paint application. This will result in a smoother finish that will impress your clients.
To begin, detach the spray tip and guard from the airless sprayer using a wrench or pliers. Inspect them for any dried or clogged paint, as this can affect the performance of your sprayer.
Clean the spray tip and guard thoroughly using a cleaning solution alternative such as a mixture of warm water and mild dish soap. Be sure to remove any debris or residue that may have accumulated. This step is crucial in preventing clogs and blockages in your sprayer, which can lead to uneven paint application.
Once the spray tip and guard are completely clean, you can move on to cleaning the filters and screens, ensuring a smooth workflow.
Clean the filters and screens
As you attend to the maintenance of your spray tip and guard, it is important to turn your focus towards the cleaning of the filters and screens to ensure optimal performance. Cleaning these components regularly will prevent clogs and ensure a smooth, even spray pattern. To clean the filters and screens, follow these cleaning techniques and maintenance tips:
- Remove the filters and screens from the sprayer according to the manufacturer’s instructions.
- Rinse them thoroughly with warm water to remove any excess paint.
- Use a soft brush or toothbrush to gently scrub away any remaining paint or debris.
- If necessary, soak the filters and screens in a mild solvent or paint thinner to dissolve stubborn paint.
- Rinse them again with warm water to remove any residue.
- Allow the filters and screens to dry completely before reassembling and reinstalling them in the sprayer.
By properly cleaning the filters and screens, you will ensure optimal performance of your airless sprayer. Now, let’s move on to the next step and wipe down the sprayer with a cloth or sponge.
Wipe down the sprayer with a cloth or sponge
Now, give your sprayer a quick swipe with a soft cloth to make sure it’s spotless. You can also use a sponge or disposable cleaning materials for more efficient removal of oil-based paint residue from your airless sprayer. Pay close attention to all surfaces, including the nozzle, hose, and trigger, when wiping down the sprayer. Make sure to remove all paint particles and debris thoroughly to prevent clogs or blockages in the future. The advantage of using disposable cleaning materials is that they can be easily thrown away, so you won’t have to do a lot of cleanup afterward.
Once the sprayer is wiped down, you can move on to the next section about rinsing the sprayer with clean water to remove any remaining paint residue.
Rinse the sprayer with clean water
To ensure a thorough and effective cleaning, it is important to rinse the sprayer with fresh water. Cleaning techniques and maintenance tips can help prolong the lifespan of your airless sprayer. After wiping down the sprayer with a cloth or sponge, follow these steps to properly rinse it:
- Fill a bucket or container with clean water.
- Disconnect the sprayer from the power source and remove the spray tip.
- Submerge the suction tube and intake hose into the water.
- Turn on the sprayer and let the water circulate for a few minutes.
This process will help remove any remaining paint residue and prevent clogging. Once the sprayer is thoroughly rinsed, you can proceed to dry and reassemble it. This will ensure that your sprayer is ready for future use.
Dry and reassemble the sprayer
Once you’ve finished rinsing, make sure to dry the sprayer completely before reassembling it, as this’ll help prevent any potential damage or malfunction. Did you know that properly drying and reassembling your sprayer can increase its lifespan by up to 20%?
To dry the sprayer, use a clean cloth or towel to wipe away any remaining water or moisture. Pay special attention to the nozzle, hose, and other hard-to-reach areas. Allow all the components to air dry completely before proceeding.
Once dry, carefully reassemble the sprayer, ensuring that all parts fit snugly and securely. This is also a good time to inspect the sprayer for any worn-out parts and replace them if necessary. Troubleshooting common issues, such as clogs or leaks, should also be done at this stage.
With the sprayer dry and reassembled, we can now move on to the next step of testing the sprayer to ensure it’s clean and functioning properly.
Test the sprayer to ensure it is clean and functioning properly
Make sure you give the sprayer a thorough test to ensure it’s in proper working order. Here are some common issues with airless sprayers and how to troubleshoot them:
-
Check for clogs: Run water through the sprayer to see if there are any blockages. If there are, use a cleaning brush or a small wire to remove them.
-
Inspect the spray pattern: Test the sprayer by spraying onto a piece of cardboard or scrap material. Ensure that the spray pattern is even and consistent. If it’s not, check for any obstructions or damaged parts that may need to be replaced.
-
Check the pressure: Adjust the pressure settings on the sprayer and observe if it maintains a steady pressure while spraying. If there are fluctuations, it could indicate a problem with the pump or pressure control valve.
-
Test the trigger: Make sure the trigger is working properly by spraying water while gradually increasing and decreasing the pressure. Ensure that the trigger responds smoothly without any sticking or leaking.
To maintain the longevity of your airless sprayer, clean it thoroughly after each use and follow the manufacturer’s maintenance instructions.
Now, it’s time to properly dispose of any leftover paint and cleaning materials.
Properly dispose of any leftover paint and cleaning materials
Dispose of any remaining paint and cleaning materials in accordance with environmental regulations, ensuring that they’re properly handled and not left to pollute the environment.
To properly dispose of oil-based paint waste, start by checking with your local waste management facility for specific guidelines. They may require you to take the waste to a designated drop-off location or provide instructions for proper disposal.
When cleaning paintbrushes and rollers, it’s best to remove excess paint by scraping or wiping it off before washing them with warm water and mild soap. Use a brush comb or wire brush to remove any dried paint from the bristles. Rinse thoroughly and allow the brushes and rollers to dry completely before storing them.
Remember, it’s crucial to follow proper waste disposal procedures to protect the environment and prevent contamination.
Frequently Asked Questions
Can I use any type of cleaning solution to flush the sprayer?
I recommend using a solvent specifically designed for cleaning oil-based paint from an airless sprayer. It is important to follow the proper cleaning technique to ensure effective removal of the paint residue and maintain the sprayer’s performance.
How often should I clean the filters and screens?
How often should I clean the filters and screens? It is crucial to regularly replace filters and screens to ensure optimal performance and prevent clogs. Following manufacturer’s guidelines and best practices for maintaining airless sprayers is recommended.
Is it necessary to remove and clean the spray tip and guard every time?
Yes, it is necessary to remove and clean the spray tip and guard every time. Proper spray tip maintenance and cleaning sprayer parts ensures optimal performance and prevents clogs or uneven spray patterns.
Can I use a pressure washer to rinse the sprayer?
I don’t recommend using a pressure washer to rinse the sprayer due to pressure washer safety concerns. Instead, consider alternative cleaning methods like using solvents, brushes, or disassembling and soaking the parts in a cleaning solution.
What is the best way to dispose of leftover paint and cleaning materials?
The best way to dispose of leftover paint and cleaning materials is to follow best practices for environmental impact. This includes recycling or donating leftover paint, properly disposing of chemicals, and recycling or reusing cleaning materials whenever possible.
Conclusion
In conclusion, cleaning an oil-based paint from an airless sprayer is a meticulous process that requires attention to detail. By following the steps outlined above, you can ensure that your sprayer is clean and functioning properly for future use.
Remember to gather all the necessary supplies, disconnect and empty the paint container, flush the sprayer with a cleaning solution, clean the spray tip and guard, and rinse the sprayer with clean water. Don’t forget to properly dispose of any leftover paint and cleaning materials.
With these steps, your sprayer will be as good as new, ready for your next painting project. So go ahead and tackle those walls with a sprayer that’s cleaner than a freshly polished diamond!