Hey there! Have you ever considered how to properly prepare latex paint for an airless paint sprayer? Don’t worry, I have all the information you need.
In this article, I’ll walk you through the step-by-step process of getting that perfect paint mixture for your sprayer.
First things first, gather all the materials you’ll need. From the right paint to the right thinner, it’s important to have everything in place. Speaking of paint, choosing the right one is crucial. I’ll guide you on how to make the best choice for your project.
Once you have all your materials ready, it’s time to prepare your paint sprayer. I’ll show you the proper way to measure the paint and add the right amount of thinner. Mixing the paint thoroughly is key, and I’ll explain the best techniques.
If necessary, I’ll also teach you how to adjust the thinner or paint ratio to achieve the desired consistency. And don’t worry, I’ll cover straining the paint and filling up the sprayer too.
So, let’s get started and make your painting experience a breeze!
Key Takeaways
- Choosing the appropriate thinner based on manufacturer recommendations
- Thoroughly mixing the paint using a stir stick or paint mixer attachment
- Testing the consistency of the paint using a viscosity cup
- Cleaning the sprayer components to prevent contamination
Gather Your Materials
Now, you’re ready to gather all the materials you’ll need to start mixing your latex paint for the airless paint sprayer. The first important step is to choose the right thinner for your paint. This will ensure that the paint flows smoothly through the sprayer and provides a consistent finish. It’s crucial to follow the manufacturer’s recommendations for the appropriate thinner to use with your specific paint brand.
Additionally, having the proper mixing technique is essential to achieve the desired results. Make sure to mix the paint thoroughly, using a stir stick or a paint mixer attachment for a power drill. This will ensure that the pigment is evenly distributed throughout the paint.
Once you have gathered your materials and understand the importance of proper mixing, you can move on to the next section about choosing the right paint for your project.
Choose the Right Paint
First off, make sure you’ve picked the perfect shade to give your walls a fresh coat of color. When choosing suitable colors for your airless paint sprayer, it’s important to consider the overall aesthetic you want to achieve. Take into account the lighting in the room and any existing color schemes.
Additionally, understanding different paint finishes is crucial. Flat finishes are ideal for hiding imperfections, while satin and semi-gloss finishes offer durability and are easy to clean.
Once you have selected the right paint, it’s time to prepare your paint sprayer for the job at hand.
Prepare Your Paint Sprayer
To get your paint sprayer ready, all you need is a few simple steps and a can-do attitude.
First, make sure to thoroughly clean your equipment by removing any debris or dried paint from the sprayer nozzle, filter, and hose. This will ensure a smooth and even application of the paint.
Next, take proper safety precautions by wearing protective goggles, gloves, and a respirator mask to protect yourself from any potential paint fumes or particles. Additionally, it’s important to work in a well-ventilated area to minimize exposure to paint fumes.
Finally, double-check that all the parts of your sprayer are properly assembled and tightened before starting.
Now that your sprayer is prepared, let’s move on to the next step of measuring the paint and adding thinner.
Measure the Paint and Add Thinner
Once you’ve got your equipment ready, it’s time for you to accurately measure the paint and add the appropriate amount of thinner to achieve a flawless finish.
When it comes to choosing the right thinner for your latex paint, there are a few options available. Common thinner types include water, mineral spirits, or paint conditioner. It’s important to read the manufacturer’s instructions and follow their recommendations for the specific type of latex paint you’re using.
To mix the paint and thinner, start by pouring the desired amount of paint into a clean container. Then, slowly add the thinner while stirring continuously. This will ensure that the paint and thinner are well incorporated.
Once the paint and thinner are mixed thoroughly, you can move on to the next step of the process: mixing the paint thoroughly to ensure a smooth and even consistency.
Mix the Paint Thoroughly
Additionally, it’s essential to ensure that the paint and thinner have been thoroughly blended together to achieve a seamless and professional finish.
Properly mixing the paint is crucial for ensuring even coverage and preventing any potential problems during the painting process. To mix the paint thoroughly, start by using a stirring stick or a drill with a mixing attachment. Stir the paint in a circular motion, making sure to reach the bottom and sides of the container. This will help to evenly distribute the pigment and ensure that the paint is well-mixed.
Take your time during this step to avoid any lumps or clumps in the paint. Troubleshooting common mixing problems, such as paint separation or inconsistent color, can be avoided by thoroughly mixing the paint.
Once the paint is well-blended, you can move on to the next step of testing the consistency.
Test the Consistency
Before moving forward, it’s important to check if the paint has the right consistency for a smooth application. Evaluating the thickness of the paint is crucial to ensure that it will flow properly through the airless paint sprayer.
To do this, I recommend pouring a small amount of paint into a viscosity cup and timing how long it takes for the paint to flow out. If the paint flows too quickly, it may be too thin, resulting in excessive overspray. On the other hand, if the paint flows too slowly, it may be too thick, leading to clogs in the sprayer. Troubleshooting these issues is essential to achieve optimal results.
Once you have evaluated the consistency, you can adjust the thinner or paint ratio if needed, ensuring a flawless finish.
Adjust the Thinner or Paint Ratio if Needed
To achieve an impeccable finish, it’s advisable to make necessary adjustments to the viscosity by considering the ratio of thinner or paint.
When using an airless paint sprayer, it’s crucial to ensure that the paint is the right consistency for optimal spraying. If the paint is too thick, it may result in an uneven finish, clogged nozzle, or poor coverage. On the other hand, if the paint is too thin, it may cause excessive overspray or a runny finish.
To adjust the thinner or paint ratio, start by adding small amounts of thinner to the paint and mix thoroughly. If the paint is still too thick, continue adding thinner until the desired consistency is achieved. Conversely, if the paint is too thin, add more paint and mix well.
These adjustment techniques will help troubleshoot any issues and ensure a smooth application.
Now, let’s move on to the next step of straining the paint.
Strain the Paint
Now, let’s go ahead and strain your paint to ensure a smooth and flawless finish. Filtering the paint is an important step in preparing it for your airless paint sprayer. This process involves removing any impurities or debris that may be present in the paint, which could clog the sprayer nozzle and affect the overall quality of your paint job.
To strain the paint, you’ll need a mesh strainer or a paint filter bag. Simply pour the paint into the strainer or bag and let it flow through, catching any particles or lumps. This will help prevent any blockages in the sprayer and ensure an even application.
Once the paint is strained, it’s time to move on to cleaning the sprayer. This involves removing any remaining paint or residue from the sprayer components to prevent contamination or clogging. With the paint strained and the sprayer cleaned, you’re now ready to fill the paint sprayer and start your project.
Fill the Paint Sprayer
One important step in using a paint sprayer is ensuring the proper amount of paint is loaded, with an average capacity of around 1 gallon. To efficiently fill the paint sprayer, it is crucial to avoid common mistakes that can lead to wastage or uneven application. Firstly, make sure to strain the paint before filling the sprayer to remove any impurities that could clog the nozzle. Additionally, always use a clean container to prevent contamination. When filling the sprayer, refer to the manufacturer’s instructions for the correct procedure and avoid overfilling. It is also recommended to stir the paint occasionally during the filling process to maintain a consistent viscosity. By following these tips for efficient paint filling, you can ensure a smooth and hassle-free painting experience. Now, let’s move on to the next section and start painting.
Start Painting
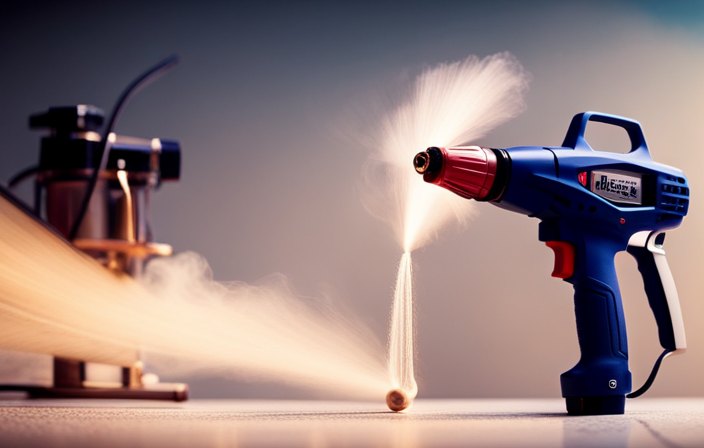
Begin by grasping the handle of the sprayer firmly, feeling the weight of the machine in your hand. Once you’ve filled the paint sprayer with the properly mixed latex paint, it’s time to start painting.
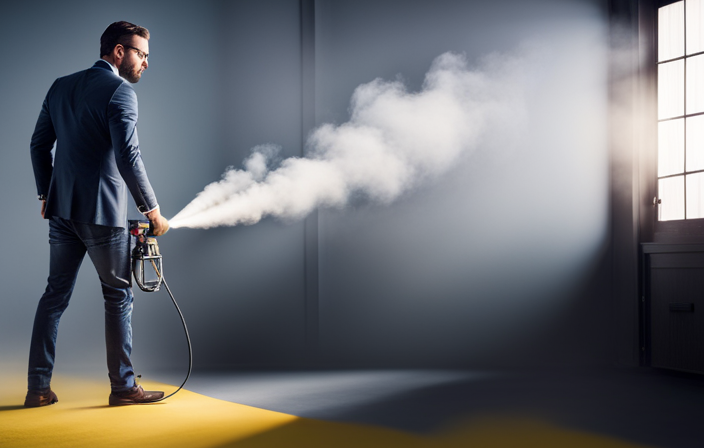
Before you begin, it’s important to consider some painting techniques and color selection. When using an airless paint sprayer, it’s best to start painting from the top and work your way down. This ensures a smooth and even application. Keep the sprayer at a consistent distance from the surface, typically around 12 inches.
Move the sprayer in a steady, side-to-side motion, overlapping each stroke slightly for complete coverage. Take your time and maintain a consistent speed to avoid drips or uneven paint distribution.
When it comes to color selection, consider the desired mood and ambiance of the room. Lighter colors can make a space feel more open and airy, while darker colors create a cozy and intimate atmosphere. Experiment with different shades and hues to find the perfect color for your project.
Frequently Asked Questions
How do I clean and maintain my paint sprayer after using latex paint?
After using latex paint with an airless paint sprayer, it’s important to clean the sprayer thoroughly. Start by removing any remaining paint and then clean the parts with warm soapy water. Store latex paint properly by sealing the can tightly and storing it in a cool, dry place.
Can I use latex paint with any type of airless paint sprayer?
When choosing an airless paint sprayer for latex paint, it’s important to consider the nozzle size and pressure settings. To achieve a smooth finish, thin the paint if necessary and test spray on a scrap surface.
What safety precautions should I take when using an airless paint sprayer?
When using an airless paint sprayer, it is crucial to prioritize safety. I always use a respirator to protect my lungs from paint fumes and wear protective clothing to shield my skin from any potential splatters or spills.
Can I mix different colors of latex paint together in the sprayer?
Yes, you can mix different colors of latex paint together in an airless paint sprayer. However, it’s important to note that the mixing process may affect the final color outcome. Mixing different colors can create new shades or result in a muddy appearance.
How long does it take for the latex paint to dry after spraying?
The drying time of latex paint after spraying varies depending on conditions, but it typically takes about 1-2 hours to touch dry and 24 hours to fully dry. Rushing the process can compromise paint quality. Remember, patience is a virtue!
Conclusion
In conclusion, mixing latex paint for an airless paint sprayer is a crucial step to achieve a smooth and flawless finish. By following the steps outlined in this article, you can ensure that your paint is properly mixed and ready for use.
Remember, just like a well-tuned instrument creates beautiful music, a well-mixed paint creates a masterpiece on your walls. So, gather your materials, choose the right paint, prepare your sprayer, and get ready to paint like a pro!

