Hello! Are you tired of the outdated, lackluster cabinet doors in your house? I’ve got an exciting solution to suggest: give them a fresh look by painting with an airless sprayer!
Not only is this technique super efficient, but it also gives your cabinets a professional and flawless finish.
In this article, I’ll guide you through the step-by-step process of how to paint cabinet doors with an airless sprayer. We’ll cover everything from gathering your materials and preparing the workspace to reattaching the doors and hardware. And to make things even better, there’s a video included, so you can see the entire process in action!
So, get ready to transform your cabinets into stunning focal points of your home. With a little bit of patience and the right technique, you’ll be amazed at the difference a fresh coat of paint can make.
Let’s dive in and give those cabinet doors a brand-new look!
Key Takeaways
- Regular maintenance is crucial for the proper functioning of an airless sprayer
- Proper cleaning after each use helps prevent issues and keeps the sprayer in top shape
- Choosing the right paint color is important for achieving the desired look and complementing the kitchen style
- The combination of a well-maintained sprayer and carefully chosen paint color can enhance the overall aesthetic of the cabinets.

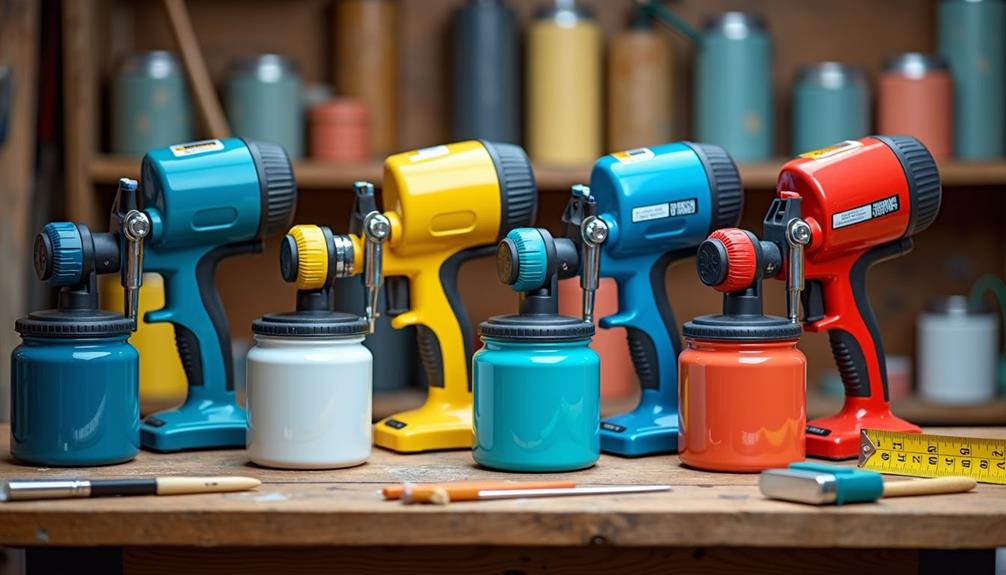
VEVOR 750W Stand Airless Paint Sprayer, 3000PSI High Efficiency Electric Airless Sprayer, Fine and Even Painting Effect, Handheld Paint Sprayers for Home Interior and Exterior Furniture and Fences
Efficient Painting: Our stand airless paint sprayer is equipped with a powerful 750W motor, capable of delivering up...
As an affiliate, we earn on qualifying purchases.
Gather Your Materials and Prepare the Workspace
Get ready to transform your cabinet doors with an airless sprayer and create a stunning new look for your kitchen! Before you begin, there are a few things you’ll need to gather.
First, choose the right paint color for your cabinets. Consider the overall style of your kitchen and the colors of your walls and countertops.
Once you have the paint, it’s important to properly clean and sand the cabinet doors. Remove any grease or dirt using a mild soap and water solution, and then lightly sand the surface to create a smooth and even base for the paint.
Now that you have your materials and workspace ready, it’s time to remove the cabinet doors and hardware, which will be covered in the next section.

Graco Magnum 262805 X7 Cart Airless Paint Sprayer, Gray
CONTROL PAINT FLOW: Fully adjustable pressure to give you ultimate control of paint flow for any project size;...
As an affiliate, we earn on qualifying purchases.
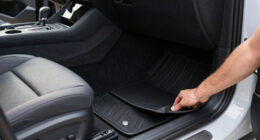
Remove the Cabinet Doors and Hardware
Once you’ve detached the cabinet doors and hardware, you’ll be ready to embark on your painting journey. It’s important to organize and label the hardware to ensure an easy reinstallation later. One tip is to use small plastic bags and label them accordingly, so you don’t mix up the screws, hinges, or knobs.
Additionally, you can take photos of the doors and hardware before removing them to use as a reference when putting everything back together. If you’re worried about damaging the doors during removal, there are alternative methods you can try. One option is to use a hinge removal tool to safely detach the doors without any risk of chipping or scratching. Another method is to use masking tape to create a protective barrier between the door and the screwdriver.
With the doors and hardware safely removed, it’s time to move on to the next step: cleaning and sanding the cabinet doors.

WORKPRO 700W Airless Paint Sprayer, 2900PSI High Efficiency Thinning-Free Electric Paint Sprayer with Extension Rod, Paint Sprayer for Home Interior, Exterior, Furniture, Fence & Ceilings
EFFICIENT SPRAY, LESS WORK: Powered by a 700W motor, this airless paint sprayer delivers up to 2900 PSI...
As an affiliate, we earn on qualifying purchases.
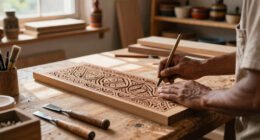
Clean and Sand the Cabinet Doors
To prepare the cabinet doors for painting, start by thoroughly cleaning and sanding them to create a smooth and pristine surface. Cleaning techniques are essential to remove any dirt, grease, or grime that may have accumulated on the doors. Use a mild detergent mixed with warm water and a soft cloth to gently scrub the doors. Rinse them thoroughly and allow them to dry completely before proceeding to the next step.
Next, it’s time to sand the cabinet doors. This step is crucial for achieving a professional-looking finish. Grab a fine-grit sandpaper and gently sand the entire surface of the doors in a circular motion. This will help to remove any imperfections, such as scratches or rough spots, and create a smooth surface for the paint to adhere to. Remember to sand along the grain of the wood to avoid causing any damage.
Once the doors are clean and sanded, they are now ready for the next step: priming.

Graco Magnum 257025 Project Painter Plus Paint Sprayer
Ideal for projects up to 5 gallons in size, allowing you to tackle a range of projects every...
As an affiliate, we earn on qualifying purchases.
Prime the Cabinet Doors
Don’t skip priming the cabinet doors – it’s a crucial step that will ensure a long-lasting and professional-looking finish, making all your hard work worthwhile.
When priming the cabinet doors, there are a few things to keep in mind. First, consider your cabinet door color options. If you plan on painting the doors a lighter color, using a light-colored primer will help achieve a more vibrant result. On the other hand, if you’re going for a darker color, a tinted primer can provide better coverage.
Additionally, it’s important to note that there are alternative methods of priming, such as using a brush or roller. However, using an airless sprayer can save you time and provide a smoother finish.
With the doors primed and ready, it’s time to move on to setting up and adjusting the airless sprayer for optimal results.
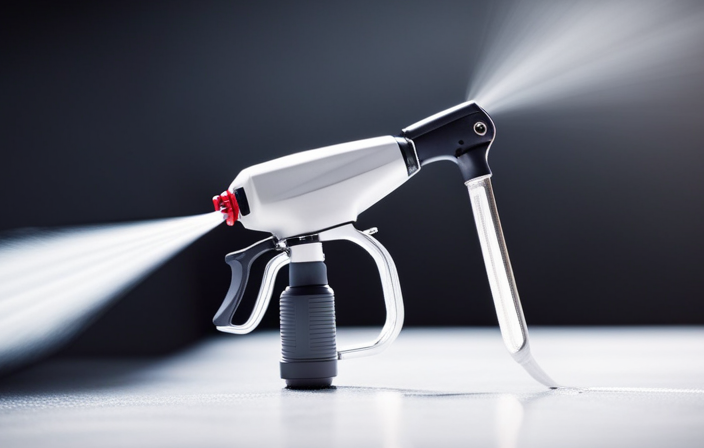
Set Up and Adjust the Airless Sprayer
Ensure that you have all the necessary equipment and materials ready before you begin setting up and adjusting the powerful tool that’ll transform your cabinet doors into works of art.
The first step in setting up the airless sprayer is to check for any troubleshooting issues. Make sure the sprayer is clean and free of any clogs or blockages. Additionally, ensure the hose is properly connected and not leaking.
Once you’ve confirmed that everything is in working order, it’s time to adjust the sprayer for the best results. Start by adjusting the pressure to achieve a smooth finish. Experiment with different settings until you find the right balance. Remember to hold the sprayer nozzle at the correct distance from the cabinet doors for optimal coverage.
With the airless sprayer ready to go, it’s time to move on to the next step: applying the paint.
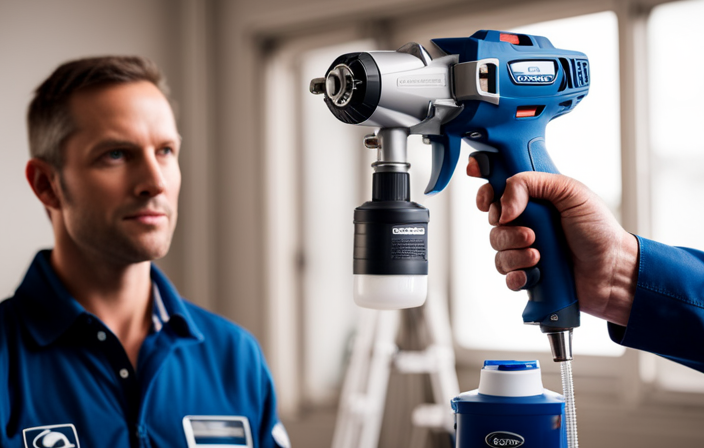
Apply the Paint with the Airless Sprayer
Before we can start applying the paint with the airless sprayer, it’s important to ensure that the sprayer is properly maintained. Regular airless sprayer maintenance is key to achieving a smooth finish. This includes cleaning the sprayer thoroughly after each use and checking for any clogs or blockages in the nozzle.
Now, let’s move on to some tips for achieving a smooth finish with the airless sprayer. First, make sure to hold the sprayer at a consistent distance from the cabinet doors as you spray. This will help prevent any uneven application of paint. Additionally, keep the sprayer moving in a steady, back-and-forth motion to ensure an even coating.
In terms of technique, start by spraying the edges and corners of the cabinet doors before moving on to the larger surfaces. This will help prevent any drips or runs. Remember to overlap each pass slightly to avoid any streaks.
With the paint applied, we can now move on to the next step: allowing the paint to dry and applying a second coat if needed.
Allow the Paint to Dry and Apply a Second Coat if Needed
Once the first coat is dry, you can decide if a second coat is needed to achieve a flawless finish on your cabinets. Applying a second coat can enhance the color and durability of the paint. Before starting, consider the drying time of the first coat. It is important to allow sufficient time for the paint to dry completely. The drying time can vary depending on factors such as humidity and temperature. Refer to the paint manufacturer’s instructions for specific guidelines. When applying the second coat, use the same technique as before, ensuring even coverage and avoiding drips or runs. Take your time and make sure each stroke overlaps the previous one slightly. After the second coat is applied, allow it to dry completely before moving on to the next step of reattaching the cabinet doors and hardware.
Reattach the Cabinet Doors and Hardware
Now that you’ve added the final touch of paint to your cabinets, it’s time to bring them back to life by reattaching the doors and hardware. It’s like putting the last puzzle pieces together to reveal a stunning masterpiece.
Start by carefully lining up the hinges on the cabinet frame with the holes on the door. Secure the hinges in place using a screwdriver. Make sure to choose the right hardware that matches the style of your cabinets. Whether it’s sleek and modern or classic and traditional, the hardware will add the finishing touch to your newly painted cabinets.
Once the doors are securely attached, step back and admire your handiwork.
In the next section, I’ll show you how to clean up and maintain your airless sprayer to keep it in top condition for future projects.
Clean Up and Maintain Your Airless Sprayer
To keep your airless sprayer in top condition for future projects, it’s important to properly clean and maintain it. Here are some airless sprayer maintenance tips to help you troubleshoot common issues and ensure optimal performance:
-
Clean the sprayer thoroughly after each use to prevent clogs and build-up.
-
Check and clean the filters regularly to maintain proper airflow.
-
Inspect and replace any worn or damaged parts to avoid potential malfunctions.
By following these maintenance steps, you can prolong the lifespan of your airless sprayer and prevent any issues that may arise during your painting projects.
Now that your sprayer is clean and in good shape, you’re ready to enjoy your newly painted cabinet doors!
Enjoy Your Newly Painted Cabinet Doors!
Indulge in the satisfaction of admiring your freshly painted cabinet doors! After all the hard work of painting with your airless sprayer, it’s time to sit back and enjoy the transformation.
But before you do, there are a couple of things to consider. Firstly, maintaining your airless sprayer is crucial for its longevity and performance. Clean the sprayer thoroughly after each use, removing any excess paint and ensuring all parts are free from clogs. Regular maintenance will keep your sprayer in top shape for future projects.
Secondly, choosing the right paint color for your cabinet doors is essential for achieving the desired look. Consider the overall style of your kitchen and the existing color scheme. Opt for neutral tones or bold accents that complement the space.
With a well-maintained sprayer and a carefully chosen paint color, your freshly painted cabinet doors will be the envy of all who see them.
Frequently Asked Questions
How long does it take for the paint to dry on the cabinet doors?
It typically takes around 4-6 hours for paint to dry on cabinet doors. To speed up the drying process, ensure good ventilation, use a fan or dehumidifier, and apply thin coats. To prevent smudging, let each coat dry completely before applying the next.
Can I use a brush or roller instead of an airless sprayer to paint the cabinet doors?
I can use a brush or roller instead of an airless sprayer to paint cabinet doors. The pros of using a brush or roller are control and precision, but it can take longer and may leave brush marks.
What type of primer should I use on the cabinet doors?
I would recommend using a high-quality oil-based primer for the best results on cabinet doors. This type of primer provides excellent adhesion and helps to seal the surface, ensuring a smooth and durable finish.
How do I clean and maintain the airless sprayer after painting the cabinet doors?
To clean and maintain the airless sprayer after painting cabinet doors, I recommend thoroughly flushing the sprayer with water or a cleaning solution. This helps remove any leftover paint and prevents clogs in the system.
Can I paint the cabinet doors while they are still attached to the cabinets?
Painting cabinet doors without removing them has its pros and cons. While it saves time and effort, it can lead to uneven coverage and paint drips. It’s important to protect surrounding surfaces and ensure proper ventilation.
Conclusion
So there you have it, an easy and efficient way to paint your cabinet doors using an airless sprayer. I know some of you might be thinking that using a sprayer can be messy or complicated, but with the right materials and proper preparation, it’s actually a breeze.
Plus, the smooth finish you’ll achieve is well worth it. Don’t be afraid to give it a try and enjoy the transformation of your cabinet doors!