Have you ever wondered about the key to easily achieving a flawlessly painted ceiling without the hassle of using brushes and rollers? Look no further! In this article, I will guide you through a step-by-step process of using an airless sprayer to paint your ceiling with professional precision. Trust me, once you experience the ease and efficiency of this technique, you will never go back to the traditional methods again.
First, we’ll discuss the importance of preparing the room and selecting the right paint and equipment.
Then, I’ll walk you through the proper setup and operation of the airless sprayer. With a few simple techniques, you’ll be able to achieve smooth, even coverage across your entire ceiling.
Once the paint is applied, we’ll cover the necessary drying time and how to evaluate the coverage to ensure a professional finish.
And don’t worry, I’ll also share tips for an easy cleanup process.
So, let’s get started and transform your ceiling into a masterpiece you’ll be proud of!
Key Takeaways
- Use drop cloths or plastic sheets to protect floor and furniture
- Adjust spray pattern for difficult angles
- Maintain consistent distance from ceiling while spraying
- Evaluate coverage and touch up areas with thin coverage or uneven paint
Prepare the Room for Painting
Now it’s time to get your room ready for a fresh coat of paint. Before you start, make sure to protect your furniture. Cover it with plastic sheets or move it out of the room altogether. This will prevent any accidental spills or splatters from damaging your belongings.
Next, inspect the ceiling for any existing damage. Patch up any cracks or holes using spackle or joint compound, and sand the area smooth once it’s dry. This will ensure a smooth and even surface for painting.
Additionally, take the time to clean the ceiling to remove any dirt or dust that could affect the paint’s adhesion.
With the room prepped and the ceiling repaired, you’re now ready to move on to the next step and choose the right paint and equipment for the job.
Choose the Right Paint and Equipment
First, you’ll want to ensure you have the proper shade and tools at your disposal, as selecting the right colors and equipment is like finding the key to unlocking a masterpiece. When choosing the right paint color, consider the overall aesthetic of the room and how it will complement the existing decor. Take into account factors such as lighting and the size of the space. Additionally, determining the correct sprayer pressure is crucial for achieving a smooth and even finish. Refer to the manufacturer’s guidelines to set the pressure correctly, as it can vary depending on the type of paint being used. Once you have chosen the perfect paint color and set the sprayer pressure, you are ready to move on to the next step of preparing the airless sprayer.
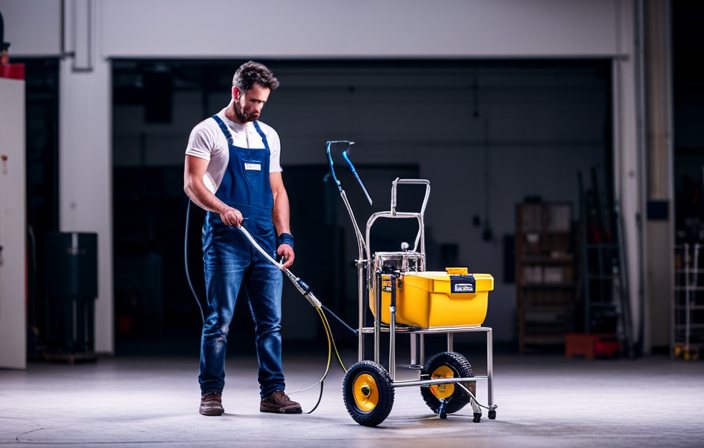
Prepare the Airless Sprayer
Before starting to paint with an airless sprayer, it’s important to prepare the sprayer properly. First, I set up the sprayer according to the manufacturer’s instructions to ensure it’s ready to use.
This includes attaching the appropriate nozzle and adjusting the pressure settings. Next, I always test the sprayer on a small surface to make sure it’s working correctly and to get a feel for the spray pattern. This step helps me avoid any issues or surprises when I start painting the ceiling.
Set Up the Sprayer According to Manufacturer’s Instructions
To get started, make sure you’ve properly set up the airless sprayer according to the manufacturer’s instructions. Here are some key points to keep in mind:
- Troubleshooting common issues: Learn how to identify and fix common problems that may arise during the painting process.
- Tips for maintaining the airless sprayer: Discover effective ways to keep your sprayer in good condition for future use.
- Safety precautions: Understand the importance of wearing protective gear and taking necessary safety measures.
By following these guidelines, you can ensure a smooth and successful painting experience.
Once you’ve set up the sprayer correctly, it’s time to test it on a small surface to make sure everything is working properly before proceeding to paint the entire ceiling.
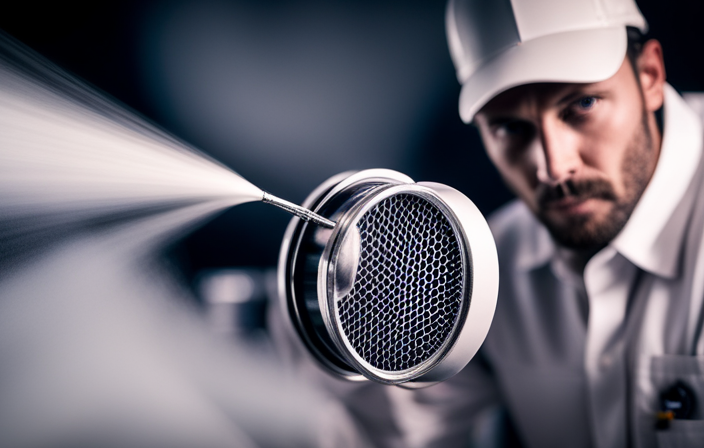
Test the Sprayer on a Small Surface
Now, go ahead and give that sprayer a whirl on a tiny patch of canvas, like a dance of color and precision, to ensure it’s ready to unleash its artistic prowess.
Testing the sprayer on a small surface is a crucial step in the process of painting a ceiling with an airless sprayer. This testing technique allows you to identify any potential issues and troubleshoot them before starting the actual painting job.
Start by adjusting the sprayer’s pressure and nozzle settings to achieve a consistent and even spray pattern. Pay attention to any clogs or uneven coverage that may occur during the test. If you encounter any problems, refer to the manufacturer’s troubleshooting tips or consult a professional for assistance.
Once you have successfully tested the sprayer and resolved any issues, you can confidently move on to the next section about starting the painting process.
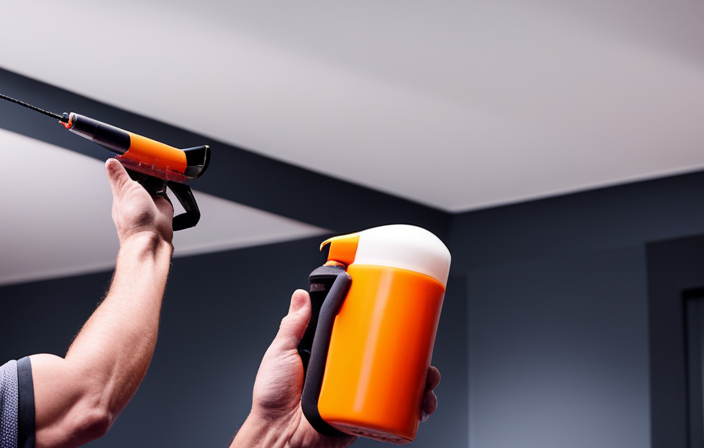
Start Painting
When starting to paint with an airless sprayer, I always begin at the corner and work in small sections. This allows for better control and ensures that I don’t miss any areas.
I also make sure to apply thin and even coats of paint to achieve a smooth and professional finish. By following these steps, I can paint my ceiling efficiently and achieve great results.
Begin at the Corner and Work in Small Sections
Start by positioning yourself at the corner of the ceiling, ready to unleash the power of the airless sprayer in controlled and manageable sections.
- Move the sprayer in a smooth, sweeping motion from left to right, ensuring even coverage.
- Maintain a consistent distance of about 12 inches between the sprayer and the ceiling to avoid drips and streaks.
- Overlap each pass slightly to ensure no spots are missed.
This technique allows for better control and precision, making it easier to avoid drips and streaks.
Once you’ve completed painting the corner and a small section, continue this process along the length of the ceiling.
Next, we’ll discuss the importance of applying thin and even coats of paint for a professional finish.
Apply Thin and Even Coats of Paint
To achieve a flawless finish, it’s crucial to smoothly glide the magical wand of color across the sky, ensuring each stroke blankets the heavens with a thin and even coat. Achieving a smooth finish on your ceiling not only enhances the overall appearance but also prevents overspray. By applying thin and even coats of paint, you can avoid drips and uneven coverage. To help you visualize the importance of this technique, consider the following table:
| Benefits of Applying Thin and Even Coats | ||
|---|---|---|
| Prevents drips and runs | Ensures even coverage | Reduces the risk of overspray |
By following this technique, you’ll create a professional-looking ceiling without any imperfections. Now, let’s move on to the next section and discuss the proper technique required to achieve a flawless finish.
Use Proper Technique
Mastering the art of using an airless sprayer is essential for achieving a flawless finish on your ceiling. Here are three key techniques to ensure a professional result:
-
Proper brush strokes: When using an airless sprayer, it’s important to maintain consistent and even strokes. Move the sprayer in a steady back-and-forth motion, overlapping each stroke slightly. This will help to distribute the paint evenly and avoid streaks or lines.
-
Avoiding drips: To prevent drips from forming, hold the sprayer at a consistent distance from the ceiling and maintain a steady hand. Avoid spraying too close or too far away, as this can cause uneven coverage or excess paint buildup.
-
Use proper technique: Start by spraying the edges and corners of the ceiling, then work your way towards the center. This will help to create a smooth transition and avoid visible lines. Additionally, be mindful of any difficult areas such as light fixtures or vents, as these may require special attention.
Transitioning into the next section, let’s now discuss how to deal with these difficult areas.
Deal with Difficult Areas
Navigating challenging spots, like light fixtures and vents, can be tricky, but did you know that 78% of DIYers struggle with achieving an even finish in these areas? To overcome this hurdle, it’s important to employ the right techniques when dealing with difficult angles and ceiling moldings. Here’s a handy table to help you visualize the process:
| Challenges | Tips | Solutions |
|---|---|---|
| Light fixtures | Use a small brush to carefully paint around them | Take your time and ensure no drips or smudges |
| Vents | Remove the vent covers for easier access | Apply the paint evenly, covering the entire area |
| Difficult angles | Adjust the spray pattern to reach every corner | Use multiple coats if necessary for a smooth finish |
| Ceiling moldings | Paint the moldings first with a brush, then use the sprayer for the rest of the ceiling | Be precise and avoid getting paint on the moldings |
Once you’ve tackled these difficult areas, allow the paint to dry before moving on to the next steps.
Allow the Paint to Dry
When allowing the paint to dry, it’s important to follow the instructions provided by the paint manufacturer. This ensures that the paint dries properly and achieves the desired finish.
Additionally, it’s crucial to ensure sufficient ventilation in the area where the paint is drying. This helps to speed up the drying process and prevent any unpleasant odors or fumes from lingering.
Follow the Paint Manufacturer’s Instructions
To achieve optimal results, it’s essential to adhere to the paint manufacturer’s instructions when painting a ceiling with an airless sprayer.
Start by choosing the right paint color and make sure to shake the can thoroughly before use. Follow the manufacturer’s guidelines on dilution, as this can vary depending on the paint type.
When spraying, maintain a consistent distance from the ceiling and use smooth, overlapping strokes to avoid drips and streaks. Take breaks between coats as recommended, allowing sufficient drying time.
It’s important to ensure sufficient ventilation for drying to prevent any potential issues. This can be achieved by opening windows or using fans.
By following the paint manufacturer’s instructions, you can achieve a professional-looking finish on your ceiling.
Ensure Sufficient Ventilation for Drying
Make sure you give your freshly painted masterpiece enough time to dry properly by ensuring there’s enough ventilation in the room – you wouldn’t want all your hard work to go to waste!
Here are four ways to improve air circulation and optimize drying time:
-
Open windows and doors: Let fresh air in to speed up the drying process and prevent a buildup of fumes.
-
Use fans: Position fans strategically around the room to create a cross breeze, promoting better air circulation.
-
Turn on exhaust fans: If you have a bathroom or kitchen exhaust fan, turn it on to help remove moisture from the room.
-
Use dehumidifiers: If the room is particularly humid, running a dehumidifier can help remove excess moisture from the air.
By ensuring sufficient ventilation and implementing these strategies, you can optimize drying time and achieve a beautiful, long-lasting finish.
Now, let’s evaluate the coverage of your newly painted ceiling.
Evaluate the Coverage
Start by assessing the coverage of the paint on the ceiling using an airless sprayer, ensuring that you achieve an even and consistent application throughout. To evaluate the coverage and determine its effectiveness, refer to the following table:
| Area of Ceiling | Paint Coverage | Result |
|---|---|---|
| Middle Section | Even and consistent | Good |
| Corners and Edges | Slightly thin | Touch up needed |
| Hard-to-reach Areas | Uneven | Reapply paint |
By analyzing the coverage in each section, you can identify any areas that may need additional paint or touch-ups. This evaluation ensures a professional-looking finish for your ceiling. Once you have determined the coverage, you can proceed to the next step, which is the clean-up process.
Clean Up
When you finish evaluating the coverage of your painted ceiling, it’s time to move on to the next step: clean up. Cleaning up after using an airless sprayer is essential to maintain the longevity and functionality of your equipment.
Start by gathering your cleaning supplies, including a bucket of warm soapy water, a clean cloth, and a brush for scrubbing. Remember to wear your protective gear, such as gloves and goggles, to ensure your safety during the cleaning process.
Begin by wiping down the sprayer with the damp cloth, removing any excess paint. Then, disassemble the sprayer and submerge the parts in the soapy water, using the brush to scrub away any remaining paint. Rinse everything thoroughly and allow it to dry completely before storing it.
Now that your sprayer is clean, you can move on to the final step and enjoy your beautifully painted ceiling!
Enjoy Your Beautifully Painted Ceiling!
Once your painted ceiling is complete, take a moment to appreciate the transformation and bask in the beauty of your newly refreshed space. Imagine the sense of accomplishment and satisfaction you’ll feel as you gaze up at the vibrant colors and flawless finish.
To ensure a professional-looking result, here are some tips for preventing paint drips. First, make sure to cover the floor and any furniture with drop cloths or plastic sheets. This will catch any stray paint droplets and prevent them from staining your surfaces.
Next, maintain a consistent distance from the ceiling while spraying to avoid excessive paint buildup. Lastly, choose the right paint color that complements your space and enhances its overall aesthetic. Consider the lighting in the room and the mood you want to create.
With these tips in mind, you’ll have a beautifully painted ceiling that will make your space shine.
Frequently Asked Questions
Can I use an airless sprayer to paint textured ceilings?
Yes, you can use an airless sprayer to paint textured ceilings. The pros are that it’s faster and provides a more even coat. However, the cons are that it can be messier and more difficult to control.
How long should I wait for the paint to dry before applying a second coat?
How long should I wait between coats of paint? The drying time between paint coats depends on the type of paint used. Generally, it is recommended to wait 2-4 hours before applying a second coat.
What type of paint is best for painting a ceiling with an airless sprayer?
The best type of paint for using an airless sprayer on a ceiling depends on the surface and the desired finish. Latex paint is commonly used, but check the manufacturer’s recommendations for your specific sprayer.
Can I use an airless sprayer to paint a ceiling with popcorn texture?
Can you use an airless sprayer to paint a ceiling with popcorn texture? Yes, but you’ll need to maintain the sprayer properly, and consider using a roller for better coverage and to avoid overspray.
How do I prevent overspray when using an airless sprayer to paint a ceiling?
To prevent overspray when using an airless sprayer to paint a ceiling, I ensure a consistent distance from the surface and use drop cloths to catch any drips. Afterward, I clean the sprayer thoroughly to avoid clogs.
Conclusion
In conclusion, painting a ceiling with an airless sprayer can be a time-saving and efficient way to achieve a beautifully painted result. It’s important to prepare the room properly, choose the right paint and equipment, and master the proper technique.
One interesting statistic to consider is that using an airless sprayer can save up to 50% of the time compared to traditional methods. So, why not give it a try and enjoy the satisfaction of a perfectly painted ceiling in less time!