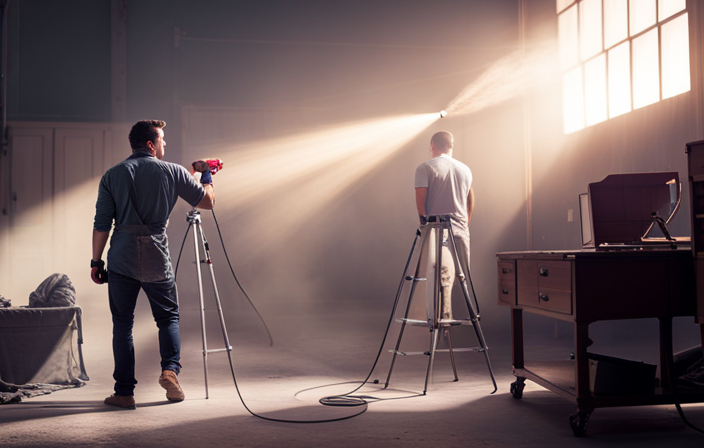
Standing in front of my old, dull doors, I felt a surge of creativity. It dawned on me that it was time to breathe new life into them with a fresh, vibrant look. It was then that I recognized the amazing potential of utilizing an airless sprayer.
With its efficient and even application, it promised to transform my doors into works of art in no time. In this article, I’ll guide you through the process of painting doors with an airless sprayer, sharing the tips and techniques I learned along the way.
From gathering the necessary materials to achieving that flawless finish, I’ll cover every step you need to take. So, if you’re ready to unleash your creativity and elevate the aesthetic of your doors, grab your sprayer and let’s get started.
You’ll be amazed at the stunning results you can achieve with this versatile tool.
Key Takeaways
- Benefits of using an airless sprayer: efficient and even application of paint, saves time and effort, creates a professional-looking finish
- Proper preparation before painting: cleaning and sanding the surface, choosing the right primer for adhesion and protection, setting up a workspace with drop cloths or plastic sheets, ensuring good ventilation
- Mixing and diluting paint: different methods for mixing depending on the type of paint, diluting paint according to manufacturer’s recommendations
- Proper technique for using an airless sprayer: maintaining a consistent distance from the surface, using controlled strokes for even distribution, keeping a steady hand for smooth coverage
Gather the Necessary Materials and Safety Equipment
Make sure you’ve got all the materials and safety equipment you need before starting to paint your doors with an airless sprayer. Safety precautions are essential when using an airless sprayer, so make sure you wear protective goggles, gloves, and a mask to shield yourself from paint fumes and potential accidents.
Additionally, choose the right paint color that complements your home’s decor and style. Consider factors such as lighting, furniture, and overall aesthetic when making your selection.
Once you have gathered all the necessary materials and safety equipment, you can move on to preparing the doors for painting. This involves cleaning and sanding the surface to ensure proper adhesion of the paint.
Prepare the Doors for Painting
To effectively prepare the doors prior to painting with an airless sprayer, it’s crucial to ensure that all surfaces are meticulously cleaned and smoothly sanded. Preparing surfaces is an essential step in achieving a professional-looking finish. Begin by removing any dirt, dust, or grease using a mild detergent and a sponge or cloth. After cleaning, thoroughly sand the doors to create a smooth and even surface for the paint to adhere to. Be sure to remove any rough spots or imperfections.
In order to enhance paint adhesion and protect the doors from moisture or stains, it’s important to choose the right primer. Consider the material of the doors and the type of paint you will be using to select the appropriate primer. Apply the primer evenly using a brush or roller, and allow it to dry completely before proceeding with the painting process.
Now that the doors are properly prepared, it’s time to set up your workspace and get ready to paint.
Set Up Your Workspace
To set up your workspace for painting, start by covering the surrounding area with drop cloths or plastic sheets to protect it from any paint splatters or spills. This will help prevent any damage to furniture or flooring.
Additionally, ensure good ventilation in the room by opening windows or using fans to circulate the air. This will help to reduce fumes and provide a more comfortable environment for painting.
Cover the surrounding area with drop cloths or plastic sheets
Before diving into the painting process, ensure that the surrounding area is protected by covering it with drop cloths or plastic sheets, creating a shield against any stray paint splatters. Taking protective measures is crucial to avoid damaging furniture, floors, or other surfaces in the room. To make it easier for you, here is a 2 column and 3 row table that shows the benefits of using drop cloths or plastic sheets:
| Benefits of Using Drop Cloths or Plastic Sheets |
|---|
| Protects furniture and floors from paint splatters |
| Easy to clean up afterwards |
| Provides a professional look to your workspace |
By covering the surrounding area, you can focus on the task at hand without worrying about any accidental spills or messes. Now that the workspace is properly protected, let’s move on to the next step: ensuring good ventilation in the room.
Ensure good ventilation in the room
Make sure there’s enough fresh air circulating in the room for a comfortable and safe painting experience. Improving air quality is crucial when using an airless sprayer to paint doors. Good ventilation prevents the build-up of fumes and harmful particles, making it easier to breathe and reducing the risk of health issues. It also helps to eliminate any strong odors that may linger after painting.
Additionally, proper airflow ensures that the paint dries faster and more evenly, resulting in a smooth and professional finish. Remember, the benefits of good ventilation extend beyond just the painting process.
Once the doors are painted, you’ll want to move on to the next step of mixing and diluting the paint, so let’s get started.
Mix and Dilute the Paint
First, grab your airless sprayer and pour the paint into a mixing container, making sure it’s at the right consistency for smooth application. When mixing the paint, there are different methods you can use depending on the type of paint you’re working with. For example, if you’re using latex paint, you can stir it with a paint stick until it’s well mixed. On the other hand, if you’re using oil-based paint, you may need to use a mechanical mixer to achieve the desired consistency.
Additionally, it’s important to dilute the paint properly by following the recommended paint dilution ratio provided by the manufacturer. This will ensure that the paint sprays evenly and smoothly onto the door surface.
Once the paint is mixed and diluted, you can proceed to the next step of practicing proper sprayer technique for a flawless finish.
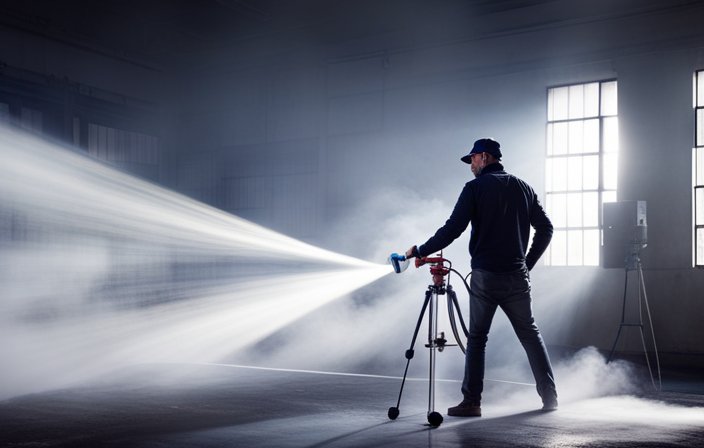
Practice Proper Sprayer Technique
To achieve a flawless finish, it’s crucial to master the proper technique when using an airless sprayer. Here are three key tips to ensure you get the best results:
-
Maintain a consistent distance: Keep the sprayer nozzle about 12 inches away from the door surface at all times. This distance allows for an even application and prevents any overspray.
-
Use controlled strokes: Move the sprayer in smooth, overlapping strokes from side to side. This technique helps to evenly distribute the paint and avoid any streaks or drips.
-
Keep a steady hand: Maintain a steady and consistent pace while spraying. Avoid sudden starts or stops, as this can result in uneven coverage and overspray.
By following these proper spraying techniques, you can achieve a professional-looking finish on your doors. Now, let’s move on to the next step: applying the paint.
Apply the Paint
When applying the paint, I always start with a thin, even coat to ensure smooth coverage. It’s important to allow the paint to dry completely before applying additional coats to prevent any streaks or unevenness.
By following these steps, I can achieve a professional-looking finish on my doors.
Begin with a thin, even coat
Start by applying a thin, even coat of paint to the doors with your airless sprayer, ensuring smooth and consistent coverage. This is crucial for achieving a professional finish. A thin coat application allows the paint to adhere properly and prevents drips or runs. It also ensures that the paint dries evenly and quickly.
Make sure to maintain a consistent distance from the door surface as you spray, moving in a slow and steady motion. Pay attention to any missed spots or areas that need touch-ups.
Once the first coat is applied, allow the paint to dry before applying additional coats. This will give the paint a chance to fully settle and provide a solid foundation for the next layer.
Allow the paint to dry before applying additional coats
Once you’ve finished applying that first thin, even coat, let the paint dry completely before adding any more layers to ensure a flawless finish. Applying primer before painting is essential to create a smooth surface for the paint to adhere to.
Make sure to choose the right paint color that complements your door and matches your desired aesthetic. Patience is key during this step, as rushing can lead to a less professional-looking result.
Allow the paint to dry thoroughly, usually for at least 24 hours, before proceeding to the next step. Once the paint is dry, check for any imperfections such as drips or uneven coverage before moving on to the next section about ‘checking for any imperfections.’
Check for any Imperfections
Inspect the door closely for any imperfections, such as dents or scratches, before you begin painting with the airless sprayer. Repairing scratches and sanding the surface will ensure a smooth and even finish.
Use wood filler to fill in any dents or deep scratches, and sand the entire surface with fine-grit sandpaper to create a clean and level base for the paint. This step is crucial because any imperfections left on the door will be highlighted once the paint is applied.
Once you’ve inspected and repaired the door, you can move on to clean and maintain your sprayer.
Clean and Maintain Your Sprayer
After checking for any imperfections on the doors, it’s important to clean and maintain your sprayer before moving forward.
Cleaning techniques for an airless sprayer involve flushing it with water or a cleaning solution, making sure all paint residue is removed. This ensures that your sprayer will work efficiently and effectively during the painting process.
Additionally, troubleshooting tips can help you identify and address any issues that may arise with your sprayer, such as clogs or uneven spraying.
By properly cleaning and maintaining your sprayer, you can avoid unnecessary interruptions and achieve a smooth and professional finish on your doors.
Now that your sprayer is ready, it’s time to move on to the next step: reinstalling the hardware.
Reinstall the Hardware
First, refresh your doors by reattaching the hardware. This step is crucial as it not only highlights the beauty of your doors but also ensures their functionality. Before reinstalling the hardware, make sure to clean it thoroughly to remove any dirt or grime.
Once cleaned, carefully screw the hinges and handles back onto the doors, ensuring they’re securely fastened. Next, choose the right paintbrush for the job. A high-quality brush with synthetic bristles will provide a smooth and even application of paint.
Take your time and apply the paint in long, even strokes, following the grain of the wood. Once you’ve reinstalled the hardware and applied the paint, you can move on to the next step and enjoy your newly painted doors, showcasing their fresh and inviting appearance.
Enjoy Your Newly Painted Doors
To fully appreciate the transformation, savor the feeling of walking through your freshly painted doors and basking in the renewed atmosphere they bring to your space.
Choosing the right paint color is essential in achieving the desired look for your doors. Consider the overall aesthetic of your home and the mood you want to create. It’s always a good idea to test paint samples on a small area of the door to see how they look in different lighting conditions.
Once you’ve decided on the perfect color, ensure that you properly store any leftover paint for touch-ups or future projects. Seal the cans tightly and store them in a cool, dry place to prevent the paint from drying out or becoming unusable.
Following these tips will ensure that your newly painted doors remain beautiful for years to come.
Frequently Asked Questions
How long does it typically take for the paint to dry on the doors after using an airless sprayer?
How long does it typically take for the paint to dry on doors after using an airless sprayer? Can I use an airless sprayer on textured doors? The drying time varies, but it generally takes around 4-6 hours. Yes, you can use an airless sprayer on textured doors.
Can I use an airless sprayer to paint doors that have existing stain or varnish?
Yes, you can use an airless sprayer to paint doors that have existing stain or varnish. The sprayer will effectively cover the surface and provide a smooth finish, saving time and effort compared to traditional methods.
What type of paint is best suited for airless sprayer application on doors?
The best paint brands for airless sprayer application on doors are Sherwin-Williams, Behr, and Benjamin Moore. To achieve a smooth finish, make sure to sand the door, apply a primer, and use thin, even coats of paint.
Do I need to sand the doors before painting them with an airless sprayer?
Yes, it is important to sand the doors before painting them with an airless sprayer. Sanding helps to create a smooth surface for the paint to adhere to, resulting in a professional-looking finish.
How often should I clean the sprayer nozzle while painting the doors?
I clean the sprayer nozzle every 2-3 hours while painting doors to prevent clogs and ensure a consistent spray pattern. It’s important to follow the manufacturer’s instructions for maintaining the airless sprayer for optimal performance.
Conclusion
In conclusion, painting doors with an airless sprayer is a simple and efficient way to give them a fresh new look. With the right materials and proper technique, you can achieve professional results in no time.
So, grab your sprayer and get ready to transform your doors like a painter on a canvas. Let the paint flow smoothly like a river, bringing life and vibrancy to your space. Your doors will be the star of the show, leaving you with a sense of pride and satisfaction.