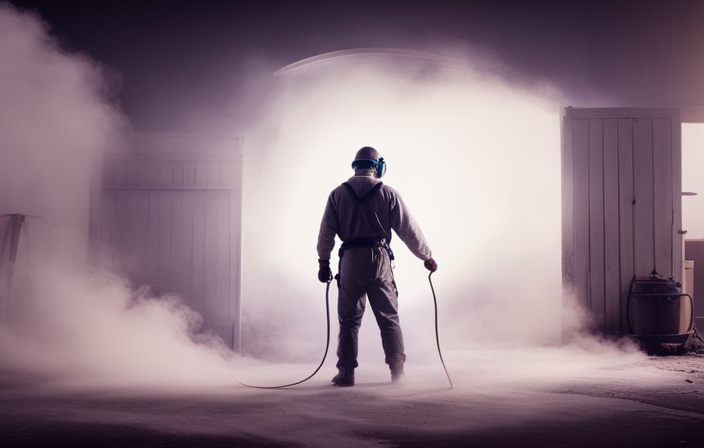
Tired of staring at your outdated popcorn ceiling? Fear not, I have the perfect solution! This guide will show you how to paint your popcorn ceiling using an airless sprayer. Additionally, there is a helpful video tutorial on YouTube that you can reference.
By combining the power of modern technology with a bit of DIY know-how, you’ll be able to transform your ceiling from drab to fab in no time. Forget about the tedious and time-consuming task of hand-painting each individual popcorn texture. With an airless sprayer, you can achieve a smooth and even coat of paint, giving your ceiling a fresh and modern look.
So, gather your materials, prepare the room, and get ready to say goodbye to that outdated popcorn texture. With my guidance and the helpful video tutorial, you’ll be well on your way to enjoying a newly painted, popcorn-free ceiling.
Let’s get started!
Key Takeaways
- Properly preparing the surface and cleaning the ceiling before painting is crucial.
- Using the airless sprayer for the main surface and a brush for edges and corners can ensure even coverage.
- Applying thin coats of paint and gradually building up coverage will result in a professional finish.
- Take breaks to avoid fatigue and monitor progress to make necessary adjustments.
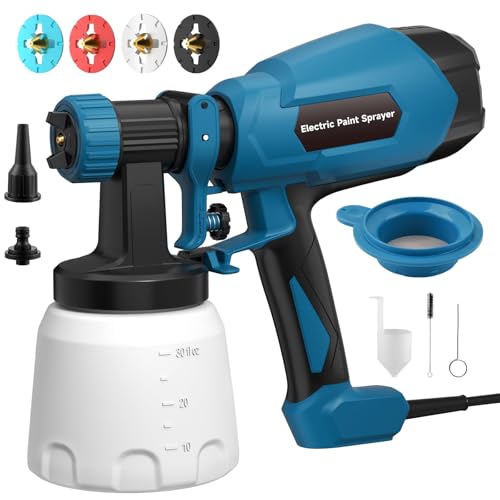
WIBENTL Paint Sprayer, Electric Spray Paint Gun, 3 Modes & 4 Brass Nozzles, with Cleaning & Blowing Joints, Variable Flow Control, for Doors, Fences, Walls, Cabinets, Garden Chairs, Furniture, Blue
- Multiple Spray Patterns: Horizontal, vertical, circular modes
- Versatile Brass Nozzles: Four sizes for different projects
- Easy Assembly & Cleaning: Tool-free setup, quick cleanup
As an affiliate, we earn on qualifying purchases.
Gather the Necessary Materials and Equipment
To gather the necessary materials and equipment for painting a popcorn ceiling with an airless sprayer, you will need:
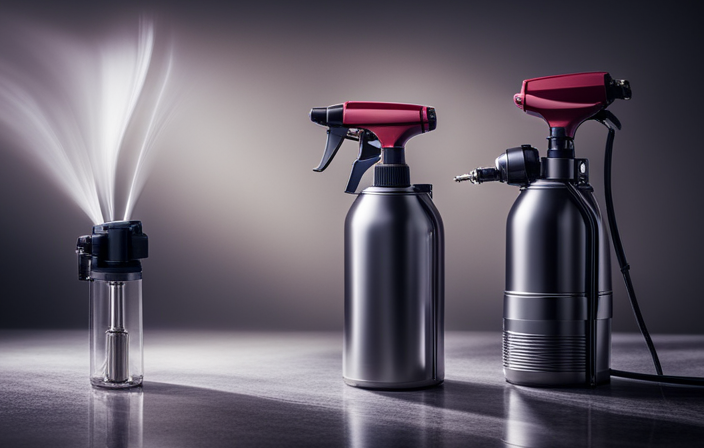
- An airless sprayer
- Drop cloths
- Painter’s tape
- A ladder
Make sure you have all these items before starting the project. It’s important to have the right tools and materials to ensure a smooth and successful painting process.
Avoiding common mistakes is also crucial. Some mistakes to avoid include not properly preparing the surface and using too much paint at once. Take the time to prepare the ceiling properly by cleaning it and removing any loose particles. This will ensure that the paint adheres well and provides a smooth finish. Additionally, using too much paint at once can lead to drips and uneven coverage. Take your time and apply thin, even coats for the best results.
By gathering the necessary materials and equipment and avoiding common mistakes, you’ll be well-prepared to transform your popcorn ceiling with an airless sprayer.
Prepare the Room for Painting
Before starting, make sure you’ve covered all furniture and floor surfaces to prevent any accidental spills or stains, as this step alone can save you up to 50% of the overall cleaning time after the painting process. To prepare the room for painting, it is crucial to choose the right paint color that complements your space. Consider the lighting, furniture, and overall ambiance of the room to make an informed decision. Additionally, remove any furniture and fixtures from the room to create a clear and spacious working area. This will prevent any damage or obstruction during the painting process. Once you have chosen the paint color and cleared the room, you can move on to the next step of covering and protecting the surrounding areas. This will ensure that your walls and floors remain clean and untouched while using the airless sprayer.
Cover and Protect the Surrounding Areas
Before proceeding with your painting project, it is important to cover and protect the surrounding areas. Here are some tips to help you protect your furniture during painting:
- Remove any delicate or valuable items from the room to avoid accidental damage.
- Cover furniture with plastic drop cloths or old sheets to prevent paint splatters.
- Use painter’s tape to secure the protective covering and ensure a tight seal.
- If possible, move furniture to a different room temporarily to eliminate the risk of paint drips or spills.
To cover the floors during painting, consider the following:
- Lay down plastic drop cloths or canvas tarps to protect the flooring.
- Secure the covering with painter’s tape to prevent it from shifting.
- If using a ladder, place a drop cloth or board underneath to avoid scratching the floor.
- Consider using a runner or pathway of cardboard or rosin paper for easy movement without damaging the floor.
Once everything is properly covered and protected, you can move on to the next step of mixing the paint and preparing the sprayer.
Mix the Paint and Prepare the Sprayer
Once everything is properly covered and protected, it’s time to mix the paint and get the sprayer ready. To ensure a smooth and even application, it’s important to follow proper paint mixing techniques. Start by thoroughly stirring the paint to eliminate any lumps or inconsistencies. If the paint is too thick, add a small amount of water and mix again until you achieve the desired consistency. On the other hand, if the paint is too thin, you can add a paint conditioner to help thicken it up. Once the paint is mixed, it’s time to prepare the sprayer. Check for any clogs or blockages in the sprayer nozzle and clean them out if necessary. Troubleshoot any other sprayer issues before proceeding. With the paint mixed and the sprayer ready, you’re now one step closer to transforming your popcorn ceiling. In the next section, we will test the sprayer on a small section to ensure everything is working properly.
Test the Sprayer on a Small Section
Start by taking a moment to test the sprayer on a small section. This step is crucial to ensure that the sprayer is working properly and that you are comfortable with the technique.
When testing the sprayer, pay attention to the spray pattern and adjust the nozzle if needed. If the paint is not coming out evenly or if there are any clogs, try troubleshooting tips like cleaning the nozzle or adjusting the pressure.
By testing the sprayer on a small section, you can make any necessary adjustments before tackling the entire popcorn ceiling. Once you are satisfied with the results, you can confidently begin painting the popcorn ceiling, knowing that the sprayer is working effectively.
Begin Painting the Popcorn Ceiling
Get ready to transform your space by bringing new life to your old, textured ceiling. Now that you have tested the sprayer on a small section and are confident in its performance, it’s time to begin painting the popcorn ceiling. Before you start, make sure to prepare the room by covering furniture and floors with drop cloths to protect them from overspray.
To ensure an even application, start by painting the edges and corners of the ceiling using a brush. Then, move on to using the airless sprayer for the main surface. Hold the sprayer nozzle about 12 inches away from the ceiling and apply the paint in smooth, overlapping strokes.
As you paint, keep an eye out for any areas that may need touch-ups or additional coats. Use a flashlight to check for any missed spots or uneven coverage. It’s important to address these issues early on to achieve a professional-looking finish.
Incorporating beginning techniques and troubleshooting tips, you can successfully paint your popcorn ceiling with an airless sprayer. Once you have completed the first coat, you can move on to applying multiple coats for full coverage.
Apply Multiple Coats for Full Coverage
Now that we have begun painting the popcorn ceiling, it’s time to take it to the next level by applying multiple coats for full coverage. This step is crucial in achieving a smooth and polished finish.
To ensure even application, it’s important to apply thin coats rather than trying to cover the entire ceiling in one go. This will help you avoid oversaturation, which can lead to drips and uneven texture. By taking your time and applying multiple thin coats, you’ll be able to gradually build up the coverage and achieve a professional-looking result.
Remember to take breaks and monitor the progress as you go along. This will allow you to make any necessary adjustments and ensure that each coat is applied evenly.
Next, let’s discuss how to take breaks and monitor the progress without disrupting the painting process.
Take Breaks and Monitor the Progress
To ensure a successful painting process, it’s important for me to take breaks and keep an eye on the progress of my project. Painting a popcorn ceiling with an airless sprayer can be a time-consuming task, so it’s crucial to monitor the progress and take breaks to avoid fatigue. Here’s a helpful breakdown of how I plan my breaks during the process:
| Time Elapsed | Break Duration | Activity During Break |
|---|---|---|
| 1 hour | 10 minutes | Stretching and hydrating |
| 2 hours | 15 minutes | Evaluating the coverage |
| 3 hours | 10 minutes | Cleaning the sprayer nozzle |
By taking regular breaks, I can maintain my focus and ensure that the paint is being applied evenly. After monitoring the progress and taking breaks, the next step is to clean and maintain the sprayer to ensure its longevity.
Clean and Maintain the Sprayer
Once the project is completed, it’s essential to properly clean and maintain the equipment used for application. Sprayer maintenance tips are crucial to ensure the longevity and optimal performance of your airless sprayer.
Start by thoroughly cleaning the sprayer immediately after use. Flush out any remaining paint by running water or a cleaning solution through the sprayer until it runs clear. Pay close attention to the nozzle, filters, and hoses, ensuring they are free from any paint residue.
Regularly inspect and replace any worn or damaged parts to prevent any issues during future projects. Troubleshooting common sprayer issues such as clogging or uneven spray patterns is also important.
By taking the time to clean and maintain your sprayer, you can enjoy your newly painted popcorn-free ceiling for years to come.
Enjoy Your Newly Painted Popcorn-Free Ceiling!
After all your hard work, sit back and appreciate the beauty of your newly transformed, smooth and flawless overhead surface! Now that your popcorn ceiling has been painted with an airless sprayer, it’s time to discuss alternative methods for removing popcorn ceilings and provide some tips to make the process easier.
In the table below, I have outlined five different methods for removing popcorn ceilings, along with some helpful tips for each method:
| Method | Description | Tips |
|---|---|---|
| Scrape | Use a wide blade scraper to remove the popcorn texture. | Wet the ceiling with a spray bottle to make scraping easier. |
| Cover | Install a new layer of drywall or ceiling panels over the popcorn ceiling. | Ensure proper installation to avoid sagging or damage. |
| Skim Coat | Apply a thin layer of joint compound to smooth out the popcorn texture. | Sand the skim coat for a smooth finish. |
| Ceiling Tiles | Install decorative ceiling tiles over the popcorn ceiling. | Choose tiles that are easy to install and maintain. |
| Professional Help | Hire a professional to remove the popcorn ceiling for you. | Get multiple quotes and check references before hiring. |
By exploring these alternative methods and following the provided tips, you can successfully remove popcorn ceilings and achieve a fresh, modern look for your home. Enjoy your newly painted, popcorn-free ceiling!
Frequently Asked Questions
How do I choose the right type of paint for a popcorn ceiling?
When choosing paint for a popcorn ceiling, it’s important to consider the texture and absorbency of the surface. Opt for a flat or matte finish paint that is specifically designed for ceilings. Apply it using a roller for best results.
Can I use a roller instead of an airless sprayer to paint a popcorn ceiling?
Yes, you can use a roller to paint a popcorn ceiling. The pros of using a roller are that it is more affordable and easier to use. However, it may not provide as smooth of a finish as an airless sprayer.
Is it necessary to remove furniture from the room before painting a popcorn ceiling?
It is not necessary to remove furniture from the room before painting a popcorn ceiling. However, it is recommended to cover and protect furniture to avoid any paint splatters or damage.
How long does it typically take to paint a popcorn ceiling with an airless sprayer?
It typically takes a few hours to paint a popcorn ceiling with an airless sprayer. Before painting, it’s important to clean the ceiling and ensure a smooth finish by following these tips.
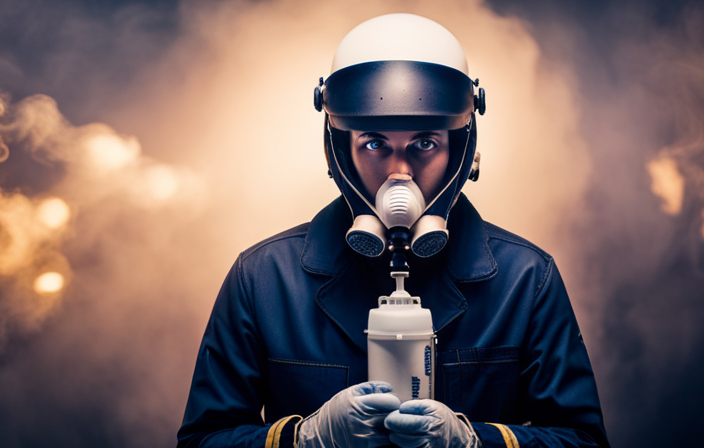
What safety precautions should I take when using an airless sprayer to paint a popcorn ceiling?
When using an airless sprayer to paint a popcorn ceiling, it’s important to take safety precautions. Ensure proper ventilation, wear a respirator, protective clothing, and goggles. To prevent overspray, cover nearby surfaces and use a shield or guard.
Conclusion
Well, would you look at that! You’ve successfully transformed that pesky popcorn ceiling into a smooth and freshly painted masterpiece with the help of an airless sprayer and a little bit of elbow grease. Who knew it could be so easy?
Now, let’s talk about how you can achieve this same result by following a YouTube tutorial. First, gather all the necessary materials, including an airless sprayer, paint, drop cloths, and safety equipment.
Next, prepare the room by removing furniture and covering the floors and walls with drop cloths. Make sure to also remove any light fixtures or ceiling fans.
Then, clean the ceiling surface by using a vacuum or broom to remove dust and debris. This will ensure that the paint adheres properly.
Now, it’s time to mix the paint according to the manufacturer’s instructions. Pour the paint into the airless sprayer and adjust the nozzle settings to achieve the desired spray pattern.
Before you start spraying, practice your technique on a piece of cardboard or scrap material to get a feel for the sprayer. Once you’re comfortable, begin spraying the ceiling in even, overlapping strokes.
Work in small sections at a time, moving in a consistent pattern to ensure even coverage. Take breaks as needed to avoid fatigue and maintain a steady hand.
Once the entire ceiling is painted, allow it to dry completely before removing the drop cloths and reassembling the room.
Now you can sit back, relax, and enjoy the irony of how something as simple as a YouTube tutorial can make your home feel like a brand new space. So go ahead, revel in your newfound painting prowess and bask in the satisfaction of a job well done. Cheers to your popcorn-free ceiling!