Are you ready to take your painting projects to the next level? Using the power and efficiency of an airless sprayer can help you achieve a professional finish that you will be proud of.
Painting with an airless sprayer allows you to cover large surfaces quickly and evenly, saving you time and effort. In this article, I will guide you through the process of using an airless sprayer to paint like a pro.
You will learn how to select the right equipment, prepare the surface, and adjust the settings for optimal results. We will also cover common challenges and troubleshooting techniques, as well as how to properly clean and maintain your airless sprayer.
By the end of this article, you will have the knowledge and confidence to tackle any painting project with ease. So let’s get started and unleash the power of the airless sprayer!
Key Takeaways
- Regularly clean and maintain airless sprayer to prevent clogs and ensure smooth paint flow.
- Prep the surface by cleaning and removing dust and debris before painting.
- Hold the sprayer at a consistent distance from the surface and move the arm smoothly and evenly for even coverage.
- Apply multiple thin coats instead of full coverage in one go to prevent drips and runs and achieve a smooth and professional finish.

InoKraft MaXpray M1 Airless Paint Sprayer, 3000 PSI 550W Corded Electric, Thinning-Free for Latex & Stain, DIY Home Interior Exterior Walls Fences Decks, Includes Spray Gun Kit & 12" Tip Extension
- Fast Painting Speed: 5X faster than rolling, 12X faster than brushing
- High-Pressure Performance: 3000 PSI, 0.29 GPM for even coverage
- Direct from Bucket: Draw paint from 5-gallon bucket for large projects
As an affiliate, we earn on qualifying purchases.
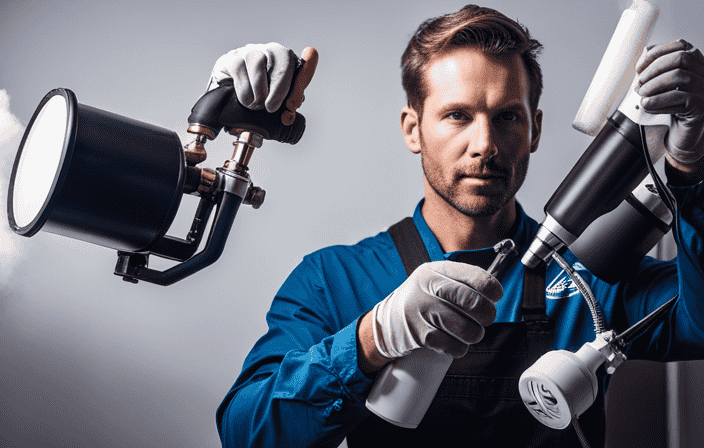
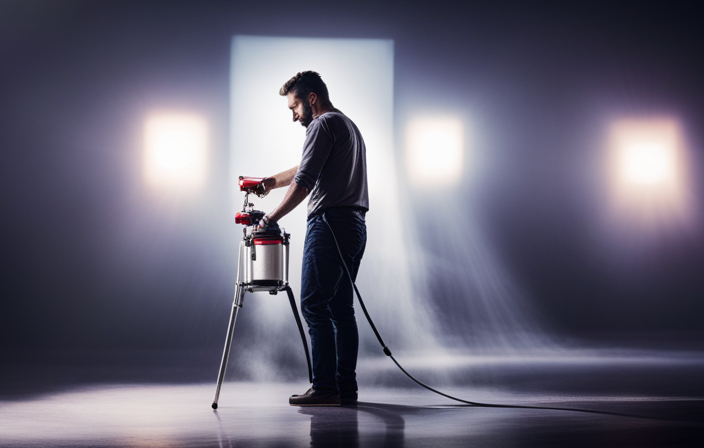
Selecting the Right Equipment
You’ll feel like a pro when you select the right equipment for your airless sprayer! When it comes to choosing the right nozzle, it’s important to consider the type of paint you’ll be using and the surface you’ll be painting.
Different nozzles have different spray patterns and fan widths, so selecting the proper one will ensure an even and smooth application.
Additionally, it’s crucial to troubleshoot common issues that may arise with your airless sprayer. This includes checking for clogs or blockages in the nozzle, ensuring proper pressure settings, and checking for leaks or loose connections.
By addressing these issues beforehand, you can avoid any interruptions or delays in your painting project.
Now that you have the right equipment, let’s move on to preparing the surface for painting.
Preparing the Surface
To achieve a flawless finish, it’s crucial to properly prep the surface before getting started with the airless sprayer. Surface preparation is key to ensure that the paint adheres properly and lasts longer.
Start by cleaning the surface thoroughly to remove any dirt, dust, or grease. Next, inspect for any imperfections such as cracks or holes and repair them using appropriate fillers.
Once the surface is clean and repaired, sanding techniques come into play. Sand the surface using fine-grit sandpaper to create a smooth and even texture. This step helps the paint to adhere better and gives a professional look to the final result. Remember to sand in the direction of the wood grain or in a circular motion for other materials.
With the surface properly prepped, we can now move on to the next section about masking and protecting the surrounding area.
Masking and Protecting the Surrounding Area
Before diving into the actual painting process, it’s essential to take the time to properly mask and protect the surrounding area, ensuring that no unintended surfaces are coated with paint. This step is crucial in protecting furniture and preventing overspray.
Here’s how to effectively mask and protect the area:
- Cover furniture and other items with plastic sheets or drop cloths.
- Use painter’s tape to secure the edges of the protective materials.
- Seal off doors and windows with plastic sheets to prevent paint from entering other rooms.
- Create a barrier around the area by using plastic sheets or drop cloths.
By taking these precautions, you can avoid any potential damage to furniture and minimize the risk of overspray. Once the surrounding area is well-protected, it’s time to move on to the next step of mixing and diluting the paint.
Mixing and Diluting the Paint
Once you’ve got your paint ready, it’s time to work some magic by mixing and diluting it to create the perfect concoction for your masterpiece. When it comes to paint mixing techniques, there are a few options to consider. One method is to manually mix the paint using a stirring stick or paint mixer attachment on a drill. Another option is to use a paint shaker machine, which can quickly and efficiently mix the paint for you. As for paint dilution ratios, this is an important step to ensure the paint flows smoothly through the airless sprayer. The specific ratio will depend on the type of paint being used and the desired consistency. It’s essential to follow the manufacturer’s instructions for dilution to achieve optimal results. Once the paint is mixed and diluted, we can move on to adjusting the airless sprayer settings for the perfect application.
Adjusting the Airless Sprayer Settings
Now, let’s dive into fine-tuning the settings on our trusty sprayer for that flawless application. Here’s how you can do it:
-
Start by setting the pressure to a low level and gradually increase it until you reach the optimal spraying speed. This will help you achieve better control and reduce overspray.
-
Keep an eye on the pressure gauge while painting. If you notice excessive overspray or uneven coverage, lower the pressure slightly. On the other hand, if the paint is not atomizing properly, increase the pressure.
-
Experiment with different pressure settings on a scrap piece of material before starting the actual project. This will allow you to find the sweet spot for your specific paint and surface.
Adjusting the airless sprayer settings is crucial for controlling overspray and achieving a smooth finish.
Now, let’s move on to starting and maintaining a consistent spray pattern.
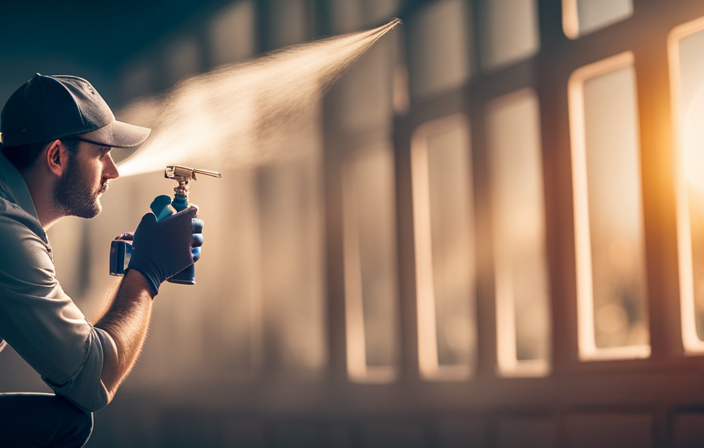
Starting and Maintaining a Consistent Spray Pattern
To achieve that flawless application, simply ensure a smooth and consistent spray pattern is maintained throughout. Start by adjusting the pressure on the airless sprayer to achieve the desired flow rate. This will help avoid overspray and ensure that the paint is applied evenly.
If you notice any issues with the spray pattern, such as uneven coverage or sputtering, there are a few troubleshooting steps you can take. First, check the nozzle for any clogs or obstructions and clean it if necessary. Next, make sure the paint viscosity is appropriate for the sprayer and adjust if needed. Finally, check the spray tip for wear and replace if necessary.
By maintaining a consistent spray pattern, you’ll be able to apply the paint in even coats and achieve a professional-looking finish.
Applying the Paint in Even Coats
Ensure you achieve a flawless application by applying the paint in even coats, maintaining a smooth and consistent spray pattern throughout. To achieve this, follow these steps:
- Start by applying thin layers of paint, as thicker coats can lead to drips and an uneven finish.
- Use a back and forth motion while spraying, overlapping each pass slightly to ensure full coverage.
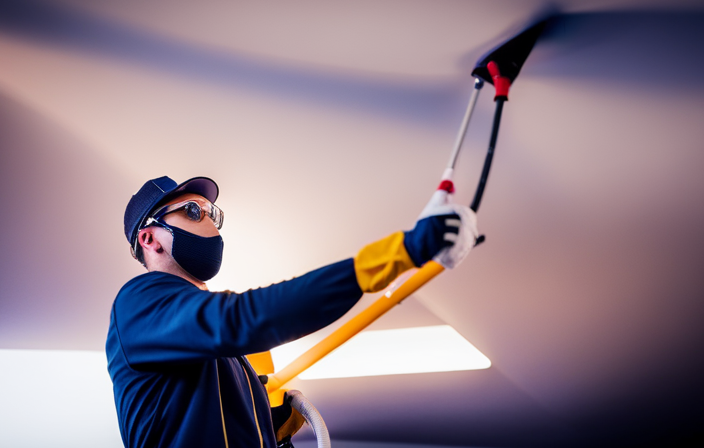
- Keep the sprayer at a consistent distance from the surface, usually around 12-18 inches, to maintain an even application.
- Pay attention to the speed at which you move the sprayer, as going too fast can result in a light and patchy coat, while going too slow can cause drips.
- Regularly check the surface for any missed spots or inconsistencies and make any necessary touch-ups.
By applying the paint in even coats, you’ll achieve a professional-looking finish.
Now, let’s move on to overcoming common challenges and troubleshooting.
Overcoming Common Challenges and Troubleshooting
Now that we have learned about applying the paint in even coats, let’s move on to the next step: overcoming common challenges and troubleshooting. Painting with an airless sprayer can sometimes present difficulties, but with the right techniques, you can easily troubleshoot and achieve a flawless finish. It’s important to be aware of common mistakes such as clogging, overspray, and uneven coverage. To help you navigate these challenges, I have prepared a table that outlines troubleshooting techniques for each issue. By following these guidelines, you can ensure a smooth painting process and avoid costly mistakes. Once you have mastered troubleshooting, we can move on to the next section on cleaning and maintaining the airless sprayer, which is crucial for its longevity and optimal performance.
Cleaning and Maintaining the Airless Sprayer
Once you’ve familiarized yourself with the troubleshooting techniques, it’s crucial to regularly clean and maintain your airless sprayer to maximize its lifespan and ensure optimal performance. Cleaning techniques are essential in preventing clogs and maintaining a smooth paint flow.
After each use, make sure to flush the sprayer with a cleaning solution or water to remove any leftover paint or debris. Pay special attention to the nozzle, filters, and hose, as these areas are prone to buildup.
Additionally, regularly inspect and replace worn or damaged parts to avoid any potential issues. Following these cleaning techniques and troubleshooting tips will help keep your airless sprayer in top condition, ensuring a professional finish.
Achieving a Professional Finish
To achieve a flawless and polished result, it’s essential to master the art of creating a professional finish with your trusty airless sprayer. Here are three key steps to achieving a smooth finish while avoiding drips and runs:
-
Prep your surface: Ensure it’s clean, dry, and free of any dust or debris. This will provide a smooth canvas for your paint.
-
Use the right technique: Hold the sprayer at a consistent distance from the surface, typically around 12 inches. Move your arm smoothly and evenly, using overlapping strokes to ensure even coverage.
-
Apply multiple thin coats: Instead of trying to achieve full coverage in one go, it’s better to apply several thin coats. This helps prevent drips and runs, giving you a more professional finish.
By following these steps, you’ll be able to achieve a smooth and professional finish with your airless sprayer, leaving your painted surfaces looking flawless.
Frequently Asked Questions
Can I use an airless sprayer to paint textured surfaces?
Yes, an airless sprayer can be used to paint textured surfaces. Compared to traditional methods, it provides a more even and consistent finish. With its high pressure, it effectively covers small crevices and uneven areas, resulting in a professional-looking outcome.
How do I prevent overspray when using an airless sprayer?
To prevent overspray when using an airless sprayer, I adjust the spray pattern to a narrower setting and make sure to maintain an appropriate distance from the surface. This helps prevent clogging and ensures a cleaner, more controlled application.
Can I use an airless sprayer for both indoor and outdoor painting projects?
Using an airless sprayer is a breeze! Whether you’re tackling indoor painting techniques or outdoor painting tips, this versatile tool is perfect for both. Get ready to transform any space with ease.
How do I choose the right paint type and viscosity for an airless sprayer?
To choose the right paint type and viscosity for an airless sprayer, start by considering the surface you’re painting. Use paint designed for airless sprayers and check the manufacturer’s recommendations. Clean the sprayer thoroughly after each use to maintain its performance.
What safety precautions should I take when using an airless sprayer?
When using an airless sprayer, it is important to prioritize safety. I always wear a respirator to protect against fumes and ensure proper ventilation in the area.
Conclusion
In conclusion, painting with an airless sprayer is a game-changer for achieving a professional finish. With the right equipment, proper preparation, and careful application, you can transform any surface with ease.
Remember to adjust the settings, apply even coats, and overcome any challenges that come your way. And don’t forget to clean and maintain your airless sprayer for long-lasting performance.
So why wait? Grab your sprayer, let coincidence guide you, and get ready to amaze yourself with the stunning results. Happy painting!