Have you ever looked at a freshly painted room and felt a sense of achievement and satisfaction? It’s truly amazing how a fresh coat of paint can completely transform a space. Yet, achieving that flawless finish requires the right tools and techniques.
That’s where an airless sprayer comes in. In this video, I’ll show you step-by-step how to paint with an airless sprayer, so you can achieve professional results in no time. From safety precautions and equipment preparation to choosing the right paint and setting up the sprayer, I’ll guide you through each stage of the process.
You’ll learn how to navigate edges and corners, maintain a consistent distance and speed, and achieve a smooth, even finish through overlapping and layering. So grab your airless sprayer, and let’s get started on transforming your space with a fresh coat of paint.
Key Takeaways
- Remove remaining paint inside and outside sprayer
- Use clean cloth or brush to wipe away residue
- Disassemble and clean each part individually
- Pay close attention to nozzle for paint build-up
Safety Precautions and Equipment Preparation
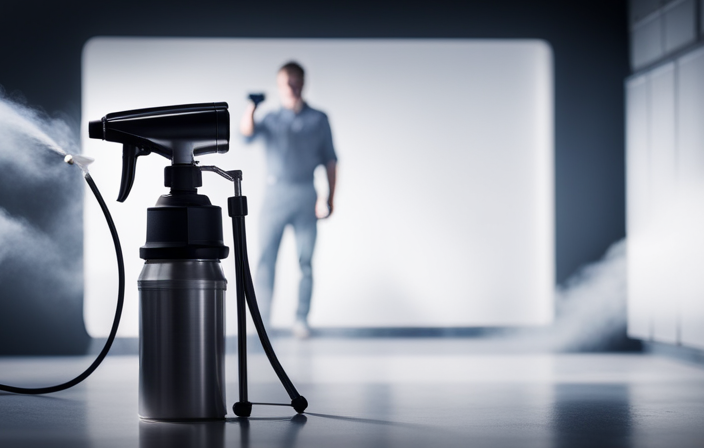
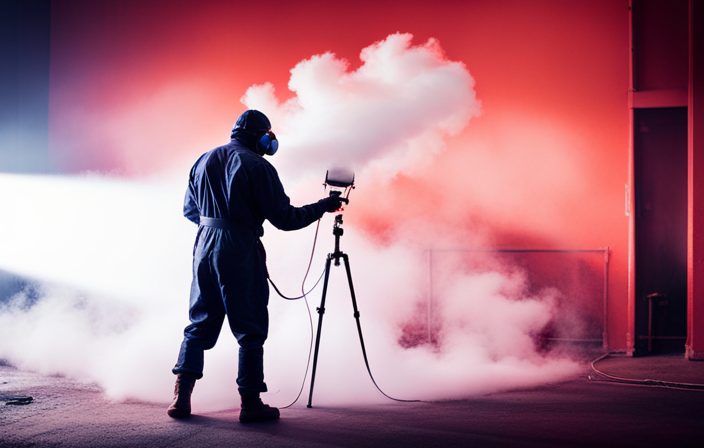
Now that you’ve got your safety gear on, it’s time to prepare your equipment for the painting extravaganza! Before you begin, make sure you have all the necessary safety gear, such as goggles, gloves, and a respirator. These items will protect you from any potential hazards during the painting process.
Additionally, it’s crucial to ensure proper ventilation in the area where you’ll be painting. Open windows and use fans to circulate fresh air, as paint fumes can be harmful if inhaled in large quantities.
Once you have your safety gear and ventilation sorted, it’s time to move on to choosing the right paint and preparing the surface for a flawless finish.
Choose the Right Paint and Preparation
Before beginning, make sure you’ve selected the perfect paint and completed all necessary preparations.
When it comes to paint selection, consider the surface you’ll be painting and the desired finish. Different surfaces may require specific types of paint, such as latex or oil-based. Additionally, choose a color that complements your space and matches your style.
Surface preparation is equally important. Clean the surface thoroughly to remove any dirt, grease, or loose paint. Repair any cracks or holes and sand the surface to create a smooth and even base. Finally, apply a primer to enhance adhesion and ensure a long-lasting finish.
Once you’ve selected the right paint and prepared the surface, you’re ready to set up and adjust the airless sprayer for optimal results.
Set Up and Adjust the Airless Sprayer
To ensure a flawless painting experience, get ready to unleash the power of your airless sprayer by setting it up and making necessary adjustments. Start by adjusting the pressure according to the type of paint and surface you’re working with. This will ensure optimal coverage and prevent any issues like overspray or uneven application.
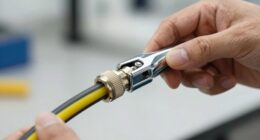
Troubleshooting common issues such as clogs or inconsistent spray patterns is also crucial before you begin painting. Check the nozzle for any blockages and clean it if necessary. Additionally, make sure the filters are clean and properly installed.
By taking the time to set up and adjust your airless sprayer correctly, you’ll be able to achieve professional-grade results.
Now, let’s move on to the next section where we’ll practice and familiarize ourselves with the sprayer.
Practice and Familiarize Yourself with the Sprayer
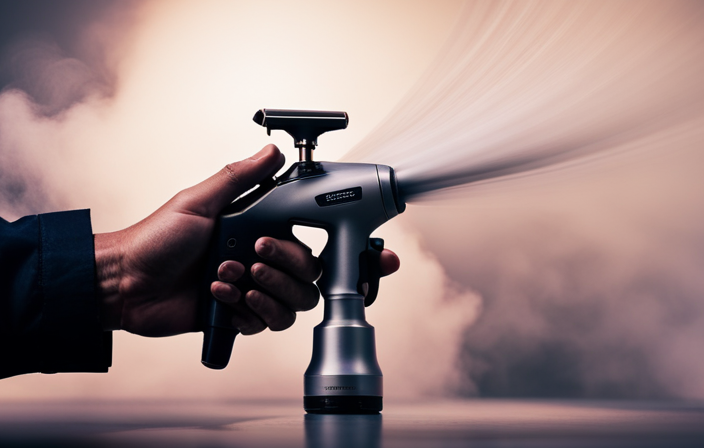
Get your hands on the sprayer and unleash its power, becoming one with the tool as you practice and familiarize yourself with its capabilities.
To practice techniques and ensure smooth operation, start by adjusting the pressure and spray pattern according to the manufacturer’s instructions. Experiment with different distances from the surface and angles of spraying to achieve the desired coverage and texture.
As you practice, pay attention to any common issues that may arise, such as clogging or uneven spray. Troubleshoot these issues by cleaning or replacing clogged nozzles and filters, and adjusting the pressure as needed.
Once you feel comfortable with the sprayer, it’s time to move on to the next step: starting with the edges and corners for precise and professional results.
Start with the Edges and Corners
Begin by tackling the edges and corners, where precision is key for achieving a flawless finish. Here are four techniques to help you master this crucial step:
-
Feathering Technique: Gently fan out the spray pattern as you approach the edges and corners. This will prevent any harsh lines or overspray.
-
Angled Approach: Hold the sprayer at a slight angle towards the surface you’re painting. This allows you to reach tight spots and ensures even coverage.
-
Slow and Steady: Take your time when painting edges and corners. Rushing can lead to drips, uneven coverage, and missed spots.
-
Practice on Scrap Material: Before diving into your project, practice on a piece of scrap material. This’ll help you get a feel for the sprayer and perfect your technique.
By mastering these edges and corners techniques, you can avoid common mistakes and achieve a professional-looking finish.
Now, let’s move on to the next step: applying the paint in even strokes.
Apply the Paint in Even Strokes
Smooth and steady strokes, like a gentle breeze on a calm summer day, will ensure an even application of the paint. When using an airless sprayer, it’s important to master the even strokes technique to achieve professional-looking results.
Start by holding the sprayer nozzle perpendicular to the surface and move it in a straight line, overlapping each stroke by 50%. This will prevent streaks and uneven coverage. Avoid the common mistake of rushing or applying too much pressure, as this can lead to drips and runs. Instead, maintain a consistent speed and pressure throughout the entire stroke.
Remember to keep your arm relaxed and your movements fluid. By using the even strokes technique, you’ll achieve a flawless finish that’ll make any professional painter proud.
Now, let’s move on to maintaining a consistent distance and speed.
Maintain a Consistent Distance and Speed
As you glide the nozzle across the surface, envision a graceful dancer effortlessly maintaining a consistent distance and speed, creating a seamless flow of paint. To achieve this technique, keep the following in mind:
-
Measure the distance: Hold the sprayer nozzle about 12 inches away from the surface. This distance ensures proper coverage without overspray.
-
Steady the speed: Move the sprayer in a steady, controlled motion. Avoid rushing or slowing down, as it can result in uneven application.
-
Monitor the pressure: Maintain a consistent pressure on the sprayer trigger to regulate the flow of paint. This helps to achieve an even coat.
-
Troubleshoot issues: If you notice any splattering or uneven application, check the paint viscosity, clean the sprayer tip, or adjust the pressure as needed.
By mastering this maintaining technique, you’ll be ready to move on to the next step of overlapping and layering for a smooth finish.
Overlapping and Layering for a Smooth Finish
Mastering the art of overlapping and layering will take your painting skills to the next level, giving you a flawlessly polished finish that will leave everyone in awe.
Layering techniques are crucial for achieving a smooth and professional look with an airless sprayer. When layering, start by applying a light coat of paint, making sure to cover the entire surface evenly. Allow this coat to dry completely before applying subsequent layers.
As you add more layers, be sure to blend the colors seamlessly, creating a uniform appearance. Overlapping each stroke slightly will help to blend the layers together, resulting in a smooth and consistent finish.
Remember to maintain a consistent distance and speed while painting to ensure even coverage. Once you have mastered these layering techniques, you can move on to the next step of cleaning and maintaining the sprayer after use.
Clean and Maintain the Sprayer After Use
After you’ve finished using it, don’t forget to clean and take care of your sprayer to keep it in top condition. The cleaning process is crucial to ensure the longevity and performance of your airless sprayer.
Start by removing any remaining paint from the sprayer, both inside and outside. Use a clean cloth or brush to wipe away any residue.
Then, disassemble the sprayer and clean each part individually. Pay close attention to the nozzle, as it tends to accumulate paint build-up. If you encounter any issues during the cleaning process, such as clogged or damaged parts, refer to the troubleshooting section of your sprayer’s manual for guidance.
Once everything is clean and dry, reassemble the sprayer and store it in a safe place.
With a well-maintained sprayer, you’ll be ready for the final tips and tricks for a professional result.
Final Tips and Tricks for a Professional Result
To achieve a professional finish, remember to pay attention to the details and incorporate some expert tips and tricks into your painting process. By following these professional painting techniques and avoiding common mistakes, you can ensure a flawless result. Here are some final tips and tricks for a professional result:
| Tips and Tricks | Description |
|---|---|
| Use the right nozzle size | Choosing the correct nozzle size for your project is crucial in achieving a smooth and even finish. Consult the manufacturer’s guidelines for the recommended nozzle size. |
| Maintain a consistent distance | Keep a consistent distance between the sprayer and the surface being painted. This will prevent uneven coverage and drips. |
| Overlap each stroke | Overlapping each stroke by about 50% will ensure an even distribution of paint and prevent any visible lines or streaks. |
| Practice on a test surface | Before starting on your main project, practice on a test surface to get a feel for the sprayer and adjust your technique if needed. |
| Clean as you go | To maintain the sprayer’s performance and prevent clogs, clean it periodically during the painting process. Follow the manufacturer’s instructions for proper cleaning and maintenance. |
By incorporating these tips and tricks into your painting process, you can achieve professional results and avoid common mistakes.
Frequently Asked Questions
What is the recommended distance to maintain between the airless sprayer and the surface being painted?
The recommended distance to maintain between the airless sprayer and the surface being painted is typically 12 to 18 inches. This allows for an even application of paint and prevents overspray.
How long does it typically take for the paint to dry when using an airless sprayer?
Typically, paint dries within a few hours when using an airless sprayer. To speed up the drying time, ensure good ventilation and use a fan. To avoid drips and runs, apply thin coats and maintain a consistent spraying distance.
Can an airless sprayer be used to paint textured surfaces?
Yes, an airless sprayer can be used to paint textured surfaces. By adjusting the painting techniques and using alternative tools like a texture nozzle or a hopper gun, you can achieve a smooth and even finish on textured surfaces.
What type of paint is best suited for use with an airless sprayer?
The best paint brands for airless sprayers are Sherwin-Williams, Behr, and Benjamin Moore. To achieve a smooth finish, make sure to choose a high-quality paint, thin it properly, and apply multiple thin coats.
Are there any specific safety precautions to take when using an airless sprayer indoors?
When using an airless sprayer indoors, it’s important to follow safety precautions. Always wear protective gear, cover nearby objects, and ensure proper ventilation. Avoid common mistakes like spraying too close or using flammable materials.
Conclusion
To sum it up, painting with an airless sprayer is a game-changer! It’s like unleashing a tornado of color and transforming your space in no time. With the right precautions and preparation, you can achieve a professional finish that’ll leave your friends in awe.
So grab that sprayer and let your creativity flow! Remember, practice makes perfect, and soon you’ll be painting like a pro.
Don’t forget to clean and maintain your sprayer for long-lasting use. Happy painting!