
Congratulations on taking the plunge into a painting project and purchasing an airless paint sprayer! You are entering the world of top-notch painting, my friend.
But before you can start transforming your space with a fresh coat of color, there’s one crucial step you must take: priming your sprayer.
In this article, I’ll guide you through the process of priming an airless paint sprayer, step by step. We’ll cover everything from preparing the sprayer to cleaning it after priming. By the time we’re done, you’ll be armed with the knowledge and skills to ensure a smooth and efficient painting experience.
So grab your sprayer, roll up your sleeves, and let’s get priming! Together, we’ll make sure your paint sprayer is ready to deliver flawless results.
Key Takeaways
- Maintain consistent distance while priming an airless paint sprayer
- Check for clogs or blockages and clean or replace the nozzle if needed
- Adjust pressure settings as necessary and pay attention to speed
- Thoroughly clean the sprayer and equipment after priming to prevent clogs or malfunctions
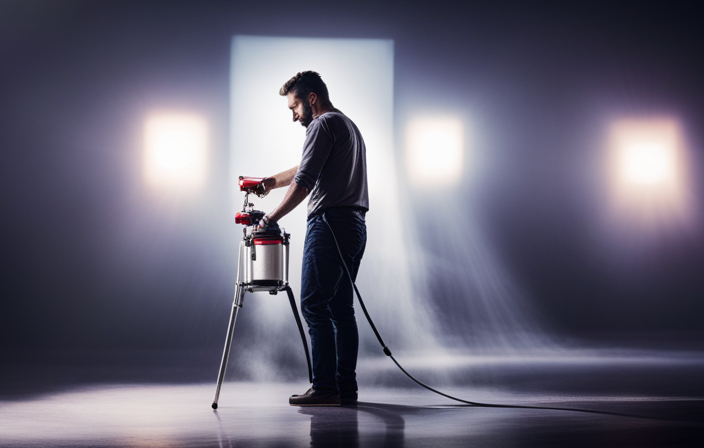
Prepare the Sprayer for Priming
Now it’s time to get this sprayer ready for priming, so let’s roll up our sleeves and get to work!
Before starting, it’s crucial to perform some sprayer maintenance to ensure optimal performance. First, check all connections and make sure they’re tight and secure.
Inspect the sprayer’s filters and clean or replace them if necessary. Troubleshooting tips can be helpful if you encounter any issues during the priming process.
For example, if the sprayer doesn’t start or has uneven pressure, check the power source, make sure the intake tube’s submerged in the primer, and inspect the spray tip for clogs.
Once the sprayer’s in good condition, it’s time to fill the paint container with primer.
Fill the Paint Container with Primer
To get started, let’s pour the primer into the container and get ready to give your walls a fresh makeover. Here are some priming techniques to consider:
-
Choosing the right primer: Select a primer that matches the type of paint you’ll be using. Oil-based primers work well for oil-based paints, while latex primers are suitable for latex paints. Consider the surface you’re painting on as well, whether it’s wood, metal, or drywall.
-
Clean the container: Ensure that the paint container is clean and free from any residue or previous paint. This will prevent any contamination and ensure a smooth application.
-
Fill the container: Pour the primer into the container, making sure not to overfill it. Leave some space at the top to prevent spills and allow for proper mixing.
-
Secure the lid: Close the container tightly to avoid any leaks or spills during priming.
Now that the container is filled with primer, let’s move on to attaching it to the sprayer for the next step.
Attach the Paint Container to the Sprayer
Let’s get the paint container connected to the sprayer so we can start giving those walls a fresh new look! To attach the paint container to the sprayer, follow these steps:
- Locate the paint container attachment on the sprayer. It is usually a threaded connector located near the handle.
- Align the threads on the paint container with the connector on the sprayer.
- Slowly twist the container clockwise until it is securely attached.
- Ensure that the attachment is tight to prevent any leakage during the painting process.
- Refer to the user manual for your specific sprayer model for any additional instructions or troubleshooting tips.
Now that we have successfully attached the paint container to the sprayer, we can move on to the next step of turning on the sprayer and adjusting the pressure for optimal painting results.
Turn on the Sprayer and Adjust the Pressure
Get ready to unleash the power of your sprayer by activating it and fine-tuning the pressure for impeccable painting results. Here are four key steps to follow for optimal sprayer maintenance and troubleshooting common issues:
-
Turn on the sprayer: Locate the power switch and flip it to the ‘on’ position. Ensure that the sprayer is securely plugged into a grounded outlet.
-
Adjust the pressure: Use the pressure control knob to increase or decrease the pressure according to your painting needs. Start with a lower pressure setting and gradually increase it until you achieve the desired spray pattern.
-
Check for leaks: Inspect the sprayer and connections for any leaks. Tighten any loose fittings or replace damaged parts as necessary.
-
Clean the filters: Regularly clean or replace the filters to prevent clogs and maintain optimal spray performance.
Now that you’ve activated the sprayer and adjusted the pressure, it’s time to test the flow of primer on a scrap surface.
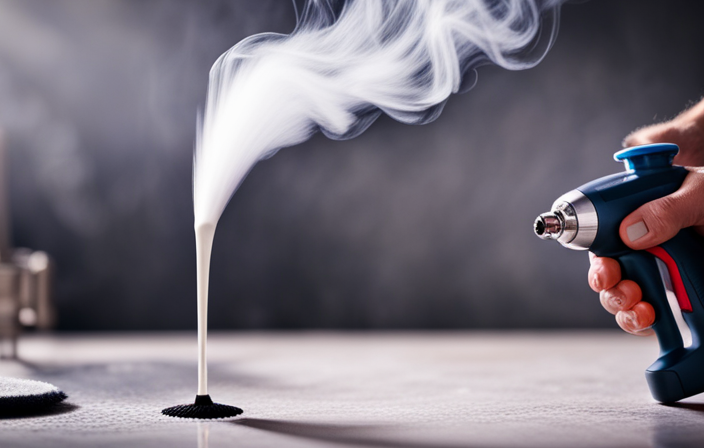
Test the Flow of Primer on a Scrap Surface
After activating the sprayer and adjusting the pressure, it’s time to see how the primer flows on a scrap surface. This step is crucial as it allows you to identify any common mistakes when testing primer on a scrap surface.
One common mistake is not properly preparing the surface before applying the primer, which can lead to uneven coverage and adhesion issues. Another mistake is not selecting the correct nozzle size, which can result in an inconsistent flow and overspray.
To achieve a smooth and consistent primer flow on different surfaces, here are some tips: ensure the surface is clean and free of dust or debris, hold the sprayer at a consistent distance from the surface, and use smooth and overlapping strokes.
By testing the primer flow on a scrap surface, you can assess its consistency and make any necessary adjustments to the pressure and nozzle settings if needed, ensuring optimal results.
Adjust the Pressure and Nozzle Settings if Needed
After testing the flow of primer on a scrap surface, it may be necessary to adjust the pressure and nozzle settings of the airless paint sprayer. This step is crucial to ensure optimal paint application and prevent any issues that may arise during the priming process. To begin, check the pressure gauge on the sprayer and adjust it accordingly, taking care not to exceed the recommended pressure for the primer being used. Next, consider the nozzle size and make any necessary adjustments to achieve the desired spray pattern and coverage. Troubleshooting common issues such as uneven spray, clogging, or overspray can often be resolved by fine-tuning the pressure and nozzle settings. Once these adjustments have been made, you are ready to begin priming the surface with even, overlapping strokes.
Begin Priming the Surface with Even, Overlapping Strokes
Start by smoothly gliding the sprayer across the surface, ensuring that each stroke overlaps with the previous one, creating a seamless coat of primer.
To achieve a smooth finish with an airless paint sprayer, it’s crucial to maintain a consistent speed and distance from the surface. Avoid going too fast or too slow, as it can result in an uneven application. Additionally, be mindful of the pressure and nozzle settings, which should be adjusted according to the thickness of the primer and the desired coverage.
Common mistakes to avoid when priming with an airless paint sprayer include applying too much pressure, which can cause drips and runs, and not overlapping the strokes properly, resulting in missed spots. By following these tips, you can ensure a professional-looking finish.
Continue priming until the surface is fully covered, ensuring that no areas are left untreated.
Continue Priming Until the Surface is Fully Covered
Continue priming until the entire surface is completely covered, ensuring a flawless and professional finish. To achieve the best results, it is important to employ proper continue priming techniques and troubleshoot any priming issues that may arise. One effective technique is to maintain a consistent distance of around 12 inches from the surface, moving the sprayer in even, overlapping strokes. This ensures an even application of the primer and prevents streaking or uneven coverage. Additionally, it is crucial to pay attention to the speed at which the sprayer is moved, as moving too quickly can result in inadequate coverage.
To further enhance the understanding of continue priming, refer to the table below:
| Continue Priming Techniques | Troubleshooting Priming Issues |
|---|---|
| Maintain consistent distance | Check for clogs or blockages |
| Use even, overlapping strokes | Adjust pressure settings if necessary |
| Pay attention to speed | Clean or replace nozzle if needed |
Now that the surface has been fully covered, it is time to transition into the subsequent section about cleaning the sprayer after priming.
Clean the Sprayer After Priming
To ensure a smooth and efficient process, make sure you thoroughly clean the equipment after you finish priming. Cleaning the sprayer is an essential step to maintain its longevity and prevent any clogs or malfunctions during future use. Here are some steps to follow for proper cleaning:
- Start by disconnecting the sprayer from the power source and releasing any remaining pressure.
- Remove the spray tip, guard, and filter housing, and rinse them with water to remove any excess paint.
- Prepare a cleaning solution by mixing warm water with a mild detergent or a recommended cleaning agent.
- Use a brush or a cloth to scrub the inside of the sprayer, ensuring all paint residues are removed.
After cleaning, make sure to store the sprayer in a dry and secure place to prevent any damage.
Now, you’re ready to start painting with your desired paint color.
Start Painting with Your Desired Paint Color
Get ready to unleash your creativity and bring your vision to life by diving into the vibrant world of colors with your preferred shade. Now that you’ve primed your airless paint sprayer, it’s time to start painting with your desired paint color.
Before you begin, it’s important to understand some painting techniques that’ll help you achieve the best results. One key technique is selecting the right paintbrush for the job. Consider the type of paint you’re using and the surface you’re painting on. A synthetic bristle brush is ideal for latex or water-based paints, while a natural bristle brush is better suited for oil-based paints.
Additionally, consider the size of the brush and the surface area you need to cover. A larger brush is great for larger areas, while a smaller brush is perfect for detailed work. By using the right painting techniques and selecting the right paintbrush, you can achieve a professional-looking finish with your airless paint sprayer.
Frequently Asked Questions
How long does it usually take to prime an airless paint sprayer?
It usually takes a few minutes to prime an airless paint sprayer. To troubleshoot common issues, check for clogs in the spray tip or filter, ensure proper paint consistency, and maintain and store the sprayer according to manufacturer guidelines.
Can any type of primer be used with an airless paint sprayer?
Certainly! When it comes to primer compatibility with an airless paint sprayer, it’s essential to select the best primers. Consider using high-quality oil-based or latex primers, as they are commonly recommended for optimal results.
What safety precautions should be taken when using an airless paint sprayer?
When using an airless paint sprayer, it is crucial to follow safety precautions. Wear protective gear, such as goggles and gloves, to prevent injury. Keep a safe distance from the spray, and ensure proper ventilation in the workspace.
How often should the nozzle on an airless paint sprayer be cleaned?
Cleaning the nozzle of an airless paint sprayer is essential for optimal performance. It is recommended to regularly clean the nozzle to prevent clogs and ensure even spray patterns. Follow the manufacturer’s instructions for proper cleaning techniques.
Can an airless paint sprayer be used for both indoor and outdoor projects?
Yes, an airless paint sprayer can be used for both indoor and outdoor projects. It offers the benefit of providing a smooth, even finish and is efficient for large areas. It eliminates brush strokes and allows for quick and easy application.
Conclusion
To conclude, priming an airless paint sprayer is a crucial step in ensuring a smooth and even finish on your surfaces. By following the steps outlined in this article, you can successfully prepare the sprayer, fill it with primer, adjust the pressure, and test the flow before beginning the priming process.
Remember to clean the sprayer thoroughly after priming to maintain its functionality. Now, armed with this knowledge, you can confidently start painting with your desired paint color and achieve professional-looking results.