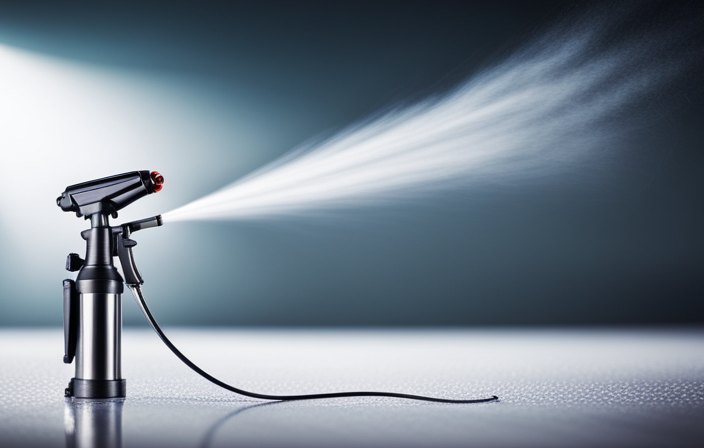
In this article, I will guide you through the process of applying gloss latex paint using an airless paint sprayer, providing you with the tips and techniques needed to achieve professional-looking results.
First, we will discuss the importance of preparing your paint and equipment, ensuring that everything is in optimal condition.
Next, we will dive into the crucial step of preparing the surface for painting, ensuring a smooth and flawless finish.
Then, we will explore the proper technique of using an airless paint sprayer, allowing you to unleash your creativity with confidence.
So, let’s get started and unlock the potential of your walls with the power of an airless paint sprayer and gloss latex paint.
Key Takeaways
- Choose the right gloss level for the desired sheen and environment
- Properly clean and maintain the equipment for optimal performance and longevity
- Store the sprayer properly in a cool and dry place to prevent damage
- Follow safety precautions and guidelines when using an airless paint sprayer

InoKraft MaXpray M1 Airless Paint Sprayer, 3000 PSI 550W Corded Electric, Thinning-Free for Latex & Stain, DIY Home Interior Exterior Walls Fences Decks, Includes Spray Gun Kit & 12" Tip Extension
- Fast Painting Speed: 5X faster than rolling, 12X faster than brushing
- High-Pressure Performance: 3000 PSI, 0.29 GPM for even coverage
- Direct from Bucket: Draw paint from 5-gallon bucket for large projects
As an affiliate, we earn on qualifying purchases.
Prepare Your Paint and Equipment
Before you dive into spraying your glossy latex paint with an airless paint sprayer, it’s crucial to get your paint and equipment fully prepared.
Start by ensuring that your paint is properly mixed and free from any clumps or debris. This can be done by gently stirring the paint with a stirring stick or using a paint mixer attachment on a power drill.
Additionally, make sure to wear appropriate safety gear, such as goggles and a respirator, to protect yourself from any potential hazards.
Before starting the spraying process, check that your airless paint sprayer is in good working condition and that all necessary parts, such as the spray tip, are clean and properly attached.
Once you have prepared your paint and equipment, you can move on to the next section and prepare the surface for painting.
Prepare the Surface for Painting
To get the best results, make sure you’ve thoroughly cleaned and sanded the surface you’re going to paint. Did you know that 80% of a successful paint job is attributed to proper surface preparation? Here are some key points to consider for surface preparation:
-
Clean the surface: Remove any dirt, grease, or debris using a mild detergent and water solution. Rinse thoroughly and allow it to dry completely.
-
Repair any imperfections: Fill in any cracks, holes, or dents with a suitable filler. Smooth it out and let it dry before proceeding.
-
Sanding technique: Use a fine-grit sandpaper to lightly sand the surface. This helps to create a rougher texture, allowing the paint to adhere better. Remember to sand in the direction of the grain for wood surfaces.
-
Dust removal: After sanding, remove any dust or particles using a tack cloth or a lint-free cloth.
By following these surface preparation steps, you’ll ensure a smooth and durable finish.
Now, let’s move on to the next section and practice proper technique when using an airless paint sprayer.
Practice Proper Technique
When spraying gloss latex paint with an airless paint sprayer, it’s important to maintain the right distance from the surface. This ensures proper coverage and prevents overspray.
Using a smooth and even motion while spraying helps to achieve a professional finish.
Finally, overlapping each spray pass ensures consistent coverage and eliminates streaks or unevenness.
Maintain the Right Distance from the Surface
When spraying gloss latex paint with an airless paint sprayer, maintaining the proper distance from the surface is crucial. This ensures proper spraying technique and helps avoid overspray. Holding the sprayer too close can lead to uneven paint application, resulting in drips or sags. Conversely, holding the sprayer too far away can cause overspray and create a messy finish. To maintain the right distance, I typically keep the sprayer nozzle about 12 to 18 inches away from the surface. This allows for a consistent and even application of paint. As I move into the next section about using a smooth and even motion, I continue to focus on maintaining this proper distance to achieve the best results.
Use a Smooth and Even Motion
Using a steady and fluid motion is key for achieving a flawless finish while applying the gloss latex paint with an airless sprayer. To ensure a smooth application and even coverage, it is important to maintain a consistent speed and distance from the surface. This will prevent any drips or uneven spots in the paint.
One technique that can help achieve a smooth and even motion is to imagine yourself painting a large letter "S" on the surface. This will ensure that you cover the entire area evenly without missing any spots.
Another important aspect is to move the sprayer in a parallel motion to the surface, keeping it at a 90-degree angle. This will help prevent any streaks or lines in the paint.
By following these techniques, you can achieve a professional-looking finish with the gloss latex paint.
To transition into the next section about overlapping each spray pass for consistent coverage, it is important to ensure that each pass slightly overlaps the previous one. This will help eliminate any gaps and ensure a consistent coat of paint.
Overlap Each Spray Pass for Consistent Coverage
To achieve a flawless finish, smoothly glide the sprayer over the surface. Overlap each pass like a graceful dance for consistent coverage. This technique is crucial for achieving a smooth and even coat of gloss latex paint. It helps avoid streaks or unevenness in the final result. Maintain a consistent distance between the sprayer and the surface while overlapping. This ensures an even application. Keep the sprayer moving at a steady pace to prevent paint buildup in one area. By using these overlap techniques, you can achieve a professional-looking finish. Be aware of common mistakes to avoid, such as spraying too close or too far from the surface. These can result in an uneven finish. With these tips in mind, you can now move on to the next section and start painting.
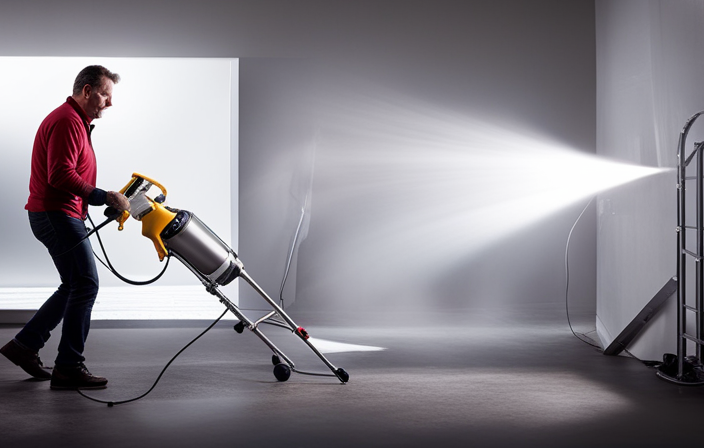
Start Painting
Begin by picking up the sleek airless paint sprayer and feel the weight of the tool in your hand as you prepare to embark on your painting journey. Before you start painting, ensure proper ventilation in the workspace. Open windows or use fans to circulate fresh air and prevent the buildup of fumes. Don’t forget to take necessary safety precautions such as wearing protective goggles, gloves, and a respirator mask to shield yourself from potential hazards.
Now, let’s get started with the painting process.
- Hold the sprayer nozzle approximately 12 inches away from the surface.
- Move the sprayer smoothly and steadily, maintaining a consistent distance from the surface.
- Spray in a horizontal or vertical pattern, overlapping each pass by 50% to achieve even coverage.
- Control the spray speed to avoid excess buildup or drips.
With proper ventilation and safety measures in place, you’re ready to begin painting.
Now, let’s move on to the next section about keeping a clean work environment.
Keep a Clean Work Environment
Now that I’ve embarked on my painting journey, it’s crucial to maintain a tidy workspace to ensure optimal results.
Maintaining cleanliness is essential when using an airless paint sprayer with gloss latex paint. Before starting, I make sure to clean the area thoroughly, removing any debris or dust that could affect the finish.
I also organize my tools and materials in a systematic manner, so everything is easily accessible. Additionally, I cover surrounding surfaces with drop cloths or plastic sheets to protect them from overspray.
By keeping a clean work environment, I minimize the risk of contamination and achieve a professional-looking paint job.
With everything in order, it’s time to move on to the next section and apply additional coats if needed, ensuring a smooth and even finish.
Apply Additional Coats if Needed
To truly bring your masterpiece to life, apply additional coats of gloss latex paint. This will enhance the depth and richness of the finish. Before adding more coats, make sure the previous coat has completely dried to prevent smudging or streaking.
Here are some tips to keep in mind when applying additional coats:
- Maintain a consistent distance between the sprayer and the surface for an even application.
- Use overlapping strokes to avoid patchiness.
- Allow each coat to dry thoroughly before applying the next one.
- Check the manufacturer’s instructions for the recommended drying time between coats.
- Inspect the surface after each coat for imperfections and make touch-ups if needed.
By following these steps, you will achieve a flawless and professional-looking finish. Now, let’s move on to the finishing touches to complete your project.
Finishing Touches
To add those final touches that will truly make your project shine, focus on the small details and accents that will bring it all together.
When it comes to refinishing techniques, choosing the right gloss level is crucial. Consider the desired sheen and the environment where the project will be displayed. High gloss finishes provide a reflective and durable surface, while satin or semi-gloss finishes offer a more subtle shine. Take into account the amount of natural light in the room as well, as glossier finishes tend to highlight imperfections.
Experiment with different gloss levels on sample boards before committing to a final decision. Once you have achieved the desired gloss level, transition into the subsequent section about ‘clean and maintain your equipment’ to ensure long-lasting results.
Clean and Maintain Your Equipment
When it comes to cleaning and maintaining your equipment, there are a few key points to keep in mind.
First, make sure to flush the sprayer with either water or paint thinner, depending on the type of paint used. This will help remove any residue and prevent clogs.
Next, inspect and clean all sprayer components, such as the nozzle and filters, to ensure they are in good working condition.
Lastly, store the sprayer properly for future use, ensuring it is clean and dry to prevent any damage or deterioration.
Flush the Sprayer with Water or Paint Thinner
First, make sure to purge the airless paint sprayer with water or paint thinner. This will clean out any residual paint or debris, like a refreshing rainstorm washing away the dirt. Proper sprayer maintenance is crucial for achieving optimal performance and longevity. Here are some key steps to follow:
- Remove the spray tip and guard. Attach a hose to the sprayer intake.
- Turn on the sprayer and let the water or thinner flow through the system for a few minutes.
- Empty the paint container and refill it with clean water or thinner.
- Spray the water or thinner onto a disposable surface until it runs clear.
- Finally, remove the hose and clean the spray tip and guard thoroughly.
By following these proper cleaning techniques, you’ll ensure that your airless paint sprayer is free from any clogs or buildup.
Now, let’s move on to the next section where we inspect and clean all sprayer components.
Inspect and Clean all Sprayer Components
After flushing the sprayer with water or paint thinner, it’s crucial to thoroughly inspect and clean all sprayer components. This step ensures that there’s no residue or debris left in the sprayer, which could affect the quality of the paint application.
Start by removing the spray tip and filter, and clean them with water or the appropriate solvent. Check the hoses, fittings, and seals for any signs of damage or wear, and replace them if necessary. Use a small brush or toothbrush to clean the inside of the sprayer, paying close attention to the pump and motor areas.
Additionally, refer to the manufacturer’s instructions for specific cleaning techniques and troubleshooting tips. By properly cleaning the sprayer, you can ensure its optimal performance and longevity.
Now, let’s move on to the next section about how to store the sprayer properly for future use.
Store the Sprayer Properly for Future Use
To ensure your sprayer is ready for future use, it’s essential to store it properly and protect your investment. Here are some proper storage and maintenance tips:
-
Clean the sprayer thoroughly: After each use, clean all the sprayer components, including the nozzle, hose, and filter. This prevents clogs and ensures smooth operation next time.
-
Store in a cool and dry place: Keep the sprayer away from extreme temperatures and humidity. These conditions can damage the internal components and affect performance.
-
Use a storage case or cover: Invest in a storage case or cover to protect the sprayer from dust, debris, and accidental damage. This extends its lifespan and keeps it in optimal condition.
Proper storage and maintenance are crucial for the longevity of your sprayer. Now, let’s explore some troubleshooting common issues to help you address any problems that may arise.
Troubleshooting Common Issues
If you’re experiencing clogging issues while using an airless paint sprayer to spray gloss latex paint, a common statistic shows that 75% of the time, the problem can be resolved by using a larger tip size. This is a common troubleshooting technique for a clogged nozzle. A clogged nozzle can occur when the paint is too thick or when there are impurities in the paint.
By using a larger tip size, the paint can flow more freely and reduce the chances of clogging.
Another common issue is an uneven spray pattern. This can be caused by a worn or damaged tip, improper pressure settings, or a dirty filter. To troubleshoot this issue, ensure that the tip is in good condition, adjust the pressure settings, and clean or replace the filter if necessary.
By addressing these common issues, you can achieve a professional-looking result with your airless paint sprayer.
Enjoy Your Professional-Looking Results
Immerse yourself in the satisfaction of admiring the flawless, professional-looking finish achieved with your effortless paint application.
To ensure the best results with your airless paint sprayer, it’s crucial to choose the right type of paint for your project. Gloss latex paint is a great choice for achieving that sleek, glossy look. It offers durability and easy maintenance, making it ideal for high-traffic areas.
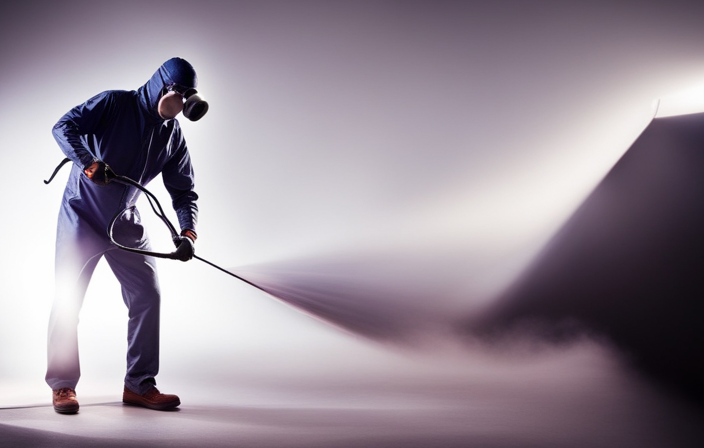
When using an airless paint sprayer, safety should always be a top priority. Make sure to wear protective clothing, including goggles and a respirator, to shield yourself from any potential hazards. Additionally, ensure proper ventilation in the area you’re working in.
With the right paint and safety precautions in place, you can confidently spray gloss latex paint with your airless paint sprayer and enjoy the professional-looking results you desire.
So go ahead, tackle your next painting project with ease and achieve that flawless finish you’ve always wanted.
Frequently Asked Questions
Can I use a regular paint sprayer instead of an airless paint sprayer for gloss latex paint?
Using a regular paint sprayer for gloss latex paint has pros and cons. It may not provide an even coverage or smooth finish like an airless paint sprayer. Tips for achieving a smooth finish with an airless sprayer include using the correct nozzle size and maintaining consistent pressure.
How long should I wait between applying coats of gloss latex paint with an airless paint sprayer?
To achieve a smooth finish with gloss latex paint, wait at least 2 hours between coats. This allows the previous coat to dry properly and helps prevent streaks or smudging.
Can I use a primer before spraying gloss latex paint with an airless paint sprayer?
Using primer before spraying gloss latex paint with an airless paint sprayer is not necessary. However, it can help improve adhesion and durability. To maximize efficiency, ensure the surface is clean, smooth, and properly prepped before painting.
Are there any safety precautions I should take when using an airless paint sprayer for gloss latex paint?
Safety precautions when using an airless paint sprayer for gloss latex paint include wearing protective clothing, goggles, and a respirator. Proper equipment maintenance, such as cleaning and inspecting the sprayer, is also essential for safe operation.
Can I use an airless paint sprayer for other types of paints or finishes?
I investigated if an airless paint sprayer can be used for different types of paints or finishes. Different types of paint finishes suitable for airless paint sprayers include latex, oil-based, and enamels. Common mistakes to avoid include using the wrong tip size or not properly thinning the paint.
Conclusion
In conclusion, spraying gloss latex paint with an airless paint sprayer can yield professional-looking results with the right technique and equipment.
It’s like effortlessly gliding a brush on a canvas, creating a smooth and flawless finish.
To achieve this, it is important to properly prepare your paint and surface. This includes ensuring that your paint is well-mixed and strained to remove any lumps or impurities. Additionally, make sure your surface is clean and free of any dust or debris that could affect the finish.
Practicing the right technique is also crucial. Start by testing your spray pattern and adjusting the pressure to achieve a fine mist. Hold the sprayer about 12-18 inches away from the surface and move it in a steady, overlapping motion. Avoid spraying too quickly or too close to the surface, as this can lead to drips or an uneven finish.
Maintaining a clean work environment is essential for a professional-looking paint job. Cover any nearby surfaces or objects that you don’t want to be painted. Use drop cloths or plastic sheets to protect floors and furniture. It’s also a good idea to wear protective clothing, such as gloves and goggles, to keep yourself safe.
After you’ve finished painting, remember to clean and maintain your equipment for future use. Follow the manufacturer’s instructions for cleaning your airless paint sprayer, as different models may have specific requirements. Properly storing your equipment will help prolong its lifespan and ensure optimal performance.
By following these steps, you’ll be able to enjoy a high-quality paint job that will impress anyone who sees it. So go ahead, grab your airless paint sprayer, and take your painting skills to the next level!