Did you know that staining a wooden ceiling can enhance its beauty and protect it from damage? By following the right steps and using the appropriate tools, such as an airless paint sprayer, you can achieve professional-looking results.
In this article, I will guide you through the step-by-step process of staining a wood ceiling using an airless paint sprayer.
First, we will gather all the necessary materials and tools, ensuring we have everything we need for the project.
Next, we will prepare the surface of the wood ceiling, ensuring it is clean and free of any debris.
Then, we will carefully choose the right stain that matches our desired look, considering factors such as color and transparency. Before proceeding, we will test the stain on a small area to ensure it meets our expectations.
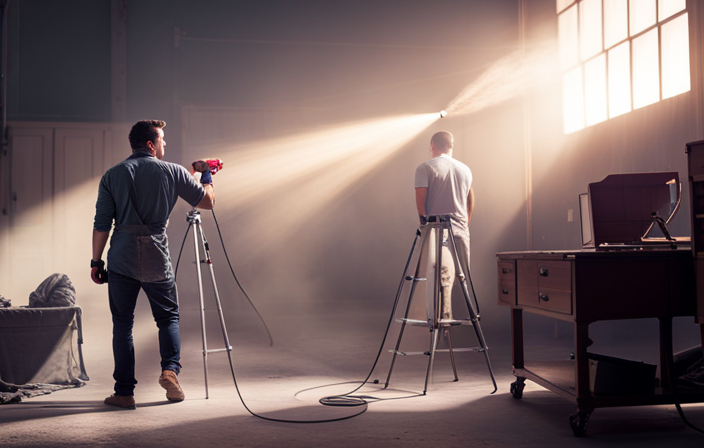
Once everything is ready, we will set up and adjust the airless paint sprayer, ensuring it is in proper working condition.
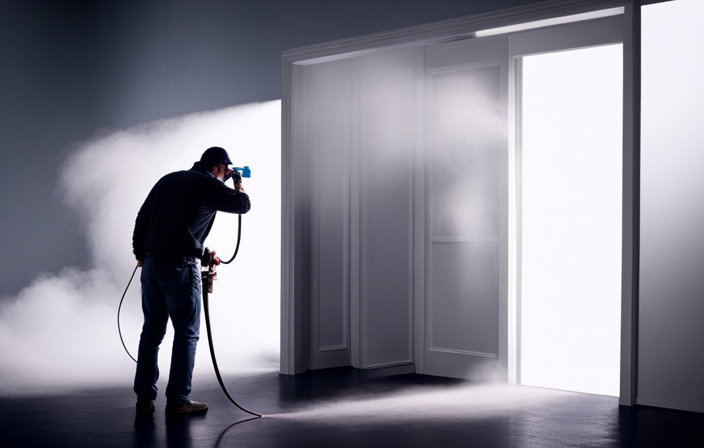
Using a precise technique and even strokes, we will apply the stain to the wood ceiling, covering the entire surface evenly.
After allowing sufficient drying time, we can apply additional coats if desired, to achieve the desired depth of color.
Finally, we will discuss how to clean and maintain the airless paint sprayer, ensuring its longevity for future projects.
By following these detailed instructions, you can successfully stain your wood ceiling using an airless paint sprayer, transforming it into a stunning focal point in your space.
Key Takeaways
- Proper ventilation and reducing moisture are important for speeding up drying time when staining a wood ceiling with an airless paint sprayer.
- Applying multiple coats can achieve a deeper and more vibrant color, but it’s important to inspect and lightly sand the surface before each layer to ensure better saturation and depth.
- Consistency in the finish can be achieved by inspecting for imperfections or unevenness, sanding between layers, applying subsequent coats in the same manner, and allowing each layer to dry completely.
- Cleaning and maintaining the airless paint sprayer is essential for its proper functioning, which includes disconnecting the sprayer, removing remaining paint, disassembling, cleaning each component thoroughly, and paying special attention to the nozzle.
Gather the Necessary Materials and Tools
First, gather all the materials and tools you’ll need to stain your wood ceiling with an airless paint sprayer. Choose a paint sprayer with a high-pressure rating and adjustable spray patterns for even coverage. Also, get a quality wood stain.
Prepare the wood surface before staining. Clean the ceiling thoroughly to remove dirt and debris. Lightly sand the surface to smooth it out and help the stain adhere better. Fill in any cracks or holes with wood filler and let it dry. Protect surrounding areas with plastic sheets or drop cloths.
Now that you have all the necessary materials and tools, it’s time to prepare the wood ceiling for staining.
Prepare the Surface of the Wood Ceiling
To get your wood ceiling ready for the staining process, you’ll want to start by thoroughly cleaning the surface using a mild detergent and warm water. For example, imagine you have a beautiful cabin with a wooden ceiling that has accumulated years of dust and grime from all the cozy winter nights spent by the fireplace.
| Surface Preparation | Sanding Techniques |
|---|---|
| Remove any existing paint or finish using a paint stripper or sanding. | Use a fine-grit sandpaper to smooth out any rough patches or imperfections. |
| Fill in any cracks or holes with wood filler and allow it to dry completely. | Use a sanding block to ensure an even and smooth finish. |
| Once the surface is clean and dry, lightly sand the entire ceiling to create a rougher texture for better stain absorption. | Use a vacuum cleaner or tack cloth to remove any dust or debris after sanding. |
After completing the surface preparation and sanding techniques, you’ll be ready to move on to the next step of choosing the right stain for your desired look.
Choose the Right Stain for Your Desired Look
Once you’ve prepared the surface and sanded it to perfection, it’s time to choose the right stain for your desired look.
Consider the overall theme and color scheme of your space. Do you want a rich, dark stain to add drama and elegance, or a lighter stain to enhance the natural grain and brightness of the wood?
Once you have chosen the perfect stain, it’s important to apply it evenly to ensure a seamless finish. This can be achieved by using an airless paint sprayer, which provides a smooth and consistent application.
Remember to test the stain on a small area first to ensure it achieves the desired look before proceeding with the entire ceiling.
Test the Stain on a Small Area
Before diving into the staining process, it’s essential to test the color on a small patch of your wooden surface. Remember the wise saying, ‘Measure twice, cut once.’ Testing the stain allows you to ensure that it achieves the desired look and that the wood absorbs it evenly.
There are a few testing techniques you can use. First, wipe the surface with a clean cloth to remove any dust or debris. Then, apply a small amount of stain to a hidden area or scrap piece of wood. Observe how the color appears once it dries. If you’re not satisfied with the result, you can try alternative staining methods such as diluting the stain or using a different application tool.
This will help you determine the best approach for your wood ceiling.
Now that you’ve tested the stain, it’s time to set up and adjust the airless paint sprayer for the staining process.
Set Up and Adjust the Airless Paint Sprayer
Get ready to unleash your inner DIY expert as you set up and fine-tune the powerful tool that will bring your wooden surface to life: the airless paint sprayer!
Before diving into the staining process, it is essential to familiarize yourself with the airless paint sprayer and ensure it is properly adjusted for optimal performance.
Start by assembling the sprayer according to the manufacturer’s instructions, making sure all connections are secure.
Next, adjust the spray pattern to achieve the desired coverage and consistency. This can be done by turning the nozzle or adjusting the pressure settings.
Additionally, be prepared to troubleshoot common issues that may arise, such as clogged nozzles or inconsistent spray patterns.
Once you have mastered the setup and adjustment of the airless paint sprayer, you are ready to apply the stain to the wood ceiling, bringing it one step closer to its stunning transformation.
Apply the Stain to the Wood Ceiling
To apply the stain to the wood ceiling, follow these key steps:
-
Set up and adjust the airless paint sprayer correctly, as discussed in the previous subtopic.
-
Once everything is ready, start staining.
Here are some tips for achieving a smooth finish and troubleshooting common staining problems:
- Begin by applying a thin and even coat of stain to the wood surface.
- Use long, sweeping motions with the sprayer to evenly distribute the stain.
- Start from one side of the ceiling and work your way across, overlapping each pass slightly.
- Pay attention to any drips or runs and quickly fix them with a brush or cloth.
By following these steps, you can ensure a professional-looking finish on your wood ceiling.
With the stain applied, the next section will focus on using proper technique and even strokes.
Transition: Now that the stain is evenly applied, it’s time to move on to the next step and learn how to use proper technique and even strokes for a flawless finish.
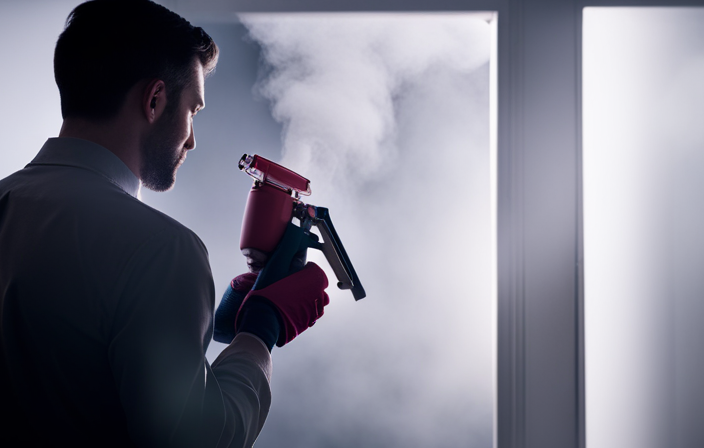
Use Proper Technique and Even Strokes
Once you’ve got the hang of it, applying the stain with proper technique is like smoothly gliding a paintbrush across a canvas, creating beautiful strokes of color. To achieve the best results, it is important to use the correct technique and maintain a steady hand.
Start by holding the airless paint sprayer about 8-12 inches away from the wood ceiling, ensuring that the nozzle is perpendicular to the surface. Begin spraying in a controlled, side-to-side motion, moving steadily across the wood. This will help to ensure an even application of the stain.
It’s crucial to maintain a consistent speed and pressure throughout the process to avoid any blotches or streaks. Remember to overlap each stroke slightly to prevent any missed spots. By using proper technique and executing even strokes, you’ll achieve a flawless finish on your wood ceiling.
Now, let’s move on to the next step and allow sufficient drying time for the stain to set.
Allow Sufficient Drying Time
After applying the stain with proper technique and even strokes, it is crucial to allow sufficient drying time for the wood ceiling. This step is of utmost importance as it ensures the stain sets properly and prevents any smudging or unevenness.
The drying time will depend on various factors such as temperature, humidity, and the type of stain used. Typically, it is recommended to wait at least 24 hours before proceeding with any further steps.
However, if you are pressed for time, there are a few tips for speeding up the drying time. Firstly, ensure proper ventilation by opening windows or using fans to circulate air. Secondly, consider using a dehumidifier to reduce moisture levels in the room. Lastly, avoid applying excessive amounts of stain, as this can prolong drying time.
Once the wood ceiling is completely dry, you can proceed to apply additional coats if desired.
Apply Additional Coats if Desired
If you want a deeper and more vibrant color, you can add another layer of stain to your wooden ceiling. Applying multiple coats ensures better saturation and depth, resulting in a more striking appearance.
To achieve a consistent finish, follow these four key considerations:
- Start by inspecting the first coat for imperfections or unevenness.
- Lightly sand the surface with fine-grit sandpaper before applying the next layer. This helps the stain adhere better and promotes even distribution.
- Apply subsequent coats in the same manner as the first, ensuring consistent coverage and avoiding drips or streaks.
- Allow each layer to dry completely before proceeding to the next to prevent smudging or smearing.
By applying multiple layers with precision and care, you can achieve a beautiful, consistent finish on your wood ceiling.
Transitioning into the next section, it’s essential to properly clean and maintain the airless paint sprayer to ensure its longevity and optimal performance.
Clean and Maintain the Airless Paint Sprayer
Maintaining the longevity and optimal performance of your paint sprayer is crucial, but have you ever wondered how to properly clean and care for it?
Cleaning your airless paint sprayer is an essential step to ensure its efficiency and prevent any issues during your wood staining project.
Start by disconnecting the sprayer from the power source and removing any remaining paint from the container.
Next, disassemble the sprayer according to the manufacturer’s instructions and clean each component thoroughly with warm soapy water. Pay special attention to the nozzle, as it is prone to clogging. Use a soft brush or toothbrush to remove any dried paint or debris.
Once all the parts are clean, reassemble the sprayer and test it to ensure it is functioning properly.
By following these cleaning tips and troubleshooting common issues, you can keep your airless paint sprayer in top condition and achieve excellent results with your wood ceiling staining project.
Frequently Asked Questions
Can I use a regular paint sprayer instead of an airless paint sprayer to stain my wood ceiling?
Yes, a regular paint sprayer can be used instead of an airless paint sprayer to stain a wood ceiling. However, it has pros and cons. It may not offer the same level of precision and coverage as an airless paint sprayer, but it can still get the job done.
What is the recommended drying time for the stain on a wood ceiling?
The recommended drying time for stain on a wood ceiling varies depending on the specific product used. However, as a general guideline, it is best to allow the stain to dry for at least 24 hours before applying a second coat or any other finishes. To achieve an even stain on a wood ceiling, it is important to properly prepare the surface by sanding it smooth and ensuring that it is clean and free of any dust or debris. Additionally, using a high-quality stain and applying it evenly with a brush or cloth can help to achieve a consistent and uniform finish.
Is it necessary to sand the wood ceiling before applying the stain?
Sanding is necessary before staining wood ceilings to ensure a smooth and even finish. However, an alternative method is using a wood conditioner to prep the surface. It helps the stain penetrate better, reducing the need for sanding.
Can I apply the stain directly to the wood ceiling without priming it first?
No, it is not recommended to apply stain directly to the wood ceiling without priming it first. Primer helps seal the wood, creates an even base, and allows the stain to penetrate evenly. Additionally, it reduces drying time for the stained wood ceiling.
How can I prevent overspray when using an airless paint sprayer to stain my wood ceiling?
To prevent overspray when using an airless paint sprayer, place drop cloths or plastic sheeting around the area to be stained. Ensure they are properly secured and cover any surfaces or objects that should not be stained.
Conclusion
In conclusion, staining a wood ceiling with an airless paint sprayer is an efficient and effective method for achieving a flawless finish. By following the necessary steps and using the right materials, you can transform your ceiling into a work of art.
The airless paint sprayer allows for precise application and even coverage, leaving no room for imperfections. With proper technique and sufficient drying time, your stained wood ceiling will become a stunning centerpiece, adding warmth and character to any space.
Don’t forget to clean and maintain your airless paint sprayer for future projects.
Happy staining!