Imagine this situation: The day was extended and involved a lot of painting, with your airless paint sprayer proving to be a steadfast companion, smoothly coating the walls with paint. As the day winds down, you’re now contemplating the best way to protect this effective tool overnight.
Well, fear not, because I’ve got you covered. In this article, I’ll guide you through the steps to properly store your airless paint sprayer, ensuring its longevity and optimal performance for future projects.
We’ll start by thoroughly cleaning the sprayer, emptying the paint container, and flushing the system with either water or solvent. Then, we’ll move on to removing and cleaning the spray tip, wiping down the exterior, and using protective caps or covers.
Finally, I’ll share some valuable advice on maintaining and inspecting your sprayer regularly. So, let’s dive in and learn how to store your airless paint sprayer overnight like a pro!
Key Takeaways
- Store the airless paint sprayer in a well-ventilated area
- Follow the manufacturer’s recommendations for long-term storage
- Thoroughly clean the sprayer after each use to prevent clogging and remove paint residue and debris
- Check and replace filters regularly to maintain optimal performance

TICONN Anti-Fog Safety Glasses for Men and Women, ANSI Z87.1 Scratch Proof Eye Goggles with Adjustable Arms and UV Protection (Clear, 1PK)
- Durable Polycarbonate Construction: Impact-resistant and lightweight design
- Anti-Fog and UV Protection: Scratch-resistant, clear vision, blocks 99.9% UV
- Adjustable and Comfortable Fit: Rubber frame, nose pads, adjustable temples
As an affiliate, we earn on qualifying purchases.
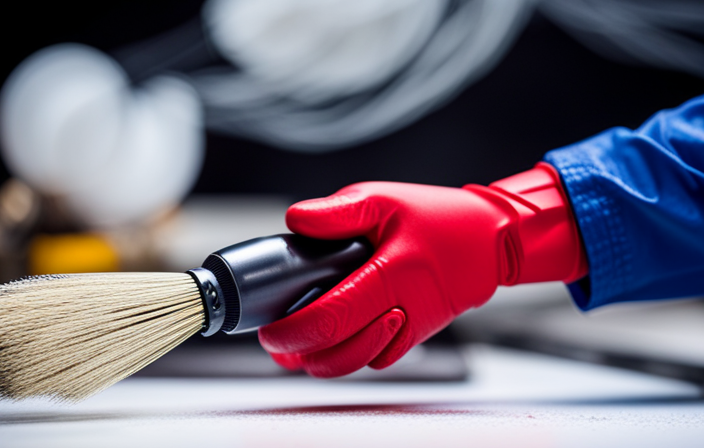
Clean the Paint Sprayer Thoroughly
Before storing the airless paint sprayer overnight, make sure to clean it thoroughly. The cleaning process is crucial for the longevity and proper functioning of your sprayer. Start by removing any leftover paint from the container and the spray gun. Use warm soapy water and a brush to scrub away any paint residue. Pay special attention to the nozzle, as it tends to get clogged easily.
Rinse the sprayer with clean water until all the soap is gone. Once clean, dry the sprayer completely to prevent any moisture buildup. Additionally, regular maintenance tips include lubricating the pump and checking for any loose or damaged parts. By following these steps, you can ensure that your airless paint sprayer stays in optimal condition.
Now, let’s move on to emptying the paint container.
Empty the Paint Container
After you’ve finished using it, make sure to pour out any remaining paint from the container of your airless paint sprayer. This step is crucial to prevent the paint from drying and clogging the system. To do this, simply remove the container from the sprayer and carefully empty it into a suitable container, such as a paint can or bucket. It is important to clean the paintbrush before storing it, as any leftover paint can harden and damage the bristles. Dispose of excess paint properly according to local regulations. To paint a clearer picture, here is a table illustrating the process:
| Steps to Empty the Paint Container |
|---|
| 1. Remove the container from the sprayer |
| 2. Pour out any remaining paint into a separate container |
| 3. Clean the container with water or solvent |
| 4. Dispose of excess paint following local regulations |
| 5. Allow the container to fully dry before storage |
Once you have emptied the paint container, the next step is to flush the system with clean water or solvent to ensure there is no residue left inside.
Flush the System with Clean Water or Solvent
To properly clean your airless paint sprayer, it’s necessary to flush the system with either clean water or solvent. This step is crucial to remove any remaining paint residue and prevent clogging or damage to the sprayer.
When deciding between water and solvent for flushing, it’s important to consider the type of paint used. Water is generally suitable for water-based paints, while solvent is recommended for oil-based paints.
Here are a few best practices for storing your airless paint sprayer overnight:
-
Empty the paint container and clean it thoroughly.
-
Connect a bucket of clean water or solvent to the sprayer.
-
Run the sprayer until the water or solvent runs clear, ensuring all paint is flushed out.
By following these steps, you can ensure that your airless paint sprayer is properly cleaned and ready for use.
Now, let’s move on to the next section about removing and cleaning the spray tip.
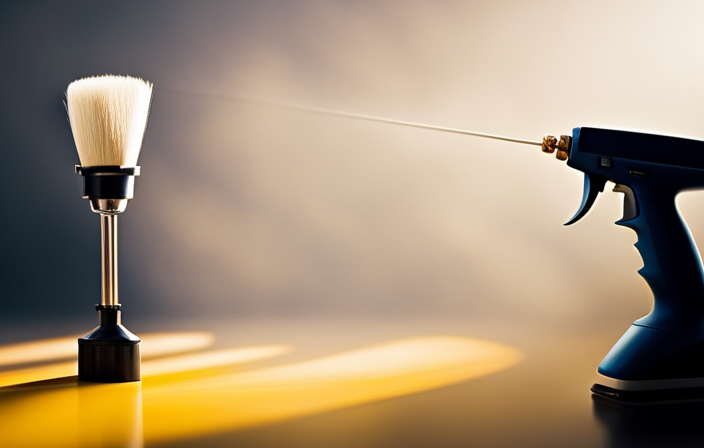
Remove and Clean the Spray Tip
When you remove and clean the spray tip, you can ensure that your paint application will be smooth and flawless. The spray tip is a crucial component of the airless paint sprayer responsible for atomizing the paint and delivering it onto the surface.
To clean the spray tip, start by carefully removing it from the sprayer. Use a small brush or toothpick to remove any dried paint or debris that may have accumulated on the tip. Then, soak the spray tip in a container filled with a cleaning solution or solvent recommended by the manufacturer. Gently agitate the tip to dislodge any remaining paint particles.
Rinse the tip thoroughly with clean water to remove any cleaning solution residue. By regularly cleaning the spray tip, you can prolong its lifespan and ensure optimal paint application.
Now, let’s move on to the next section and learn how to wipe down the exterior of the sprayer.
Wipe Down the Exterior of the Sprayer
Make sure you give the exterior of the sprayer a thorough wipe down to keep it clean and in good condition. This step is crucial for proper airless paint sprayer maintenance and preventing paint build up. Here are some tips to make this task easier:
- Use a soft, lint-free cloth to wipe down the entire exterior of the sprayer.
- Pay extra attention to areas that may have paint residue, such as the nozzle and the trigger.
- If there’re stubborn paint stains, you can use a mild detergent or paint thinner to remove them gently.
By regularly wiping down the exterior of your airless paint sprayer, you can maintain its performance and prolong its lifespan.
Once you’ve completed this step, you’re ready to store the sprayer in a clean, dry, and temperature-controlled environment to ensure its longevity.
Store in a Clean, Dry, and Temperature-Controlled Environment
After wiping down the exterior of the airless paint sprayer to remove any excess paint, it is important to store it in a clean, dry, and temperature-controlled environment. Proper storage methods are crucial to prevent paint clogs and ensure the longevity of the sprayer. Storing the sprayer in a clean environment helps to prevent dust and debris from getting inside and causing blockages in the nozzle or other parts of the sprayer. A dry environment is essential to prevent any moisture from accumulating, which can lead to rust or corrosion. Lastly, a temperature-controlled environment helps to maintain the integrity of the sprayer’s components and prevent any damage caused by extreme heat or cold. By following these storage guidelines, you can ensure that your airless paint sprayer is in optimal condition for future use. Now, let’s move on to the next step: using protective caps or covers for the spray gun and hose.
Use Protective Caps or Covers for the Spray Gun and Hose
To ensure the longevity of your equipment, remember to always protect the spray gun and hose with caps or covers when not in use. Using protective covers for your airless paint sprayer is an essential maintenance tip that can prevent damage and extend the life of your equipment. Here are a few reasons why using protective covers is important:
- Protective covers shield the spray gun and hose from dust, dirt, and debris, keeping them clean and ready for the next use.
- They provide a barrier against moisture, preventing rust and corrosion.
- Covers also protect the delicate parts of the spray gun, such as the nozzle, from accidental bumps or scratches.
- By using covers, you can conveniently store your airless paint sprayer without worrying about damage during transportation or storage.
After ensuring that your spray gun and hose are well-protected, the next step is to check and tighten any loose connections. This will help maintain the integrity of your equipment and ensure optimal performance.
Check and Tighten Any Loose Connections
Ensure the longevity of your equipment by checking and tightening any loose connections, keeping your spray gun and hose in tip-top shape.
Before storing your airless paint sprayer overnight, it’s important to inspect all connections for leaks and make sure they are secure. Start by examining the fittings where the hose connects to the spray gun and the paint pump. Look for any signs of leaks, such as dripping or hissing sounds. If you notice any leaks, tighten the connections using a wrench or pliers as needed.
Additionally, check the hose itself for any damage or wear, and replace it if necessary. Troubleshooting these common issues can prevent potential problems and ensure smooth operation of your paint sprayer.
Lastly, follow the manufacturer’s recommendations for long-term storage to maintain the optimal condition of your equipment.
Follow Manufacturer’s Recommendations for Long-Term Storage
For optimum maintenance of your equipment, don’t forget to follow the manufacturer’s recommendations when it comes to long-term storage.
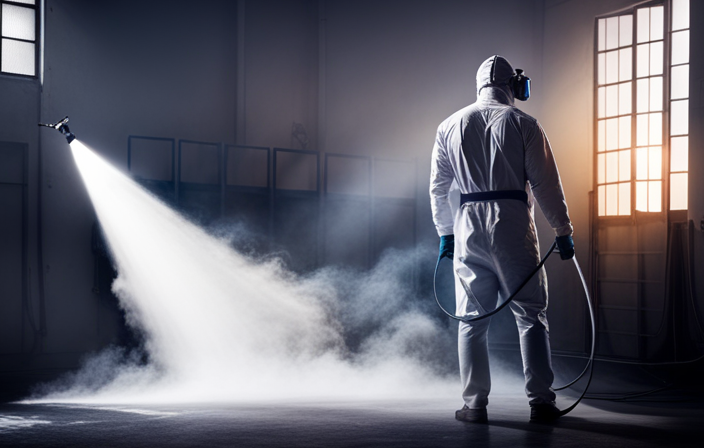
Proper ventilation is crucial for airless paint sprayer storage. Make sure to store your sprayer in a well-ventilated area to prevent the buildup of fumes and ensure the safety of the surrounding environment.
Before storing your airless paint sprayer, it’s important to check the pressure settings. High pressure can cause damage to the sprayer if left unchecked during storage. By verifying and adjusting the pressure settings according to the manufacturer’s instructions, you can avoid potential issues and ensure that your sprayer remains in good condition.
As we move into the next section about performing regular maintenance and inspections, it is essential to keep these storage considerations in mind.
Perform Regular Maintenance and Inspections to Keep the Sprayer in Good Condition
Don’t neglect regular maintenance and inspections to keep your sprayer in tip-top shape, so it can reliably perform when you need it most. Performing regular maintenance is crucial to prevent clogging and ensure the longevity of your airless paint sprayer.
Start by thoroughly cleaning the sprayer after each use, removing any paint residue and debris. Check the filters and replace them if necessary, as clogged filters can hinder the sprayer’s performance.
Inspect the spray tip regularly for any signs of wear or damage, and replace it if needed. Additionally, lubricate the moving parts and check for any loose or damaged components.
By following these maintenance steps, you can prevent clogging and keep your airless paint sprayer in excellent condition, ready to deliver flawless results every time.
Frequently Asked Questions
Can I store the airless paint sprayer outside or in an unheated garage?
Yes, you can store the airless paint sprayer outside or in an unheated garage. However, it is important to protect it from freezing temperatures by draining any remaining paint, cleaning it thoroughly, and storing it in a frost-free environment.
How often should I clean the spray tip?
To maintain optimal spray tip performance, it is important to clean the spray tip properly. Best practices include removing the tip, soaking it in a cleaning solution, using a brush to remove any residue, and rinsing it thoroughly before reattaching.
Is it necessary to use a specific type of solvent for flushing the system?
Using a specific solvent is crucial for flushing the system of an airless paint sprayer. It ensures proper cleaning and prevents clogging. Failure to use the right solvent may result in damage and affect the performance of the sprayer.
Can I leave paint residue in the paint container overnight?
I wouldn’t recommend leaving paint residue in the paint container overnight as it can lead to clogging and affect the performance of the sprayer. It’s best to clean the container thoroughly before storing it overnight.
How frequently should I perform maintenance and inspections on the paint sprayer?
I recommend performing maintenance on the paint sprayer every 3 months and conducting inspections on a monthly basis. This maintenance frequency ensures optimal performance and helps identify any potential issues before they become major problems.
Conclusion
In conclusion, properly storing your airless paint sprayer overnight is essential for maintaining its longevity and performance. By following the steps outlined in this article, you can ensure that your sprayer will be ready for use the next day.
Did you know that a single airless paint sprayer can cover up to 1,500 square feet in just one hour? Imagine the time and effort you can save by using this efficient tool.