
Have you ever found yourself in the middle of a painting project only to have your Graco 360 airless paint sprayer clog up on you? Dealing with a clog can be frustrating and a waste of time, but fear not! I am here to guide you through the process of unclogging your Graco 360 airless paint sprayer.
In this article, I will provide you with step-by-step instructions on how to:
- Identify the clog
- Release pressure
- Disassemble the sprayer
- Clean the spray tip and filter
- Reassemble the sprayer
I will also share tips on how to prevent future clogs and when it may be necessary to seek professional help.
So, grab your tools and get ready to tackle that clog head-on. By the end of this article, you’ll have your Graco 360 airless paint sprayer working like new again.
Let’s dive in and get your painting project back on track!
Key Takeaways
- Troubleshooting tips for Graco 360 airless paint sprayer include checking power supply, priming and flushing properly, verifying paint viscosity, and inspecting for clogs or blockages.
- To prevent future clogs, strain paint before pouring, clean filters and nozzles regularly, use appropriate paint viscosity, follow prevention techniques, and perform regular maintenance.
- Professional help is important for complex clogs that require expertise, time constraints that necessitate professional assistance, lack of experience that can lead to accidents, situations where DIY solutions may not be effective, and to ensure efficiency and safety.
- Signs of complex clogs include unsuccessful DIY methods, persistent clogs despite attempts, indication of more intricate issues, requirement of professional expertise, and the need to avoid potential damage or accidents.

InoKraft MaXpray M1 Airless Paint Sprayer, 3000 PSI 550W Corded Electric, Thinning-Free for Latex & Stain, DIY Home Interior Exterior Walls Fences Decks, Includes Spray Gun Kit & 12" Tip Extension
- Fast Painting Speed: 5X faster than rolling, 12X faster than brushing
- High-Pressure Performance: 3000 PSI, 0.29 GPM for even coverage
- Direct from Bucket: Draw paint from 5-gallon bucket for large projects
As an affiliate, we earn on qualifying purchases.
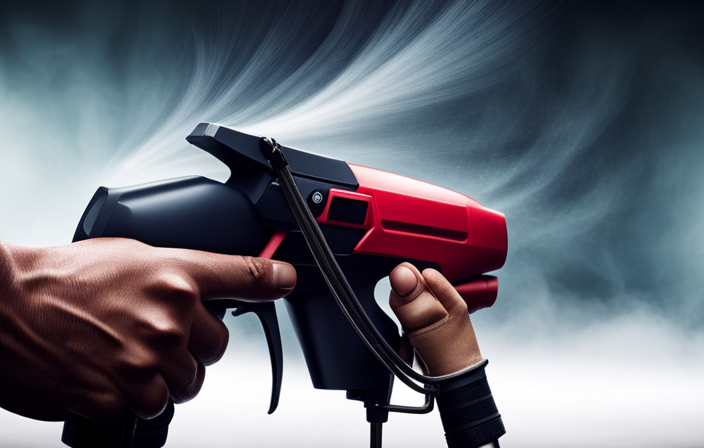
Identify the Clog
To effectively troubleshoot the issue, it’s crucial to first identify the specific area where the clog is occurring within the Graco 360 airless paint sprayer. When it comes to troubleshooting common clog causes, there are a few things to keep in mind.
Start by checking the spray tip, as it is often the primary culprit. Inspect it for any debris or dried paint that may be causing the blockage.
Additionally, inspect the suction tube and filter for any obstructions. These areas can easily accumulate paint particles and cause clogs.
Once the clog is identified, it’s important to release the pressure and remove any remaining paint from the sprayer. This can be done by following the manufacturer’s instructions for releasing pressure and cleaning the system.
By taking these steps and implementing tips for preventing clogs in the future, you can ensure a smooth and efficient painting process.
Release Pressure and Remove Paint
First, make sure the pressure is released and all the paint is removed from the machine. To clean the Graco 360 airless paint sprayer effectively, follow these troubleshooting tips and cleaning techniques:
- Begin by removing the spray tip and guard, using a wrench if necessary.
- Next, detach the suction tube from the paint container, ensuring no paint remains inside.
- Take off the prime valve and filter housing, carefully inspecting them for any clogs or debris.
- Clean all the removed components thoroughly with warm, soapy water or a suitable cleaning solution.
- Use a small brush or toothpick to remove any stubborn clogs from the spray tip or filter.
- Rinse all parts with clean water, ensuring no residue remains.
By following these cleaning techniques and troubleshooting tips, you can effectively unclog your Graco 360 airless paint sprayer.
Now, let’s move on to the next section and disassemble the sprayer for further cleaning.
Disassemble the Sprayer
Now it’s time to break down the sprayer and delve into the inner workings of this powerful machine. Sprayer maintenance is crucial to ensure optimal performance and longevity.
To disassemble the sprayer, start by removing the spray gun from the hose.
Next, unscrew the tip guard and carefully take out the spray tip.
Use a wrench to disconnect the filter housing from the sprayer body.
Once the filter housing is removed, take out the filter and inspect it for any clogs or debris. Cleaning or replacing the filter may be necessary if it is dirty or damaged.
Troubleshooting tips for disassembling the sprayer include following the manufacturer’s instructions, wearing protective gloves, and working in a well-ventilated area.
With the sprayer disassembled, we can now move on to cleaning the spray tip and filter.
Clean the Spray Tip and Filter
Before you begin cleaning the spray tip and filter, it’s important to note that a clogged filter can decrease the efficiency of your sprayer by up to 50%.
To clean the spray tip:
- Start by removing it from the sprayer gun using a wrench.
- Once removed, inspect the tip for any clogs or debris.
- If you notice any blockages, use a small wire brush or toothpick to carefully remove them.
To clean the filter:
- Unscrew the housing and remove it from the sprayer.
- Rinse the filter thoroughly with warm water to remove any paint residue or debris.
- Gently tap the filter on a hard surface to dislodge any stubborn particles.
Finally, reassemble the spray tip and filter, ensuring they are securely tightened.
In the next section, we will discuss how to use a cleaning solution or solvent to further clean your sprayer.
Use a Cleaning Solution or Solvent
To ensure optimal performance, it’s important to enhance the effectiveness of your sprayer by using a cleaning solution or solvent.
When it comes to cleaning solution alternatives, there are a few options to consider. One commonly used option is a mixture of warm water and mild detergent. This mixture can effectively remove any paint residue from the sprayer.
Another alternative is using a commercial paint sprayer cleaner. These cleaners are specifically designed to break down paint and unclog the system, making them a great choice for thorough cleaning.
Whichever option you choose, it’s important to follow safety precautions. Always wear protective gloves and eyewear when handling cleaning solutions or solvents. Additionally, make sure to work in a well-ventilated area to avoid inhaling any fumes.
Now that you have cleaned the spray tip and filter, let’s move on to the next step: using a cleaning brush or needle.
Use a Cleaning Brush or Needle
Using a cleaning brush or needle is like giving your sprayer a thorough scrub, ensuring that every nook and cranny is free from any debris or buildup. Cleaning techniques using a brush or needle are alternative methods to unclog your Graco 360 airless paint sprayer. These tools allow you to manually remove any paint or residue that may be obstructing the spray nozzle or other components. The cleaning brush is perfect for scrubbing the larger parts of the sprayer, such as the spray tip, while the needle can be used to clean the smaller, harder-to-reach areas, like the nozzle or the filter. By using these tools, you can effectively dislodge any clogs and restore the proper functioning of your sprayer. After cleaning, you can proceed to reassemble the sprayer, ensuring all components are properly aligned and tightened.
Reassemble the Sprayer
Now that you have thoroughly cleaned all the components, it’s time to put everything back together and ensure a proper fit for your sprayer. Here are some reassemble techniques and troubleshooting tips to help you with this process:
-
Start by reattaching the spray gun to the hose, ensuring a secure connection.
-
Next, attach the hose to the pump, making sure it is tightly screwed in.
-
Reinstall the suction tube into the pump, ensuring it is properly seated.
-
Attach the spray tip guard to the spray gun, securing it in place.
-
Finally, test the trigger on the spray gun to ensure it is working smoothly.
By following these reassemble techniques and troubleshooting tips, you can ensure that your Graco 360 airless paint sprayer is properly put back together and ready for use.
Now, let’s move on to the next step and test the sprayer.
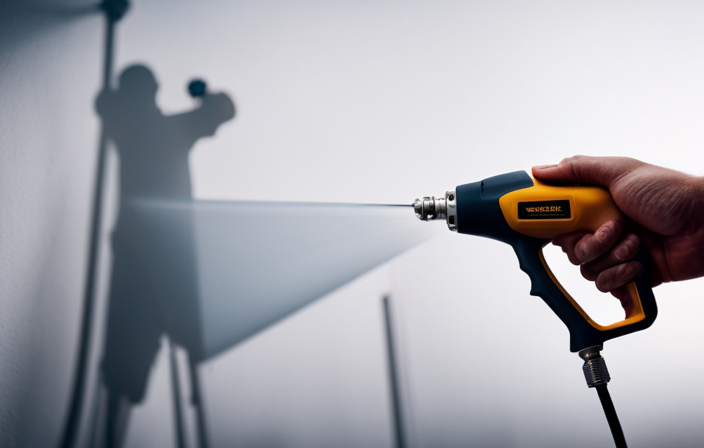
Test the Sprayer
Once everything is back together, it’s time for you to see the sprayer in action and put it to the test. To ensure that your Graco 360 airless paint sprayer is working properly after reassembling, follow these sprayer maintenance and troubleshooting tips.
First, check if the sprayer is priming correctly. Fill the paint container with water and turn on the sprayer. The water should flow smoothly through the nozzle without any sputtering or clogging. If there are any issues, refer back to the previous steps to troubleshoot and fix the problem.
Next, test the spray pattern by spraying water onto a test surface. The spray pattern should be even and consistent, without any splattering or uneven distribution. Adjust the spray tip if necessary to achieve the desired pattern.
Finally, check for any leaks or unusual noises during operation. If you notice any leaks, tighten the connections or replace any damaged parts. If there are unusual noises, it could indicate a problem with the motor or pump, and you may need to consult the user manual or contact Graco customer support for further assistance.
By following these troubleshooting tips, you can ensure that your Graco 360 airless paint sprayer is working efficiently. In the next section, we will discuss how to prevent future clogs and maintain the sprayer for long-lasting performance.
Prevent Future Clogs
To prevent future clogs in your Graco 360 airless paint sprayer, there are some important steps you can take:
-
Always strain your paint before pouring it into the sprayer. This will remove any debris or clumps that could potentially clog the nozzle.
-
Regularly clean the filters and nozzles of your sprayer to maintain optimal performance.
-
Use the appropriate paint viscosity for your sprayer. Using thicker paints can increase the risk of clogs.
By following these prevention techniques and regular maintenance tips, you can ensure that your Graco 360 airless paint sprayer stays clog-free and ready for your next project.
Remember, if you encounter persistent clogs or issues, it may be necessary to seek professional help.
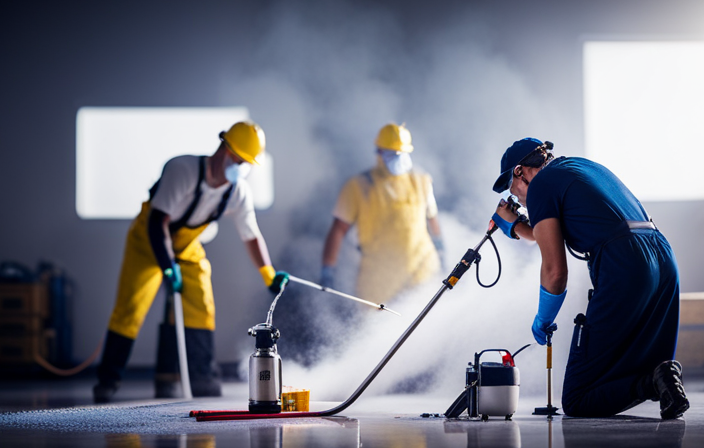
Seek Professional Help if Needed
If you’re feeling overwhelmed or frustrated with persistent clogs, don’t hesitate to reach out to a professional for assistance. Knowing when to call a professional can save you time, money, and frustration. While unclogging a Graco 360 airless paint sprayer can often be done as a DIY project, there are times when it is best to seek professional help. Here are some situations where calling a professional is recommended:
-
Complex clogs: If you’ve tried multiple DIY methods and the clog is still not resolved, it may be a sign of a more complex issue that requires professional expertise.
-
Time constraints: If you have a tight deadline and cannot afford any delays, it’s best to let a professional handle the unclogging process to ensure efficiency and effectiveness.
-
Lack of experience: If you’re not familiar with the inner workings of the paint sprayer or are unsure about the correct procedure, it’s safer to leave it to a professional to avoid potential damage or accidents.
Remember, while DIY solutions can work in many cases, there are times when professional help is the best choice. Don’t hesitate to call a professional if you’re unsure or experiencing difficulties.
Frequently Asked Questions
Can I use any cleaning solution or solvent to unclog my Graco 360 airless paint sprayer?
No, it is not recommended to use any cleaning solution or solvent for unclogging the Graco 360 Airless Paint Sprayer. It is important to follow the manufacturer’s instructions and use the recommended cleaning methods to prevent clogs.
How often should I clean the spray tip and filter to prevent clogs?
An ounce of prevention is worth a pound of cure. To prevent clogs in your paint sprayer, it’s important to regularly clean the spray tip and filter. This maintenance ensures optimal performance and avoids costly downtime.
What is the recommended method for disassembling the sprayer?
To disassemble the sprayer, follow these steps: 1) Turn off and unplug the sprayer. 2) Remove the spray tip, guard, and filter. 3) Use a wrench to loosen and remove the fluid section. Recommended tools for this process include a wrench and pliers.
Are there any specific cleaning brushes or needles that are recommended for unclogging the sprayer?
To effectively clean and unclog a Graco 360 airless paint sprayer, it is recommended to use cleaning tools such as brushes and needles specifically designed for this purpose. Regular maintenance tips should also be followed to prevent clogging issues.
What are some common signs or symptoms of a clogged Graco 360 airless paint sprayer?
Some common signs or symptoms of a clogged Graco 360 airless paint sprayer include poor spray pattern, spitting or sputtering, and reduced or uneven paint flow. Troubleshooting tips can help identify and resolve these issues.
Conclusion
When it comes to unclogging a Graco 360 Airless Paint Sprayer, there are a few steps you can follow. First, make sure to disconnect the sprayer from the power source and relieve any pressure in the system. Next, remove the spray tip and filter from the gun and clean them thoroughly. If the clog persists, you may need to disassemble the gun and clean the internal components. Be sure to refer to the manufacturer’s instructions for guidance on this step. Once everything is clean, reassemble the gun and test it to ensure the clog is fully cleared. Regular maintenance, such as cleaning the sprayer after each use and using the appropriate paint filters, can help prevent clogs in the future.