
Did you know that using a 1-gallon paint can with the Graco Magnum X7 airless paint sprayer can significantly cut down the time and effort you put into your painting projects? It’s true! This combination helps you achieve a professional, high-quality finish quickly.
In this article, I will guide you through the step-by-step process of using a 1-gallon paint can with the Graco Magnum X7 airless paint sprayer, from set up to clean-up.
First, we will cover how to properly prepare your sprayer and paint can for use. Then, I will show you how to attach the siphon tube to the paint can and connect it to the sprayer. We will also discuss how to adjust the pressure and spray pattern for optimal results.
By following these instructions, you will be able to paint with ease and achieve a consistent, high-quality finish. So, let’s get started and make your painting projects a breeze!
Key Takeaways
- Benefits of using a 1-gallon paint can with the Graco Magnum X7 airless paint sprayer
- Preparation steps for using the sprayer and paint can
- Adjusting pressure and spray pattern for optimal results
- Troubleshooting common issues with the sprayer

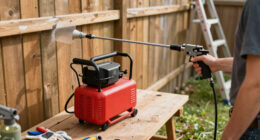
VEVOR 750W Stand Airless Paint Sprayer, 3000PSI High Efficiency Electric Airless Sprayer, Fine and Even Painting Effect, Handheld Paint Sprayers for Home Interior and Exterior Furniture and Fences
Efficient Painting: Our stand airless paint sprayer is equipped with a powerful 750W motor, capable of delivering up...
As an affiliate, we earn on qualifying purchases.
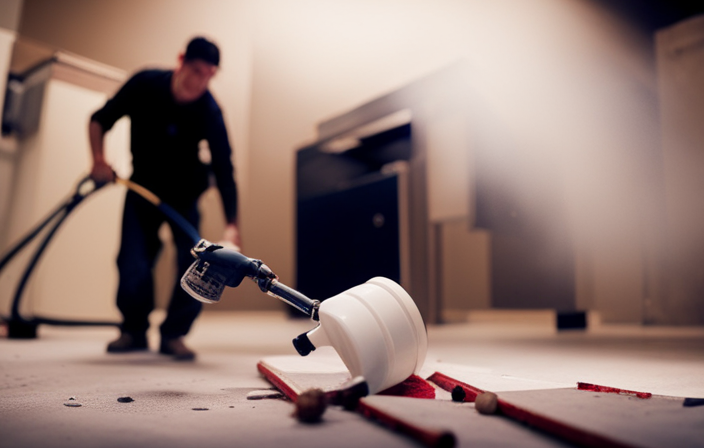
Set Up Your Graco Magnum X7 Airless Paint Sprayer
Now that you’ve got your 1-gallon paint can ready to go, let’s dive into setting up your Graco Magnum X7 Airless Paint Sprayer.
The Graco Magnum X7 is a powerful tool that can make your painting projects easier and more efficient. Before you start, it’s important to troubleshoot common issues that may arise with the sprayer. Make sure the pump is primed and check for any clogs in the nozzle or hose. Additionally, choose the right paint for your project. Consider the surface you’re painting and the type of paint you’re using.
Now, let’s move on to preparing your 1-gallon paint can for use with the Graco Magnum X7 Airless Paint Sprayer.

Graco Magnum 262800 X5 Stand Airless Paint Sprayer, Blue
Just right for DIY Homeowners and Remodelers looking for more power and mobility when tackling larger projects
As an affiliate, we earn on qualifying purchases.
Prepare Your 1-Gallon Paint Can
To get started, make sure your 1-gallon can is ready for action. Here’s what you need to do:
-
Start by thoroughly stirring the paint in the can to ensure a smooth consistency.
-
Next, remove the lid from the can and set it aside in a safe place.
-
Carefully pour the paint into the can, making sure not to spill any.
-
Once the can is filled, securely place the lid back on, ensuring it’s tightly sealed.
Now that your 1-gallon paint can is prepared, it’s time to attach the siphon tube to it. This will allow the paint to be drawn up into the Graco Magnum X7 Airless Paint Sprayer for easy and efficient spraying.

Graco Magnum 257025 Project Painter Plus Paint Sprayer
Ideal for projects up to 5 gallons in size, allowing you to tackle a range of projects every...
As an affiliate, we earn on qualifying purchases.
Attach the Siphon Tube to the Paint Can
Start by attaching the siphon tube to your freshly prepared 1-gallon can, allowing the paint to flow effortlessly into the awaiting masterpiece. Before attaching the siphon tube, make sure it’s clean and free from any debris or dried paint. Proper siphon tube maintenance is crucial to prevent clogs and ensure smooth paint flow.
Once the tube is clean, insert one end into the can, making sure it reaches the bottom. The other end of the tube should be connected to the intake valve of the Graco Magnum X7 airless paint sprayer. If you don’t have a 1-gallon paint can, there are alternative paint can options available that can still be used with the sprayer. These options include using a paint pail or a paint bag.
Now, you’re ready to connect the paint can to the sprayer, allowing the paint to be sprayed evenly and efficiently.

HomeRight Super Finish Max HVLP Paint Sprayer - 450 Watts, Model# C800971.M
PAINT SPRAYER FOR COUNTLESS DIY PROJECTS: The HomeRight Super Finish Max paint sprayer offers the ultimate DIYing experience....
As an affiliate, we earn on qualifying purchases.
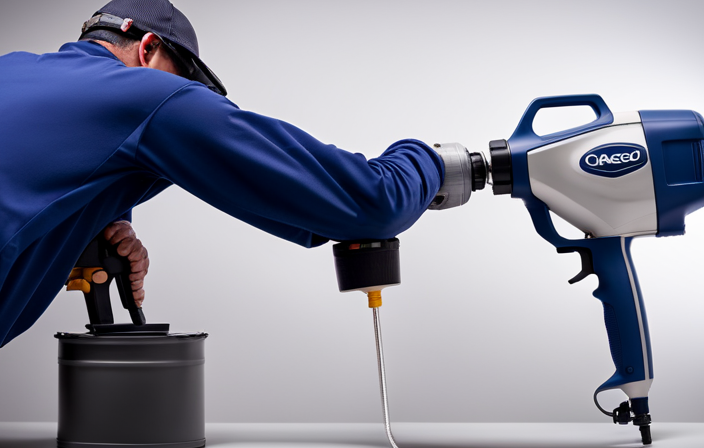
Connect the Paint Can to the Sprayer
Once you’ve got your siphon tube securely attached to the paint can, it’s time to connect it to the powerful sprayer, bringing your artistic vision to life with a simple click. To connect the paint can to the sprayer, follow these steps:
| Step | Action |
|---|---|
| 1 | Ensure the sprayer is turned off and the pressure is released. |
| 2 | Locate the paint can hook on the sprayer’s suction tube. |
| 3 | Place the hook securely onto the rim of the paint can. |
| 4 | Push the can down to create a tight seal. |
| 5 | Turn on the sprayer and test the connection by spraying a small amount of paint onto a test surface. |
If you encounter any issues with the paint can connection, check that the hook is securely attached and the seal is tight. Troubleshooting paint can connection problems will ensure a smooth painting process. Now, let’s move on to adjusting the pressure and spray pattern to achieve the desired results.
Adjust the Pressure and Spray Pattern
Adjusting the pressure and spray pattern will allow you to unleash a torrent of color, transforming your blank canvas into a vibrant masterpiece. To achieve the perfect spray, follow these steps:
-
Adjust the spray settings: Start by turning the pressure control knob clockwise to increase the pressure or counterclockwise to decrease it. Experiment with different settings until you find the optimal pressure for your paint. Additionally, adjust the spray pattern by rotating the nozzle tip. Twist it clockwise for a narrower pattern or counterclockwise for a wider coverage.
-
Troubleshoot common issues: If the spray pattern is inconsistent or sputters, check if the paint viscosity matches the sprayer’s recommendation. Thin or thick paint can cause problems. Also, make sure that the nozzle tip is clean and free from any blockages.
-
Once you have adjusted the pressure and spray pattern, it’s time to test the sprayer on a scrap surface to ensure everything is working smoothly.
Now, let’s move on to the next step of testing the sprayer on a scrap surface.
Test the Sprayer on a Scrap Surface
To ensure optimal performance of the Graco Magnum X7 airless paint sprayer, it is essential to test the sprayer on a scrap surface before starting your painting project. This step allows you to check if the pressure and spray pattern are adjusted correctly, as discussed in the previous subtopic.
When testing the sprayer, it is recommended to practice on different surfaces to get a feel for the sprayer’s performance and to troubleshoot any common issues that may arise. By doing so, you can ensure that the sprayer is functioning properly and that you will achieve the desired results when painting with the 1-gallon paint can.
Now that we have tested the sprayer and are confident in its performance, let’s move on to the next section and learn how to start painting with the 1-gallon paint can.
Start Painting with the 1-Gallon Paint Can
Now it’s time to get started with painting using the 1-gallon can! When using the Graco Magnum X7 airless paint sprayer, it’s important to master some painting techniques.
First, ensure you’ve chosen the right paint color for your project. This’ll help you achieve the desired look and feel.
To begin painting, attach the spray gun to the sprayer and connect the paint can to the gun. Adjust the pressure settings according to the paint manufacturer’s recommendations.
Hold the gun approximately 12 inches away from the surface and start spraying in a smooth, sweeping motion. Maintain a consistent spray technique by moving at a steady pace and overlapping each pass slightly. This’ll ensure an even coat of paint.
Transitioning into the next section, it’s crucial to maintain this technique to achieve professional results.
Maintain a Consistent Spray Technique
Maintaining a consistent spray technique is essential for achieving professional results, and it’s fascinating to know that a slight variation in spraying distance can significantly affect the coverage and finish of the paint.
To help you master your spray technique, here are some valuable tips:
-
Keep a steady hand: Hold the sprayer firmly with a relaxed grip to ensure smooth and even strokes.
-
Maintain the right distance: Maintain a consistent distance of about 12 inches between the sprayer and the surface to achieve optimal coverage.
-
Overlap strokes: Overlapping each stroke by 50% ensures even distribution and minimizes streaks or uneven areas.
By following these spray technique tips, you can troubleshoot common spray issues such as streaking or uneven coverage.
Now, let’s move on to the next section and learn how to properly clean the sprayer and paint can.
Clean the Sprayer and Paint Can Properly
Ensure that you properly clean your sprayer and paint can to prolong their lifespan and prevent any clogs or buildup that could affect the quality of your future paint jobs.
To clean the sprayer, start by removing the paint can and any remaining paint in the system. Next, flush the system with water or a cleaning solution recommended by the manufacturer. Make sure to clean all the components thoroughly, including the gun, hose, and nozzle.
For the paint can, empty any leftover paint and rinse it with water. Use a brush or rag to scrub off any stubborn residue.
When cleaning, it’s important to use proper cleaning techniques and the best cleaning solutions to ensure effective and safe cleaning.
By properly cleaning your sprayer and paint can, you’ll be ready to achieve a professional finish in your next paint job.
Tips for Achieving a Professional Finish
To achieve a professional finish, you’ll want to pay attention to these helpful tips.
-
Prep the surface: Before applying paint, make sure the surface is clean, dry, and free of any debris. Sand any rough areas and patch any holes or cracks for a smooth finish.
-
Choose the right paint color: Consider the lighting, room size, and desired atmosphere when selecting a paint color. Test a small area before committing to ensure it matches your vision.
-
Apply paint evenly: Use smooth, overlapping strokes with the paint sprayer to achieve an even coat. Start from the top and work your way down, maintaining a consistent distance from the surface.
Remember, achieving a smooth finish requires attention to detail and proper technique. By following these tips and selecting the right paint color, you can achieve a professional result with your Graco Magnum X7 airless paint sprayer.
Frequently Asked Questions
Can I use a different size paint can with the Graco Magnum X7 Airless Paint Sprayer?
Yes, you can use alternative paint can options with the Graco Magnum X7 airless paint sprayer. It’s like having a toolbox full of different-sized wrenches – you can choose the one that fits your needs.
How do I properly attach the siphon tube to the 1-gallon paint can?
To properly attach the siphon tube to a 1-gallon paint can, first ensure the can is securely closed. Then, insert the siphon tube into the can’s opening, making sure it reaches the bottom. This allows for efficient paint flow when using the Graco Magnum X7 airless paint sprayer.
Are there any specific safety precautions I should take when using the Graco Magnum X7 with a 1-gallon paint can?
When using the Graco Magnum X7 with a 1-gallon paint can, it’s important to follow specific safety precautions. Make sure to properly attach the siphon tube to prevent any leaks or accidents.
Can I use a different brand of paint with the Graco Magnum X7 and the 1-gallon paint can?
Yes, you can use a different brand of paint with the Graco Magnum X7 and the 1-gallon paint can. The sprayer is compatible with various paint types, and alternative paint containers can be used as well.
How do I adjust the pressure and spray pattern when using a 1-gallon paint can with the Graco Magnum X7?
To adjust pressure and select spray pattern on the Graco Magnum X7, simply turn the pressure control knob to increase or decrease pressure, and twist the spray tip to change the pattern. Easy peasy!
Conclusion
In conclusion, using a 1-gallon paint can with the Graco Magnum X7 Airless Paint Sprayer is as easy as a breeze. Just like a skilled artist wielding a brush, you can effortlessly achieve a professional finish.
By following the steps outlined in this article, you’ll be able to set up and connect the paint can to the sprayer with no hassle. Remember to adjust the pressure and spray pattern to your liking, and maintain a consistent technique throughout.
With proper cleaning and maintenance, you’ll be ready to tackle any painting project with confidence.