Have you ever imagined being able to paint an entire room in just minutes?
Well, prepare to have your mind blown because I’m about to introduce you to the incredible world of paint sprayers. These powerful tools are like a magic wand for painting, allowing you to cover large areas in a fraction of the time it would take with a brush or roller.
In this article, I will guide you through everything you need to know about using a paint sprayer, specifically the electric airless kind. From gathering your supplies to mastering advanced techniques, I’ll provide you with all the tips and tricks you need to achieve professional-looking results.
So, if you’re ready to unleash your inner Picasso and transform your home with a fresh coat of paint, let’s dive right in and discover the wonders of the paint sprayer.
Key Takeaways
- Clean the nozzle and filter regularly to prevent clogging.
- Check seals and gaskets for leaks to ensure proper functioning.
- Securely attach the paint container to avoid any spills or accidents.
- Experiment with spray pattern and pressure settings to achieve the desired finish.
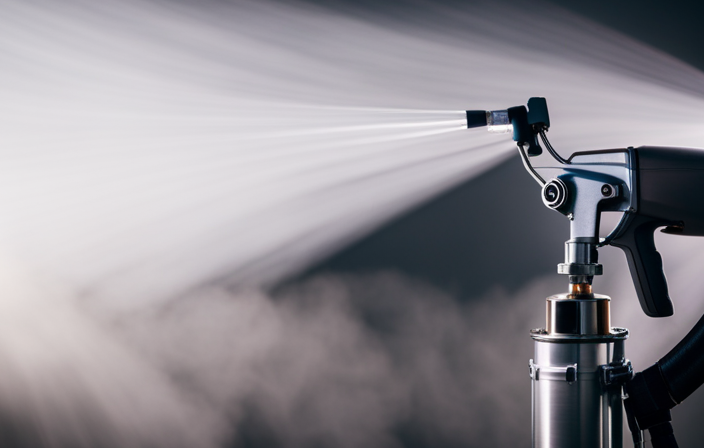
Introduction to Paint Sprayers
Using a paint sprayer can transform your painting experience, making it faster, more efficient, and ultimately more enjoyable. When it comes to paint sprayer techniques, it’s important to choose the right paint sprayer for your project.
There are different types available, such as airless, HVLP (High Volume Low Pressure), and handheld sprayers. Consider factors like the type of paint you’ll be using, the size of the project, and your level of experience. Each type has its own advantages and disadvantages, so it’s crucial to do your research before making a decision.
Additionally, take into account factors like ease of use, maintenance requirements, and the type of surfaces you’ll be painting. Once you’ve chosen the right paint sprayer, it’s time to gather your supplies and get started on your project.
Gather Your Supplies
Equipped with the essential equipment, you’ll be ready to start your painting project with an electric airless paint sprayer. Before diving into the painting process, it’s crucial to prioritize safety. Ensure that you wear protective gear such as goggles, gloves, and a respirator to shield yourself from any potential harm. Additionally, make sure to choose the right paint for your project. Consider factors such as the type of surface you’ll be painting and the desired finish. This will help you select the appropriate paint that will adhere well and provide the desired results. To further guide you, refer to the table below for a quick comparison of common paint types:
| Paint Type | Pros | Cons |
|---|---|---|
| Latex | Easy cleanup, low odor | Not suitable for high-temperature surfaces |
| Oil-based | Durable finish, good for high-traffic areas | Strong odor, longer drying time |
| Acrylic | Quick drying time, resistant to fading | Less durable than oil-based paints |
With the necessary supplies gathered and a clear understanding of paint sprayer safety and choosing the right paint, you can now move on to preparing the surface for painting.
Prepare the Surface
Before diving into the painting process, it’s important to ensure that the surface you’ll be working on is properly prepared. Surface preparation is crucial for achieving a smooth and professional finish.
The first step is to clean the surface thoroughly, removing any dirt, dust, or loose particles. This can be done with a damp cloth or sponge.
Next, inspect the surface for any imperfections such as cracks, holes, or peeling paint. These should be repaired before painting to ensure a flawless result.
Additionally, applying a primer is essential, especially if the surface is porous or has been previously painted. Primer helps to seal the surface, improves adhesion, and enhances the durability of the paint.
Once the surface is prepped and primed, you’ll be ready to move on to the next step of setting up the paint sprayer.
Set Up the Paint Sprayer
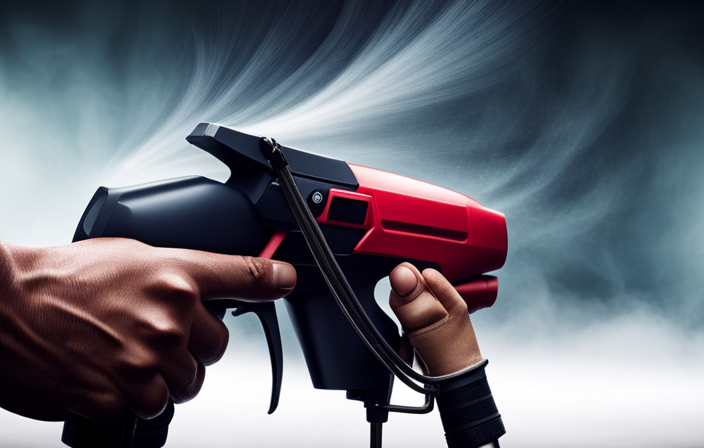
Get ready to experience the sheer satisfaction of effortlessly transforming your surface with a perfectly smooth and flawless finish – it’s time to set up your trusty paint sprayer!
Before diving into your project, it’s essential to ensure that your paint sprayer is in optimal condition. Start by checking for any paint sprayer troubleshooting tips in the user manual. This step will help you avoid any potential issues during the painting process.
Additionally, regular paint sprayer maintenance is crucial for its longevity and performance. Clean the sprayer thoroughly after each use and inspect the nozzle for any clogs or damage.
Once your paint sprayer is set up and ready to go, it’s time to practice on a test surface, ensuring your technique is perfected before tackling the main project.
Practice on a Test Surface
Armed with your trusty paint whisperer, immerse yourself in the world of surface transformation by practicing on a test canvas that eagerly awaits your artistic prowess.
Before diving into the actual painting project, it’s crucial to prepare the test surface properly. Begin by cleaning it thoroughly, removing any dirt, dust, or debris that could affect the final result. Next, ensure the surface is dry and free of any moisture.
Once the surface is prepped, it’s time to familiarize yourself with various paint sprayer techniques. Experiment with different spraying patterns, distances, and speeds to achieve the desired effect. Practice controlling the flow of paint and maintaining a consistent pressure on the sprayer trigger.
By honing your skills on the test surface, you’ll gain confidence and expertise before starting the actual painting process.
Transitioning into the next section, let’s now explore how to start painting with your paint sprayer.
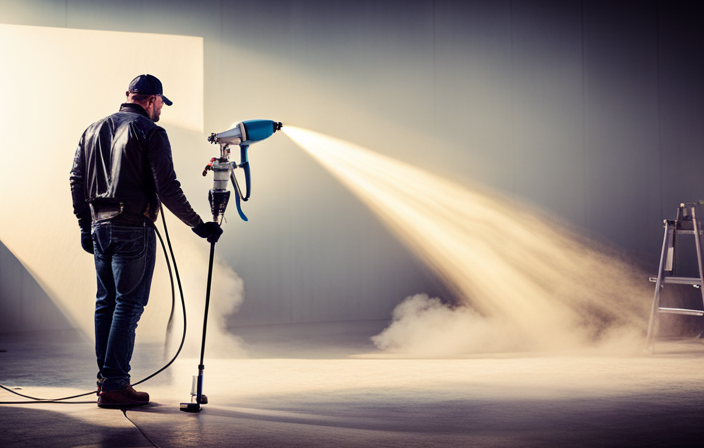
Start Painting
Now that I’ve had some practice on a test surface, it’s time to start painting with the electric airless paint sprayer. It’s important to be mindful of some beginner mistakes that can occur when using a paint sprayer, such as holding the sprayer too close to the surface or moving too quickly. To achieve even coverage, I’ll make sure to maintain a consistent distance from the surface and move the sprayer in a steady, overlapping motion.
Using a paint sprayer can be a thrilling experience, as it allows for quick and efficient painting. As I start painting, I’m filled with a sense of excitement and anticipation. The smooth, continuous spray of paint covers the surface effortlessly, creating a flawless finish.
It’s incredible to see how the paint transforms the surface, bringing new life to it.
In the next section about maintaining proper technique, I’ll discuss how to avoid common mistakes and ensure a professional-looking result.
Maintain Proper Technique
To ensure a professional-looking result, you’ll want to keep in mind the importance of maintaining proper technique while using the electric airless paint sprayer. One key aspect of proper technique is having a proper grip on the sprayer. Make sure to hold it firmly but not too tightly, allowing for easy maneuverability.
Additionally, it’s crucial to maintain a consistent distance from the surface being painted to achieve even coverage. Typically, a distance of 12 to 18 inches works well, but check the manufacturer’s guidelines for your specific sprayer. Keep your arm steady and move in a smooth, overlapping motion to prevent streaks or uneven application.
By consistently practicing these techniques, you’ll achieve a flawless finish.
Now, let’s transition into the next section on how to clean and store the paint sprayer.
Clean and Store the Paint Sprayer
Make sure you properly clean and store your paint sprayer for optimal performance and longevity. Cleaning your paint sprayer after each use is essential to prevent clogs and maintain its efficiency. The cleaning process involves disassembling the sprayer, flushing it with water or a cleaning solution, and removing any paint residue. Pay close attention to the spray tip, as it is prone to clogging. Additionally, always clean the filters and screens to prevent blockages. After cleaning, allow all the parts to dry completely before reassembling the sprayer. When it comes to storage, store your paint sprayer in a clean, dry, and cool place. Protect it from extreme temperatures and ensure it is stored upright to prevent any leaks. By following these cleaning and storage tips, you can extend the lifespan of your paint sprayer and ensure its optimal performance. Now, let’s move on to troubleshooting common issues.
Troubleshooting Common Issues
Having trouble with your paint sprayer? Don’t worry, I’ve got you covered with some simple solutions to fix those pesky issues! Here are a few common problems you may encounter with your paint sprayer and how to troubleshoot them:
-
Paint sprayer clogging: If you notice the paint isn’t spraying properly or the sprayer gets clogged, try cleaning the nozzle and filter. Remove any dried paint or debris, and make sure the paint is properly mixed and filtered before using the sprayer again.
-
Paint sprayer leaking: If you experience paint leaking from the sprayer, check the seals and gaskets for any damage or wear. Tighten any loose connections and make sure the paint container is securely attached. If the issue persists, you may need to replace the damaged parts.
-
Inconsistent spray pattern: If the spray pattern is uneven or spotty, check the paint viscosity and adjust it accordingly. Also, make sure the spray tip is clean and not worn out. If needed, replace the tip to achieve a smooth and consistent spray.
-
Loss of pressure: If you notice a sudden loss of pressure, check the power source and make sure it’s supplying enough electricity to the sprayer. Also, inspect the hoses and connections for any leaks or blockages. Adjust or replace any faulty parts to restore the proper pressure.
Now that you know how to troubleshoot common issues with your paint sprayer, let’s move on to some advanced techniques and tips to help you achieve professional results.
Advanced Techniques and Tips
Now that we’ve covered troubleshooting common issues with using a paint sprayer, let’s move on to some advanced techniques and tips that’ll help you achieve a smooth finish. Mastering these techniques will take your painting projects to the next level.
One important technique is to maintain a consistent distance between the sprayer and the surface you’re painting. Holding the sprayer too close can result in uneven coverage and drips, while holding it too far away can lead to a thin and patchy finish. Experiment with different distances until you find the sweet spot that gives you the desired outcome.
Another tip is to overlap your spray pattern by about 50% with each pass. This’ll ensure even coverage and eliminate any streaks or lines in the final result.
Additionally, adjusting the spray pattern and pressure settings on your paint sprayer can help you achieve the desired finish. Experiment with different settings to find the right combination for your project.
By incorporating these advanced spraying techniques, you’ll be able to achieve a smooth and professional-looking finish with your electric airless paint sprayer.
Frequently Asked Questions
Can I use any type of paint with an electric airless paint sprayer?
Yes, you can use any type of paint with an electric airless paint sprayer. However, it is important to properly maintain the sprayer and follow these tips for achieving a smooth finish: clean the sprayer regularly, use the correct paint viscosity, and apply multiple thin coats.
How do I prevent clogging in the paint sprayer nozzle?
To prevent clogs and troubleshoot nozzle issues, it is important to properly clean and maintain the paint sprayer. Regularly check the nozzle for any debris or buildup, and use a suitable cleaning solution to remove any clogs.
What safety precautions should I take when using an electric airless paint sprayer?
To ensure safety when using an electric airless paint sprayer, it is crucial to take certain precautions. This includes wearing protective clothing, using a respirator, setting up a proper ventilation system, and preventing paint overspray by carefully adjusting the spray pattern. Additionally, cleaning the paint sprayer properly after each use is essential to maintain its performance and longevity.
Is it necessary to thin the paint before using it with a paint sprayer?
It is sometimes necessary to thin the paint before using it with a paint sprayer. Thinning paint allows for better atomization and a smoother finish. Different paint sprayer techniques may require different levels of thinning, so always consult the manufacturer’s instructions for best results.
Can I use a paint sprayer to apply stain or varnish on wood surfaces?
Yes, you can use a paint sprayer to effortlessly apply stain or varnish on wood surfaces. It provides a smooth and even finish, saving you time and effort. Additionally, using a paint sprayer for staining furniture offers precise application and reduces the risk of brush marks.
Conclusion
In conclusion, using a paint sprayer can be a game-changer for your painting projects. It provides a smooth and even coat of paint, saving you time and effort.
By following the steps outlined in this article, you can confidently handle a paint sprayer and achieve professional-looking results. Just like an artist with a brush, you can effortlessly glide the sprayer across the surface, leaving behind a flawless finish like a swan gliding across a calm lake.
So go ahead, grab your paint sprayer, and let your creativity flow!