To use an airless paint sprayer for painting board and batten siding, start by preparing the surface—clean it thoroughly and apply a coat of KILZ 3 primer on all sides. Once dry, adjust your sprayer's pressure for ideal paint flow, using a small tip for better control. Maintain a consistent distance from the surface and use smooth, overlapping strokes to guarantee even coverage. Don't forget to clean the sprayer thoroughly after use to keep it in good condition. Following these steps will guarantee a professional finish, but there's plenty more to discover to perfect your technique.
Key Takeaways
- Thoroughly clean and prepare the siding to ensure optimal paint adhesion before using the sprayer.
- Adjust the sprayer's pressure and use the smallest suitable tip for better control on textured surfaces.
- Maintain a consistent distance from the surface and use overlapping strokes for even coverage.
- Prime the sprayer with water before switching to paint for optimal performance and to prevent clogs.
- Regularly clean the sprayer components after use to extend equipment lifespan and ensure reliable operation.

InoKraft MaXpray M1 Airless Paint Sprayer, 3000 PSI 550W Corded Electric, Thinning-Free for Latex & Stain, DIY Home Interior Exterior Walls Fences Decks, Includes Spray Gun Kit & 12" Tip Extension
- Fast Painting Speed: 5X faster than rolling, 12X faster than brushing
- High-Pressure Performance: 3000 PSI, 0.29 GPM for even coverage
- Direct from Bucket: Draw paint from 5-gallon bucket for large projects
As an affiliate, we earn on qualifying purchases.
As an affiliate, we earn on qualifying purchases.
Project Overview
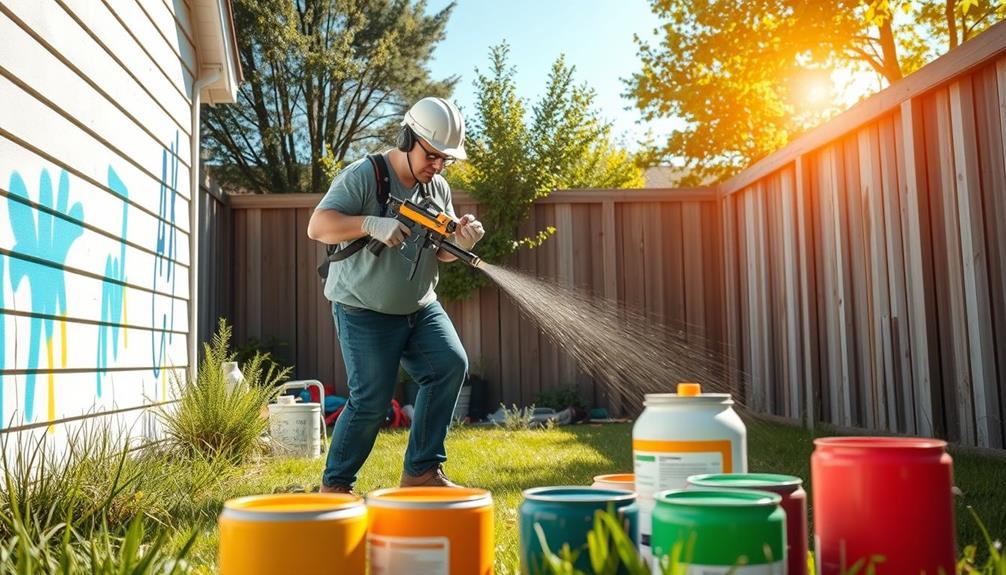
When tackling a painting project, preparation is key to achieving a professional finish. You've chosen to paint exterior board and batten siding made from rough cut boards, which have already been primed with KILZ 3 primer. This step guarantees ideal paint adhesion, setting you up for success.
It's also important to take into account the environmental impact of your project; using high-efficiency tools can help reduce waste and conserve resources, similar to clogging remedies when addressing plumbing issues. You've got a paint sprayer ready, specifically designed to apply Sherwin-Williams exterior paint, which you wisely purchased during a sale for 30-40% off—great job on maximizing your budget!
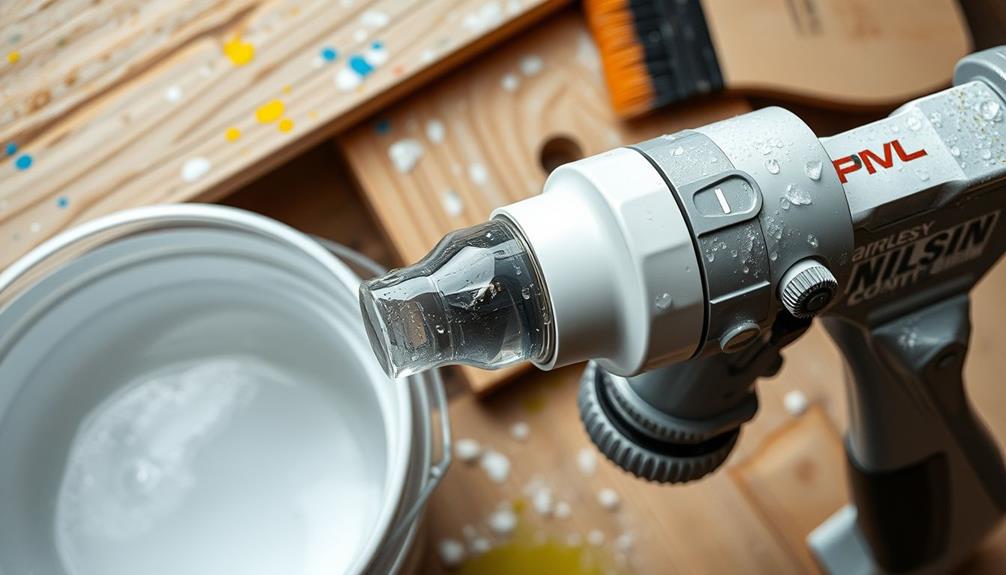
As you get started, make sure to adjust the pressure on the sprayer for low pressure to achieve a smooth and even application. Priming the sprayer with water before switching to the actual paint will help you guarantee a clean start.
After you finish spraying, don't forget to flush the sprayer lines and thoroughly clean the tip and filter. This will prevent clogs and extend the lifespan of your equipment, so you can use it for future projects.
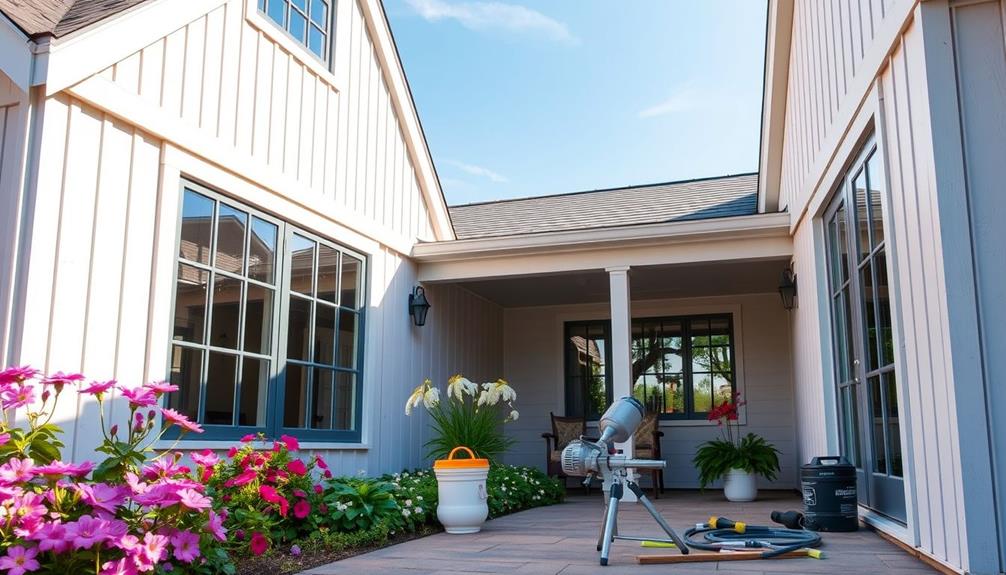
While you may notice some minor imperfections, the satisfaction of seeing your DIY painting results will outweigh them. Keep in mind that additional work, like touch-ups and landscaping, will enhance your home's exterior even further.
Required Equipment and Materials
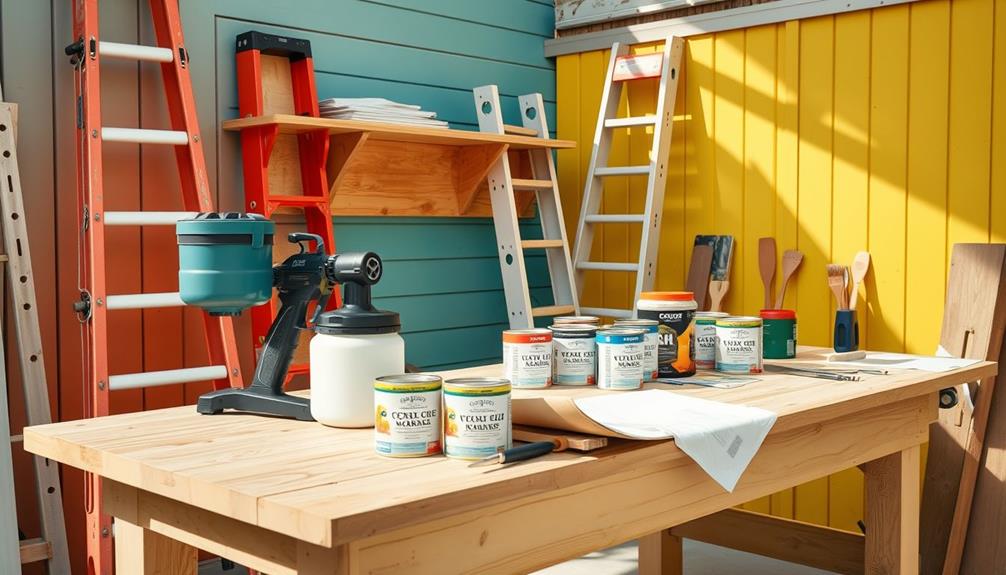
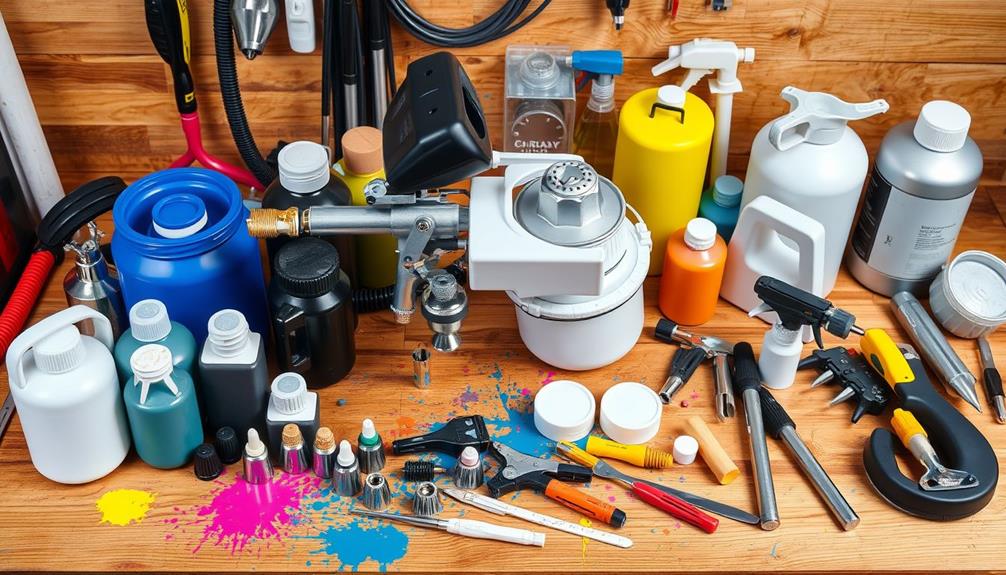
To achieve the best results for your exterior painting project, you'll need specific equipment and materials.
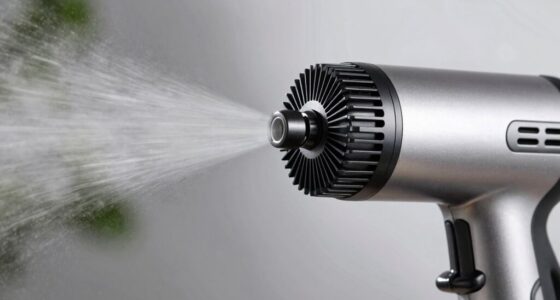
First and foremost, invest in a quality airless paint sprayer, like the ones available at Lowe's. Airless paint sprayers use high pressure to atomize paint for an even finish, making them ideal for large surfaces like board and batten siding. Choose the smallest sprayer tip suitable for exterior paint to guarantee peak coverage and finish.
For the paint itself, Sherwin-Williams exterior paint is highly recommended due to its durability; keep an eye out for sales to save 30-40% on material costs.
Before applying the first coat, make certain your boards are primed on all sides with a quality primer, such as KILZ 3, to enhance adhesion and finish quality.
When you're ready to paint, use water to flush the sprayer before introducing your paint, guaranteeing a clean shift and preventing contamination.
Lastly, regular maintenance is key. Clean the sprayer tip and filter with soapy water after use to prevent clogs and extend the lifespan of your equipment.
With these essential tools and materials, you'll be well-prepared to tackle your project and achieve a flawless second coat on your board and batten siding.
Preparing the Surface
Before you start painting, you need to get the surface ready. Cleaning the boards thoroughly to remove any dirt or dust is essential, and it's recommended to choose high-quality garage door openers for enhanced security during your project.
Make sure to prime them on all sides for better adhesion. This prep work is vital for achieving a smooth, durable finish with your airless paint sprayer.
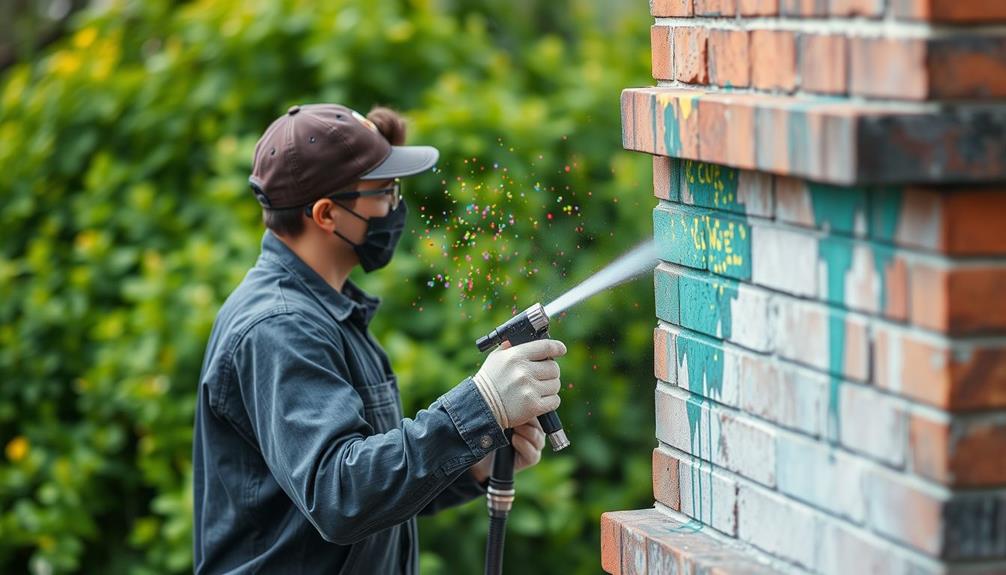
Surface Cleaning Techniques
Getting your surface ready for painting is essential for a successful job. Start by removing any loose dirt, dust, and debris from your board and batten siding. You can use a pressure washer or a stiff brush for this task, ensuring you create a clean surface that promotes ideal paint adhesion.
Additionally, it's important to take into account the reputation and reviews of any cleaning services you might hire for this initial preparation, as their expertise can make a significant difference in the outcome of your project key factors in choosing a home cleaning service.
Next, inspect the siding for any signs of mold or mildew. If you find any, treat those areas with a suitable cleaning solution, like a mixture of water and bleach, to eliminate contaminants before you paint.
If the surface has peeling or flaking paint, scrape these areas down to bare wood. Be sure to sand the edges to create a smooth change, which will help the new paint adhere better.
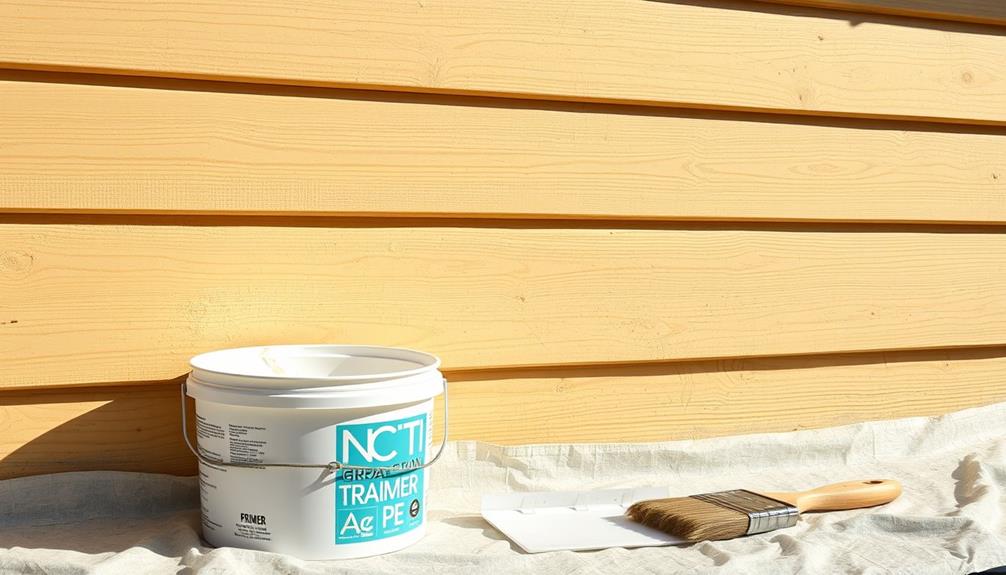
Priming for Protection
Properly priming your surface is essential for guaranteeing long-lasting protection and an even finish. Before you apply primer, make sure all rough cut boards are clean and dry. This step promotes better adhesion and protects against moisture damage.
Additionally, selecting the right outdoor conditions can considerably impact the effectiveness of your primer, as humidity and temperature can affect drying times and adhesion. For ideal results, consider using a well-draining soil mix to enhance the longevity of your painting project in outdoor settings.
Choose a high-quality primer like KILZ 3, which offers excellent coverage and sealing properties for exterior wood surfaces. When applying the primer, cover all sides of the boards. This practice helps prevent warping and guarantees durability against the elements.
Adjust your airless paint sprayer's pressure settings to achieve a smooth, even coat of primer. This will help you avoid overspray and runs that could ruin your finish. Be mindful of the distance between the sprayer and the surface for ideal results.
After priming, allow adequate drying time based on the manufacturer's instructions—typically about 1-2 hours for KILZ 3 under ideal conditions. Patience here is key; rushing this step can lead to poor adhesion and an uneven finish later on.
Once the primer is fully dry, you're ready to move on to the finish coat with confidence!
Adjusting the Airless Sprayer
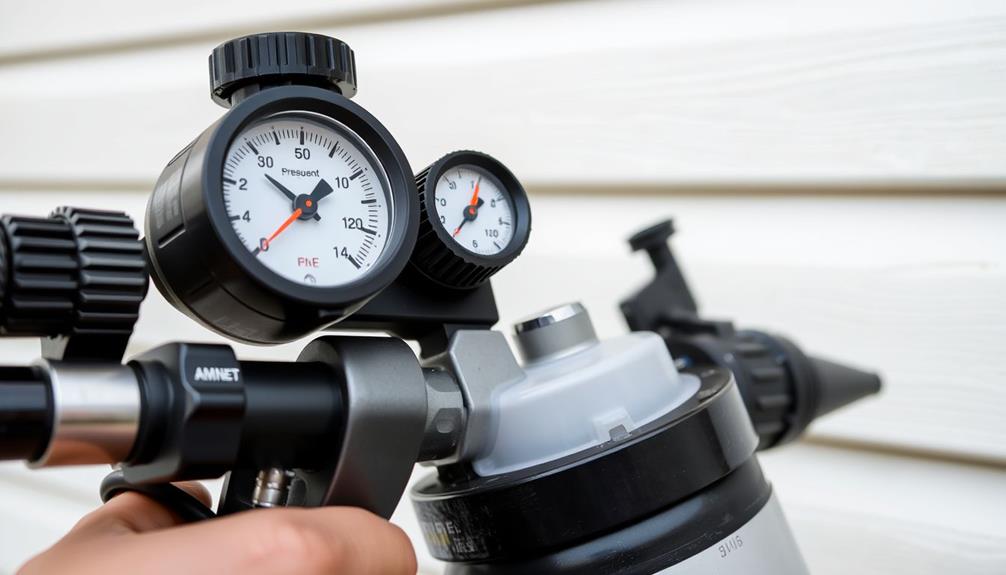
Adjusting your airless sprayer is essential for achieving a flawless finish on surfaces like board and batten siding. Start by adjusting the pressure settings according to the paint viscosity and the texture of the siding. This facilitates ideal paint flow and coverage.
For those who suffer from allergies, maintaining good indoor air quality is imperative, and using an air purifier can help reduce allergens in your environment, especially during painting projects air quality indicators. Before switching to paint, prime the sprayer with water to clear the lines, promoting a consistent spray pattern.
Here are some key adjustments to take into account:
- Sprayer Tip Size: Use the smallest suitable tip for exterior paint to enhance control and coverage on rough surfaces.
- Pressure Settings: If you notice tailing during application, slightly increase the pressure to improve paint flow and minimize defects.
- Regular Inspection and Cleaning: After each use, inspect and clean the sprayer to prevent clogs and maintain consistent performance.
Painting Techniques and Tips
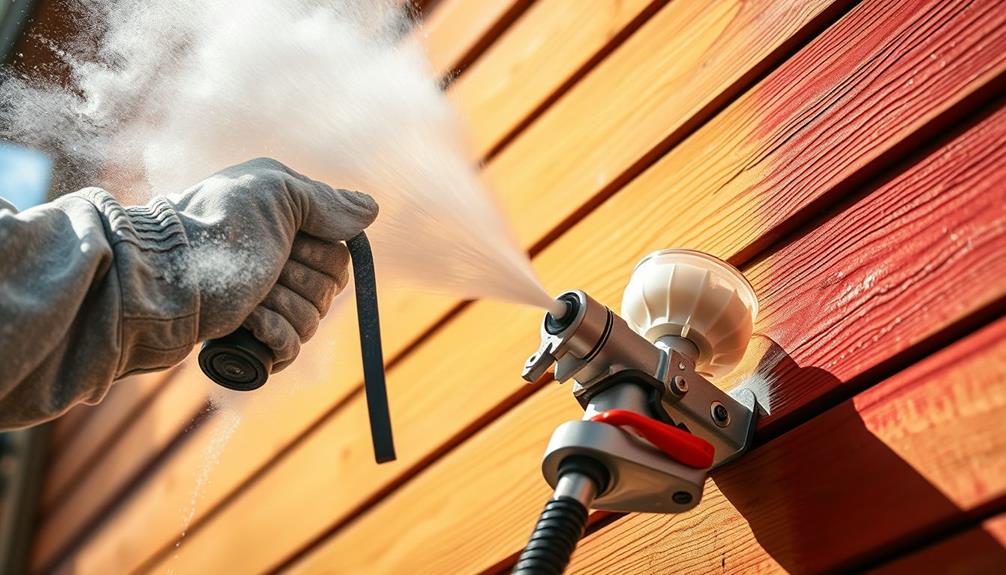
When you immerse yourself in painting with an airless sprayer, mastering your technique can make all the difference in achieving a professional-looking finish. Start by adjusting the sprayer's pressure based on the paint viscosity and surface texture, leveraging the revolutionary spray technology of tools like the Graco FFLP Fine Finish Low Pressure Reversible Tip. This guarantees steady and even application on your board and batten siding.
Before switching from water to paint, flush the lines to prevent contamination, especially important when working with rough cut boards. Aim to apply a thick coat of paint for adequate coverage, as the textured surface of wood siding helps hide minor imperfections.
To minimize tailing during application, keep a consistent distance from the surface and use smooth, overlapping strokes for uniformity.
Another essential tip is to regularly clean the sprayer tip and filter with soapy water and brushes after use. This prevents clogs and maintains peak performance for your painting projects.
Cleaning the Sprayer
After finishing your painting project, cleaning the sprayer is vital for maintaining its performance and longevity.
Start by releasing the pressure from the sprayer to guarantee safety and prevent any paint splatter. Once that's done, use clean water to flush the sprayer, hoses, and paint cup thoroughly, removing any remaining paint residue.
Regular maintenance of tools can prevent issues similar to how regular vet check-ups are important for cat health and nutrition.
Next, disassemble the sprayer according to the manufacturer's instructions. This gives you access to the sprayer tip and filter, which need a more thorough cleaning.
Here's what you should focus on:
- Scrub the sprayer tip and filter: Use soapy water and brushes to remove clogs and debris.
- Flush with clean water: Confirm all parts are free from any paint remnants.
- Inspect for wear: Regularly check components for signs of damage or wear that could affect performance.
Evaluating the Final Results
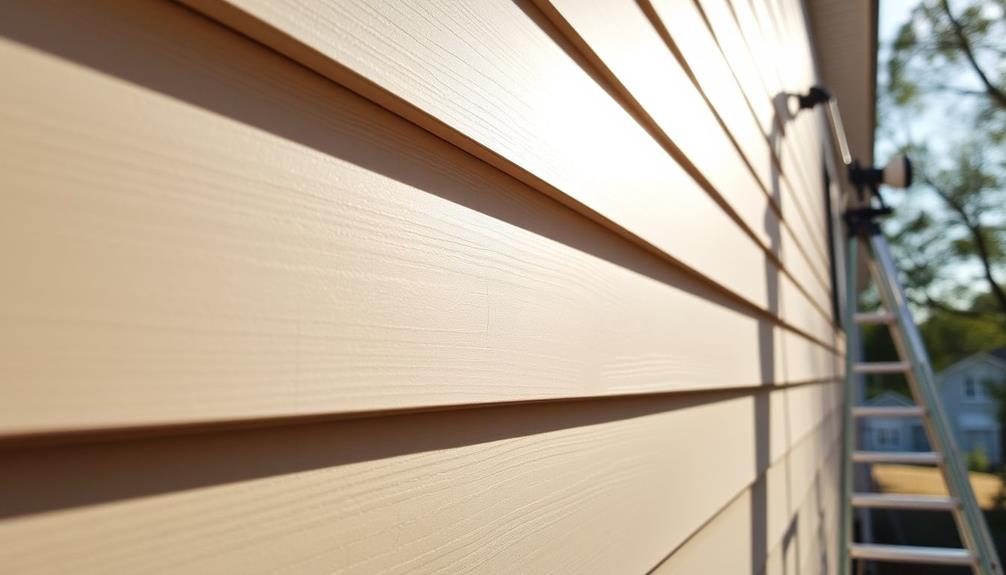
Evaluating the final results of your painting project is vital to confirm you've achieved the desired look and quality. After using an airless paint sprayer on your board and batten siding, take a step back and assess the finish. While minor imperfections might be present, a satisfactory look can still be achieved with proper technique.
Here's a quick table to help you evaluate your results:
| Aspect | Evaluation Criteria | Comments |
|---|---|---|
| Coverage | Even application without streaks | Verify all areas are uniform |
| Thickness | Sufficient layers for durability | Consider a second coat if needed |
| Detail | Clean edges around windows and trims | Check for any missed spots |
| Cleanliness | No drips or splatters | Review the overall neatness |
Pay attention to details like cutting around windows, as they greatly enhance the overall aesthetic. Remember, thorough cleaning of your sprayer post-use is vital for its performance in future projects. Document your process to identify areas for improvement, confirming your next painting endeavor yields even better results.
Future Maintenance and Improvements
How can you guarantee your newly painted board and batten siding stays vibrant and protected? Regular maintenance is key. By keeping an eye on the siding and addressing any wear promptly, you'll make certain it looks great for years to come.
Here are some essential steps to take into account:
- Inspect regularly: Check for peeling or fading paint at least once a year. Plan for touch-ups every few years to keep the siding looking fresh. Additionally, reflect on the impact of home security systems on your overall property maintenance, as visible security measures can deter potential damage from intruders.
- Record details: Keep a note of the paint type and color used. This makes it easier to match when it's time for repairs.
- Clean your tools: After each use of your airless paint sprayer, thoroughly clean it to avoid clogs and make sure it's ready for your next project.
Also, think about the weather when planning maintenance. Painting during mild temperatures and low humidity improves adhesion and durability.
Frequently Asked Questions
Can You Spray Board and Batten?
Yes, you can spray board and batten siding effectively. Just remember to choose the right sprayer tip, adjust the pressure, and prime the boards properly for the best coverage and durability. Happy painting!
How to Paint Exterior Board and Batten?
To paint exterior board and batten, start by priming all sides with a quality primer. Then, choose a suitable sprayer, adjust the pressure, and apply paint evenly for a durable, professional finish.
Do You Dilute Paint When Using an Airless Sprayer?
Imagine trying to pour syrup through a tiny straw—frustrating, right? When using an airless sprayer, you typically won't need to dilute paint, but check for thickness to verify smooth application and coverage.
How Do You Thin Exterior Paint for an Airless Sprayer?
To thin exterior paint for your airless sprayer, add up to 10% water to latex paint, ensuring you mix it thoroughly. Aim for a viscosity of 25-30 seconds for ideal flow and performance.
Conclusion
Now that you've mastered the art of using an airless paint sprayer on your board and batten siding, you might find yourself wondering why you ever thought a paintbrush was enough. With a flawless finish and quicker results, you've leveled up your painting game. Just remember, while your home looks stunning, your friends might start avoiding DIY chats—nobody wants to hear about your newfound sprayer skills! Enjoy your masterpiece, and may your future projects be just as effortless!