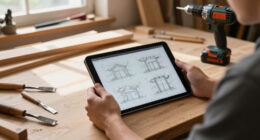
To use an airless paint sprayer for your kitchen cabinets, start by removing doors and hardware, then clean and sand the surfaces for better paint adhesion. Set up your workspace with drop cloths and make sure it's well-ventilated. Maintain a distance of 10-12 inches from the cabinet surface while spraying, using steady motions to achieve an even finish. Adjust the sprayer pressure around 2000 PSI for ideal atomization and apply multiple thin coats, lightly sanding between each. Finally, choose a high-quality paint and primer for lasting results; there's plenty more to take into account for a flawless project.
Key Takeaways
- Prepare surfaces by cleaning, sanding, and filling imperfections to ensure proper paint adhesion before using the airless sprayer.
- Set up a well-ventilated workspace, using drop cloths and plastic sheeting to protect surrounding areas from overspray.
- Maintain a consistent distance of 10-12 inches from the cabinet surface while spraying for even coverage and smooth finishes.
- Apply multiple thin coats, allowing for drying time and light sanding between coats to enhance adhesion and durability.
- Finish with a protective topcoat after the paint has cured for added durability and ease of cleaning.

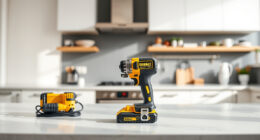
Graco Magnum X5 Airless Paint Sprayer, Interior & Exterior
- Suitable for DIY and Remodelers: Powerful and portable for larger projects
- Handles up to 10-gallon projects: Perfect for multiple home projects
- Adjustable pressure control: Spray unthinned paints or stains with precision
As an affiliate, we earn on qualifying purchases.
As an affiliate, we earn on qualifying purchases.
Benefits of Using an Airless Sprayer
Using an airless paint sprayer can transform the way you approach painting kitchen cabinets, offering efficiency and a professional finish. This tool covers large surfaces quickly, allowing you to complete your project in a fraction of the time—one coat can take about two hours, compared to eight to ten hours with brushes.
You'll appreciate the smooth finish it delivers, as airless sprayers atomize paint into fine droplets, ensuring even coverage without brush marks. Additionally, airless paint sprayer basics highlight how these sprayers are ideal for both interior and exterior projects, making them a versatile tool in your painting arsenal.
One of the key benefits of an airless paint sprayer is its ability to handle thicker materials, which means you won't have to thin your paint, especially when using oil-based products. You can easily adjust the spray pressure and tip size to suit various cabinet surfaces, from large areas to intricate details on your cabinet doors.
This versatility enhances your painting experience, allowing for a tailored approach.
Additionally, you'll find that using an airless sprayer results in less paint wastage due to its efficient application techniques. It allows for thinner coats, leading to better coverage and fewer applications, ultimately saving you time and money while ensuring a flawless finish on your cabinets.
Essential Preparation Steps
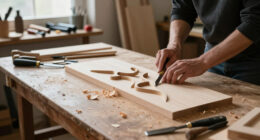
Before you start painting your kitchen cabinets with an airless sprayer, getting everything ready is essential to achieving a smooth and professional result. First, remove all cabinet doors, drawer fronts, and hardware, labeling each piece for easy reassembly. Clean surfaces thoroughly with a TSP solution to eliminate grease and dirt that can hinder paint adhesion.
Next, lightly sand all surfaces with 220-grit sandpaper to de-gloss any shiny finishes. This step enhances paint adhesion and promotes a smoother application. If you find any holes or imperfections, fill them with wood filler and let it dry completely before sanding it flush.
Lastly, effective masking off is vital. Cover surrounding areas with plastic sheeting and drop cloths to guarantee overspray protection during the painting process.
| Preparation Step | Purpose |
|---|---|
| Remove cabinet doors | Easy reassembly after painting |
| Clean surfaces | Improve paint adhesion |
| Fill imperfections | Guarantee a flawless finish |
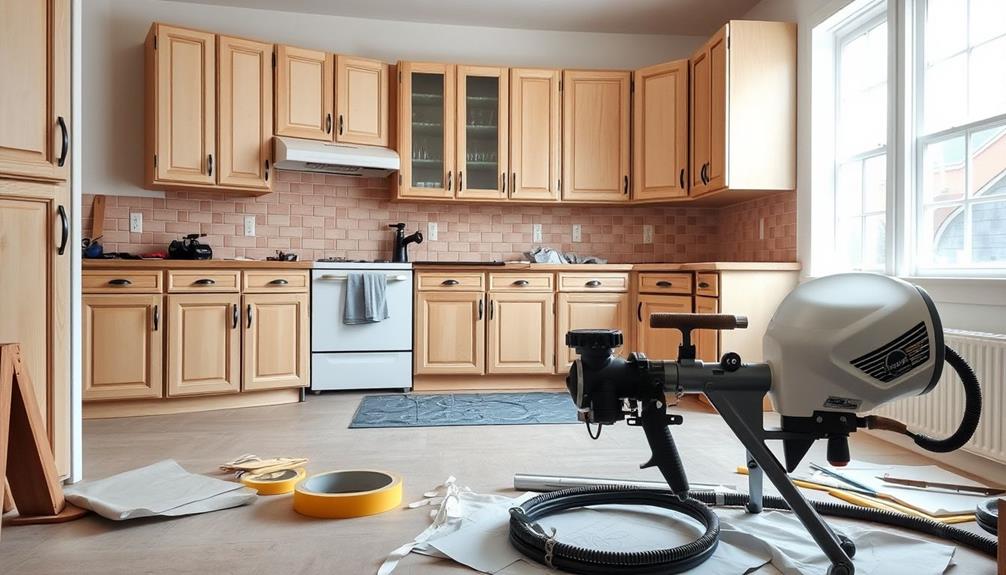
Setting Up the Work Area
Before you start painting, it's essential to protect surrounding surfaces. Lay down drop cloths on the floor and cover any furniture or walls with plastic sheeting to catch overspray.
Additionally, make certain that your workspace is well-ventilated and that you have easy access to tools like a toilet auger for any potential plumbing issues that might arise from your painting project.
Organizing your tools and materials will also help keep your workspace efficient and tidy.
Protect Surrounding Surfaces
To guarantee a clean and efficient painting process, it's crucial to protect surrounding surfaces from overspray. Here's how you can effectively shield your workspace:
1. Cover Areas: Use plastic sheeting and canvas tarps to cover all surfaces not being painted. This prevents overspray from damaging your walls and floors.
Additionally, consider using a headphone case for storing small items that might get paint on them.
2. Seal Edges: Secure the edges of the plastic sheeting with painter's tape. This guarantees a tight seal, minimizing the risk of paint bleeding onto protected surfaces.
3. Temporary Spray Booth: Set up a spray booth in an unfinished area or a well-ventilated outdoor space. This helps contain overspray and improves safety during the painting process.
4. Elevate Cabinets: Place cabinet doors on sawhorses. This keeps them off the ground, allowing for comfortable spraying while preventing contact with dust or debris.
Also, confirm your workspace is well-ventilated. Open windows and use fans to circulate air, dissipating fumes and maintaining a safe environment.
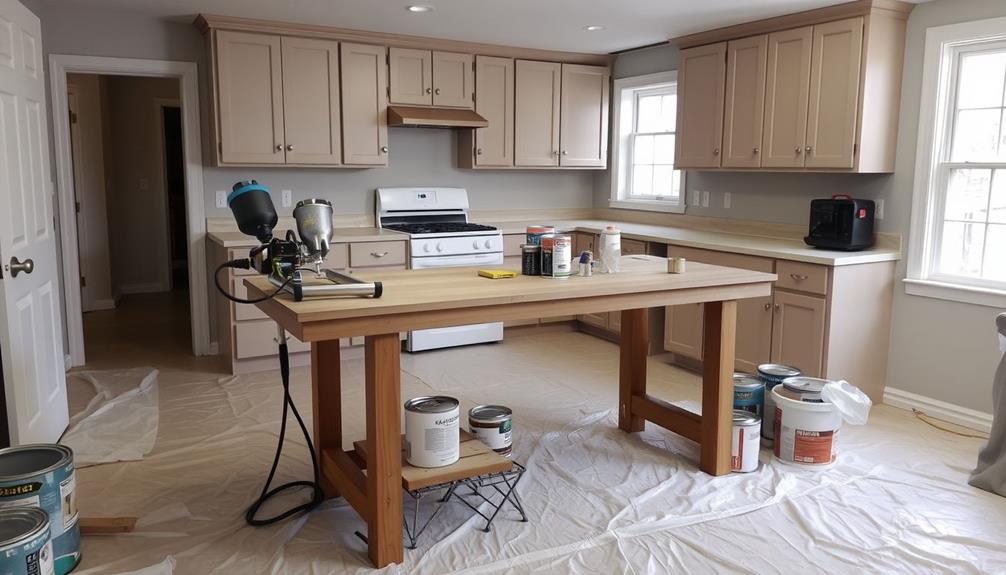
Organize Tools and Materials
Once you've protected surrounding surfaces, it's time to get your tools and materials organized for a smooth painting experience.
Start by gathering all the essentials: your airless paint sprayer, paint, primer, masking tape, drop cloths, and cleaning supplies. For an efficient workflow, consider the importance of flexibility in scheduling when planning your project timeline.
Organize tools and materials within easy reach to streamline your workflow. Place the sprayer, paint, and primers close by, ensuring you won't waste time searching for them mid-project.
Designate a well-ventilated area with access to natural light for your work. Spread drop cloths to shield floors and furniture from overspray.
As you remove cabinet doors and hardware, label and bag screws and other components to prevent misplacement, making reassembly a breeze later on.
Set up drying racks or sawhorses for the cabinet doors and drawer fronts, ensuring proper airflow around the painted surfaces. This minimizes the risk of damage while they dry.
With everything organized and accessible, you're all set to start spraying and transforming your kitchen cabinets efficiently!
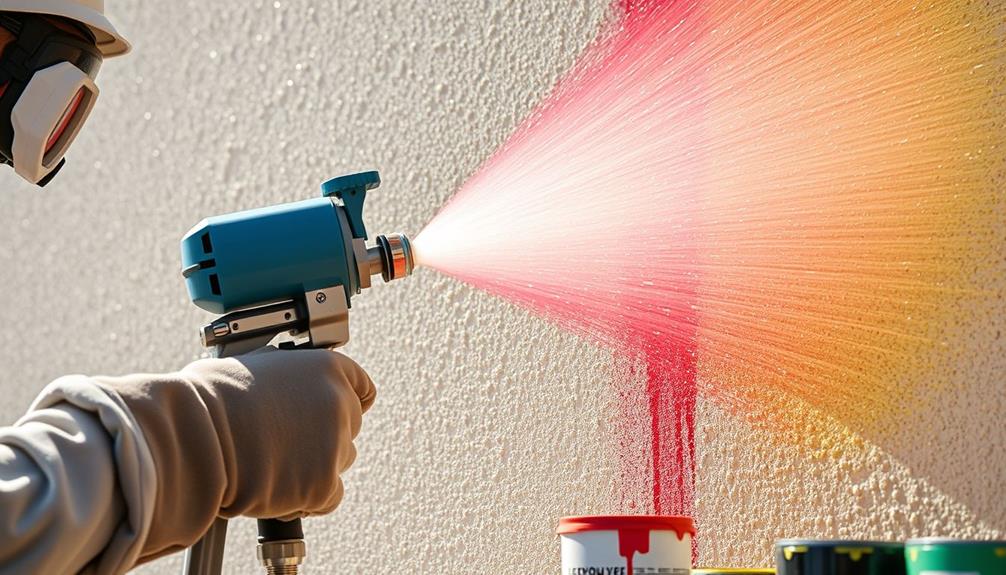
Spraying Techniques and Tips
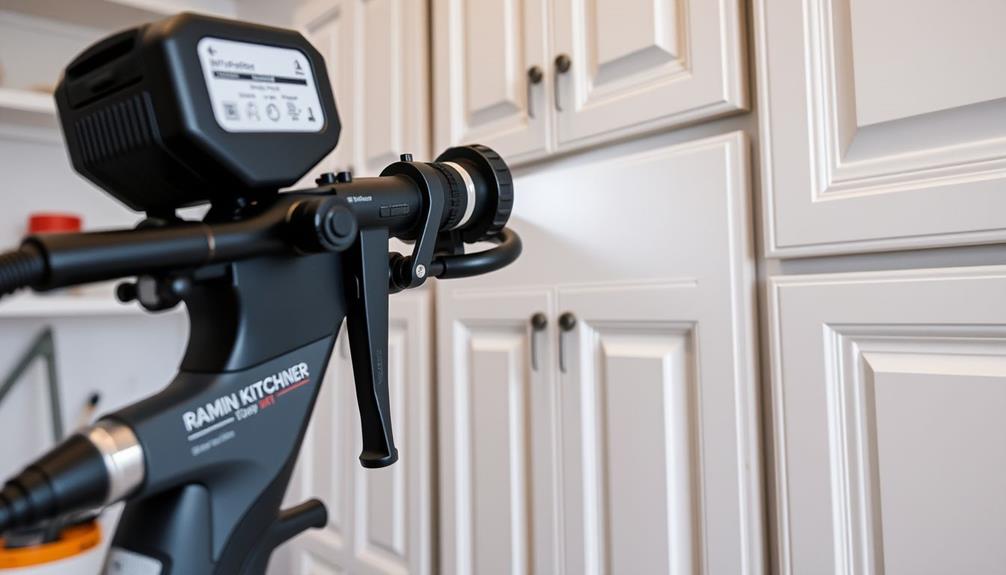
When using an airless paint sprayer, mastering the right spraying techniques is essential for achieving a professional finish on your kitchen cabinets. Follow these tips for the best results:
- Maintain Distance: Keep the sprayer 10-12 inches from the cabinet surface to guarantee even coverage and prevent runs. This technique is similar to how you'd want to maintain a suitable distance when using budget-friendly vacuum cleaners for effective cleaning without damage.
- Steady Motion: Use a consistent motion with your spray gun, avoiding wrist bending. Move in straight lines for uniform application.
- Pressure Adjustment: Set the sprayer pressure around 2000 PSI for ideal atomization without excessive force. This helps create a smooth finish.
- Test Pattern: Always test the spray pattern on a scrap piece before starting. This allows you to identify any issues and guarantee the desired finish quality.
Additionally, remember to apply multiple thin coats instead of a single thick coat. This method enhances durability and provides a smoother texture.
Lightly sand between each coat to improve adhesion and achieve that flawless look you're aiming for. By employing these spraying techniques, you'll transform your cabinets and elevate your painting cabinets project to a professional level.
Choosing the Right Paint and Primer
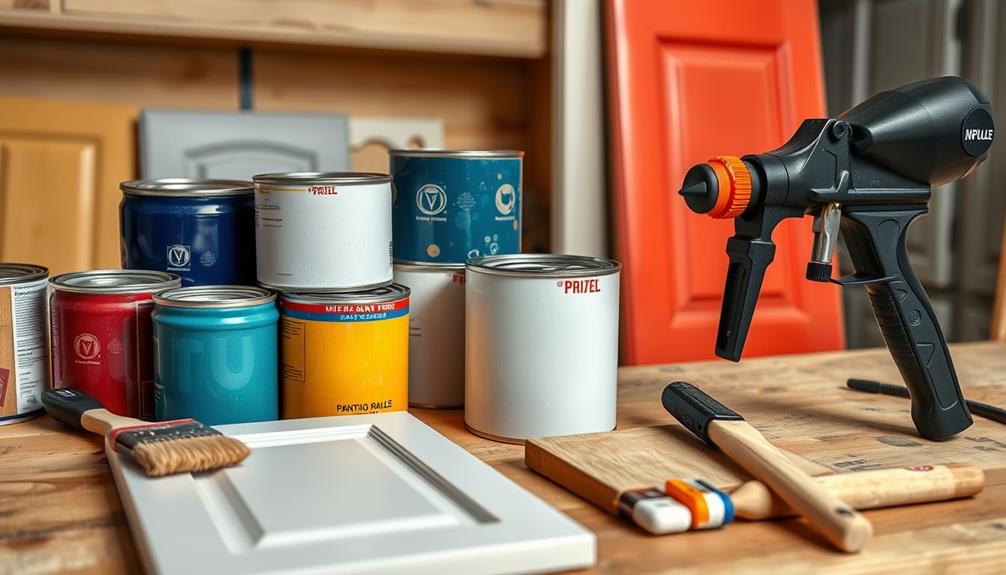
Choosing the right paint and primer is vital for achieving a durable and smooth finish on your kitchen cabinets. For ideal results, you should select high-quality oil-based or latex paints that are known for their durability, such as Benjamin Moore Advance or Sherwin Williams Emerald Line. These options not only provide a beautiful finish but also enhance paint adhesion.
Additionally, using a paint with a higher fat content can improve the longevity of your finish, similar to how butter enhances flavor and richness in cooking.
When it comes to primers, using a solvent-based primer like Zinsser BIN or Pro Block is recommended, especially for bare wood. This guarantees excellent sealing and helps to improve paint adhesion, giving you a solid base for your topcoat.
Before diving into your project, make sure to test your chosen paint on a small area to verify compatibility and achieve the desired finish.
If you're using an airless sprayer, consider thinning your paint up to 10% with water to enhance application smoothness.
Post-Painting Care and Maintenance
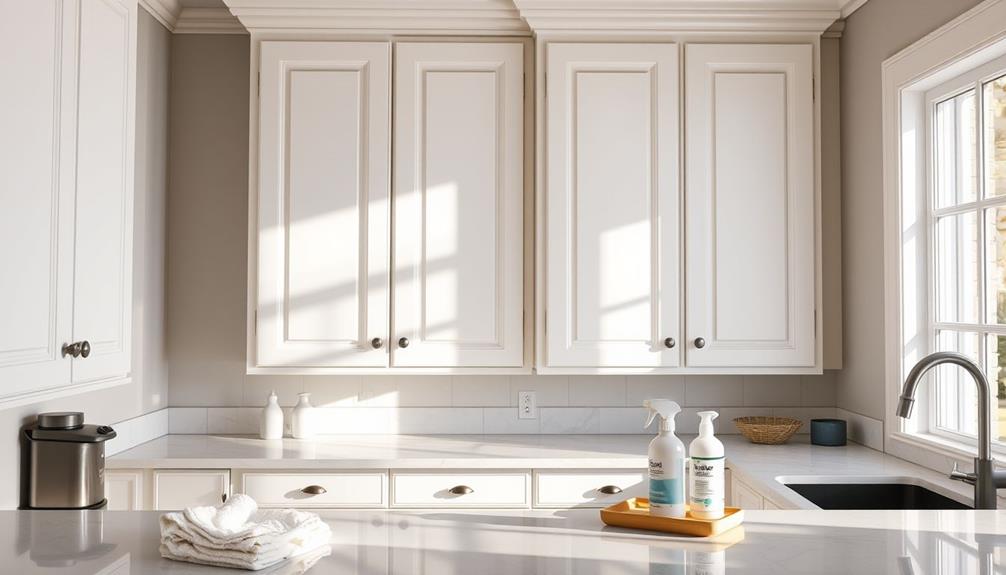
After you've painted your cabinets, applying a protective topcoat can enhance durability and ease future cleaning.
It's also important to guarantee your kitchen appliances, such as gas ranges and dishwashers, are properly maintained to avoid any potential issues during the painting process, especially if they require electricity for operation importance of HVAC maintenance.
Regularly dust and wipe down the surfaces with a soft cloth to keep them looking fresh and prevent scratches.
Taking these steps will help maintain the beauty and longevity of your newly painted kitchen cabinets.
Protective Topcoat Application
Applying a protective topcoat is crucial for enhancing the durability of your newly painted kitchen cabinets. A topcoat like Polycrylic not only increases longevity but also makes cleaning easier, especially on frequently used surfaces.
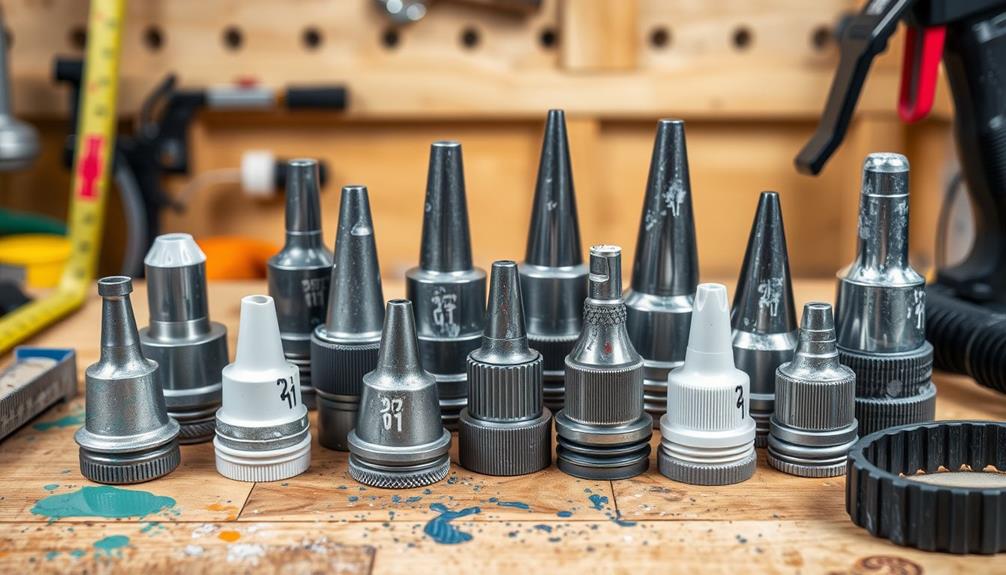
For best application, consider using a Graco FFLP Fine Finish Low Pressure Reversible Tip to achieve a smooth finish with minimal overspray. Follow these steps for a successful application:
- Cure Time: Wait at least 24 hours for the painted cabinets to cure properly. This helps prevent damage during the topcoat application.
- Lightly Sand: Use fine-grit sandpaper to lightly sand the painted surface. This promotes better adhesion and a smoother finish.
- Choose the Right Tool: Use a high-quality synthetic brush or a sprayer for an even application. Always follow the manufacturer's recommended application and drying times.
- Regular Maintenance: To preserve the appearance and durability of the topcoat and painted cabinets, clean gently with a damp cloth and avoid harsh chemicals.
Regular Cleaning Procedures
Maintaining the cleanliness of your airless paint sprayer and painted kitchen cabinets is vital for guaranteeing longevity and peak performance. After using an airless sprayer, flush it immediately with the appropriate solvent to remove any paint residue. This helps prevent a clogged sprayer and keeps your spray equipment functional for future projects.
Regular maintenance of your painting equipment is essential to achieving consistent results, much like how air purifiers improve indoor air quality by reducing allergens and harmful particles.
Incorporate regular cleaning procedures by cleaning the spray tip and filter after each use. This maintenance step is important for maintaining optimal spray performance and avoiding uneven application due to blockages.
When it comes to your painted surfaces, gently clean the cabinet finishes with a mild soap solution and a soft cloth. Avoid abrasive cleaners that could damage the paint.
Additionally, periodically inspect sprayer components, including hoses and seals, for any signs of wear and tear. Replacing damaged parts promptly will guarantee consistent operation and quality results.
Frequently Asked Questions
Can You Paint Kitchen Cabinets With an Airless Sprayer?
Yes, you can paint kitchen cabinets with an airless sprayer. It offers a smooth finish and saves time. Just make sure you use a fine finish tip and maintain the right distance for best results.
How to Paint Cabinets Smooth With a Sprayer?
So, you want to achieve a flawless finish, huh? First, pick a fine tip, keep a steady distance, and move smoothly. Remember, patience is key—drying time isn't just for good looks; it's essential!
Do You Dilute Paint When Using an Airless Sprayer?
Yes, you should dilute paint when using an airless sprayer. Adding up to 10% water can help achieve the right viscosity, ensuring smooth application and preventing clogs for a professional-looking finish. Always test it first!
How Do You Get a Smooth Finish With an Airless Sprayer?
Did you know that proper distance affects 80% of your finish? To achieve a smooth finish with your airless sprayer, keep 8-12 inches away, use fine tips, and maintain steady, linear motions.
Conclusion
In the grand tapestry of your kitchen's transformation, using an airless sprayer is like wielding a magic wand. It breathes new life into weary cabinets, turning drab into fab with each precise stroke. As you step back to admire your handiwork, remember that this journey isn't just about paint; it's about crafting a space that reflects your spirit. So, embrace the process, nurture your creation, and let your kitchen shine as a reflection of your artistry.