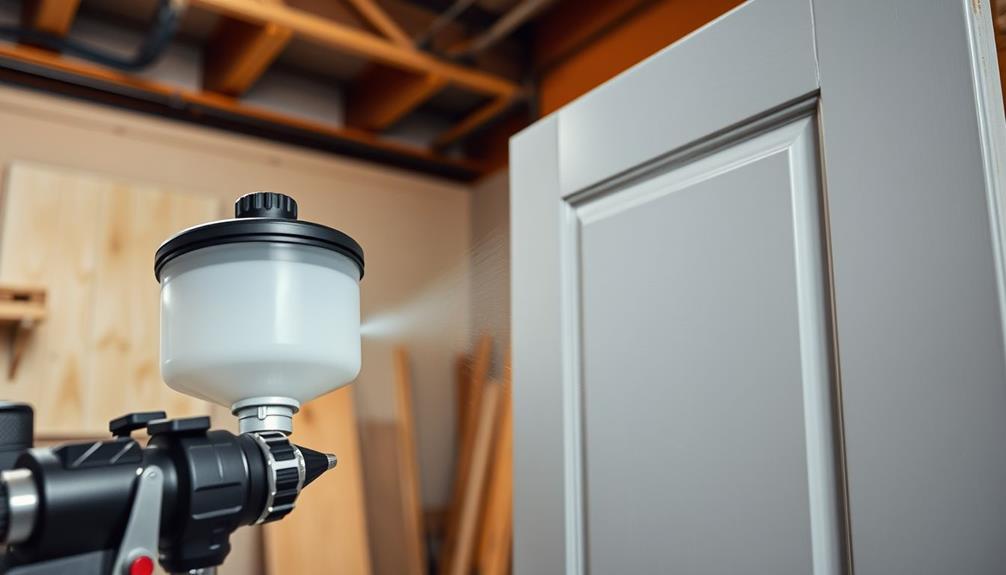
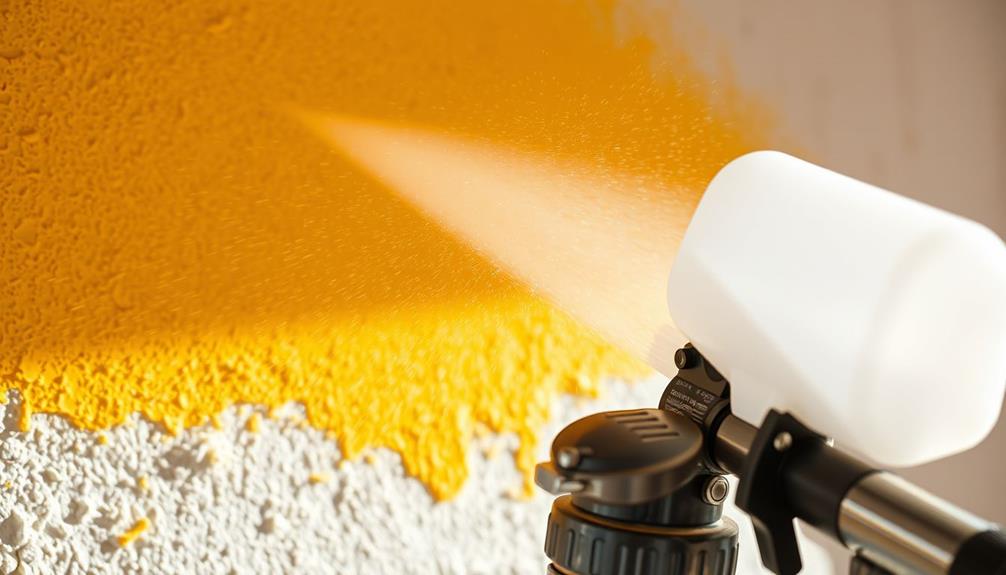
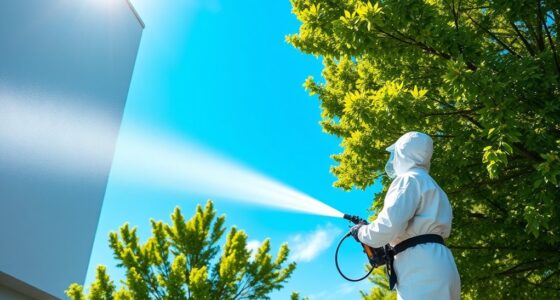
Using an airless paint sprayer for Shaker doors lets you achieve a smooth finish quickly. Start by disassembling your doors and cleaning the surfaces thoroughly. Set up your workspace by covering furniture and using masking tape to protect edges. Choose a fine finish tip and maintain a 12-inch distance while spraying, overlapping each pass by 50% for even coverage. Practice on cardboard until you're comfortable. Finally, clean your sprayer according to the manufacturer's instructions after use. With the right techniques, you can master the process and create stunning results that you'll love. There's more to explore, so keep going!
Key Takeaways
- Disassemble and label Shaker doors, ensuring proper organization for easy reassembly after painting.
- Clean surfaces with a degreaser and sand lightly for optimal paint adhesion.
- Maintain a 12-inch distance from the surface and overlap passes by 50% while spraying.
- Use a fine finish tip and practice on scrap material to master spraying techniques.
- Regularly clean the sprayer and follow disposal regulations for leftover paint to maintain equipment performance.
Project Overview
When you're ready to tackle your Shaker door project, using an airless paint sprayer can make all the difference in achieving that sleek, professional finish. This method allows for faster application and better coverage than traditional brushes or rollers, ensuring your doors look flawless.
Additionally, understanding airless paint sprayer basics will help you navigate the painting process more effectively. Before diving in, remember to take proper safety precautions. Wear a mask and goggles to protect yourself from fumes and overspray.
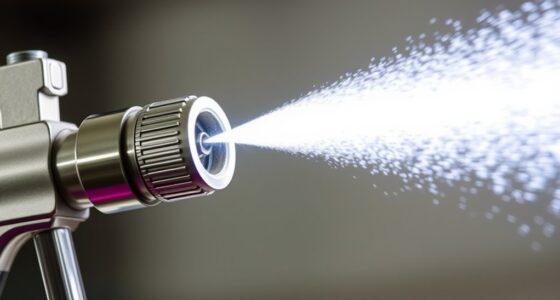
Selecting the right spray tip is essential; a fine finish tip works best for detailed work on Shaker doors, minimizing overspray while ensuring an even application.
During the painting process, maintain a distance of about 12 inches from the surface and overlap each pass by 50% to achieve a smooth finish. You'll likely need to apply multiple coats of primer before you get that perfect look.
Once you've completed your project, don't skip on clean-up and maintenance of your airless paint sprayer. Flushing the system with the appropriate solvents will help maintain its performance and longevity, ensuring it's ready for your next project.
Follow these steps, and you'll be thrilled with the results!
Preparation Steps
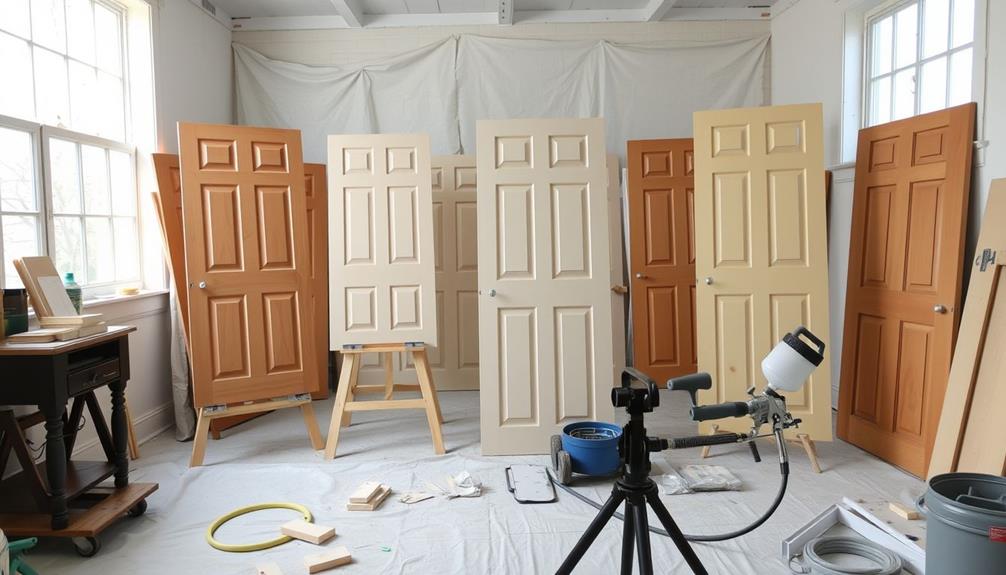
Before you start painting, it's vital to disassemble the doors and label each piece for easy reassembly later.
Cleaning the surfaces thoroughly with a degreaser is essential to guarantee the paint adheres properly, similar to how regular servicing can improve the efficiency of HVAC systems HVAC maintenance importance.
Don't forget to lightly sand the doors and tape off any areas that need protection from overspray.
Door Disassembly Process
Disassembling your cabinet doors is an important step in preparing for a successful paint job. Start by removing the cabinet doors from their hinges using a drill. Keep the screws organized in labeled bags to prevent loss during the door disassembly process. Mark your doors and corresponding frames with a numbering system for easy reassembly after painting.
Next, detach any drawer fronts and hardware from the doors. If you plan to replace the hardware later, fill any existing hardware holes with wood filler. This will create a smooth surface for painting.
Once you've completed these steps, it's vital to clean surfaces thoroughly. Here's a quick reference table for your disassembly process:
| Step | Action | Tools Needed |
|---|---|---|
| Remove Doors | Unscrew hinges and label screws | Drill, labeled bags |
| Detach Hardware | Remove drawer fronts and hardware | Screwdriver |
| Prepare for Painting | Fill holes with wood filler | Wood filler, putty knife |
After filling the holes, use a soft cloth to clean the surfaces, and lightly sand them with 220-grit sandpaper to guarantee proper paint adhesion.
Surface Cleaning Techniques
Proper surface cleaning is essential for achieving a flawless paint finish. Start by using a degreaser like TSP (trisodium phosphate) to thoroughly clean the surfaces of your shaker doors. This step will help eliminate dirt, grease, and residues, guaranteeing better adhesion for your primer and paint.
After cleaning, rinse the surfaces with clean water to remove any chemical residues that could interfere with the paint application. Additionally, using a product designed for effective cleaning solutions can further enhance your results.
Next, lightly sand the surfaces with 220-grit sandpaper to de-gloss the finish, promoting a good spray pattern for the ensuing layers. Inspect the doors for any damage, filling cracks or holes with wood filler, like Bondo, to create a smooth, even surface for painting.
To further enhance your working environment, create a dust-free area by covering furniture and surrounding spaces with plastic sheeting. This minimizes the risk of particles settling on your freshly cleaned surfaces.
Workspace Setup
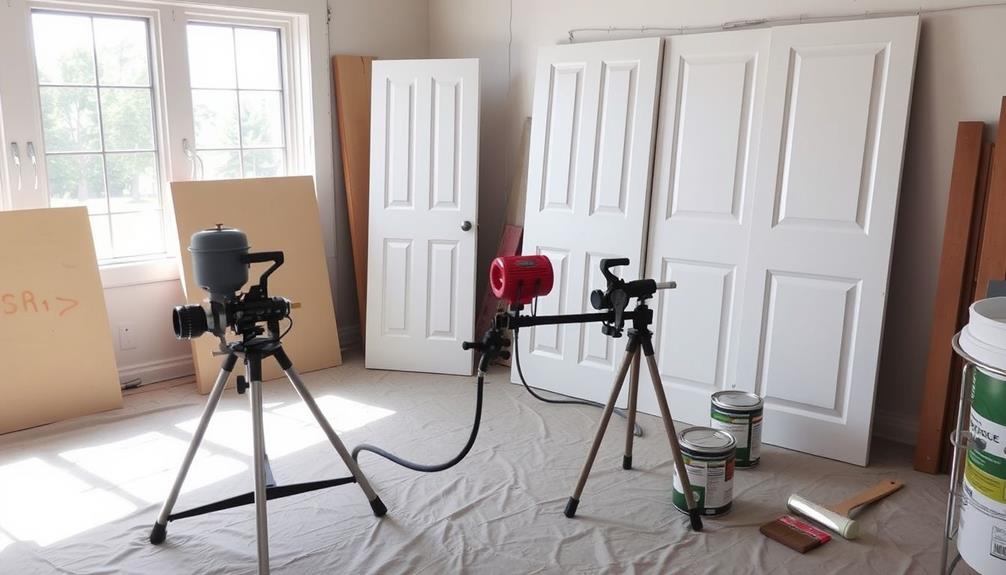
Creating an effective workspace for your airless paint sprayer is vital for achieving a professional finish. Start by clearing the area; move furniture out of the way or cover it with protective materials to prevent paint splatter and damage.
Use masking tape and protective paper to shield trim edges, floor surfaces, and any areas that shouldn't receive paint. This will help guarantee clean lines and a neat outcome. Additionally, make sure that your workspace is free from any plumbing issues that could arise from improper disposal practices, such as flushing improper items, which can lead to costly repairs.
If possible, set up a temporary spray booth in an unfinished area of your home. Use plastic sheeting to contain overspray, creating a controlled environment for your project. This setup not only protects your surroundings but also simplifies cleanup.
Elevate your cabinet doors on sawhorses for comfortable spraying; this height gives you better control and access during the painting process.
Don't forget about ventilation! Open windows or use fans to improve air circulation and minimize the buildup of paint fumes. A well-ventilated workspace is vital for your safety and comfort.
Airless Sprayer Selection
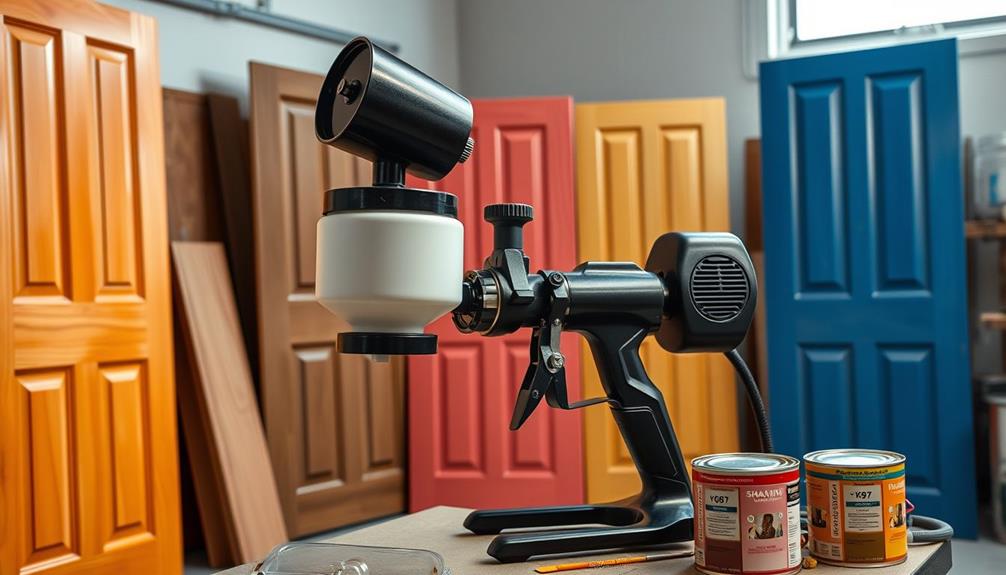
Selecting the right airless paint sprayer can greatly impact the quality of your finish on shaker doors. For this task, consider models like the Graco GX-19 Finish Pro, which is specifically designed to deliver smooth finishes on cabinet projects.
Additionally, just as advancements in robotic pool cleaners have improved efficiency in pool maintenance, a quality sprayer can enhance your painting experience and results. It's vital to choose a sprayer that features siphoning capabilities, allowing you to draw paint directly from the cans. This not only enhances efficiency but also minimizes the need for frequent refills.
When it comes to tip size, you'll want to opt for a 311 or fine finish tip. These sizes are typically recommended for achieving that flawless application on shaker doors.
Additionally, verify your sprayer can operate at a pressure of around 2,000 PSI. This level is essential for peak performance and coverage on your cabinet surfaces.
Lastly, do your research and select high-quality, reliable brands. Investing in a dependable airless sprayer will help reduce the learning curve and potential frustrations often associated with using these tools.
Spraying Techniques
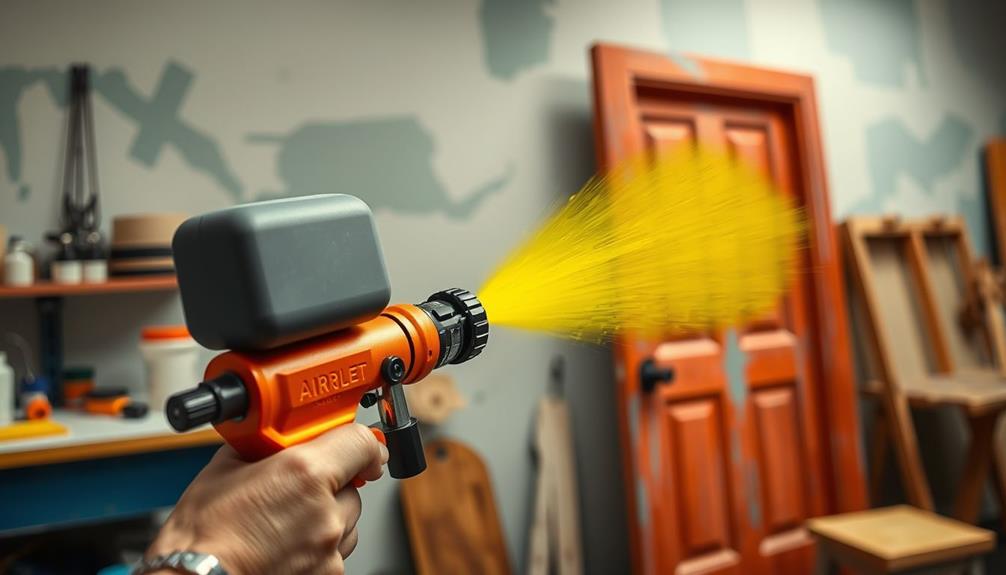
Mastering spraying techniques is essential for achieving a flawless finish on your shaker doors. Start by maintaining a consistent distance of about 12 inches from the surface while spraying. This guarantees an even application and minimizes the risk of drips or uneven coverage.
Additionally, consider improving your workspace acoustics by using a sound system configuration that enhances the overall environment. Use long, even strokes and overlap each pass by roughly 50%. This overlap assures thorough coverage and contributes to a smooth finish.
Keep your spray gun perpendicular to the surface to maintain an ideal spray pattern. This positioning helps avoid streaks or missed spots, which can detract from the overall look.
Don't hesitate to experiment with the sprayer's pressure settings; typically, around 2,000 PSI works well for various paint types, allowing you to find the perfect balance for your desired finish.
Before diving into the actual painting, practice your spraying technique on cardboard or scrap wood. This practice lets you become familiar with the sprayer's operation, leading to better results when you tackle the shaker doors.
Color and Product Choices

Achieving a great finish on your shaker doors isn't just about technique; the right color and product choices play a significant role, too.
Start by selecting high-quality enamel paints, like Benjamin Moore Advance, which are known for their durability and smooth finish. Pair your paint with an appropriate primer. Opt for solvent-based primers such as Zinsser BIN or oil-based primers like Pro Block, as they provide excellent adhesion for bare wood.
For a polished look, consider experimenting with different brewing techniques to achieve the best results, just like you'd with coffee to enhance flavor.
When it comes to color, be aware of color variations like Decorator White and Decor White. Make sure to confirm the correct color formula from your paint retailer to verify consistency across your project.
It's wise to shop around, as local Sherwin Williams stores may have different stock and formulations, giving you the chance to find the best pricing and color matches.
Lastly, always test compatibility between your chosen primer and topcoat, especially if they're from different brands. This step is essential to avoid issues with adhesion or finish quality.
Clean-Up Process
Once you finish your painting project, it's crucial to clean up properly to maintain your equipment and the environment.
Start by disposing of any leftover paint responsibly, then follow the sprayer cleaning steps outlined in your user manual. This guarantees your airless paint sprayer stays in top shape for your next project.
Additionally, just like regular maintenance for air purifiers, proper upkeep of your painting equipment can enhance its longevity and performance.
For more tips on maintaining equipment, consider general air purifier usage.
Paint Disposal Methods
Proper paint disposal is vital for both safety and environmental protection. When you finish your project, you need to take into account paint disposal methods that comply with local regulations. Many areas require you to take leftover paint to a hazardous waste facility or participate in community paint recycling events.
Understanding the importance of reputation and reviews when selecting a service is key, just as making sure proper disposal is essential for a clean workspace. If you have leftover paint, you can mix it with cat litter or sawdust in a sealed container, allowing it to dry out before discarding it in the regular trash. This guarantees you're following waste disposal guidelines.
You should also clean your brushes, rollers, and sprayer components using the right solvents. For oil-based paints, use mineral spirits, and for latex, soapy water works best. Make certain to dispose of these cleaning materials responsibly, as improper disposal can lead to environmental contamination.
After using paint cans, rinse them thoroughly and check with local waste management about recycling options. Many municipalities accept empty paint cans as part of their recycling programs.
Always refer to the paint manufacturer's instructions for specific disposal recommendations and proper safety precautions, making sure you do your part to protect the environment while keeping your workspace safe.
Sprayer Cleaning Steps
After taking the necessary steps for paint disposal, it's important to focus on cleaning your airless paint sprayer. Proper sprayer cleaning guarantees that your equipment lasts longer and performs better in future projects.
Start by flushing the sprayer with soapy water to remove any paint residue from the suction and spray hoses. Make certain to follow the user manual instructions for a thorough clean. Additionally, using a budget-friendly vacuum cleaner can help maintain a clean workspace, preventing paint splatters and debris from accumulating.
Here's a quick checklist for effective cleaning:
- Flush with soapy water to eliminate paint residue.
- Rinse thoroughly with clean water to remove any cleaning agents.
- Regularly clean the spray tip and filter to prevent clogs.
After you've flushed and rinsed, always perform a final rinse using clean water to verify that no soapy residue remains in the system. This step is essential for maintaining the sprayer's performance.
Troubleshooting Tips
When using an airless paint sprayer, you might encounter a few common issues that can disrupt your painting project. If you notice paint not spraying at all, start by checking the suction hose for kinks or blockages. Also, verify the pump is primed correctly before you begin.
If you experience inconsistent spray patterns, consider the tip size; you might need a finer tip for thicker materials like primer. To prevent clogs, it's essential to clean the spray tip regularly. Make it a habit to flush the sprayer with solvent between different coatings.
If you find yourself dealing with overspray or drips, maintain a consistent distance of about 12 inches from the surface. Adjusting the pressure setting can also help optimize your spray pattern.
If your sprayer is making excessive noise or vibrating more than usual, check all connections for security and look for any wear or damage in the hose or pump components. By following these troubleshooting tips, you can minimize disruptions and keep your project on track.
Consumer Insights
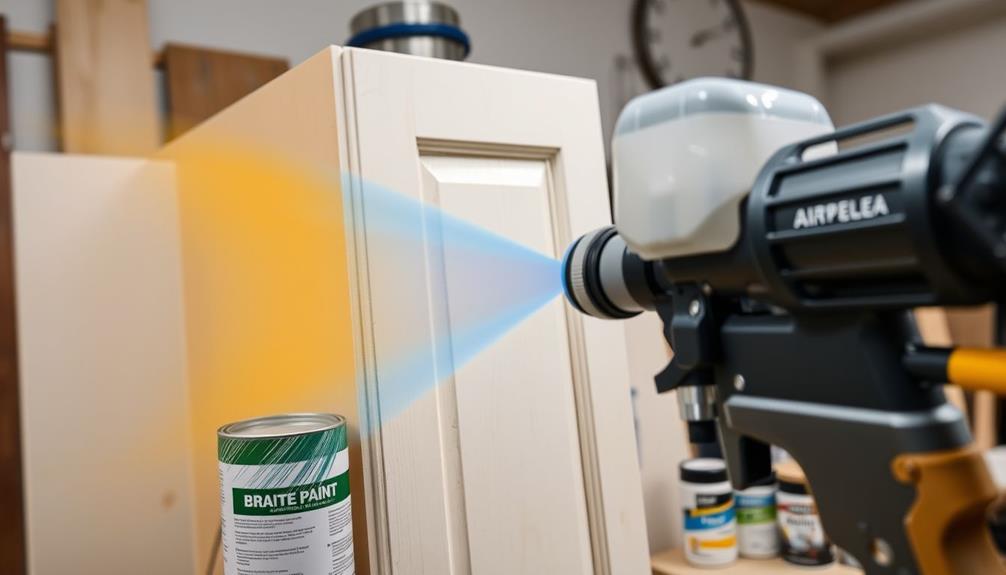
Understanding consumer insights is essential for anyone considering an airless paint sprayer. Many DIYers feel overwhelmed by the complexity of choosing the right model, often leading to confusion about the various capabilities available.
It's vital to research and compare options to find a sprayer that meets your needs. Here are some insights to keep in mind:
- DIYers prefer multi-functional sprayers to handle various projects, which reduces storage needs and simplifies the learning curve.
- Many users report negative experiences due to improper setup or a lack of understanding of the equipment, highlighting the importance of following proper safety precautions.
- Online forums are invaluable resources where you can learn from others' experiences, helping you navigate potential issues with airless sprayers.
Additionally, price discrepancies among retailers emphasize the need for thorough research.
Community Support
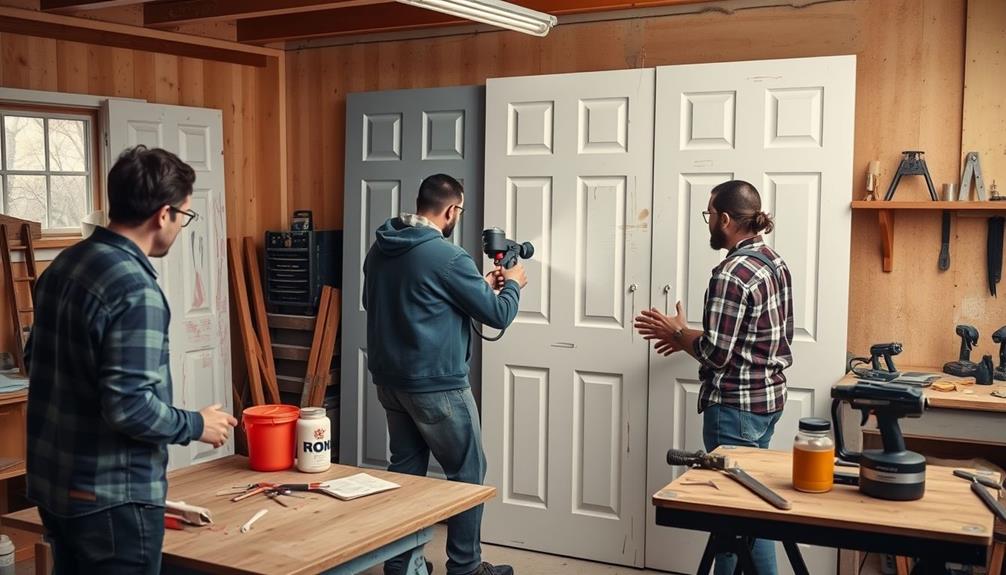
When you join online forums or community groups, you'll find a wealth of tips and tricks from fellow DIYers who've tackled similar projects.
Sharing experiences can help you navigate the complexities of airless paint sprayers and improve your painting techniques.
Plus, you can gain confidence from the positive reinforcement and support offered by others in the community.
Sharing Tips and Tricks
Throughout your journey with airless paint sprayers, engaging with online forums can be a game-changer. These platforms offer valuable insights and shared experiences from DIYers who've successfully tackled painting shaker doors. By connecting with others, you can exchange tips and tricks that help you achieve that smoother finish you're aiming for.
Here are some key takeaways from the community:
- Optimal sprayer settings: Learn the best pressure and nozzle size for your specific project.
- Practice makes perfect: Always try using an airless sprayer on cardboard or scrap wood first to refine your technique.
- Stay safe: Remember to follow proper safety precautions, especially when painting in the vicinity of others.
Don't hesitate to seek advice from experienced users when you face common issues like overspray or uneven coverage.
Sharing your own experiences can also enhance your confidence and contribute to a supportive community. As you learn and improve, you'll find that engaging with fellow DIYers not only enriches your knowledge but also fosters continuous growth in using airless paint sprayers effectively.
Community Experience Exchange
Engaging with a community of fellow DIYers can be incredibly beneficial when using airless paint sprayers. Community forums often provide valuable insights and shared experiences that help you navigate challenges effectively.
Many users recommend practicing on cardboard or scrap materials before tackling your shaker doors. This not only boosts your confidence but also refines your spraying techniques, ultimately leading to a smooth finish.
You'll find that negative experiences with different sprayer options are common. That's why thorough research and peer feedback are essential for choosing the right equipment for your project.
Collaborative discussions among DIYers can lead to the sharing of important tips and tricks that enhance your painting techniques.
Additionally, positive reinforcement from fellow community members can greatly improve your confidence, encouraging you to experiment and learn from mistakes while adhering to proper safety precautions.
Don't hesitate to ask questions or share your progress; the support you receive can help you achieve the best results.
Frequently Asked Questions
Do You Dilute Paint When Using an Airless Sprayer?
You typically don't need to dilute paint for an airless sprayer, especially with quality products. However, if it's too thick, add a small amount of water or solvent as needed, following manufacturer guidelines.
How Do You Get a Smooth Finish With an Airless Sprayer?
To achieve that flawless touch, keep your distance around 12 inches while spraying. Use fine tips, sand between coats, overlap strokes, and adjust pressure. These steps guarantee a smooth, professional finish you'll be proud of.
How Do You Spray a Door With an Airless Sprayer?
To spray a door with an airless sprayer, choose the right tip size, maintain a 12-inch distance, use long strokes, overlap passes, and let each coat dry before applying another for a smooth finish.
Can You Spray Kitchen Cabinets With an Airless Sprayer?
Imagine transforming your kitchen with a flawless finish. Yes, you can spray kitchen cabinets with an airless sprayer! Just make sure to prep properly, choose the right tip, and maintain ventilation for the best results.
Conclusion
In the grand tapestry of home improvement, painting shaker doors with an airless sprayer can transform your space like a brushstroke from a master artist. Once you've prepped, selected the right sprayer, and perfected your technique, you'll see how effortless and rewarding this process can be. So, roll up your sleeves and embrace the art of DIY; your freshly painted doors will soon be the crown jewels of your home, shining with a new lease on life.
