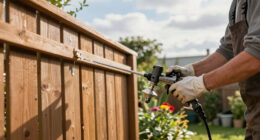
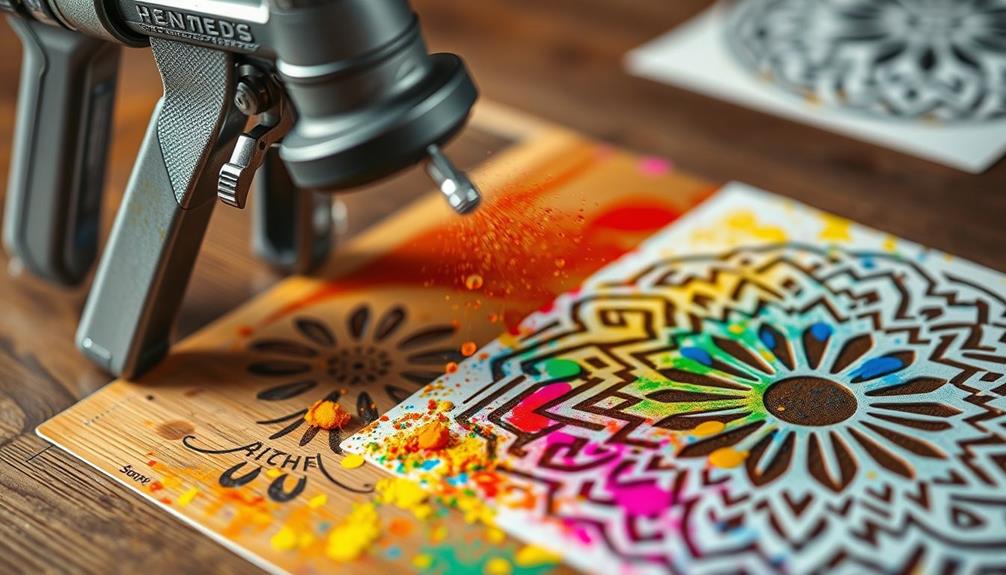
To use an airless paint sprayer for stenciling, start by preparing your workspace and securing the stencil firmly. Maintain a distance of 8 to 12 inches from the surface while spraying to guarantee even coverage and minimize overspray. Use light, controlled bursts instead of a continuous spray to prevent drips and thick paint areas. Adjust the pressure for better control and experiment with different spray angles. Always test your technique on a scrap piece first. As you practice these tips, you'll find ways to refine your skills and enhance your results even further.
Key Takeaways
- Maintain a distance of 8 to 12 inches from the surface to ensure even coverage and reduce overspray during stenciling.
- Secure stencils firmly with weights or adhesive sprays to prevent lifting and achieve clean edges.
- Use light, controlled bursts of spray to avoid thick paint areas and minimize drips around stencil edges.
- Adjust spray pressure for better control and consistent application, especially in intricate designs.
- Regularly inspect your work for uneven application and make adjustments as needed for optimal results.

VEVOR 750W Stand Airless Paint Sprayer, 3000PSI High Efficiency Electric Airless Sprayer, Fine and Even Painting Effect, Handheld Paint Sprayers for Home Interior and Exterior Furniture and Fences
- Powerful Motor: 750W motor with 3000 PSI pressure
- Fast Coverage: Up to 5x faster than rolling
- Smooth Painting: Flow rate of 1.2 LPM for continuous work
As an affiliate, we earn on qualifying purchases.
As an affiliate, we earn on qualifying purchases.
Understanding Airless Paint Sprayers
When it comes to painting projects, airless paint sprayers stand out for their efficiency and versatility. These sprayers operate by atomizing paint under high pressure, allowing you to cover large areas quickly without needing a compressor or turbine.
With the ability to produce small droplets, an airless paint sprayer guarantees an even application, making it perfect for both expansive surfaces and intricate stenciling work. Additionally, they come equipped with adjustable pressure settings, which can enhance the adaptability for various painting tasks optimal use and cleanup.
Operating at pressures between 500 to 3000 psi, airless sprayers boost your speed considerably compared to traditional painting methods. You'll find that they create a softer spray pattern, especially when using the air-assisted airless technique. This method combines the benefits of airless and air spray, giving you that professional finish you seek.
To achieve the best results, it's essential to maintain the proper distance of 8 to 12 inches from the surface. This distance helps you avoid overspray and guarantees clean stencil edges.
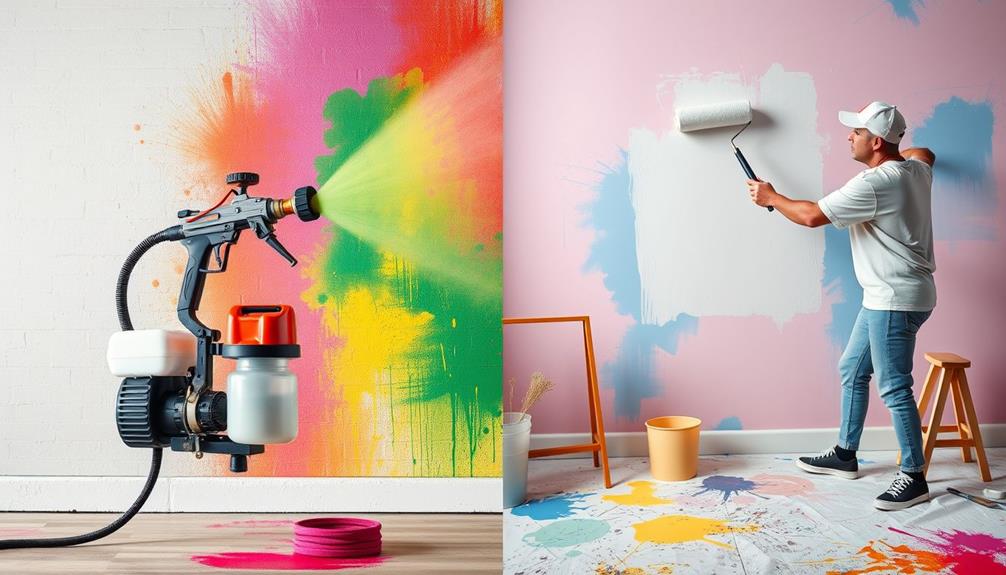
Choosing the Right Spray Method
Choosing the right spray method can make all the difference in your painting project. When you're stenciling, you need to take into account the size of the area and the level of detail required.
Airless sprayers are fantastic for covering larger areas quickly and efficiently, but they mightn't provide the precision needed for intricate designs. For those fine finishes, an HVLP sprayer is your best bet. It delivers unmatched precision and minimizes overspray, which is essential when working with detailed stencils.
To enhance your stenciling experience, think about using a Graco FFLP Fine Finish Low Pressure Reversible Tip, as it's designed to improve control and reduce overspray for intricate projects.
If you're tackling a project that demands high control and accuracy, air spray methods can be effective for both residential and commercial applications.
Understanding the differences in pressure and atomization between airless and air-assisted systems is important, as these factors greatly impact the quality and efficiency of your stenciling.
Common Overspray Challenges
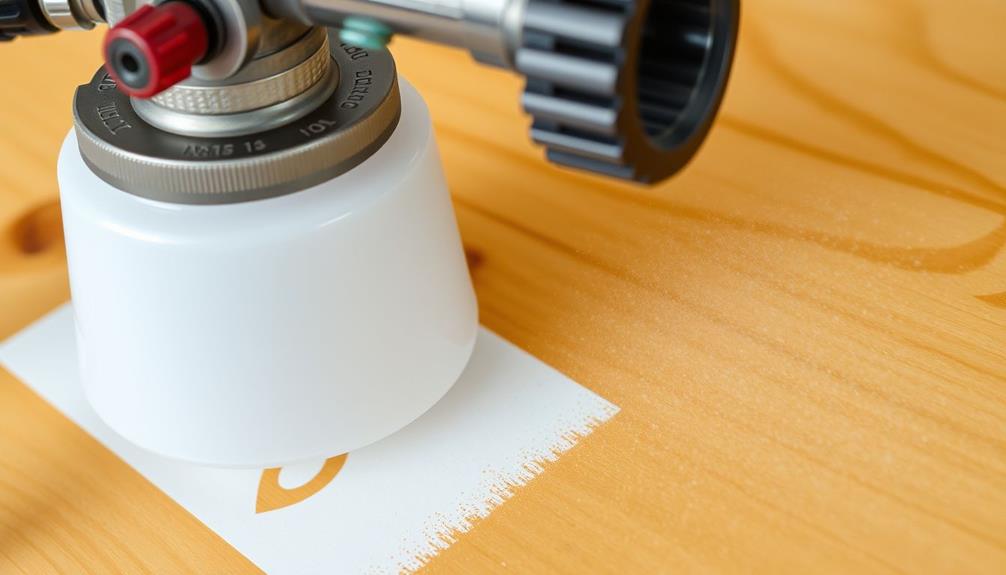
Overspray is a common challenge that can ruin a carefully executed paint job. When you're stenciling, you might find that paint ends up outside the desired area, especially if you're painting against stencil edges. Holding the spray gun too close can lead to drippy paint, making overspray issues even worse.
To tackle air quality issues while working on your projects, contemplate using air purifiers to reduce allergens. Another factor to take into account is how well you secure the stencil. If it's not properly fastened, paint can seep underneath, increasing the chances of messy edges and additional overspray.
Additionally, using excessive trigger pressure can create thick, wet areas of paint, which only adds to the problem. For the best results, it's crucial to use controlled bursts of paint rather than continuous spraying.
To minimize overspray, keep a consistent distance of 8 to 12 inches from the surface when you're spraying. This distance helps you maintain better control and achieve cleaner results.
Techniques to Minimize Overspray
To effectively minimize overspray, it's crucial to maintain a consistent spray distance of 8 to 12 inches from the surface. This distance helps guarantee even coverage while reducing the likelihood of overspray.
When selecting your paint, consider using high-quality, low-overspray options that can enhance your stenciling results, as noted in services offered. Use light, controlled bursts of spray instead of continuous streams; this prevents excess paint from accumulating and creating drippy areas.
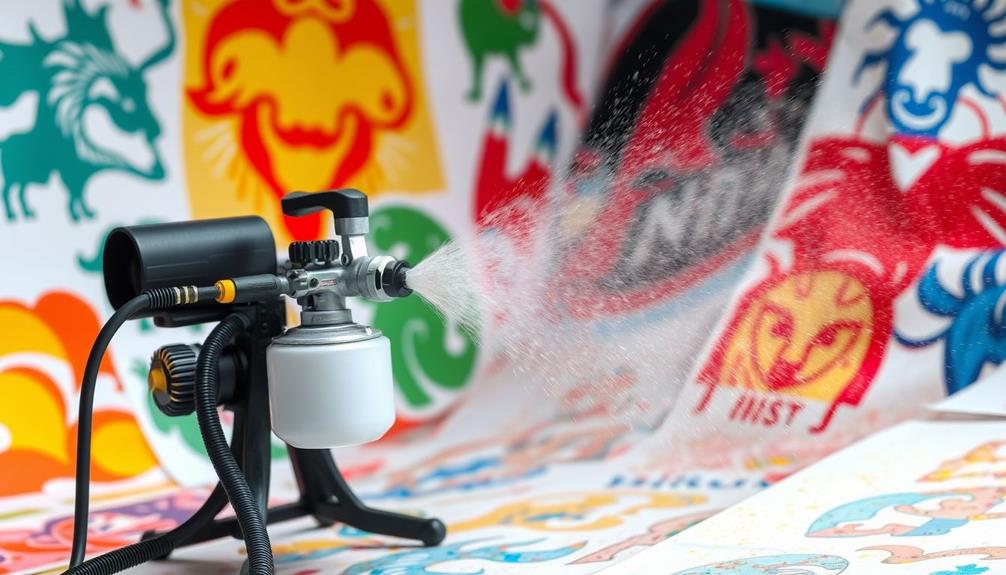
Incorporate a dusting motion similar to a paintbrush technique. This allows for better control, especially around stencil edges, and greatly reduces the chances of overspray. Additionally, secure your stencils firmly with your hands, weights, or magnets to avoid lifting. If the stencil shifts, paint can seep underneath, leading to unintended overspray.
When spraying, always paint away from edges rather than towards them. This technique helps maintain cleaner lines and minimizes the risk of overspray on adjacent areas.
Effective Stencil Application Tips

While minimizing overspray is important, effective stencil application takes your project to the next level. To achieve the best results, maintain a distance of 8 to 12 inches from the surface when using your airless paint sprayer. This distance helps guarantee even coverage and reduces the risk of excess paint pooling.
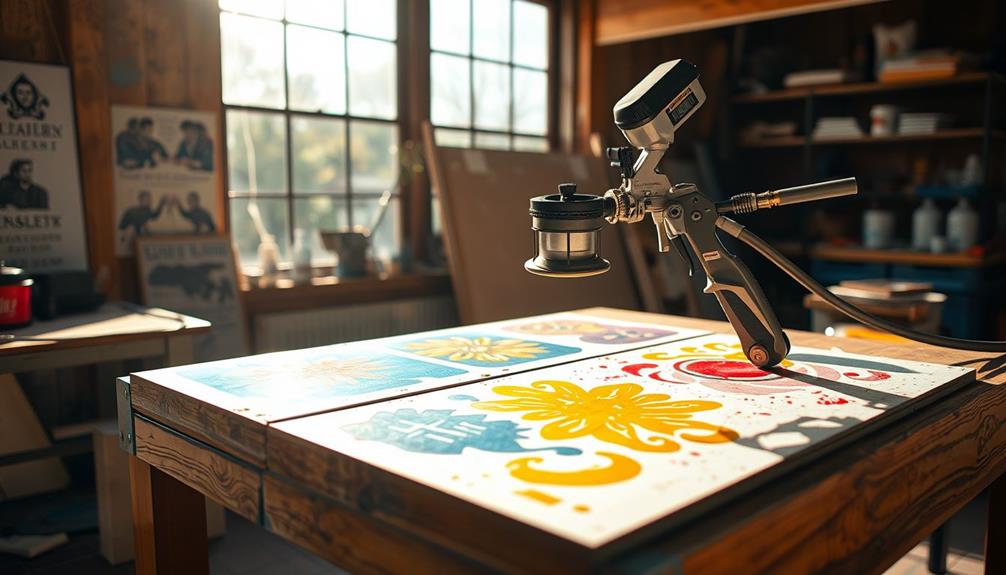
Additionally, consider the impact of your workspace environment, as a well-organized area can facilitate better results in projects like farmhouse front door makeovers. Secure your stencils firmly with your hands, weights, or magnets to prevent any lifting, which can lead to messy edges.
When you're ready to spray, use light, controlled bursts. Excessive trigger pressure can create thick paint areas and drips, ruining your design. Instead, employ a dusting motion that mimics paintbrush techniques around the stencil edges for a more controlled application.
Improving Your Stenciling Skills
To improve your stenciling skills with an airless paint sprayer, focus on maintaining the right distance and using controlled bursts of spray.
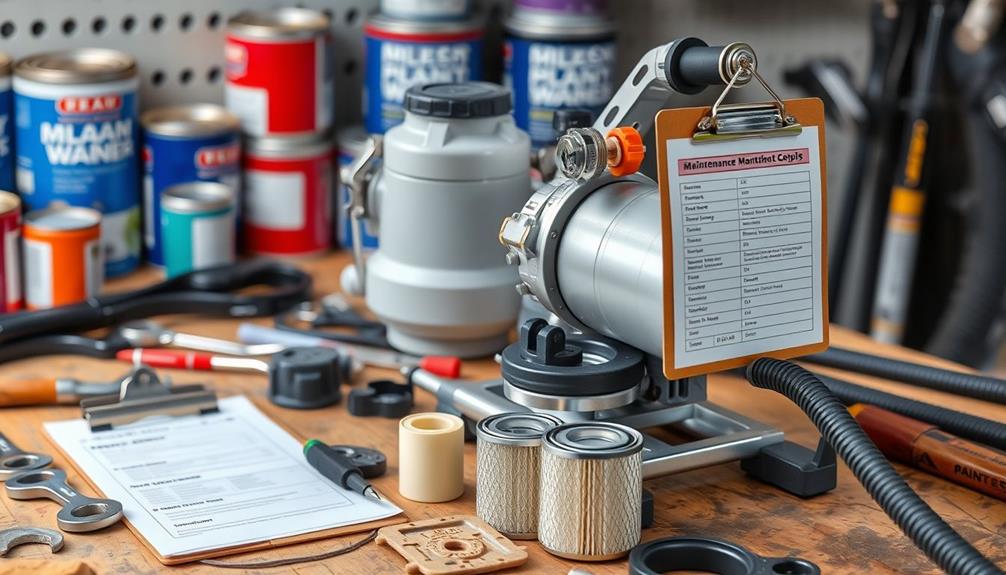
Ensuring your equipment is in good condition and understanding the clogging remedies for your sprayer can also enhance your results.
You'll want to avoid common mistakes like overspray and uneven coverage by securing your stencil properly.
Essential Techniques for Stenciling
Mastering essential techniques for stenciling can greatly elevate your painting projects. When using an airless paint sprayer, maintain a consistent distance of 8 to 12 inches from the surface. This helps minimize overspray and guarantees even coverage.
Consider how a well-placed stylish wall clock can transform a space, just as precise stenciling can enhance your walls. Secure your stencils firmly with weights or adhesive sprays, but be cautious of potential residue that could allow paint to seep underneath.
Utilize controlled bursts of spray to achieve cleaner edges and prevent drips. Think of it as a dusting motion, similar to traditional brush techniques. This will help you apply paint evenly across the stencil.
Experiment with different holding methods; using gloves or magnets can stabilize your stencils and improve your control over the spraying process.
Regularly evaluate your results and adjust your techniques based on what you observe. This continual refinement will enhance the quality of your finish and boost your overall stenciling skills.
Don't hesitate to try different spray tips and approaches until you find what works best for you. With practice, you'll quickly elevate your stenciling game and create stunning, professional-looking results.
Common Mistakes to Avoid
Even with solid stenciling techniques, pitfalls can undermine your efforts. To achieve the finest results with your airless paint sprayer, be mindful of these common mistakes:
- Hold the spray gun too close: Maintain a distance of 8 to 12 inches to prevent drippy paint and guarantee clean edges. This is similar to maintaining ideal projector placement for image quality in a home theater setup.
- Neglect to secure the stencil: A firmly secured stencil prevents lifting, which can lead to overspray and uneven application.
- Spray continuously: Use light, controlled bursts instead. This helps minimize overspray and guarantees even coverage across the stencil.
- Paint towards the edges: Always spray away from the edges of the stencil to create sharper lines and avoid paint seeping underneath.
Additionally, consider adjusting your technique by using a wide range of holding methods and distances while working at much lower pressure.
Regularly evaluate your outcomes to continuously improve your stenciling skills. By avoiding these common mistakes, you'll enhance your results and create beautiful, professional-looking stencils.
Frequently Asked Questions
Do I Need to Thin Paint for an Airless Sprayer?
Yes, you need to thin paint for an airless sprayer if it's too thick. Aim for a viscosity of 20-30 seconds in a viscosity cup, typically thinning by 10% to 15% for ideal performance.
What Are the Disadvantages of Airless Spray Painting?
Airless spray painting can lead to significant overspray, less controlled application, and a steep learning curve. You might also face challenges with cleanup and maintenance, plus the initial investment can be higher than other methods.
What Tips to Use With Airless Paint Sprayer?
While you might rush for speed, take your time for precision. Keep an 8 to 12-inch distance, use short bursts, and secure stencils firmly. Experiment with techniques to perfect your stenciling results and reduce messiness.
How Hard Is It to Use an Airless Paint Sprayer?
Using an airless paint sprayer isn't too hard, but it takes practice. You'll need to master distance and pressure control to avoid overspray. With time, you'll gain confidence and achieve great results!
Conclusion
To sum up, mastering the use of an airless paint sprayer for stenciling opens up a world of creativity and precision in your projects. By understanding the equipment and techniques, you can achieve stunning results without the hassle of traditional methods. Isn't it amazing how a little knowledge can transform your stenciling skills? Remember, practice makes perfect, so don't hesitate to experiment and refine your technique for that flawless finish every time. Happy stenciling!