Using an airless paint sprayer for siding is straightforward. Start by preparing your surface: wash it clean and scrape off loose paint. Choose high-quality acrylic latex paint and set your sprayer's pressure between 2000-2500 PSI. Keep a 12-inch distance from the siding while spraying. Begin moving the gun before pulling the trigger to prevent splatters and overlap each pass by 50% for full coverage. Once you're done, flush the sprayer thoroughly to maintain it. With these tips, you'll achieve a great finish, and there's more important information that can help you perfect the process.
Key Takeaways
- Properly prepare the siding by cleaning, scraping, and sanding to ensure optimal paint adhesion and a smooth finish.
- Set the airless sprayer pressure between 2000-2500 PSI and select the appropriate spray tip size of 0.015 to 0.019 inches for siding.
- Maintain a 12-inch distance from the surface while spraying, and overlap each pass by 50% for even coverage.
- Flush the sprayer immediately after use and clean all components to maintain equipment performance and longevity.
- Inspect the painted areas for touch-ups, and allow adequate drying time before exposing the paint to moisture.
Project Overview and Objectives
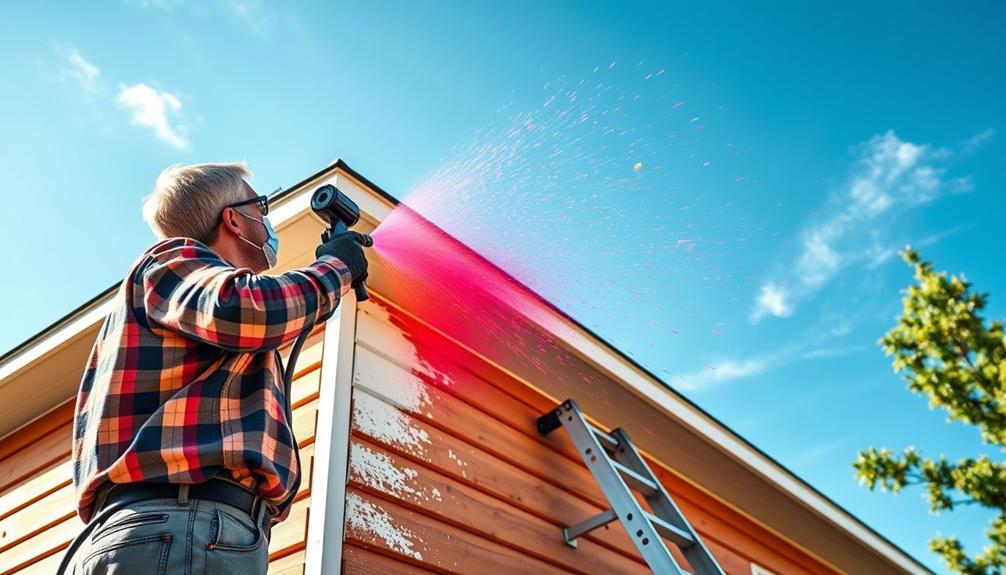
When it comes to enhancing your home's curb appeal, taking on a DIY painting project can be both rewarding and cost-effective. Your main objective is to paint the exterior siding, giving your home a fresh look while saving on professional labor costs.
By using rough cut boards sourced from your property, you've already taken a big step toward a personalized and unique appearance. To guarantee an even finish and efficient application, consider using an airless paint sprayer for your project.
Before applying the finish coat, you primed all sides with KILZ 3 primer, guaranteeing decent paint coverage for longevity. Instead of aiming for professional-grade results, focus on practicality, allowing you to enjoy the process without the pressure of perfection.
The airless paint sprayer you've chosen for this project will make your application quicker and more efficient than traditional brushes and rollers.
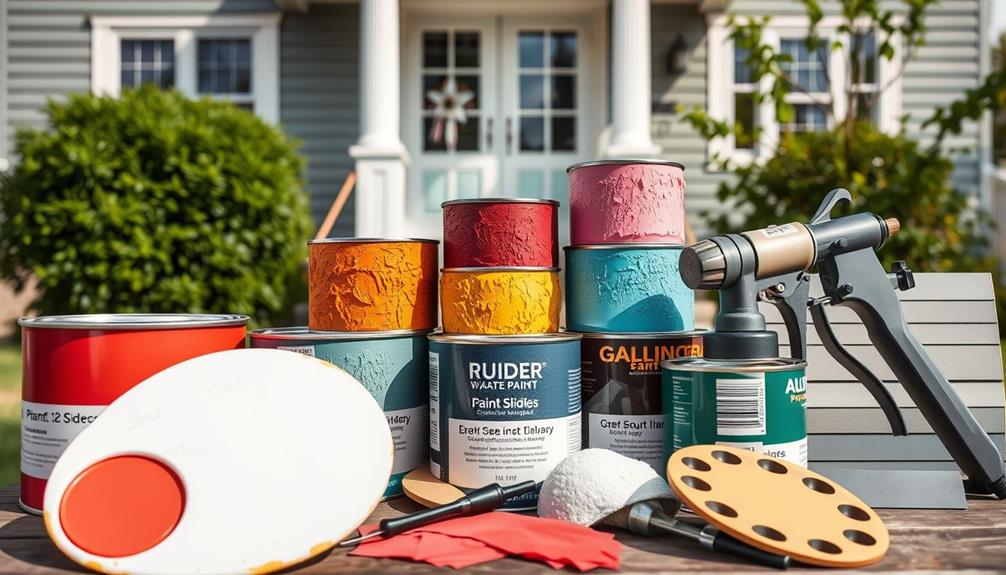
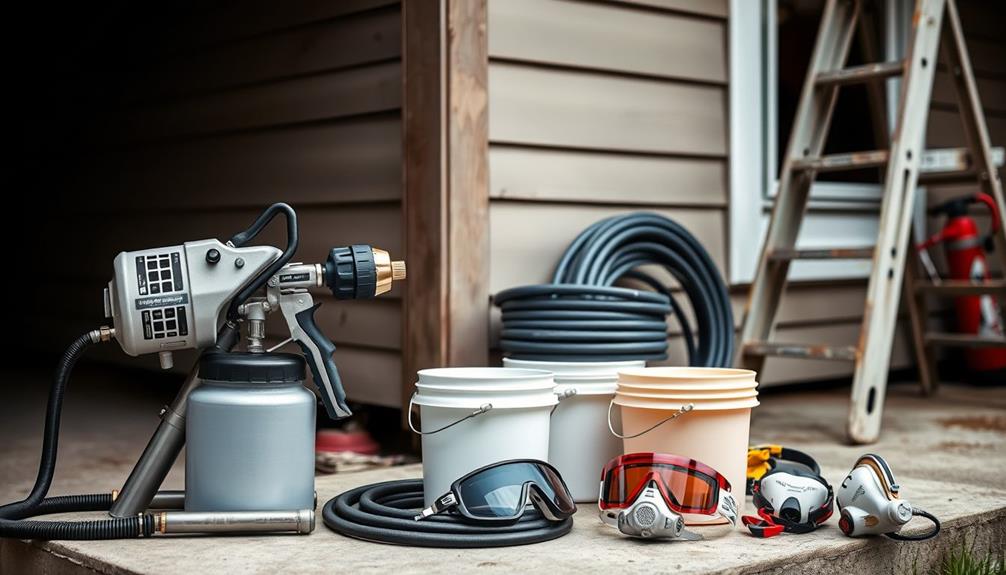
Equipment and Materials Needed
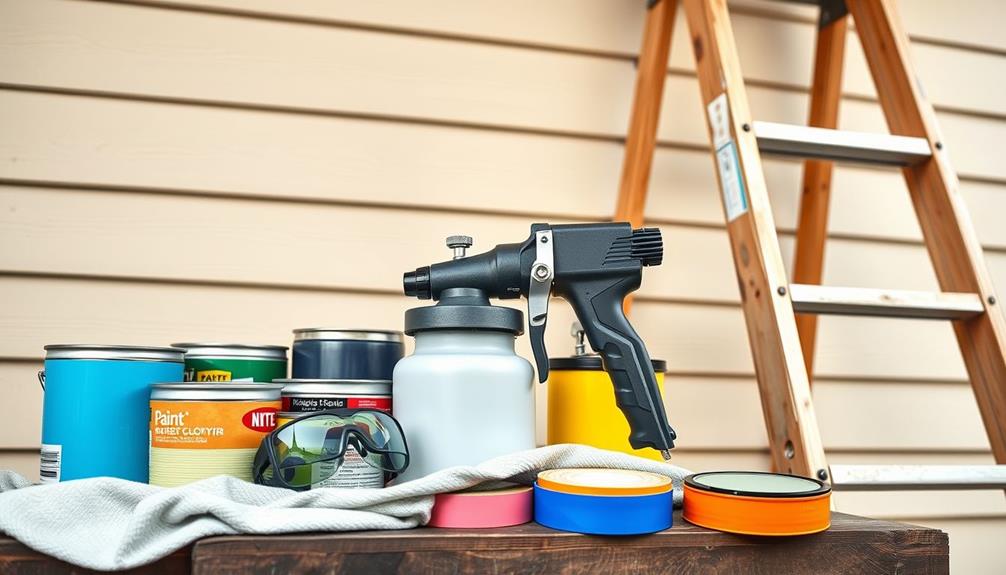
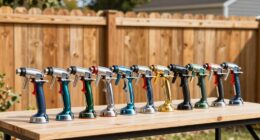
To achieve a successful painting project, having the right equipment and materials is key. Start with an airless paint sprayer, like the AEROPRO 470, which provides excellent efficiency and can reach pressures between 2000-2500 PSI. This pressure is essential for ideal results on your siding, especially when applying high-quality acrylic latex paint designed for durability.
For those concerned about clogging remedies, it's important to guarantee that your painting area is free of debris to avoid any unnecessary clean-up. For detailed edge work, keep polyester brushes on hand, as they'll help you achieve a smooth finish in those tricky areas.
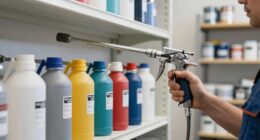
Next, select the appropriate spray tip based on your paint type and surface. A smaller tip works well for finer finishes, while a larger tip is perfect for thicker paints. You'll also need high-quality acrylic latex paint, specifically formulated for vinyl siding, to guarantee durability and adhesion.
Don't forget exterior caulk or a patching compound for any necessary surface repairs before you start painting.
Lastly, you'll want to clean the exterior with a pressure washer and allow it to dry adequately. This step is essential to guarantee your paint adheres well to the siding.
With the right airless spray equipment and materials, you're set for a successful painting project!
Surface Preparation Steps
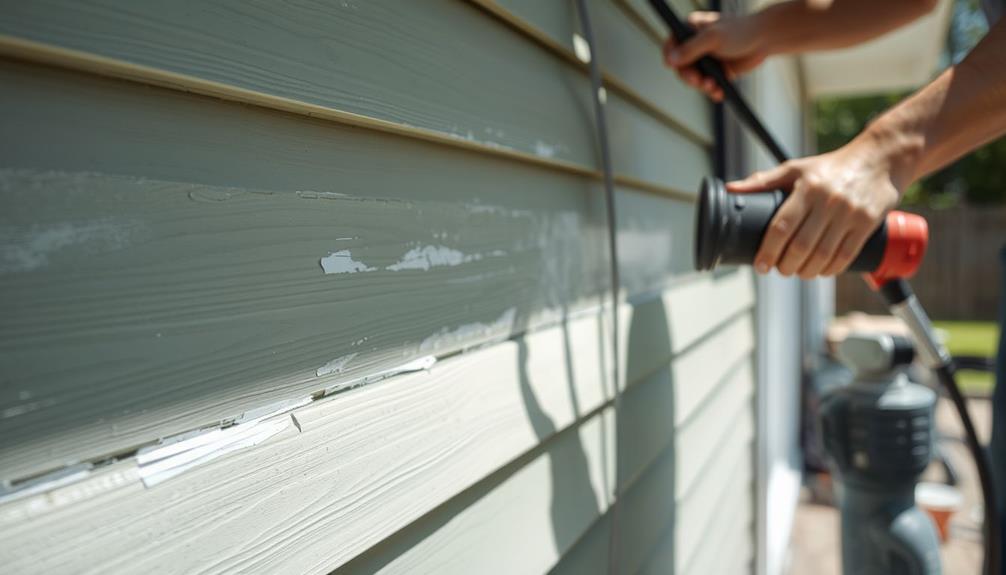
Proper surface preparation is vital for achieving a flawless paint job on your vinyl siding. Start by washing the siding with a garden hose. This helps remove dirt and debris, creating a clean surface for painting. If you notice any loose paint, scrape it off with a plastic putty knife. This step is important for establishing a smooth, stable foundation for your new paint.
Additionally, using a vacuum designed for specific flooring types can help in removing dust and debris from the surface before painting.
Next, sand any rough edges to guarantee a uniform surface. This not only improves adhesion but also contributes to a professional finish. Pay attention to cracks and holes, filling them with exterior caulk or patching compound. Allow these areas to dry completely before moving forward.
After washing and preparing your siding, always allow adequate drying time. This is key for maximum adhesion and finish quality. If you're using a high-pressure washer, be cautious not to damage the siding. Verify the surface is thoroughly dried and free from any moisture before you get started with the painting process.
Following these surface preparation steps will set you up for success when you use your airless paint sprayer.
Selecting the Right Paint
When selecting the right paint for your project, you'll want to choose acrylic latex paint for its flexibility and durability, especially if you're working with vinyl siding.
Additionally, using quality paint can greatly enhance the finishing touch of your project, much like how butter enhances flavor in cooking.
Avoid oil-based paints, as they can cause peeling and other issues.
Also, consider lighter colors to minimize heat absorption and enhance the longevity of your paint job.
Recommended Paint Types
Choosing the right paint for your vinyl siding is essential for achieving a long-lasting and attractive finish. The best option is acrylic latex paint, which offers flexibility to prevent peeling and cracking. Avoid oil-based or alkyd paints, as they can negatively react with vinyl materials, leading to frustrating issues down the line.
Consider using specialty vinyl paints designed specifically for this material. They flex with the siding, providing a durable finish that can handle temperature changes. Lighter color tones are recommended as they help reduce heat absorption, minimizing the risk of warping.
Here's a quick reference table for recommended paint types:
| Paint Type | Benefits |
|---|---|
| Acrylic Latex Paint | Flexible, prevents peeling |
| Specialty Vinyl Paint | Designed to flex with siding |
| Oil-Based Paint | Avoid; can react negatively |
| Alkyd Paint | Avoid; can damage vinyl |
When selecting paint, stick to matching the original siding color or pick a new shade that maintains a cohesive look for your home's exterior. This guarantees a beautiful and sturdy finish that lasts for years.
Color Selection Tips
Your home's exterior can greatly benefit from a thoughtful color selection for vinyl siding. When choosing paint, opt for acrylic latex, as it adheres well and resists peeling and cracking. Avoid oil-based or alkyd paints, since they can react negatively with vinyl, causing damage or poor adhesion.
Additionally, consider how the color may affect your home's maintenance; lighter colors are often easier to keep clean and can hide dirt better, making them a practical choice for busy households with pets, where pet hair vacuum options are vital.
For vinyl siding, lighter color tones are often the best choice. They reduce heat absorption, helping to prevent warping or distortion over time. If you want to go the extra mile, consider specialty vinyl paints that offer flexibility, allowing the paint to expand and contract with the siding. This further minimizes the risk of peeling.
Additionally, matching the original siding color or selecting a new shade that complements your home's design is essential. This approach enhances curb appeal and guarantees a cohesive look that ties everything together.
Take your time with color selection, as it can greatly affect your home's overall appearance. By carefully choosing the right paint for your vinyl siding, you'll not only improve aesthetics but also prolong the life of your siding, making your investment well worth it.
Setting Up the Airless Sprayer
Before you start painting, make certain to prepare your airless sprayer properly.
Adjust the pressure settings and choose the right hose and tip to guarantee smooth operation and quality results.
For peak performance, consider using a Graco FFLP Fine Finish Low Pressure Reversible Tip to achieve a flawless finish.
Let's go through these essential setup steps to get you ready for a successful painting job.
Equipment Preparation Steps
Properly setting up your airless paint sprayer is essential for achieving a smooth and professional finish on your siding. Start by thoroughly reading the AEROPRO instruction manual to familiarize yourself with the setup and safety precautions. Next, select an appropriate hose length that allows you to maneuver easily and reach all areas of the siding comfortably.
Make sure the sprayer is equipped with the correct spray tip that matches your paint type for even coverage. A spray tip that's too wide or narrow can lead to uneven application.
Here's a quick reference table to help you with the setup:
| Step | Action | Notes |
|---|---|---|
| 1. Read the manual | Familiarize yourself with the sprayer | Safety first! |
| 2. Choose hose length | Opt for a length that guarantees maneuverability | Avoid tangling and extension issues |
| 3. Select spray tip | Match it to your paint for even coverage | Check compatibility |
| 4. Set pressure | Adjust between 2000-2500 PSI | Ideal paint flow for clean finish |
Adjusting Pressure Settings
Once you've set up your airless paint sprayer and selected the appropriate hose and spray tip, the next step is adjusting the pressure settings. For ideal paint flow and coverage when painting siding, you should set the pressure between 2000-2500 PSI.
It's essential to start by testing these pressure settings on an inconspicuous area. This helps confirm your desired finish and prevents excessive overspray. When choosing your equipment, consider the importance of flexible scheduling options for your projects, as this can affect how and when you paint.
Keep in mind that the surface texture of your siding plays a significant role in how you adjust the pressure. If you're dealing with rough surfaces, you might need to tweak the pressure settings for a smoother application.
Additionally, make sure that the hose length is suitable for maneuverability; longer hoses may require different pressure settings to maintain consistent spray quality.
As you spray, maintain a distance of about 12 inches from the siding. This helps achieve clean lines and prevents drips, which might also necessitate fine-tuning your pressure settings. Adjust as needed based on the type of paint you're using to guarantee a flawless finish.
Hose and Tip Selection
Selecting the right hose and spray tip is essential for achieving the best results with your airless paint sprayer. Start by choosing a hose length that allows easy maneuverability without excess drag. A common recommendation for exterior siding is a tip size between 0.015 to 0.019 inches, which provides ideal coverage.
Make certain the hose connects securely to both the sprayer and the spray gun to prevent leaks and maintain consistent pressure. For vinyl siding, set your pressure between 2000-2500 PSI to guarantee even application. Always check your hose for kinks or damage before use, as this can impact performance and paint quality.
Here's a quick reference table to help you with hose and tip selection:
| Hose Length | Tip Size |
|---|---|
| 25 feet | 0.015 – 0.017 in |
| 50 feet | 0.017 – 0.019 in |
| 75 feet | 0.019 in |
| 100 feet | Use tip extension |
| 150 feet | Use tip extension |
Painting Techniques to Follow
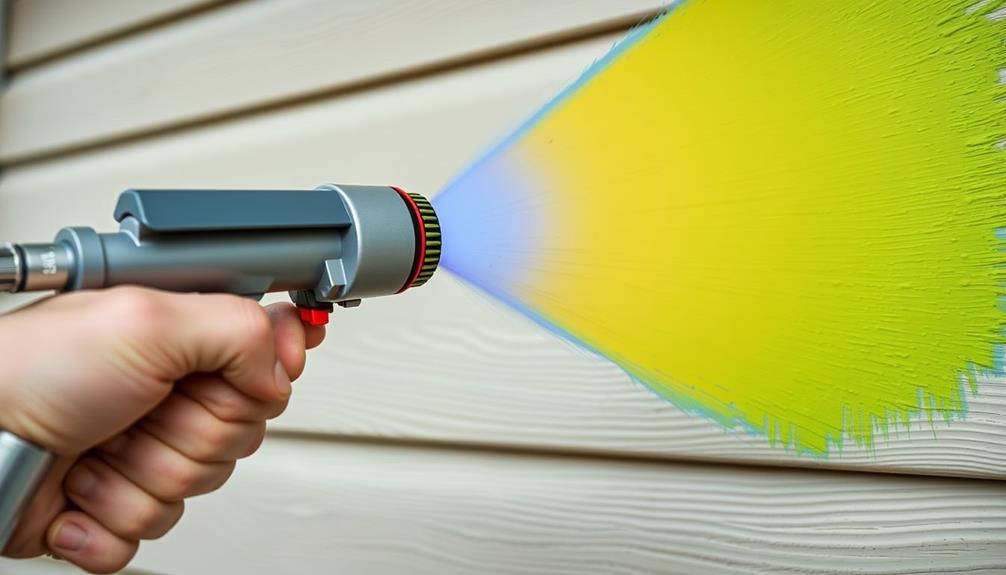
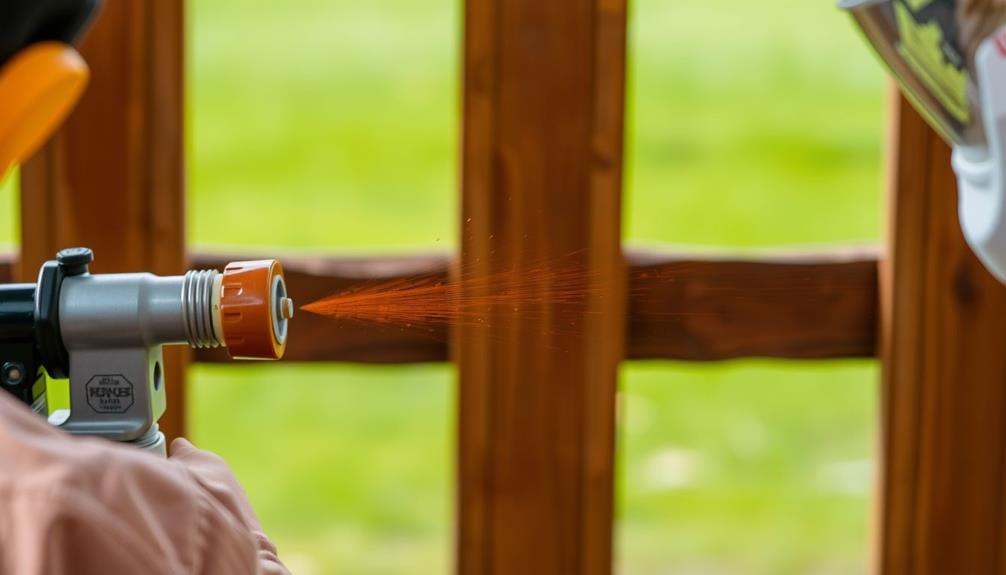
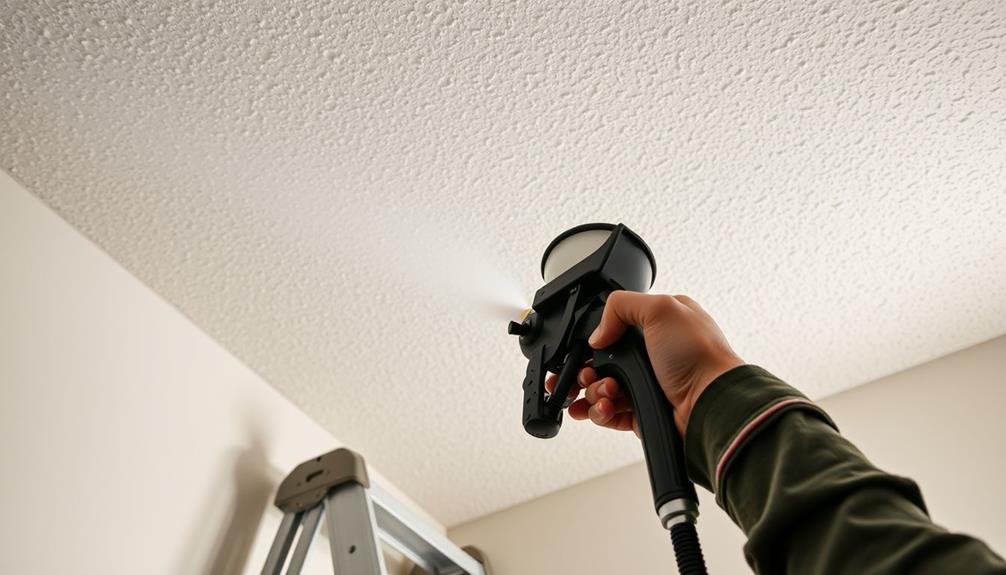
When using an airless paint sprayer, mastering the right techniques is essential for achieving a flawless finish. Start by maintaining a 12-inch distance from the siding while using the spray gun. This distance guarantees even coverage and helps prevent drips.
Begin your gun motion before pulling the trigger; this avoids initial paint splatters and creates a smooth start. Additionally, keeping your workspace free of potential hazards—much like being aware of ten household dangers identified for dogs—can contribute to a safer environment while you paint.
As you spray, make sure to overlap each pass by 50%. This secures full coverage without visible lines or inconsistencies. It's also wise to practice on inconspicuous areas first. This allows you to refine your technique before moving on to the main surfaces.
If you're dealing with textured siding, consider using a back-rolling technique after spraying. This step helps evenly distribute the paint, getting into all those hard-to-reach crevices.
Once you've completed your first coat, assess the coverage and decide if a second coat is necessary for that perfect finish. By following these techniques, you'll achieve a professional look and maximize the efficiency of your airless paint sprayer.
Clean-Up Procedures
After finishing your painting project, a thorough clean-up is vital to maintain the quality of your work and guarantee your airless paint sprayer remains in good condition.
Begin by waiting for the paint to dry completely before removing any tape. This guarantees clean edges and prevents smudging. Next, carefully remove coverings from plants and trim, taking care not to damage them during the process.
It's also important to confirm that your workspace has good air quality, as poor indoor air can affect your health and comfort while working.
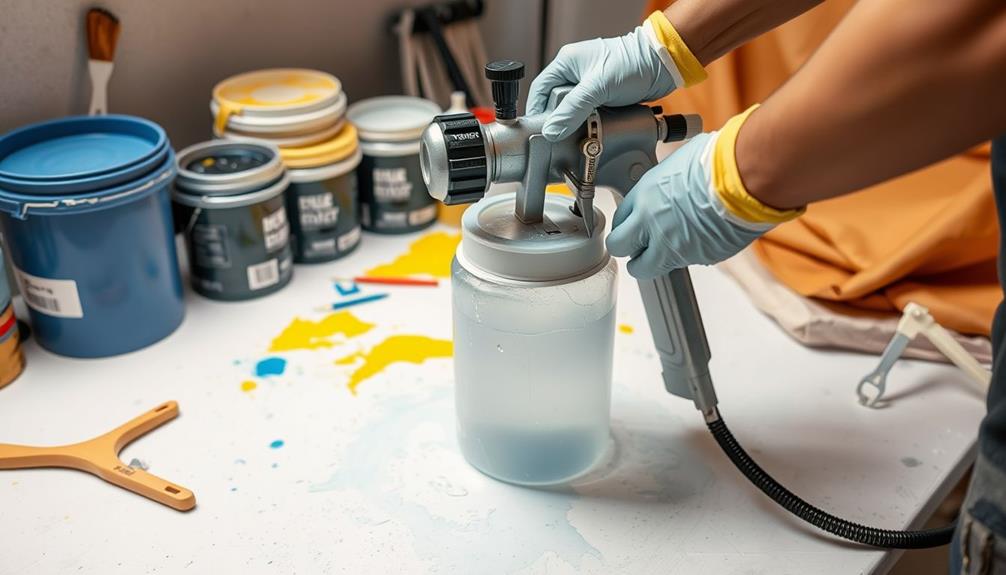
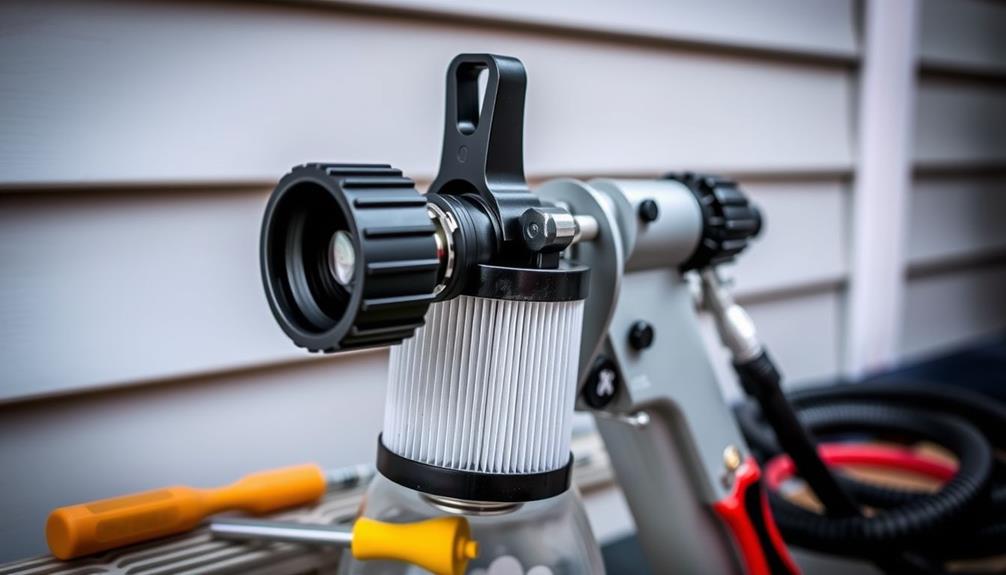
Now, it's time to tackle the clean-up procedures for your sprayer. Immediately after use, follow the user manual instructions to flush out the paint. This step is essential to prevent clogs and preserve the sprayer's functionality.
Pay close attention to the filter inside the sprayer; regularly inspecting and cleaning it will further enhance performance for future projects. For ideal air quality during your painting process, consider using air purifiers to minimize dust and allergens in the environment.
Once the sprayer is clean, replace any hardware you removed before painting.
Maintenance of Equipment
Maintaining your airless paint sprayer is just as important as cleaning it after use. Proper maintenance of equipment guarantees peak performance and extends the lifespan of your sprayer.
Additionally, making sure that your workspace is secure can prevent theft or damage to your equipment, which is vital for protecting your investment in tools and supplies (importance of home security systems).
Here are some key maintenance steps to follow:
- Release Pressure: Always release pressure from the sprayer before cleaning or inspecting it to prevent injury.
- Flush with Water: After each use, flush the paint from the hoses and sprayer with clean water. This prevents clogs and keeps the spray pattern consistent.
- Clean Tips and Filters: Thoroughly clean the sprayer tip and filter using soapy water and brushes. Accumulated paint can lead to poor spray patterns and lower finish quality.
- Inspect Components: Regularly check seals, hoses, and other components for wear and tear. This helps reduce leaks and guarantees everything operates smoothly.
Storing your sprayer in a dry, dust-free environment is essential, too.
Make sure all parts are clean and free from paint residue to avoid damage during idle periods.
Final Touches and Improvements

Achieving a flawless finish requires attention to detail in the final stages of your painting project. After applying the final coat, carefully remove tape and coverings to guarantee clean edges and prevent peeling. Inspect the painted areas for missed spots or imperfections, and perform touch-ups as needed for uniformity.
Consider back-brushing nooks and crannies after spraying; this guarantees the paint penetrates all areas and enhances durability. Allow adequate drying time between coats and before exposing the paint to moisture to avoid streaking or bubbling.
To track your progress and improve future projects, document your process. Here's a simple table to help you remember essential steps:
| Step | Action | Purpose |
|---|---|---|
| Remove tape | Carefully peel away | Guarantees clean edges |
| Inspect for touch-ups | Look for imperfections | Achieves a uniform appearance |
| Back-brush | Apply paint to corners | Enhances durability |
Frequently Asked Questions
How to Use an Airless Paint Sprayer Exterior?
To use an airless paint sprayer for exterior surfaces, read the manual, set pressure correctly, maintain a 12-inch distance, choose the right tip, practice on hidden areas, and clean thoroughly afterward to avoid clogs.
How to Paint Siding With a Sprayer?
You might think painting siding's easy, but it requires precision. Start by prepping the surface, then use a sprayer at 2000-2500 PSI. Maintain a 12-inch distance, overlapping passes for a flawless finish.
How Do You Thin Exterior Paint for an Airless Sprayer?
To thin exterior paint for your airless sprayer, check the manufacturer's instructions. Generally, you'll want to add 10-20% water or specific thinner, ensuring to mix thoroughly and strain it before pouring into the sprayer.
Do You Dilute Paint When Using an Airless Sprayer?
No, you typically shouldn't dilute paint when using an airless sprayer. These sprayers handle thicker paints well. If necessary, follow the manufacturer's guidelines for thinning, but always test the spray pattern first for consistency.
Conclusion
Using an airless paint sprayer for your siding can transform your home as swiftly as a brushstroke on canvas. By following the steps outlined, you'll achieve a smooth, professional finish that enhances your home's curb appeal. Remember, preparation is key, and don't rush the clean-up or maintenance of your equipment—it's just as important as the painting itself. Embrace the process, and soon your home will shine like new, reflecting the care you put into it.