I have always loved doing DIY projects and constantly searching for ways to improve my living space. Painting walls is a great way to give any room a fresh look. When it comes to covering large areas quickly and efficiently, I always turn to an airless paint sprayer as my go-to tool.
In this article, I’ll guide you through the process of using an airless paint sprayer indoors.
To start, we’ll discuss how to prepare your workspace, gather the necessary equipment and materials, and choose the right paint. I’ll share tips on how to protect your surroundings with drop cloths and masking tape, and explain the importance of practicing proper safety measures.
Once we have everything in place, I’ll show you the techniques for spraying in even, overlapping strokes, maintaining a consistent distance and speed. I’ll also cover the importance of applying multiple coats and share tips on how to clean and maintain your paint sprayer.
So, let’s dive in and transform your indoor spaces with the power of an airless paint sprayer!
Key Takeaways
- Prepare the workspace by cleaning it, removing furniture and decorations, and ensuring it is well-ventilated.
- Gather all the necessary equipment and materials, including the airless paint sprayer, paint container, filters, hose, and spray gun.
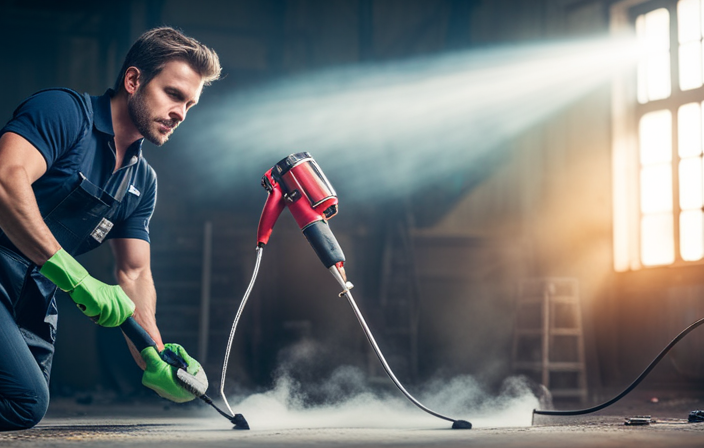
- Wear appropriate protective clothing, goggles, mask, and gloves to ensure personal safety during the painting process.
- Take proper precautions to protect the surrounding areas by using drop cloths, masking tape, and covering electrical outlets and switches.
Prepare Your Workspace
Before you start painting, make sure your workspace is clean and free of any obstacles so you can create a smooth and efficient painting process. Proper workspace organization is crucial to ensure that you have enough room to move around and maneuver the paint sprayer.
Remove any furniture, decorations, or other items that may obstruct your painting path. Additionally, ensure that the workspace is well-ventilated to prevent the buildup of paint fumes. Open windows and doors to allow fresh air to circulate, or consider using fans or air purifiers to improve ventilation.
Once your workspace is organized and well-ventilated, you can proceed to gather the necessary equipment and materials for your indoor painting project.
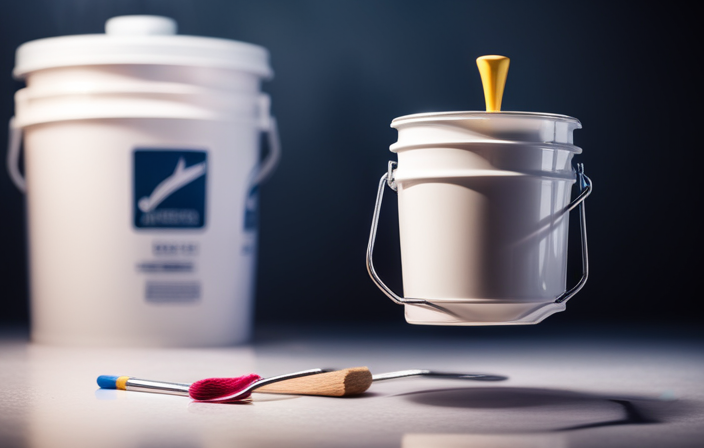
Gather the Necessary Equipment and Materials
First things first, make sure you’ve got all the gear and stuff you need to get the job done right. When it comes to using an airless paint sprayer indoors, equipment selection is crucial.
You’ll need an airless paint sprayer, of course, but also make sure you have a paint container, paint filters, a hose, and a spray gun. Safety precautions are also essential.
Wear protective clothing, including goggles, a mask, and gloves, to shield yourself from paint particles and fumes. Additionally, make sure the area is well-ventilated by opening windows or using fans.
Now, let’s transition into the next section about choosing the right paint and thinning it if necessary.
Choose the Right Paint and Thin it if Necessary
When it comes to selecting the perfect paint and ensuring it’s the right consistency, it’s crucial to choose wisely and possibly thin it if needed. Choosing the right paint is essential for achieving a professional finish and long-lasting results. It is important to consider factors such as the type of surface, the desired sheen, and the level of durability required. Additionally, some paints may need to be thinned before using them in an airless paint sprayer. Thinning techniques vary depending on the type of paint being used, and it’s essential to follow the manufacturer’s instructions. Common mistakes when thinning paint include adding too much thinner, which can affect the paint’s quality and performance. In contrast, not thinning it enough may result in clogging the sprayer. Remember to carefully follow the recommended thinning ratios to achieve optimal results. In the next section, I will explain how to protect your surroundings with drop cloths and masking tape.
Protect Your Surroundings with Drop Cloths and Masking Tape
To ensure a clean and mess-free painting experience, it’s essential to shield your surroundings with drop cloths and masking tape, creating a protective barrier.
Start by covering furniture and any other items in the room that you want to protect from paint splatters. Use large, heavyweight drop cloths that are specifically designed for painting projects. Lay them flat on the floor and secure them with tape or weights to prevent them from shifting.
Additionally, use masking tape to cover electrical outlets and switches to avoid getting paint on them. Make sure to press the tape firmly to create a tight seal. By taking these precautions, you can protect your furniture and ensure that your electrical outlets remain paint-free.
Now, let’s move on to the next section and discuss how to practice proper safety measures while using an airless paint sprayer indoors.
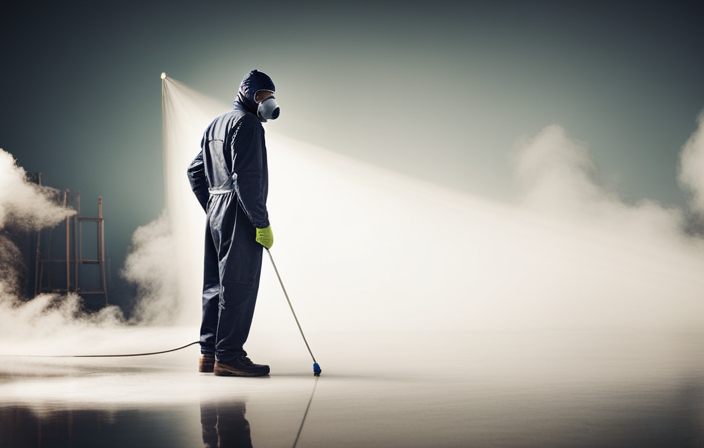
Practice Proper Safety Measures
Ensure your safety by following proper precautions while using an airless paint sprayer indoors. Safe handling is crucial when operating any paint sprayer. Always read the manufacturer’s instructions and familiarize yourself with the equipment before starting. Use respiratory protection, such as a mask or respirator, to avoid inhaling paint particles.
To fully enjoy your painting experience, consider these tips:
- Wear protective clothing and goggles to shield yourself from paint splatter.
- Keep children and pets away from the workspace to prevent accidents.
- Ventilate the area by opening windows or using fans to reduce fumes.
Remember, safety should be your top priority when using an airless paint sprayer indoors. Once you’ve practiced proper safety measures, you can proceed to the next step and prime the surface (if needed).
Prime the Surface (if needed)
Before proceeding, it’s important to prime the surface if necessary. This step is crucial for achieving a smooth and even finish with your airless paint sprayer indoors.
Start by inspecting the surface for any imperfections, such as cracks or holes, and fill them with an appropriate filler. Once the surface is clean and dry, apply a primer using the airless paint sprayer. This will create a strong bond between the surface and the paint, ensuring better adhesion and durability.
Make sure to follow the manufacturer’s instructions for mixing and applying the primer. If any troubleshooting is required during this step, such as clogging or uneven application, refer to the troubleshooting tips provided in the user manual.
Once the surface is properly primed, you can proceed to the next section about starting to spray in even, overlapping strokes, creating a professional-looking finish.
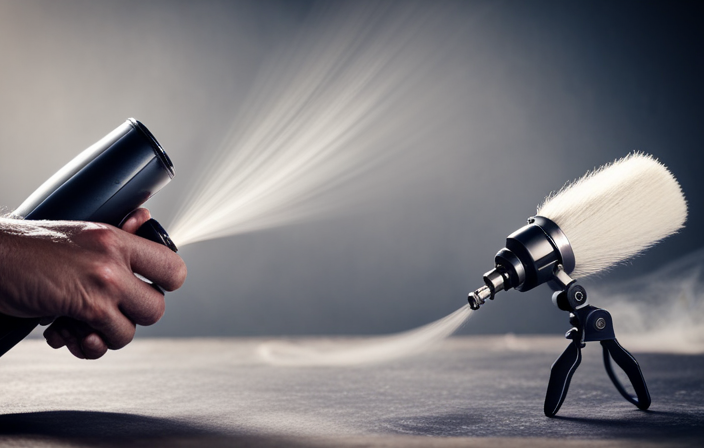
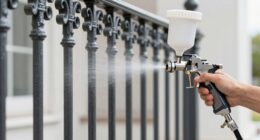
Start Spraying in Even, Overlapping Strokes
Begin by spraying the surface with smooth, overlapping strokes, creating a seamless coat of paint that will transform your space.
To achieve a smooth finish, it’s important to hold the sprayer about 12 inches away from the surface and move it in a steady, consistent motion. Keep your arm relaxed and your wrist straight to avoid any jerky movements that may result in uneven coverage.
If you notice any drips or runs, immediately smooth them out with a brush or roller before they dry.
Troubleshooting common spraying issues involves checking the paint viscosity, adjusting the pressure settings, and ensuring the sprayer is properly cleaned and maintained.
By following these tips, you can achieve a professional-looking paint job indoors.
Maintaining a consistent distance and speed will further enhance the overall finish of your project.
Maintain a Consistent Distance and Speed
Keep your hand steady and your movements fluid as you glide the sprayer over the surface, like a graceful dancer effortlessly painting the room.
Maintaining a consistent distance and speed is crucial when using an airless paint sprayer indoors. By keeping the sprayer at a consistent distance from the surface, typically around 12 inches, you ensure an even coat of paint without any drips or uneven patches. Additionally, controlling the speed at which you move the sprayer is important to achieve a professional finish. Moving too quickly may result in thin and uneven coverage, while moving too slowly can cause paint to build up and create runs.
Remember to adjust your speed according to the size and shape of the surface you are painting. With consistent distance and speed control, you can achieve a flawless finish with your airless paint sprayer.
Now, let’s move on to the next step – applying multiple coats as needed.
Apply Multiple Coats as Needed
To achieve a flawless finish, glide the sprayer over the surface like a graceful dancer, ensuring an even coat without any drips or uneven patches. Applying multiple coats is often necessary to achieve even coverage and a professional-looking result.
Here are some tips to help you apply additional layers effectively:
-
Start by allowing each coat to dry completely before applying the next one. This’ll prevent the paint from smudging or clumping.
-
Before applying the next coat, lightly sand the surface to create a smooth and even base for the paint to adhere to.
-
Adjust the sprayer settings to a lower pressure for subsequent coats, as this’ll help prevent oversaturation and dripping.
By following these guidelines, you can achieve a smooth and even finish that’ll make your walls or furniture look professionally painted.
Once you’ve finished applying multiple coats, it’s time to move on to the next step: cleaning and maintaining your paint sprayer.
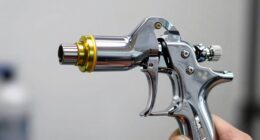
Clean and Maintain Your Paint Sprayer
Maintaining your paint sprayer is essential for its longevity and performance, with studies showing that regular cleaning and upkeep can extend its lifespan by up to 50%. To ensure your paint sprayer operates at its best, follow these cleaning tips and troubleshoot common issues.
Cleaning Tips:
- After each use, flush the sprayer with water or a cleaning solution to remove any leftover paint.
- Disassemble the sprayer and clean each part thoroughly, paying attention to clogged or dried paint.
- Use a soft brush or toothbrush to scrub away stubborn paint residue.
Troubleshooting Common Issues:
- If the sprayer is clogged, check the nozzle and clean it with a needle or small wire.
- If the sprayer is spraying unevenly, check for a worn-out or damaged tip and replace if necessary.
- If the sprayer is not priming, check the suction tube for blockages and ensure the inlet valve is properly closed.
By following these cleaning tips and troubleshooting techniques, you can maintain the performance and longevity of your airless paint sprayer.
Frequently Asked Questions
Can I use an airless paint sprayer for all types of paint?
Yes, an airless paint sprayer can be used for all types of paint. It is suitable for both water-based and oil-based paints. The advantages of using an airless sprayer indoors include faster application and a smoother finish.
How do I know if I need to prime the surface before using the airless paint sprayer?
Before using the airless paint sprayer, I assess the surface to determine if priming is necessary. Priming is essential to ensure proper paint adhesion, increased durability, and a smoother finish. Don’t skip this step!
What safety precautions should I take when using an airless paint sprayer indoors?
When using an airless paint sprayer indoors, I take several safety precautions to ensure my well-being. I always wear protective gear, such as goggles and a respirator, and make sure the area is well-ventilated by opening windows and using fans.
How do I clean the airless paint sprayer after use?
Cleaning the airless paint sprayer is like giving it a refreshing shower after a hard day’s work. To ensure proper maintenance, follow these cleaning processes and maintenance tips to keep it in top shape.
Can I use an airless paint sprayer for small, detailed areas or is it better for larger surfaces only?
When using an airless paint sprayer for furniture, it is best suited for larger surfaces. While it can be used for small, detailed areas, a traditional brush may provide better precision and control.
Conclusion
In conclusion, using an airless paint sprayer indoors can be a convenient and efficient way to achieve a smooth and professional finish. By following the proper steps and taking necessary safety precautions, you can successfully complete your painting project.
Remember to prepare your workspace, gather the right equipment, choose the appropriate paint, and protect your surroundings.
Maintaining a consistent distance and speed while applying multiple coats will ensure an even and long-lasting result. Lastly, regular cleaning and maintenance of your paint sprayer will prolong its lifespan.
So, embrace the power of an airless paint sprayer and transform your indoor space with ease!