Hello there! Have you ever considered refreshing your walls with a fresh coat of paint but didn’t know where to start? Luckily, I have just the thing for you. This article will walk you through the process of using an airless paint sprayer.
What better way to learn than through a step-by-step YouTube tutorial? With an airless paint sprayer, you can achieve professional-looking results without all the hassle of traditional painting methods. It’s a game-changer, trust me.
From understanding the basics to troubleshooting common issues, I’ve got you covered. Plus, I’ll share some handy tips and tricks along the way to make your painting experience a breeze.
So, grab your equipment and get ready to transform your space with ease. Let’s dive in and unleash your inner DIY pro!
Key Takeaways
- Clogged spray tips can be unclogged by soaking them in cleaning solution and using a small wire.
- Leaking pumps can be fixed by tightening fittings or replacing worn seals.
- Sprayers that are not priming properly may have low pressure, a clogged inlet filter, or worn pump packings.
- Low pressure can be caused by various factors and should be checked for clogs, leaks, and necessary part replacements while adjusting pressure settings.
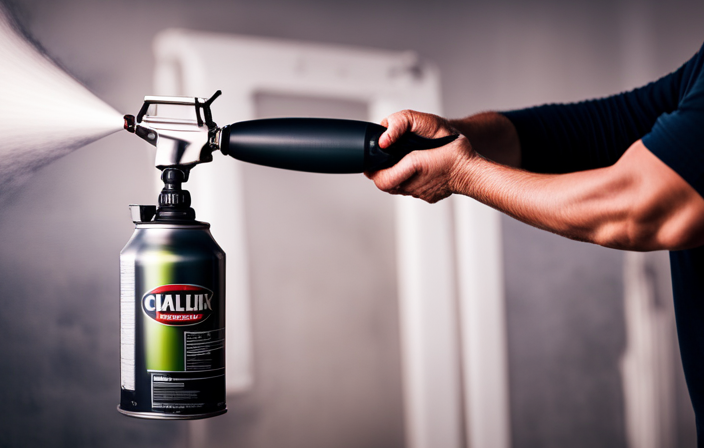
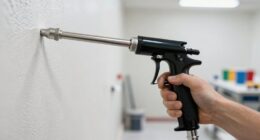
Understanding the Basics of an Airless Paint Sprayer
Understanding the basics of an airless paint sprayer is essential before getting started. These sprayers work by pumping paint at high pressure through a small opening, creating a fine mist that evenly coats surfaces. One of the biggest advantages of using an airless paint sprayer is its ability to cover large areas quickly and efficiently. Unlike traditional paint brushes or rollers, airless sprayers can produce a smooth and professional finish in a fraction of the time. To get started, gather the necessary equipment and materials needed for your painting project.
Gather the Necessary Equipment and Materials
First, make sure you’ve got all the essential gear and materials ready, because this is where the magic begins! To use an airless paint sprayer effectively, you’ll need the following:
- High-quality paint: Choosing the right paint for your project is crucial. Consider factors such as the surface type, desired finish, and durability.
- Paint strainer: This will help remove any impurities or debris from the paint, ensuring a smooth application.
- Paint thinner: Diluting the paint may be necessary to achieve the desired consistency. Follow the manufacturer’s instructions for the right ratio.
- Stir stick: Properly prepare the paint for use by thoroughly mixing it with a stir stick, ensuring an even distribution of pigments.
Now that you have everything you need, it’s time to prepare the surface for painting.
Prepare the Surface for Painting
To properly prime the surface, I polish and purge any previous paint particles. Surface preparation techniques are crucial to ensure a smooth and long-lasting paint job. First, I thoroughly clean the surface using a mild detergent and water. This removes any dirt, grease, or mildew that could affect the adhesion of the paint. Next, I inspect the surface for any cracks, holes, or blemishes. I fill these imperfections with a suitable filler and sand them smooth. Once the surface is clean and repaired, I apply a coat of primer. Priming surfaces is important as it helps the paint adhere better and provides a uniform base for the topcoat. A primer also helps to seal porous surfaces and prevents stains from bleeding through. With the surface properly primed, I can now move on to the next step of setting up and adjusting the airless paint sprayer.
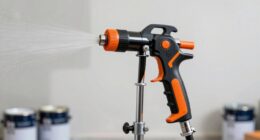
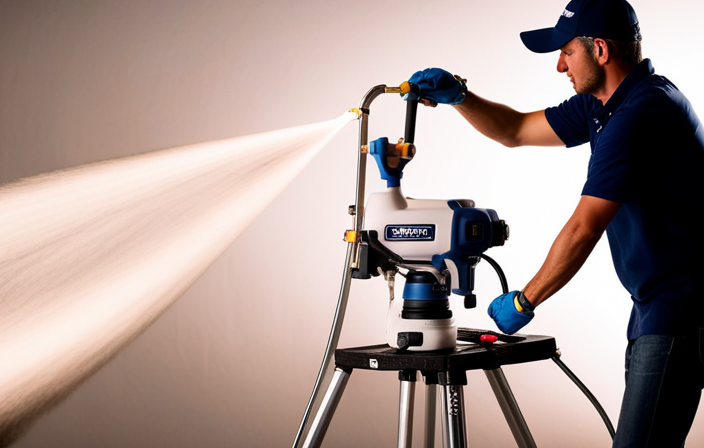
Set Up and Adjust the Airless Paint Sprayer
Once you’ve properly prepared the surface, it’s time to set up and adjust your trusty airless paint sprayer.
Start by adjusting the spray pressure to ensure a smooth and even application. This can be done by turning the pressure control knob clockwise to increase pressure or counterclockwise to decrease it. It’s important to find the right pressure for your specific project, so start with a lower setting and gradually increase until you achieve the desired results.
If you encounter a clogged nozzle during the painting process, don’t panic. Simply turn off the sprayer and remove the nozzle. Clean it thoroughly with warm soapy water or a nozzle cleaner. If the clog persists, you may need to use a needle or a small wire to clear the blockage. Once the nozzle is clean, reattach it and continue painting.
Now that you’ve set up and adjusted your airless paint sprayer, it’s time to practice proper technique and safety precautions when using it.
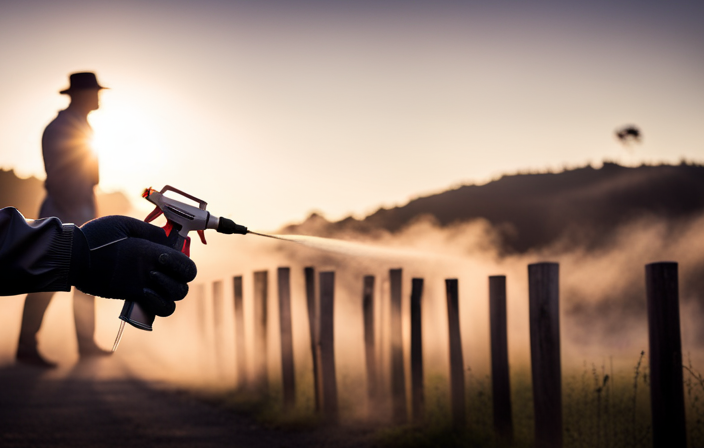
Practice Proper Technique and Safety Precautions
When using your airless paint sprayer, it’s important to remember to practice proper technique and keep safety precautions in mind. This will ensure a successful and accident-free painting experience.
First and foremost, always wear protective clothing, goggles, and a respirator to shield yourself from paint particles and fumes. It’s also crucial to have proper ventilation, so make sure to open windows or use fans in the area where you’re painting.
When using the airless paint sprayer, hold it at a consistent distance of about 12-18 inches from the surface you’re painting. This will help you achieve an even coat. As you move the sprayer, make sure to do so in a smooth, sweeping motion. It’s important to overlap each pass by 50% to avoid streaks or missed spots.
Before you start painting, always test the sprayer on a scrap surface to ensure that it’s working correctly. This will help you avoid any potential issues once you start the actual painting process.
Now that you’re familiar with the proper painting techniques and safety precautions, let’s move on to starting the actual painting process with the airless paint sprayer.
Start Painting with the Airless Paint Sprayer
Now that you’ve mastered the proper techniques and safety precautions, it’s time to dive into the exciting world of painting with your trusty airless sprayer!
When using an airless paint sprayer, it’s important to keep a few techniques in mind for effective results. First, start by adjusting the pressure settings on your sprayer to achieve the desired flow rate. This will help you control the amount of paint being sprayed and prevent overspray.
Additionally, make sure to keep the sprayer at a consistent distance from the surface you’re painting, usually around 12 inches. This will help you achieve smooth and even coverage. Remember to move your arm in a steady, sweeping motion, overlapping each pass slightly for a seamless finish.
With these tips for using an airless paint sprayer effectively, you’ll be able to achieve professional-looking results in no time.
Now, let’s move on to the next section about achieving smooth and even coverage.
Achieve Smooth and Even Coverage
To achieve a flawless finish, there are a few key steps to follow. First, keep the sprayer at a consistent distance from the surface and smoothly sweep your arm back and forth. This will ensure even coverage and prevent streaks or patchiness.
Improving paint adhesion is also crucial for a smooth and long-lasting finish. Before painting, thoroughly clean the surface and remove any loose paint or debris. This will help the paint adhere better and prevent future peeling or chipping.
Choosing the right paint for the job is another important factor. Consider the surface type, weather resistance, and desired finish when selecting your paint. This will ensure good adhesion and the desired coverage.
In the next section, we will discuss how to clean and maintain the airless paint sprayer for optimal performance.
Clean and Maintain the Airless Paint Sprayer
Cleaning and maintaining the airless paint sprayer regularly will ensure its optimal performance. This includes avoiding clogs and ensuring a smooth paint application, resulting in a professional-looking finish that impresses clients and saves time on touch-ups.
To keep your airless paint sprayer in top shape, follow these cleaning tips and establish a maintenance schedule. After each use, thoroughly clean the sprayer by flushing it with water or a cleaning solution to remove any residual paint. Pay special attention to the nozzle, filter, and hose, as these areas are prone to clogs.
It’s also important to regularly inspect and replace worn or damaged parts. By taking the time to clean and maintain your airless paint sprayer, you’ll prevent issues and ensure it’s always ready for your next project.
Now, let’s move on to troubleshooting common issues.
Troubleshooting Common Issues
Experiencing problems with your airless paint sprayer? Let’s troubleshoot common issues and get your projects back on track!
When it comes to troubleshooting your airless paint sprayer, there are a few common problems that you may encounter. One common issue is clogged spray tips, which can lead to uneven spray patterns or no spray at all. To fix this, you can try soaking the tips in a cleaning solution or using a small wire to unclog them.
Another common problem is a leaking pump, which can be caused by worn seals or loose fittings. Tightening the fittings or replacing the seals should solve this issue.
Additionally, if the sprayer is not priming or has low pressure, it could be due to a clogged inlet filter or worn pump packings. Cleaning or replacing these parts should help.
If you’re still experiencing issues, watching a step-by-step YouTube tutorial for visual guidance can be helpful in troubleshooting your airless paint sprayer and resolving any remaining problems.
Watch a Step-by-Step YouTube Tutorial for Visual Guidance
If you’re looking to troubleshoot your airless paint sprayer, there’s a valuable resource just a click away – a step-by-step YouTube tutorial that acts as a visual guide to help you overcome any obstacles in your painting journey.
This tutorial provides a visual demonstration of how to use an airless paint sprayer effectively. It walks you through each step, from setting up the sprayer to cleaning it afterwards. The video highlights common issues that may arise and offers solutions to fix them.
Whether you’re a beginner or an experienced painter, this YouTube tutorial is a great tool to have in your arsenal. It allows you to see the process in action, making it easier to understand and replicate.
So, if you’re struggling with your airless paint sprayer, don’t hesitate to check out this informative YouTube tutorial for visual guidance.
Frequently Asked Questions
Can I use an airless paint sprayer for any type of paint?
Yes, you can use an airless paint sprayer for any type of paint. It is versatile and can be used on different surfaces like walls, furniture, and outdoor spaces. The pros include faster application, even coverage, and less overspray. However, it can be more expensive and requires proper technique.
How do I choose the right tip size for my airless paint sprayer?
To choose the right tip size for your airless paint sprayer, consider the paint viscosity, surface texture, and desired coverage. Start with a larger tip for thicker paints and rough surfaces. If experiencing issues, check for clogs or worn parts.
Can I use an airless paint sprayer indoors?
Yes, you can use an airless paint sprayer indoors. When using it in small spaces, it’s important to follow best practices for indoor airless painting. This includes proper ventilation, covering surfaces, and wearing protective gear.
How do I prevent clogging in the nozzle of my airless paint sprayer?
To prevent clogging in the nozzle of your airless paint sprayer, there are a few steps you can take. First, make sure to strain the paint before using it. Second, clean the sprayer regularly, and finally, check for any obstructions in the nozzle. These troubleshooting methods will keep your sprayer working efficiently.
What safety precautions should I take when using an airless paint sprayer?
When using an airless paint sprayer, it’s important to prioritize safety. One interesting statistic is that 65% of professional painters reported experiencing respiratory issues due to paint fumes. To protect yourself, always wear respiratory protection and ensure proper ventilation.
Conclusion
In conclusion, using an airless paint sprayer is a convenient and efficient way to achieve a flawless finish. By following the steps outlined in this article, you can easily master the technique and create smooth and even coverage on any surface.
Remember to gather the necessary equipment, prepare the surface, and practice proper safety precautions.
With a little practice and maintenance, your airless paint sprayer will become your new go-to tool for all your painting needs. So start spraying and see the stunning results!