Have you ever wondered how professional painters achieve such a flawless, seamless finish on their projects? Let me share a little secret with you: the secret lies in the airless sprayer. This powerful tool has revolutionized the process of painting houses, making it faster, easier, and more efficient than ever before.
With an airless sprayer in your hands, you can transform the look of your home in no time.
In this article, I will guide you through the step-by-step process of using an airless sprayer to paint your house. From gathering your materials and preparing the surface, to practicing your technique and applying the paint, I will share my knowledge and experience to ensure that you achieve professional-quality results.
So, grab your safety equipment and get ready to embark on a painting journey that will leave your home looking brand new. Let’s get started!
Key Takeaways
- Angle the sprayer towards corners and edges for better coverage
- Clean the sprayer thoroughly after each use to prevent clogging and maintain its longevity
- Inspect the painted surface carefully and touch up any imperfections for a flawless finish
- Protect furniture during the painting process by covering it with plastic sheets or moving it to another room

Graco Magnum 257025 Project Painter Plus Paint Sprayer
- Project Capacity: Suitable for up to 5 gallons
- Adjustable Pressure: Fully customizable spray pressure
- Flexible Suction Tube: Sprays directly from large paint buckets
As an affiliate, we earn on qualifying purchases.
As an affiliate, we earn on qualifying purchases.
Gather Your Materials and Safety Equipment
Now it’s time to gather all the materials and safety equipment you’ll need to tackle this house painting project with your trusty airless sprayer!
Safety precautions should always be a top priority when working with any type of paint. Make sure to wear protective clothing, gloves, goggles, and a respirator to protect yourself from any potential hazards.
Additionally, choose the right paint for your project. Consider factors such as the type of surface you’ll be painting, the desired finish, and any specific requirements for outdoor or indoor use. By selecting the appropriate paint, you’ll ensure a long-lasting and professional-looking result.
Once you have gathered all the necessary materials and safety equipment, it’s time to prepare the surface for painting.
Prepare the Surface for Painting
To ensure a flawless finish, it’s crucial to properly prepare the surface before applying the vibrant colors. Surface preparation is key to achieving professional-looking results. Before starting, gather all the necessary materials such as sandpaper, a sanding block, and a dust mask to protect yourself from airborne particles. Begin by inspecting the surface for any imperfections or loose paint. Use a scraper to remove any peeling paint and then sand the surface using the appropriate sandpaper grit for the material. This will create a smooth and uniform surface for the paint to adhere to. Pay close attention to corners and edges, ensuring all rough areas are sanded down. Once the surface is smooth and clean, you’re ready to move on to the next step of setting up your airless sprayer for painting.
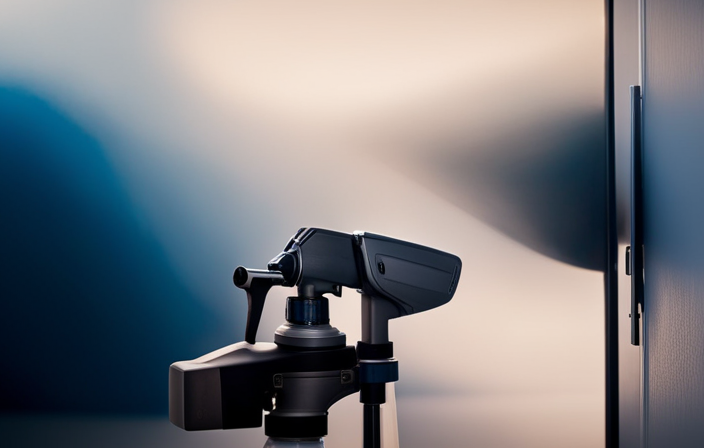
Set Up Your Airless Sprayer
When setting up your airless sprayer, it’s crucial to choose the right tip size and pressure setting for optimal paint coverage and control. By selecting the appropriate tip size, you can ensure a smooth and even application of paint.
Additionally, adjusting the pressure setting will allow you to achieve the desired flow rate and atomization of the paint.
Once you have determined the correct settings, fill the sprayer with paint, making sure to strain it to remove any impurities. Prime the pump to ensure proper operation.
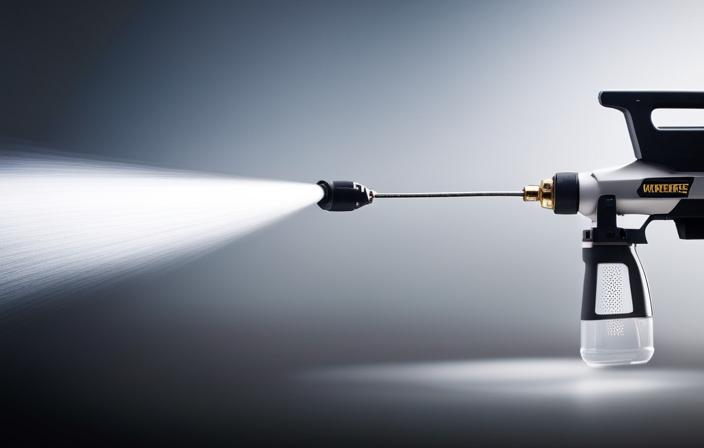
Choose the Right Tip Size and Pressure Setting
First, ensure that you have the right tip size and pressure setting for your airless sprayer to achieve the perfect paint finish on your house.
To choose the correct tip size and pressure for an airless sprayer, consider the following factors:
-
Tip Size: Select a tip size that matches the type of paint you’re using. A larger tip size is suitable for thicker paints, while a smaller tip size works well for thinner paints.
-
Pressure Setting: Adjust the pressure setting based on the size of the area you’re painting. Higher pressure is ideal for larger surfaces, while lower pressure is more suitable for intricate details.
Troubleshooting common issues with airless sprayers can be frustrating, but selecting the right tip size and pressure setting can significantly reduce problems such as clogging or uneven spray patterns.
Now that you have the correct tip size and pressure setting, let’s move on to filling the sprayer with paint and priming the pump.
Fill the Sprayer with Paint and Prime the Pump
Now that you’ve got the perfect tip size and pressure setting, it’s time to fill up the sprayer with your chosen paint and get ready to prime the pump. To ensure a smooth finish and troubleshoot any potential issues with your airless sprayer, follow these tips.
First, make sure the sprayer is clean and free of any debris. Then, pour the paint into the sprayer’s container, being careful not to overfill it. Refer to the manufacturer’s instructions for the recommended fill level.
Next, prime the pump by turning on the sprayer and allowing the paint to flow through the system until a steady stream is achieved. This ensures proper paint flow and prevents any clogs or sputtering during the painting process.
To help you visualize the process, refer to the table below for a quick reference guide on how to fill the sprayer with paint and prime the pump:
| Step | Description |
|---|---|
| 1 | Clean the sprayer |
| 2 | Pour paint into the container |
| 3 | Prime the pump by turning on the sprayer |
| 4 | Wait for a steady stream of paint |
By following these steps, you’ll be ready to practice your technique and achieve a smooth finish with your airless sprayer.
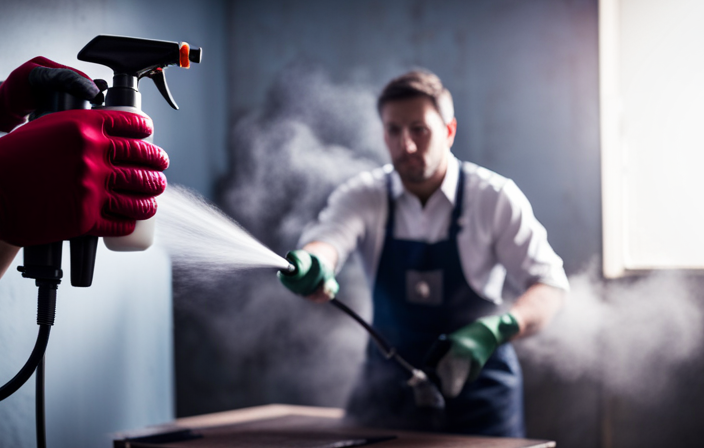
Practice Your Technique
To truly master your technique with an airless sprayer, practice is key. Imagine yourself as a skilled painter effortlessly conducting a symphony of color on the canvas of your house.
Start by holding the sprayer with a firm grip and positioning it about 12 inches from the surface. Move your arm smoothly and consistently, maintaining a steady pace as you paint.
Keep the sprayer perpendicular to the surface to ensure an even application. Pay attention to the speed and distance as you practice, making adjustments as needed.
Remember to overlap each stroke slightly to achieve seamless coverage. Once you feel confident in your technique, you’re ready to begin painting and transform your house into a masterpiece of color and beauty.
Begin Painting
When beginning to paint with an airless sprayer, it’s important to start at the top and work your way down. This ensures that any drips or overspray will be covered as you progress.
Additionally, it’s crucial to apply even coats with overlapping strokes to achieve a smooth and professional finish.
By following these techniques, I’ve found that I can efficiently and effectively paint a house using an airless sprayer.
Start at the Top and Work Your Way Down
First things first, go ahead and start at the top of your house and work your way down when using an airless sprayer to paint. This method ensures that any overspray or drips will be covered by subsequent coats, giving you a smooth and even finish.
It is important to work from the bottom up, as painting from the top down can cause paint to drip onto already painted surfaces, creating streaks and uneven coverage. When working on higher areas, make sure to use a ladder safely and secure it properly to prevent any accidents.
Additionally, be mindful of overspray by adjusting the sprayer’s pressure and spray pattern to avoid getting paint on unintended surfaces. By starting at the top and working your way down, you can prevent overspray, drips, and streaks, creating a professional-looking paint job.
Now, let’s move on to applying even coats with overlapping strokes.
Apply Even Coats with Overlapping Strokes
To apply even coats with overlapping strokes, start by holding the spray gun about 12 inches away from the surface. Move it in a steady, back-and-forth motion, making sure to slightly overlap each stroke. This technique ensures that the paint is applied evenly and prevents any visible lines or streaks. It is important to maintain a consistent speed and distance throughout the process. By following these painting techniques and applying even coats with overlapping strokes, you will achieve a flawless result.
Now, let’s move on to how to handle corners and edges.
Handle Corners and Edges
To effectively paint corners and edges with an airless sprayer, carefully maneuver the sprayer along the edges, ensuring a smooth and even coat of paint. Here are some tips to help you achieve smooth edges and avoid drips:
- Start by positioning the sprayer at a slight angle towards the corner or edge.
- Move the sprayer in a slow and steady motion, overlapping your strokes with each pass.
- Keep the sprayer at a consistent distance from the surface to ensure an even application of paint.
Pay extra attention to the corners, as they tend to have more buildup of paint. If necessary, use a brush to touch up any areas that the sprayer may have missed.
With these techniques, you can achieve professional-looking results while painting corners and edges.
Once you’ve finished painting, it’s important to properly clean up after yourself to maintain the sprayer’s performance and prolong its lifespan.
Clean Up After Painting
After completing the painting task, it’s crucial to clean up the airless sprayer properly.
First, flush the sprayer with water or paint thinner to remove any remaining paint and prevent clogging.
As an experienced painter, I highly recommend thoroughly cleaning and storing your equipment properly to ensure its longevity and efficiency.
Flush the Sprayer with Water or Paint Thinner
First, make sure to prepare the airless sprayer by flushing it with water or paint thinner to clean out any residue from previous use. Cleaning techniques are essential to maintain the sprayer’s performance and ensure a smooth paint application.
If you were using the sprayer to paint a room with a dark color and now want to switch to a lighter color, flushing it with water will ensure that there is no leftover pigment that could affect the new paint’s color. Alternatively, using paint thinner can dissolve any stubborn paint buildup.
Proper maintenance tips like this will help prolong the lifespan of your sprayer and prevent clogs or malfunctioning.
After flushing, you can move on to the next step, which is to clean and store your equipment properly, ensuring it remains in good condition for future use.
Clean and Store Your Equipment Properly
After flushing the sprayer with water or paint thinner, it is crucial to clean and store your equipment properly. Proper equipment maintenance is essential to ensure the longevity and effectiveness of your airless sprayer.
Start by dismantling the sprayer and thoroughly cleaning all the parts with water and a mild detergent. Pay special attention to the nozzle, as any leftover paint can cause clogs and affect the quality of your next paint job.
Once cleaned, allow the parts to air dry completely before reassembling them. Store your sprayer in a clean, dry, and dust-free area, away from extreme temperatures. This will prevent any damage to the equipment and ensure it is ready for your next painting project.
By taking these steps, you will not only extend the lifespan of your airless sprayer but also avoid paint splatters and achieve a smooth and professional finish.
Now, let’s move on to inspecting and touching up our paint job.
Inspect and Touch Up
Before you start painting, take a moment to carefully inspect the surface of your house and make any necessary touch-ups. This step is crucial to ensure a smooth and flawless finish.
When it comes to touch-up techniques, there are a few things to keep in mind. First, match the paint color perfectly to avoid any noticeable variations. Use a small brush or roller to blend the touch-up area with the rest of the painted surface.
Additionally, be aware of common touch-up mistakes such as applying too much paint or leaving visible brush strokes. Taking the time to fix any imperfections will greatly enhance the overall appearance of your paint job.
Once you are satisfied with your touch-ups, you can move on to the next step and enjoy your newly painted home.
Enjoy Your Newly Painted Home
Now that you’ve completed all the necessary touch-ups, it’s time to sit back, relax, and bask in the beauty of your freshly painted home.
One important aspect to consider during the painting process is how to protect your furniture. Covering your furniture with plastic sheets or moving it to a different room can prevent accidental paint splatters or spills.
Another crucial decision is choosing the right paint color for your home. Take into consideration the overall aesthetic, lighting, and personal preferences. Don’t be afraid to try out sample colors on different walls to see how they look in various lighting conditions.
Remember, maintaining your painted surfaces is just as important as the painting process itself. So, let’s explore how to keep your newly painted walls looking fresh and vibrant.
Maintain Your Painted Surfaces
To maintain your painted surfaces, follow these simple tips:
- Regularly clean and maintain your painted surfaces to keep them vibrant and fresh.
- When touching up painted surfaces, use the same type and color of paint that was originally applied for a seamless blend.
- Before touching up, thoroughly clean the area to remove dirt and grime.
- Use a soft cloth or sponge and a mild detergent to gently wipe the surface.
- Be cautious with sharp objects that can scratch or chip the paint to prevent paint chipping.
- Avoid using abrasive cleaners or harsh chemicals that can damage the paint.
By following these maintenance tips, you can keep your painted surfaces looking fresh and vibrant for years to come.
Frequently Asked Questions
How do I choose the right type of paint for my airless sprayer?
When choosing paint for an airless sprayer, consider the type of surface you’re painting and the desired finish. Latex paint is commonly used for walls, while oil-based paint is better for trim and cabinets. Always read the manufacturer’s recommendations for your sprayer.
Can I use an airless sprayer to paint textured surfaces?
Yes, an airless sprayer can be used to paint textured surfaces. By adjusting the pressure and using the right painting techniques, you can achieve even coverage and texture retention. However, alternative painting tools may also be suitable for certain textured surfaces.
What should I do if my airless sprayer is clogged during painting?
What should you do if your airless sprayer is clogged during painting? Troubleshooting a clogged sprayer can be frustrating, but with preventive maintenance tips like regular cleaning and using the right paint, you can avoid this issue.
Are there any safety precautions I should take when using an airless sprayer?
To prevent accidents and ensure proper ventilation while using an airless sprayer, it’s important to wear appropriate protective gear, such as goggles and a respirator. Additionally, make sure to work in a well-ventilated area to minimize exposure to fumes.
How do I clean and store my airless sprayer after painting?
Cleaning and storing an airless sprayer after painting is crucial for its longevity. To ensure a smooth cleaning process, I recommend flushing the sprayer with water and using a brush to remove any residue. Maintenance tips include lubricating moving parts and storing the sprayer in a clean, dry place.
Conclusion
In conclusion, using an airless sprayer to paint your house is a game-changer.
With the right materials and safety equipment, preparing the surface and setting up the sprayer becomes a breeze.
By practicing your technique and applying the paint with precision, you’ll achieve professional-looking results.
And once you’ve finished painting and cleaned up, you can step back and admire your newly transformed home.
So why wait? Isn’t it time to give your house a fresh and vibrant new look?