Imagine upgrading your space with a flawless, professionally done paint job that eliminates streaks and brush marks. The Magnum True Airless Paint Sprayer can make this dream a reality. As someone who has been painting for years, I can confidently say that this powerful tool changes the game in achieving a smooth and even finish.
Whether you’re tackling a large-scale project or just giving a room a fresh coat of paint, the Magnum True Airless Paint Sprayer will be your trusty companion every step of the way.
In this article, I will guide you through the process of using this remarkable paint sprayer, from setting it up to achieving that perfect finish. We will cover everything, from preparing your painting area to choosing the right paint and materials.
I will also share valuable tips and tricks to help you avoid common mistakes and troubleshoot any issues that may arise.
So, get ready to unleash your inner artist and create stunning results with the Magnum True Airless Paint Sprayer.
Key Takeaways
- Proper cleaning and maintenance of the sprayer is essential for achieving smooth finishes and preventing clogging.
- Adjusting pressure settings can help control overspray and ensure even application of paint.
- Using the appropriate paint viscosity and applying multiple thin coats can result in professional-quality finishes.
- Practicing spraying technique on a scrap surface can improve skills and enhance control and accuracy.

Suction Tube Kit for Graco Magnum Project Painter Plus X5 X7 ProX17 and ProX19 Stand Airless Paint Sprayer
- High Performance: Eliminates air leaks and pressure drops
- Compatibility: Fits Graco Magnum and ProX models
- Premium Material: Heat-resistant, reinforced, durable rubber
As an affiliate, we earn on qualifying purchases.
As an affiliate, we earn on qualifying purchases.
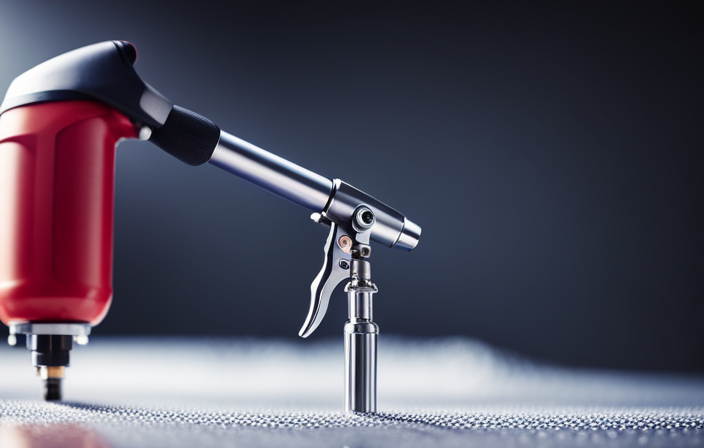
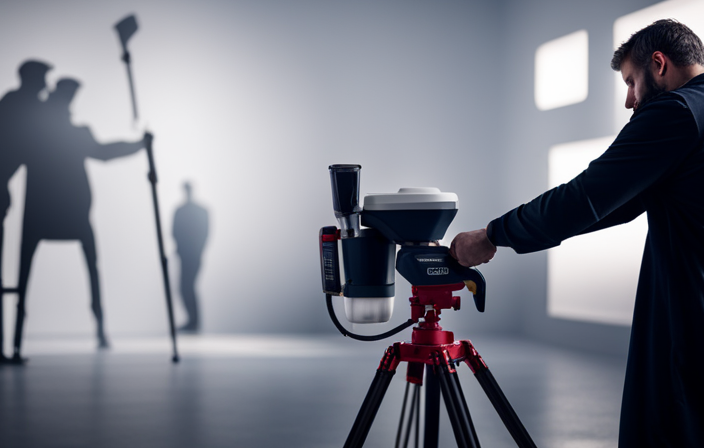
Setting up the Magnum True Airless Paint Sprayer
Now that you’ve got your hands on the impressive Magnum True Airless Paint Sprayer, let’s dive into how you can quickly set it up and start transforming your space with ease.
Setting up the Magnum True Airless Paint Sprayer is a straightforward process that ensures optimal performance.
First, assemble the sprayer by connecting the spray gun, hose, and pump. Make sure all the connections are secure.
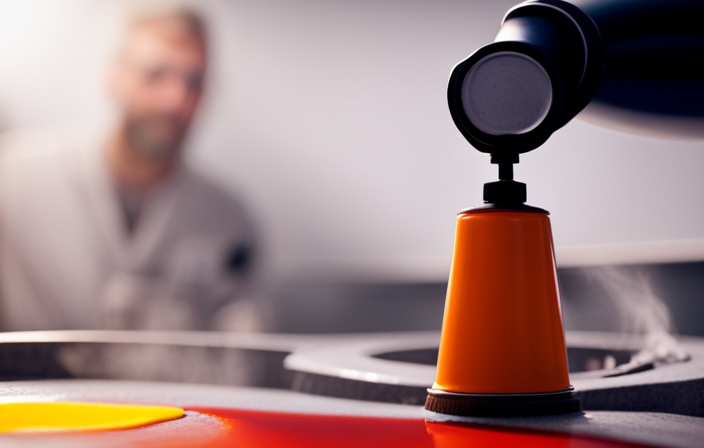
Next, fill the paint container with your desired paint, ensuring it is the right consistency for spraying. Connect the container to the sprayer and tighten it until it is secure.
Finally, plug the sprayer into a power source and turn it on. The machine will prime itself, and you’ll be ready to start painting.
Now, let’s move on to preparing your painting area and creating a smooth, professional finish.
Preparing your painting area
Before starting, make sure you’ve properly prepared your painting area. Cover any furniture or objects within a 10-foot radius to avoid potential overspray damage. Safety precautions are essential when using a paint sprayer. Organizing your tools beforehand can make the process smoother.
First, ensure adequate ventilation in the area to prevent the buildup of fumes. Open windows or use fans to circulate the air.
Next, remove any loose items, such as rugs or curtains, that could be affected by the paint. Cover the floor with a drop cloth or plastic sheeting to protect it from spills and drips.
Finally, gather all the necessary tools, including the Magnum True Airless Paint Sprayer, paint cans, and brushes.
With your painting area properly prepared, you can now move on to choosing the right paint and materials for your project.
Choosing the right paint and materials
To ensure a professional finish, carefully select the perfect paint and materials for your project. When choosing paint colors, consider the overall aesthetic you want to achieve. Take into account the lighting in the room and the mood you want to create.
Understanding paint finishes is crucial. Different finishes, such as matte, eggshell, or gloss, have different characteristics and can significantly impact the final look of your project. Matte finishes hide imperfections, while gloss finishes provide a shiny, reflective surface.
Once you’ve chosen the right paint and finishes, you can move on to adjusting the pressure settings on the sprayer. By optimizing the pressure, you’ll be able to achieve a smooth and even application of paint.
Adjusting the pressure settings on the sprayer
Adjusting the pressure settings on your sprayer is crucial for achieving a flawless coat of color on any surface. Start by adjusting the nozzle size to match the type of paint you are using. A larger nozzle is ideal for thicker paints, while a smaller one works best for thinner ones.
Once you have selected the appropriate nozzle, troubleshoot any common issues that may arise. If you notice uneven spray patterns or drips, try increasing or decreasing the pressure until you achieve a smooth and consistent spray.
Always remember to test your settings on a scrap surface before starting your project. This will help you fine-tune your technique and ensure excellent results.
Practicing your technique on a test surface
Mastering your painting skills requires honing your technique on a test surface. This allows you to perfect your craft and achieve professional-level results. When using a Magnum True Airless paint sprayer, practicing techniques and mastering control is essential.
Before tackling your actual painting project, it is recommended to practice on a spare board or piece of cardboard. Start by adjusting the pressure settings on the sprayer to a level that feels comfortable and provides even coverage. Hold the sprayer about 12 inches away from the test surface and begin making slow, controlled passes.
Move the sprayer in a consistent motion, using even, overlapping strokes to ensure smooth and even application. This practice will help you develop a steady hand and familiarize yourself with the sprayer’s capabilities.
Transitioning into the next section about ‘starting with even, overlapping strokes,’ you can begin applying these techniques to your actual painting project.
Starting with even, overlapping strokes
Start by unleashing your inner artist with bold, sweeping strokes that effortlessly blend colors and create a mesmerizing masterpiece. When using the Magnum True Airless Paint Sprayer, mastering the right painting technique is crucial to achieving a smooth finish.
To start, hold the sprayer approximately 12 inches away from the surface and begin spraying with a slow, steady motion. Make sure to overlap each stroke by about 50% to ensure an even coat of paint. This technique helps to eliminate any streaks or unevenness in the final result.
As you paint, keep a consistent rhythm and maintain a fluid motion to create a seamless finish.
Transitioning into the next section, it is equally important to maintain a consistent distance from the surface to prevent any variation in spray patterns.
Maintaining a consistent distance from the surface
Maintaining a consistent distance from the surface is essential for achieving a flawless finish and avoiding any unwanted variations in spray patterns. To ensure a consistent spraying technique, it is crucial to maintain a proper spray gun distance throughout the painting process. Here are three important sub-lists to keep in mind:
-
The ideal distance between the spray gun and the surface should be approximately 12 inches. This allows for optimal atomization of the paint and prevents excessive overspray.
-
Be mindful of any changes in surface contours or angles. Adjust the distance accordingly to maintain a consistent spray pattern and coverage.
-
Keep a steady hand and move the spray gun smoothly in even, overlapping strokes while maintaining the proper distance. This will help achieve an even application and avoid any streaks or uneven areas.
By following these guidelines for maintaining a consistent distance, you can ensure a professional-looking paint job.
Now, let’s explore some common mistakes to avoid and troubleshooting tips for using the Magnum True Airless Paint Sprayer.
Avoiding common mistakes and troubleshooting tips
To achieve a flawless finish, it’s crucial to steer clear of common mistakes and have troubleshooting tips up your sleeve. When using the Magnum True Airless Paint Sprayer, there are a few common troubleshooting issues to watch out for.
-
One common mistake is applying too much pressure, which can result in an uneven coating or overspray. To avoid this, start with a lower pressure setting and gradually increase it until you achieve the desired coverage.
-
Another issue is clogging, which can happen if the paint is not properly strained or if the sprayer is not cleaned regularly. To prevent clogs, strain the paint before pouring it into the sprayer and clean the nozzle and filters after each use.
By following these tips for achieving a smooth finish and troubleshooting common issues, you’ll be well on your way to mastering the Magnum True Airless Paint Sprayer.
Moving on to cleaning and maintaining the sprayer after use, it’s important to…
Cleaning and maintaining the sprayer after use
Now that you’ve learned how to avoid common mistakes and troubleshoot any issues that may arise while using the Magnum True Airless Paint Sprayer, it’s important to know how to properly clean and maintain the sprayer after each use.
Cleaning the sprayer thoroughly is essential for its longevity and optimal performance. Start by flushing out any remaining paint from the system using water or a recommended solvent.
Take extra care to clean the sprayer’s filters, nozzles, and spray gun to ensure they are free from any paint residue.
Once cleaned, it’s important to store the sprayer in a cool, dry place to prevent any damage or clogging. By following these cleaning tips and proper storage techniques, you can ensure that your Magnum True Airless Paint Sprayer will be ready for your next project.
Now, let’s move on to achieving a professional finish with this powerful tool.
Achieving a professional finish with the Magnum True Airless Paint Sprayer
Get ready to transform your DIY projects into professional-quality finishes with the incredible power of the Magnum True Airless Paint Sprayer. This top-of-the-line sprayer is designed to help you achieve smooth finishes with ease. To ensure a professional result, here are some tips for controlling overspray and getting that flawless finish you desire.
| Tips for Achieving Smooth Finishes | Tips for Controlling Overspray |
|---|---|
| 1. Use the appropriate paint viscosity for your project. | 1. Adjust the pressure settings on the sprayer to minimize overspray. |
| 2. Hold the sprayer at a consistent distance from the surface. | 2. Use masking tape to protect areas you don’t want to paint. |
| 3. Apply multiple thin coats rather than one thick coat. | 3. Practice your spraying technique on a scrap surface before starting your project. |
By following these tips, you can achieve professional-looking results with the Magnum True Airless Paint Sprayer. So, get ready to tackle your next painting project with confidence and impress everyone with your smooth, flawless finishes.
Frequently Asked Questions
Can I use the Magnum True Airless Paint Sprayer for exterior painting?
Yes, the Magnum True Airless Paint Sprayer is perfect for exterior painting. Its airless spraying technology ensures even coverage and durability of the exterior paint. It offers the benefits of reduced overspray, faster application, and a professional finish.
How long does it take for the paint to dry when using the Magnum True Airless Paint Sprayer?
When using the Magnum True Airless Paint Sprayer, the paint dries incredibly fast, as if time has stopped. To speed up the drying process even more, try using thinner coats, increasing airflow, and using a dehumidifier.
Can I use the sprayer for detailed work and smaller projects?
Yes, the sprayer is versatile enough to handle detailed work and smaller projects. Its precision nozzle allows for intricate painting, while its adjustable pressure control ensures even coverage on smaller surfaces.
What safety precautions should I take when using the Magnum True Airless Paint Sprayer?
When using the Magnum True Airless Paint Sprayer, it is crucial to prioritize safety. Proper ventilation is a must to avoid inhaling harmful fumes, and wearing protective clothing shields you from any potential splatters or spills.
How do I clean the nozzles and filters of the sprayer?
To clean the nozzles and filters of the sprayer, first, remove them from the sprayer. Then, use a brush or toothbrush to scrub away any paint residue. Rinse them with water and let them dry before reattaching them. Regular cleaning and maintenance ensure optimal performance.
Conclusion
Using the Magnum True Airless Paint Sprayer has been a game-changer for me. It’s like having a magic wand in my hand, effortlessly transforming any surface into a work of art.
The first step in using the sprayer is to set it up properly. This involves attaching the paint container, connecting the hose, and ensuring that all the components are securely in place. Once everything is set up, it’s important to test the sprayer on a scrap piece of material to ensure that it’s working correctly.
Next, the pressure settings need to be adjusted. This is crucial for achieving the desired spray pattern and ensuring an even application of paint. The sprayer typically has an adjustable knob or dial that allows you to control the pressure. It’s important to start with a low pressure setting and gradually increase it until you achieve the desired result.
When using the sprayer, it’s important to maintain a consistent distance from the surface. This will help ensure an even application of paint and prevent any drips or runs. It’s also important to move the sprayer in a smooth, steady motion to avoid any uneven coverage.
Proper technique is key when using the sprayer. It’s important to start spraying before reaching the surface and continue spraying past the edge to ensure an even coat. It’s also important to overlap each pass slightly to avoid any streaks or lines.
After using the sprayer, it’s important to clean it thoroughly to ensure its longevity. This involves flushing out any remaining paint from the system and cleaning the nozzle and other components. Proper maintenance and cleaning will help prevent clogs and ensure that the sprayer is ready for future use.
In conclusion, using the Magnum True Airless Paint Sprayer is a breeze once you know how to properly set it up and use it. With its easy setup, adjustable pressure settings, and precise spray pattern, achieving a professional finish has never been easier. By following the proper techniques and maintaining the sprayer, you can avoid common mistakes and ensure its longevity. Trust me, once you experience the power of the Magnum True Airless Paint Sprayer, you’ll never go back to traditional painting methods again.