I completely agree that a fresh coat of paint can truly transform a room’s appearance, which is why I am excited to share everything about the Wagner Airless Paint Sprayer 1700 with you.
This powerful tool is designed to make your painting projects a breeze, delivering professional-looking results every time.
In this article, I’ll walk you through everything you need to know to get started. From familiarizing yourself with the sprayer to choosing the right paint and preparing your painting area, I’ve got you covered.
I’ll also guide you through setting up the Wagner Airless Paint Sprayer 1700, adjusting the spray pattern and pressure, and maintaining a consistent distance from the surface.
And don’t worry, I’ll also share tips for troubleshooting common issues and proper cleaning and storage.
So get ready to transform your walls with ease. Let’s dive in and learn how to use the Wagner Airless Paint Sprayer 1700 like a pro!
Key Takeaways
- Clean and repair the surface before painting
- Practice and adjust the settings on a test area before painting the entire surface
- Maintain a consistent distance of 12 inches from the surface for even application
- Overlap your strokes to ensure complete coverage and eliminate streaks or lines
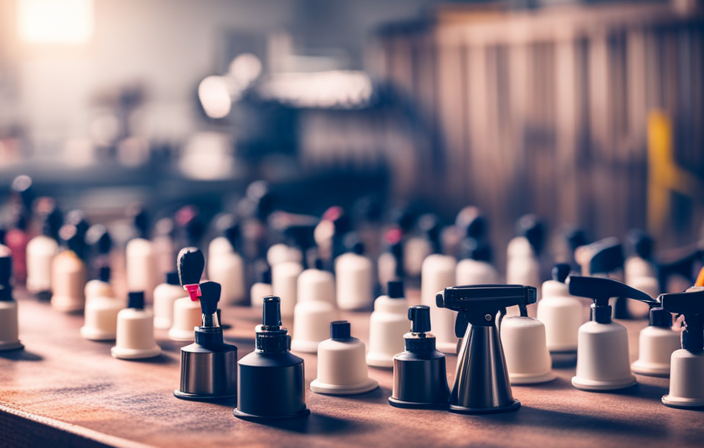
Familiarize Yourself with the Wagner Airless Paint Sprayer 1700
To get started, it’s important to familiarize yourself with the Wagner Airless Paint Sprayer 1700. This paint sprayer offers several benefits, including smoother and more efficient painting. It provides a professional finish and can handle a wide range of projects. However, there is a learning curve involved, but mastering this tool will ultimately save you time and effort. To make the familiarization process easier, here are a few tips:
- Read the user manual thoroughly.
- Practice with water before starting your project.
- Adjust the spray pattern and pressure settings to suit your needs.
Once you’re comfortable with the sprayer, you can move on to preparing your painting area.
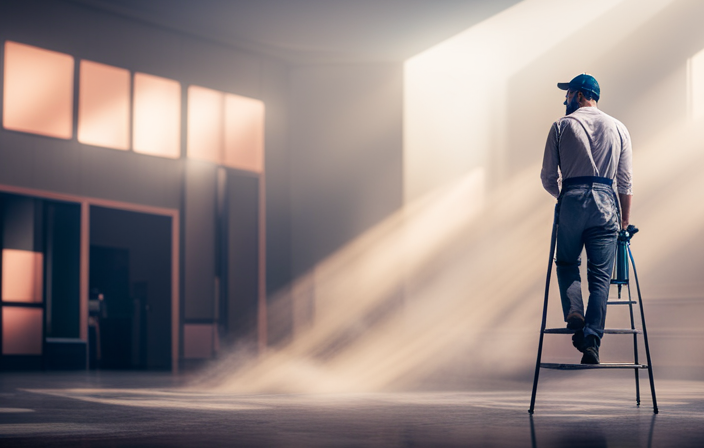
Prepare Your Painting Area
Before you start painting, it’s important to prepare your painting area. First, clear the area of any valuable or cherished items, as the Wagner airless paint sprayer 1700 has an uncanny ability to transform them into abstract art pieces.
To create a smooth painting surface, here are three helpful tips for you:
-
Remove any loose or flaking paint from the walls or surfaces you plan to paint. This will ensure that the new paint adheres properly and gives you a smooth finish.
-
Fill in any holes or cracks with a suitable filler and sand them down until they are smooth. This will help to create a seamless look once the paint is applied.
-
Use drop cloths or plastic sheets to protect your furniture and floors from any paint splatters or spills. Secure them with masking tape to ensure they stay in place.
Now that your painting area is ready, let’s move on to choosing the right paint and thinning ratio for your project.
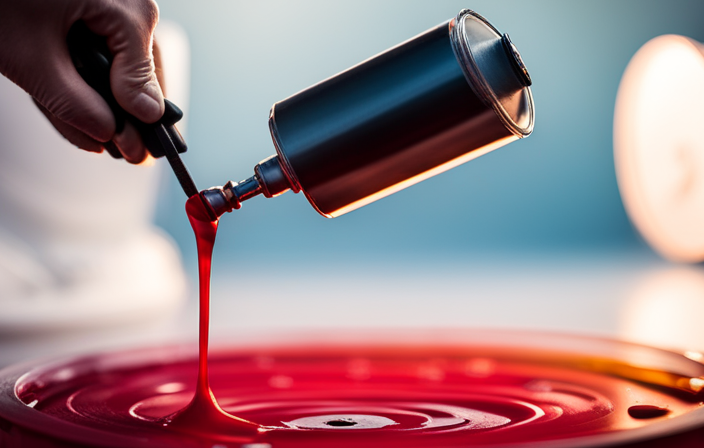
Choose the Right Paint and Thinning Ratio
Now that your painting area is all set up, it’s time to find the perfect paint and determine the ideal thinning ratio for your project.
When it comes to paint selection, you want to consider the type of surface you’ll be painting and the desired finish. For example, if you’re painting a smooth surface like drywall, latex paint would be a good choice. On the other hand, if you’re painting a rough surface like wood, oil-based paint might be more suitable.
Once you’ve chosen the right paint, you’ll need to determine the thinning ratio. This is important because it affects the flow and coverage of the paint. Follow the manufacturer’s instructions to determine the correct ratio, and make sure to mix the paint and thinner thoroughly.
With the paint and thinning ratio sorted, it’s time to set up the Wagner Airless Paint Sprayer 1700.
Set Up the Wagner Airless Paint Sprayer 1700
The Wagner Airless Paint Sprayer 1700 is a powerful tool that can cover up to 500 square feet of surface in just 10 minutes. To set up the equipment, follow these steps:
- Assemble the sprayer according to the manufacturer’s instructions.
- Properly connect the hose and gun, checking for any leaks.
- Fill the paint container with the desired paint and thinning ratio.
- Ensure that the sprayer is plugged into a grounded outlet and turn on the power switch.
- Adjust the pressure control knob to the desired setting.
- If you encounter any issues, such as clogging or uneven spray, refer to the troubleshooting tips in the user manual.
Now, let’s move on to adjusting the spray pattern and pressure for optimal results.
Adjust the Spray Pattern and Pressure
To achieve the perfect paint coverage, you’ll want to fine-tune the spray pattern and pressure on your Wagner Airless Paint Sprayer 1700.
Start by adjusting the paint flow knob located near the trigger. Turning it clockwise will increase the paint flow, while turning it counterclockwise will decrease it. This allows you to control how much paint is being sprayed.
If you encounter nozzle clogs, you can try cleaning it by removing the nozzle guard and using a cleaning brush or a toothpick.
Additionally, make sure the pressure is set correctly by adjusting the pressure control knob. Higher pressure will result in a wider spray pattern, while lower pressure will create a narrower pattern.
Once you have adjusted the spray pattern and pressure, you can start painting in a systematic manner, ensuring even coverage.
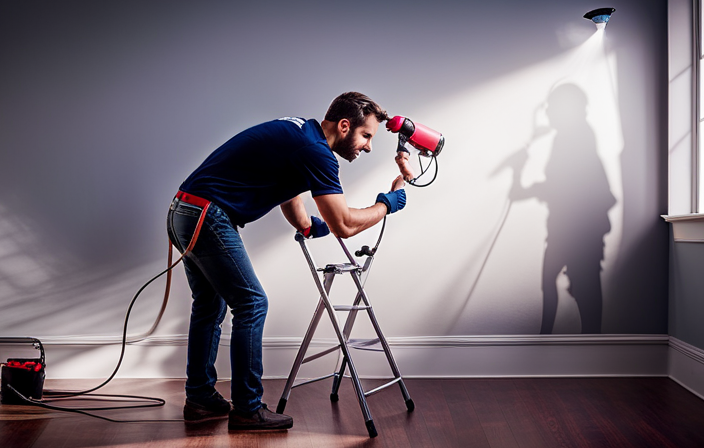
Start Painting in a Systematic Manner
Get ready to create a flawless finish as you methodically apply your paint with precision. To start painting in a systematic manner, follow these techniques and tips. First, choose your paint colors carefully to achieve the desired look. Consider the mood and style you want to convey in the space. Once you have your colors, it’s time to start painting. Begin at the top of the surface and work your way down, using smooth and even strokes. Use the table below as a guide to help you visualize the process.
| Step | Technique | Tip |
|---|---|---|
| 1 | Vertical | Start at the top and work down for even coverage. |
| 2 | Horizontal | Move left to right or right to left for a consistent finish. |
| 3 | Overlapping | Overlap each stroke slightly to avoid streaks or gaps. |
By following these start painting techniques and choosing the right paint colors, you’ll be on your way to a professional-looking result. Now, let’s move on to the next step of maintaining a consistent distance from the surface.
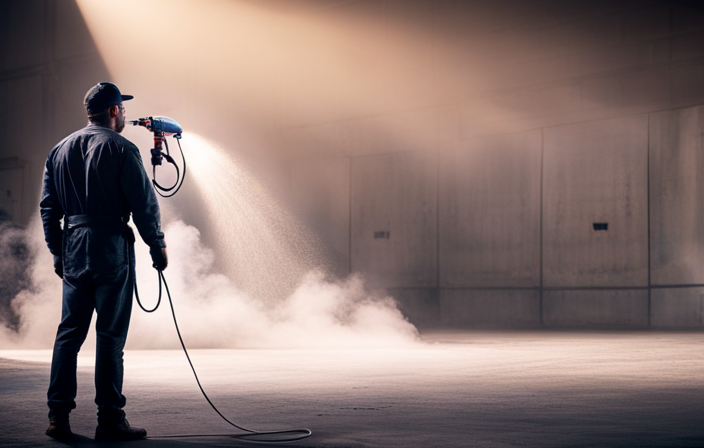
Maintain a Consistent Distance from the Surface
Maintaining a consistent distance from the surface is crucial when using the Wagner Airless Paint Sprayer 1700. This technique ensures that the paint is evenly distributed, resulting in a smooth and professional-looking finish.
To maintain proper technique, hold the sprayer about 12 inches away from the surface and move it in a steady, sweeping motion. This distance allows the paint to spread evenly without causing overspray. By following this guideline, you can avoid any potential issues such as uneven coverage or drips.
Now that you know how to maintain a consistent distance, let’s move on to the next step: cleaning and storing the Wagner Airless Paint Sprayer 1700 properly.
Clean and Store the Wagner Airless Paint Sprayer 1700 Properly
Maintaining a consistent distance from the surface is crucial for a professional finish with the Wagner Airless Paint Sprayer 1700.
Now, let’s talk about another important aspect: cleaning and storing the sprayer properly. Proper cleaning ensures that your sprayer will be ready to use for future projects, while effective storage prevents any damage or clogging.
To clean the sprayer, follow the manufacturer’s instructions, making sure to remove any paint residue and unclog the nozzle.
After cleaning, store the sprayer in a dry and secure location, protecting it from dust and extreme temperatures. Remember to disconnect the power source and relieve any pressure before storing.
Now that you know how to clean and store the Wagner Airless Paint Sprayer 1700 properly, let’s move on to troubleshooting common issues.
Troubleshooting Common Issues
Having trouble with your Wagner Airless Paint Sprayer 1700? Wondering what could be causing those common issues? Check out the table below for some troubleshooting tips to help you overcome the most common problems that may arise while using your sprayer.
| Common Troubleshooting Problems | Troubleshooting Tips |
|---|---|
| Clogged nozzle | Clean the nozzle with warm water or a cleaning solution. Check for any debris or paint buildup. |
| Uneven spray pattern | Adjust the pressure settings and ensure that the sprayer is held at the correct distance from the surface. |
| Paint splattering | Check the viscosity of the paint, and thin it if necessary. Also, ensure that the sprayer is held steady and moved at a consistent speed. |
| Motor not running | Check the power source and make sure it is properly connected. If the motor still doesn’t run, contact Wagner customer support. |
By following these troubleshooting tips, you’ll be able to overcome common issues with your Wagner Airless Paint Sprayer 1700 and achieve professional-looking painted walls.
Enjoy Your Professional-Looking Painted Walls
Now that we’ve covered some common troubleshooting issues with the Wagner Airless Paint Sprayer 1700, let’s move on to the exciting part – enjoying your professional-looking painted walls!
As someone who has used this sprayer extensively, I can assure you that with a few tips, you’ll achieve a flawless finish in no time. Here are some pointers to make the most of your airless paint sprayer:
-
Proper preparation: Clean the surface, repair any imperfections, and apply a primer if necessary.
-
Practice makes perfect: Start with a test area to get a feel for the sprayer and adjust the settings as needed.
-
Maintain a consistent distance: Keep the sprayer about 12 inches away from the surface for an even application.
-
Overlap your strokes: This ensures complete coverage and eliminates any streaks or lines.
-
Take your time: Patience is key to achieving a professional finish, so don’t rush the process.
By following these tips, you’ll be able to transform your walls into a work of art with the Wagner Airless Paint Sprayer 1700.
Frequently Asked Questions
Can the Wagner Airless Paint Sprayer 1700 be used with any type of paint?
Yes, the Wagner Airless Paint Sprayer 1700 can be used with a variety of paint types. To achieve a smooth finish, make sure to properly thin the paint, adjust the spray pattern, and maintain a consistent distance from the surface being painted.
Is it necessary to wear protective gear while using the Wagner Airless Paint Sprayer 1700?
Wearing protective gear while using the Wagner Airless Paint Sprayer 1700 is absolutely necessary. I once saw a painter without goggles get paint in his eyes. Safety precautions like goggles, gloves, and a mask should always be taken.
How long does it take for the paint to dry after using the Wagner Airless Paint Sprayer 1700?
After using the Wagner airless paint sprayer 1700, the paint typically takes around 2-4 hours to dry. Using an airless paint sprayer provides faster and more even coverage, making painting projects more efficient.
Can the Wagner Airless Paint Sprayer 1700 be used for both interior and exterior painting projects?
Using the Wagner Airless Paint Sprayer 1700 for both interior and exterior painting projects is ideal. The sprayer’s versatility saves time and effort, allowing for a smooth application. Experience the benefits of quicker paint coverage and a professional finish.
What is the warranty period for the Wagner Airless Paint Sprayer 1700?
The warranty period for the Wagner Airless Paint Sprayer 1700 is [insert warranty period]. It is important to note that the warranty coverage may vary depending on the type of paint being used.
Conclusion
In conclusion, using the Wagner Airless Paint Sprayer 1700 is like having a magic wand that transforms your walls into a work of art.
First, let’s talk about the easy setup process. Simply attach the spray gun to the hose, connect the hose to the sprayer, and plug it in. It’s as simple as that!
Next, you’ll want to adjust the spray pattern to your desired width and intensity. The sprayer allows you to easily switch between horizontal, vertical, and circular patterns.
Now, it’s time to prepare your painting area. Make sure to cover any furniture or flooring that you don’t want to get paint on. Use painter’s tape to protect trim and edges.
Once everything is prepped, it’s time to start painting. Hold the sprayer about 12 inches away from the surface and move it in a smooth, even motion. Start with a light coat and gradually build up the layers for a professional finish.
If you encounter any issues during the process, don’t worry. The Wagner Airless Paint Sprayer 1700 comes with a troubleshooting guide that can help you identify and fix common problems.
In summary, using the Wagner Airless Paint Sprayer 1700 is a breeze. From the easy setup to the adjustable spray pattern, you’ll feel like a pro in no time. So go ahead, grab that sprayer, and let your creativity flow. Get ready to impress everyone with your beautifully painted walls!