
Hello everyone! If you’ve recently purchased a Wagner Airless Paint Sprayer 1700 and are eager to begin your painting project, you’re in luck! This tutorial will provide you with all the necessary information for using this powerful sprayer, complete with a helpful video to assist you along the way.
From unboxing and setting up the sprayer to troubleshooting common issues, I’ve got you covered.
We’ll dive into understanding the different parts and functions, preparing your painting surface, and even mixing and diluting paint for optimal spraying.
But that’s not all, my friends. I’ll also share some tips and tricks for achieving those professional-looking results you’ve been dreaming of.
So, grab your popcorn, sit back, and get ready to become a painting pro with the Wagner Airless Paint Sprayer 1700. Let’s do this!
Key Takeaways
- Troubleshoot common issues: No spray or uneven spray pattern, motor running but no paint coming out, excessive overspray, leaking paint, motor not starting.
- Follow proper maintenance procedures for consistent coverage and performance.
- Clean sprayer thoroughly after each use and regularly inspect and replace worn or damaged parts.
- Use correct paint viscosity, adjust pressure settings, and strain paint before pouring into sprayer for optimal functionality and even coverage.
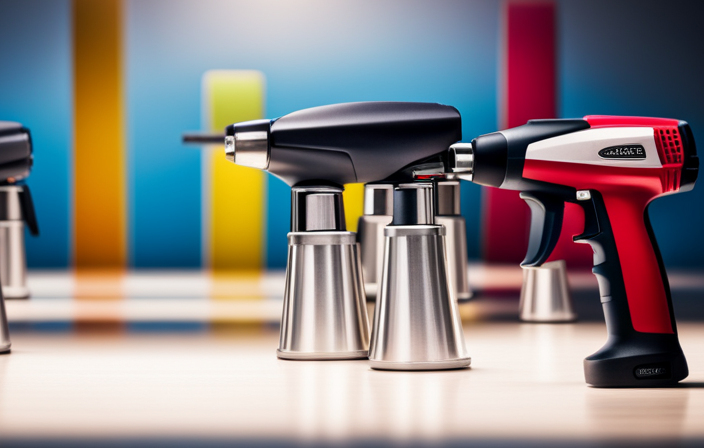
Unboxing and Setting Up the Wagner Airless Paint Sprayer 1700
Once you’ve received your Wagner Airless Paint Sprayer 1700, it’s time to unbox it and get everything set up for your painting project.
Start by carefully opening the packaging and removing all the components. Make sure to keep an eye out for any accessories or additional parts that may be included.
Next, follow the user manual for step-by-step instructions on assembling the sprayer. Pay attention to the unboxing tips provided in the manual, as they can help prevent any mishaps or damage during the process.
If you encounter any issues during setup, the troubleshooting advice in the manual can come in handy.
Understanding the different parts and functions of the sprayer will be discussed in the next section.
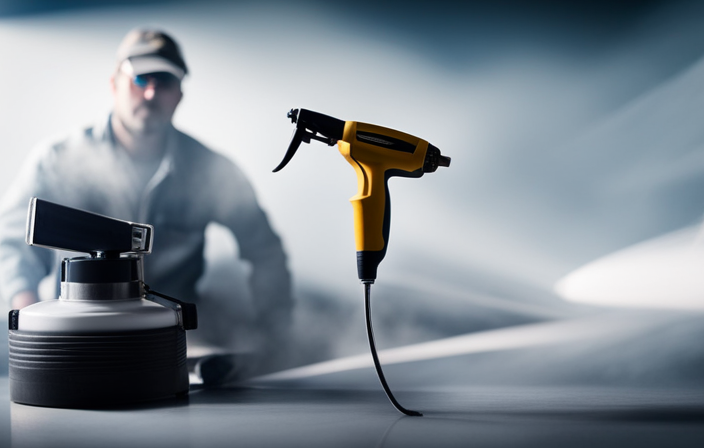
Understanding the Different Parts and Functions of the Sprayer
To get started, it’s helpful to familiarize yourself with the various components and their functions when using the Wagner 1700. Here are the key parts you need to know:
-
The sprayer gun: This is where the paint is released. It has a trigger that controls the flow of paint.
-
The hose: It connects the sprayer gun to the pump. Make sure it’s securely attached.
-
The pump: It pressurizes the paint and pushes it through the hose and gun.
-
The filter: It prevents debris from clogging the sprayer. Clean it regularly to maintain optimal performance.
-
The pressure control knob: It allows you to adjust the pressure of the paint spray.
By understanding these components, you’ll be able to perform sprayer maintenance and troubleshoot any issues that may arise.
Now, let’s move on to preparing your painting surface for the sprayer.
Preparing Your Painting Surface for the Sprayer
Before we dive into the exciting world of spraying paint, let’s talk about how to properly prepare your painting surface. Surface preparation is crucial for achieving a smooth and long-lasting finish. First, make sure to clean the surface thoroughly, removing any dirt, grease, or loose paint. Next, inspect for any cracks or imperfections, and patch them up using a suitable filler. Once the surface is clean and smooth, it’s time to choose the right primer. The primer will help the paint adhere better and ensure uniform coverage. Consider factors like the type of surface and the paint you’ll be using when selecting the primer. Now that we have our surface prepped and primed, let’s move on to the next step of mixing and diluting paint for optimal spraying.
Mixing and Diluting Paint for Optimal Spraying
Now that we’ve got our surface prepped and primed, let’s get into the nitty-gritty of mixing and diluting the paint for that flawless spray finish.
When it comes to paint mixing techniques, it’s important to follow the manufacturer’s instructions for the specific paint you’re using. Start by pouring the paint into a clean container and stirring it thoroughly to ensure a consistent color and texture. If needed, add a small amount of water or paint thinner to achieve the desired viscosity.
Remember to always follow the paint dilution ratios recommended by the manufacturer to avoid issues like clogging or uneven coverage.
Once the paint is properly mixed and diluted, we can move on to adjusting the spray pattern and pressure for different surfaces, ensuring a professional result.
Adjusting the Spray Pattern and Pressure for Different Surfaces
Achieve professional results by adjusting the spray pattern and pressure on different surfaces, allowing you to create a flawless finish that will impress everyone.
To adjust the spray pattern, simply twist the nozzle to the desired setting. This will determine whether you want a narrow or wide spray pattern.
If you encounter any pressure issues, troubleshooting is simple. Start by checking the paint viscosity and adjusting it if necessary. Next, ensure that the sprayer is properly cleaned and unclogged. Finally, check the pressure setting and make adjustments as needed.
By mastering these adjustments, you’ll be able to tackle any surface with ease.
In the next section, we’ll discuss proper techniques for holding and moving the sprayer, which will further enhance your painting experience.
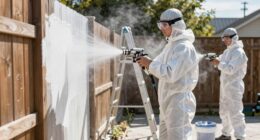
Proper Techniques for Holding and Moving the Sprayer
Hold the sprayer like a majestic artist wields their brush, gracefully gliding across the surface with effortless precision. When holding the Wagner Airless Paint Sprayer 1700, make sure to grip the handle firmly, keeping your fingers away from the trigger. This will give you better control and prevent accidental spraying.
Move the sprayer in a smooth and steady motion, starting from the top and working your way down. Keep the sprayer at a consistent distance from the surface, usually around 12 inches. To cover larger areas, use overlapping strokes to ensure even coverage.
Pay attention to the speed at which you move the sprayer, as going too fast or too slow can result in uneven coats. Remember, practice makes perfect when it comes to holding and moving the sprayer.
Transitioning into the next section, let’s discuss spraying techniques for achieving smooth and even coats.
Spraying Techniques for Achieving Smooth and Even Coats
Mastering the art of smooth and even coats is essential for achieving professional-looking results with the Wagner Airless Paint Sprayer 1700. To help you achieve this, here are some spraying tips that will ensure smooth finishes every time. First, maintain a consistent distance of 12-14 inches from the surface being painted. This will ensure an even distribution of paint. Second, move the sprayer in a steady and controlled motion, overlapping each pass by 50% to avoid streaks. Third, adjust the spray pattern and pressure settings to match the type of surface and desired finish.
| Spraying Tips | Achieving Smooth Finishes |
|---|---|
| Maintain a consistent distance | Avoid streaks |
| Move in a steady and controlled motion | Ensure an even distribution |
| Overlap each pass by 50% | Achieve a professional look |
| Adjust spray pattern and pressure settings | Match surface and finish |
By following these spraying techniques, you will be able to achieve smooth and even coats with the Wagner Airless Paint Sprayer 1700. In the next section, we will discuss how to properly clean and maintain the sprayer to ensure its longevity and optimal performance.
Cleaning and Maintaining the Wagner Airless Paint Sprayer 1700
Now that you’ve learned the proper spraying techniques for achieving smooth and even coats, it’s important to keep your Wagner Airless Paint Sprayer 1700 clean and well-maintained.
Cleaning techniques and maintenance tips are essential to ensure the longevity and optimal performance of your sprayer.
To keep your sprayer in top shape, follow these steps:
-
Regularly clean the paint reservoir, spray gun, and nozzle to prevent clogs and build-up.
-
Use a cleaning solution recommended by Wagner to remove any residual paint.
-
Inspect and replace worn or damaged parts to prevent any malfunctions.
By implementing these cleaning techniques and maintenance tips, you can ensure that your Wagner Airless Paint Sprayer 1700 continues to provide you with flawless paint application.
Now, let’s dive into troubleshooting common issues with the sprayer to keep your painting projects running smoothly.
Troubleshooting Common Issues with the Sprayer
Are you experiencing any issues with your Wagner Airless Paint Sprayer 1700? Let’s troubleshoot common problems together to ensure smooth painting projects. Here are some troubleshooting solutions for common problems you may encounter with your sprayer:
| Problem | Possible Solution |
|---|---|
| No spray or uneven spray pattern | Check for clogs in the nozzle or hose and clean if necessary. Make sure the paint viscosity is correct. |
| Motor running but no paint coming out | Check for a clogged tip or inlet valve and clean if needed. Ensure the paint container is properly pressurized. |
| Excessive overspray | Adjust the pressure setting on the sprayer and hold the gun at the correct distance from the surface being painted. |
| Leaking paint | Check for loose fittings and tighten if necessary. Replace any damaged seals or gaskets. |
| Motor not starting | Check the power source and make sure it is properly connected. Replace any blown fuses or reset any tripped breakers. |
By following these troubleshooting solutions, you can overcome common issues with your Wagner Airless Paint Sprayer 1700 and achieve professional-looking results. Now, let’s move on to some tips and tricks for achieving those desired results.
Tips and Tricks for Professional-Looking Results
Get ready to take your painting projects to the next level with these handy tips and tricks for achieving professional-looking results with the Wagner Airless Paint Sprayer 1700.
To ensure consistent coverage and maintain the performance of your paint sprayer, it’s essential to follow proper maintenance procedures. Start by cleaning the sprayer thoroughly after each use, removing any residual paint or debris.
Regularly inspect and replace worn or damaged parts to ensure optimal functionality. Additionally, use the correct paint viscosity and adjust the pressure settings appropriately to help achieve even and consistent coverage.
Don’t forget to strain the paint before pouring it into the sprayer to remove any impurities that can clog the nozzle.
With these maintenance tips and techniques, you can achieve flawless and professional results every time you use the Wagner Airless Paint Sprayer 1700.
Frequently Asked Questions
Can the Wagner Airless Paint Sprayer 1700 be used for outdoor painting projects?
Yes, the Wagner Airless Paint Sprayer 1700 is perfect for outdoor painting projects. It provides excellent coverage and saves time. The airless technology ensures a smooth finish, and it’s great for larger surfaces.
How long does it typically take for the paint to dry after using the sprayer?
The paint drying time after using the sprayer varies depending on factors like humidity and temperature. However, there are some tips for faster drying. Ensure proper ventilation, use a fan, and choose a quick-drying paint to expedite the process.
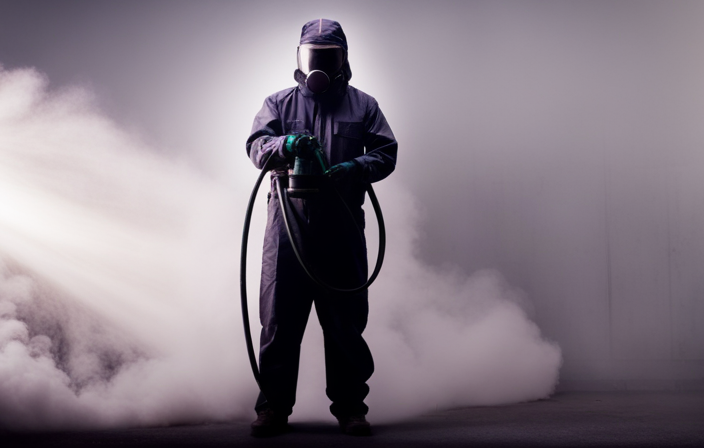
Is it necessary to wear protective gear, such as a mask or goggles, when using the Wagner Airless Paint Sprayer 1700?
Yes, it is necessary to wear protective gear, such as a mask or goggles, when using the Wagner Airless Paint Sprayer 1700 to minimize health risks. It’s important to prioritize safety while working with paint.
Can the sprayer be used with different types of paints, such as latex or oil-based paints?
Yes, the Wagner Airless Paint Sprayer 1700 is compatible with different types of paints, including latex and oil-based paints. It is important to choose the appropriate nozzle size and adjust the pressure accordingly for optimal results.
What is the maximum recommended distance between the sprayer and the painting surface for optimal results?
For the best results, I recommend keeping the sprayer at a maximum distance from the painting surface. This ensures optimal coverage and a smooth finish, giving your project a professional touch.
Conclusion
In conclusion, using the Wagner Airless Paint Sprayer 1700 is a great way to achieve professional-looking results with your painting projects. With its easy setup and versatile functions, this sprayer makes the painting process efficient and convenient.
One interesting statistic to note is that the Wagner Airless Paint Sprayer 1700 can cover up to 1500 square feet in just one hour, saving you time and effort.
By following the proper techniques and maintenance tips, you can achieve smooth and even coats on any surface. Give this sprayer a try and see the difference it makes in your painting projects!