I’ve always believed that a fresh coat of paint can transform any space entirely. Whether it’s revitalizing your living room or adding a pop of color to your furniture, the Wagner Control Pro 130 Airless Paint Sprayer is the must-have tool for this task.
In this article, I’ll be sharing my knowledge and expertise on how to use this fantastic paint sprayer effectively.
First things first, we’ll dive into unboxing and setting up the Wagner Control Pro 130.
Then, I’ll guide you through the process of preparing your paint for spraying, adjusting the spray pattern and pressure, and mastering the proper technique for holding and moving the sprayer.
We’ll also explore spraying different surfaces such as walls, ceilings, and furniture.
If you encounter any issues along the way, don’t worry! I’ve got troubleshooting tips to help you out.
Additionally, I’ll share some invaluable advice on achieving a smooth and even finish, as well as safety precautions and the necessary protective gear.
Get ready to unleash your creativity and transform your space with the Wagner Control Pro 130 Airless Paint Sprayer.
Let’s get started!
Key Takeaways
- Preparing the surface is crucial for a successful paint job.
- Maintaining a consistent distance and steady motion while using the Control Pro 130 ensures a seamless finish.
- Prioritizing safety by wearing goggles, mask, and gloves is essential.
- The Control Pro 130 saves time, handles various materials, and achieves a professional finish, but considerations should be made regarding overspray, cost, and learning curve.
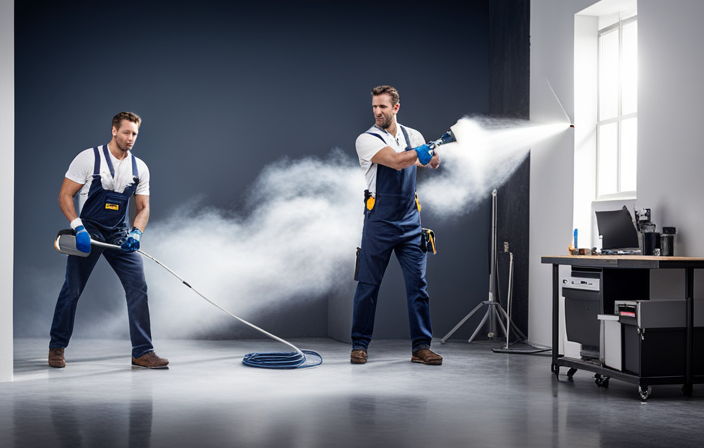
Unboxing and Setting Up the Wagner Control Pro 130
Let’s dive right into unboxing and setting up the Wagner Control Pro 130, so you can start transforming your space with ease!
The first thing you’ll want to do is unbox the paint sprayer and familiarize yourself with its components. Make sure to read the instruction manual thoroughly, as it’ll provide important information about paint sprayer maintenance and troubleshooting tips.
Once you’ve done that, it’s time to set up the sprayer. Start by attaching the hose to the sprayer and the gun to the hose. Make sure everything is securely connected.
Next, fill the paint container with your desired paint color and attach it to the sprayer.
Lastly, adjust the pressure settings according to the type of paint you’re using.
Now that we have the sprayer set up, let’s move on to preparing the paint for spraying.
Preparing the Paint for Spraying
Get your paint party started by mixing up the perfect color concoction for your masterpiece with the Wagner Control Pro 130 airless paint sprayer. Proper paint preparation is essential to ensure a smooth and even application. Before pouring the paint into the sprayer, it is important to check its viscosity. This refers to the thickness or consistency of the paint. Different types of paints require different viscosities for optimal spraying. To determine the viscosity, use a viscosity cup and follow the manufacturer’s instructions. Once you have the correct viscosity, pour the paint into the sprayer’s container. Remember to strain the paint to remove any impurities that could clog the sprayer. With the paint prepared, move on to the next step of adjusting the spray pattern and pressure for the perfect finish.
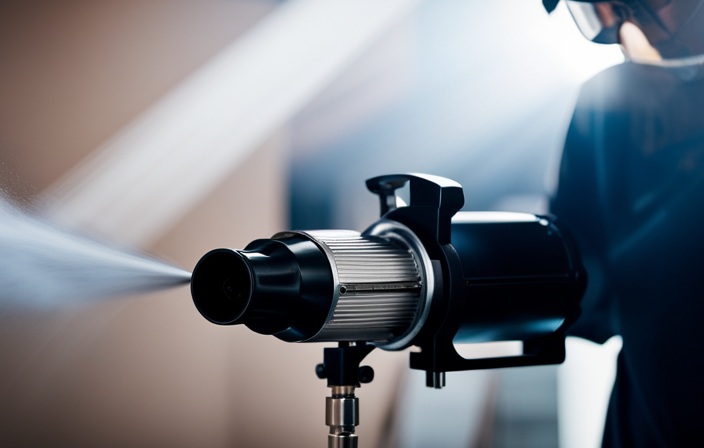
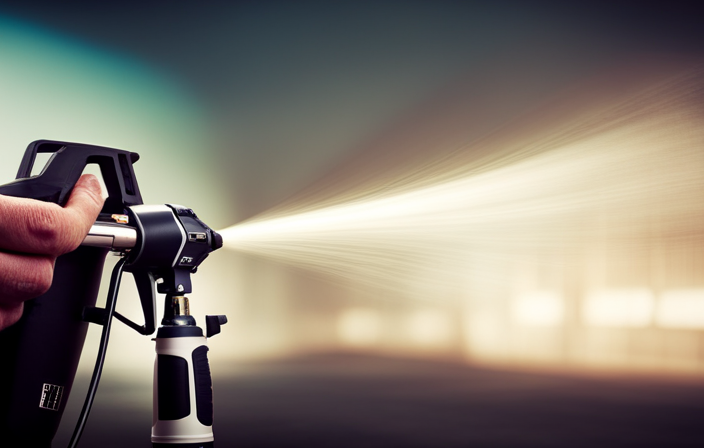
Adjusting the Spray Pattern and Pressure
After preparing the paint, it’s time to fine-tune the spray pattern and pressure for a flawless finish.
To adjust the spray pattern, start by loosening the nozzle guard and rotating it to the desired position. A wider pattern is ideal for larger surfaces, while a narrower pattern is better for detailed areas. Once the pattern is set, tighten the nozzle guard to secure it in place.
Now, let’s talk about controlling overspray. To minimize overspray, adjust the pressure of the sprayer. Lowering the pressure will reduce overspray, while increasing the pressure will provide more coverage. It’s important to find the right balance to achieve the desired results.
With the spray pattern and pressure adjusted, we’re ready to move on to the next section about the proper technique for holding and moving the sprayer.
Proper Technique for Holding and Moving the Sprayer
Mastering the art of holding and maneuvering the sprayer is crucial for achieving professional results with your paint job. To ensure proper technique, follow these steps:
-
Grip: Hold the sprayer firmly with both hands, keeping a comfortable yet secure grip. This’ll provide stability and control throughout the painting process.
-
Stance: Stand with your feet shoulder-width apart and position your body in the direction you wanna paint. This’ll allow for smooth and consistent movement.
-
Movement: Keep the sprayer parallel to the surface and move it in a steady, side-to-side motion. Overlap each pass by about 50% to ensure even coverage.
By mastering these holding and movement techniques, you’ll be able to paint walls, ceilings, and furniture with ease.
Transitioning into the next section, let’s explore how to spray different surfaces for optimal results.
Spraying Different Surfaces: Walls, Ceilings, and Furniture
Once you’ve got a firm grip and a steady stance, it’s time to unleash the sprayer’s magic on walls, ceilings, and furniture, transforming them into works of art. Spraying on uneven surfaces can be a challenge, but with the Wagner Control Pro 130, achieving a professional finish is within reach. This versatile sprayer allows you to adjust the pressure and flow rate, ensuring even coverage and minimizing drips. Whether you’re tackling textured walls, popcorn ceilings, or intricate furniture, the Control Pro 130 delivers a smooth and consistent coat of paint. To give you an idea of the sprayer’s capabilities, here’s a table showcasing the recommended settings for different surfaces:
| Surface | Pressure (PSI) | Flow Rate (GPM) |
|---|---|---|
| Walls | 1500 | 0.3 |
| Ceilings | 1000 | 0.2 |
| Furniture | 2000 | 0.4 |
With these guidelines, you can achieve professional results every time. Now, let’s move on to cleaning and maintaining the Wagner Control Pro 130, ensuring its longevity and peak performance.
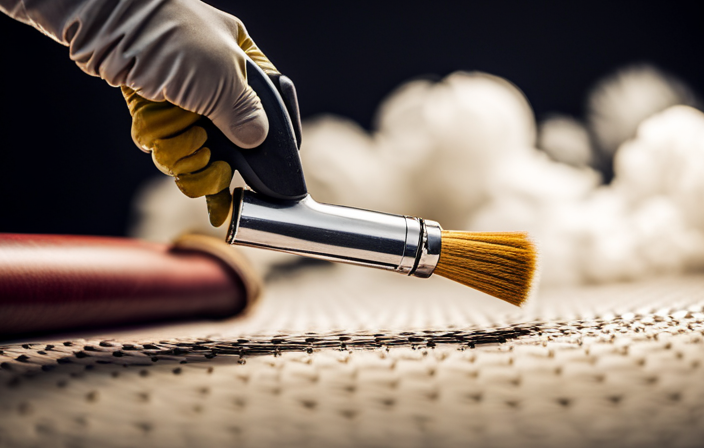
Cleaning and Maintaining the Wagner Control Pro 130
To keep your Wagner Control Pro 130 in top shape, it’s important to properly clean and maintain it. Cleaning the equipment after each use is essential to prevent clogs and ensure optimal performance.
Start by disconnecting the sprayer from the power source and relieving any pressure in the system. Remove the spray tip and filter, and rinse them thoroughly with clean water. Use a brush to remove any paint residue from the gun and hose.
It’s also important to clean the suction tube and prime valve. Regularly inspect the sprayer for any signs of damage or wear, and replace any worn-out parts.
By following these cleaning and maintenance steps, you can prolong the lifespan of your Wagner Control Pro 130 and avoid potential issues.
Now, let’s move on to troubleshooting common problems you may encounter with your paint sprayer.
Troubleshooting Common Issues
Wow, encountering problems with your paint sprayer can feel like a complete nightmare! However, with a few troubleshooting tips, you can quickly get your Wagner Control Pro 130 back in working order.
Here are a few common issues and how to solve them:
-
Clogging: If you notice the paint isn’t spraying properly or is coming out in uneven patterns, the nozzle may be clogged. To fix this, remove the nozzle and clean it thoroughly with warm, soapy water. Make sure to remove any dried paint or debris.
-
Low Pressure: If the paint isn’t coming out with enough force, check the pump pressure. Adjust the pressure setting on the sprayer to ensure it’s at the appropriate level for the paint you’re using.
-
Leaking: If you notice paint leaking from the sprayer, check all the connections and seals for any signs of damage or wear. Replace any faulty parts and ensure all connections are tight.
By following these troubleshooting tips, you can resolve common issues with your Wagner Control Pro 130 and achieve a smooth and even finish in your paint projects.
Tips for Achieving a Smooth and Even Finish
Achieving a smooth and even finish on your projects with the Wagner Control Pro 130 is made possible by implementing these helpful tips.
To achieve a smooth finish, it’s important to start with a clean and properly prepared surface. Remove any dust, dirt, or debris before beginning the painting process.
Additionally, make sure the paint is properly mixed and free of any lumps or clumps.
When using the Control Pro 130, it’s essential to maintain a consistent distance from the surface to avoid overspray. A distance of 6-8 inches is usually recommended.
Move the sprayer in a steady, controlled motion to ensure even coverage.
Lastly, be mindful of overlapping each pass to achieve a seamless finish.
By following these tips, you can achieve a professional-looking result.
Now, let’s move on to the next section on safety precautions and protective gear.
Safety Precautions and Protective Gear
To achieve a smooth and even finish with the Wagner Control Pro 130 airless paint sprayer, it is essential to follow safety precautions and wear the appropriate protective gear. Safety should always be a priority when using any paint sprayer, as it involves handling chemicals and potentially hazardous materials. Adhering to safety guidelines not only protects you from harm, but also ensures a successful painting project.
When using the Wagner Control Pro 130, it is recommended to wear protective equipment such as safety goggles, a respirator mask, and gloves to shield yourself from potential paint overspray and fumes. These items create a barrier between you and the paint, minimizing any risks involved.
To summarize, safety precautions and protective gear are vital when operating the Wagner Control Pro 130 airless paint sprayer. By following these guidelines and using the appropriate equipment, you can ensure a safe and successful painting experience.
Now, let’s move on to discussing the pros and cons of using the Wagner Control Pro 130 airless paint sprayer.
Pros and Cons of Using the Wagner Control Pro 130 Airless Paint Sprayer
One must consider the advantages and disadvantages of employing the Wagner Control Pro 130 airless paint sprayer. Here are the pros and cons of using this paint sprayer:
-
Advantages:
- Time-saving: The airless technology allows for faster coverage and less time spent on painting projects.
- Versatility: The Control Pro 130 can handle a variety of materials, including latex, stains, and sealers.
- Professional finish: The high-pressure system ensures a smooth and even coat, resulting in a professional-looking finish.
- Easy to clean: The detachable parts and simple design make cleaning the sprayer a breeze.
-
Disadvantages:
- Overspray: Due to the high-pressure system, there is a risk of overspray, which can lead to wasted paint and potential damage to surrounding areas.
- Cost: The Wagner Control Pro 130 is more expensive compared to traditional paintbrushes or rollers.
- Learning curve: It may take some practice to master the technique of using an airless paint sprayer effectively.
- Maintenance: Regular maintenance, such as cleaning and replacing parts, is necessary to keep the sprayer in optimal condition.
Considering these pros and cons can help you decide if the Wagner Control Pro 130 airless paint sprayer is the right choice for your painting needs.
Frequently Asked Questions
Can the Wagner Control Pro 130 be used for outdoor painting projects?
Yes, the Wagner Control Pro 130 can be used for outdoor painting projects. It is designed to withstand various weather conditions and provides excellent weather resistance, making it a reliable choice for outdoor painting tasks.
How long does it typically take for the paint to dry when using the Wagner Control Pro 130?
How long does it typically take for paint to dry? To speed up drying time, ensure proper ventilation and use a dehumidifier. To prevent paint from drying too quickly, add a paint extender or keep a wet edge.
Can the Wagner Control Pro 130 be used with different types of paint, such as latex or oil-based?
Yes, the Wagner Control Pro 130 can be used with different types of paint, including latex and oil-based. It is suitable for a variety of surfaces such as walls, ceilings, fences, and furniture. To clean and maintain the sprayer, follow the manufacturer’s instructions for proper cleaning and storage.
Does the Wagner Control Pro 130 come with any additional accessories or attachments?
Yes, the Wagner Control Pro 130 comes with additional accessories and attachments. These include a 25-foot hose, a spray gun, and a reversible spray tip. It is perfect for outdoor painting projects and reduces paint drying time. The noise level is also relatively low.
How loud is the Wagner Control Pro 130 while in operation?
The Wagner Control Pro 130 has a noise level of around 65 decibels, which is relatively quiet for an airless paint sprayer. It is suitable for indoor painting projects, providing efficient and precise coverage.
Conclusion
In conclusion, the Wagner Control Pro 130 airless paint sprayer is a reliable and efficient tool for all your painting needs. It’s easy to set up and has an adjustable spray pattern, allowing you to achieve a smooth and even finish on various surfaces.
However, it’s important to follow safety precautions and wear protective gear while using the sprayer. Remember, just like a skilled artist uses their brush to create a masterpiece, the Wagner Control Pro 130 lets you unleash your creativity and transform any space with a stroke of paint.