
To avoid drips when painting ceilings with an airless sprayer, make certain your equipment is properly calibrated by adjusting pressure and flow based on your ceiling and paint type. Use the right spray tips and keep a consistent distance of 12-18 inches from the surface. Maintain steady movement and overlapping passes for even coverage. Managing paint flow and fixing issues early will help prevent drips—continue exploring to learn more tips for a flawless finish.
Key Takeaways
- Calibrate and adjust sprayer pressure and flow rate for smooth, even paint application.
- Use wide spray tips (515 or 615) and maintain proper distance (12-18 inches) from the ceiling.
- Keep a steady movement and overlapping passes for consistent coverage and fewer drips.
- Regularly test and fine-tune spray pattern and settings on scrap to prevent uneven application.
- Reduce pressure and adjust spray tip immediately if drips occur, and fix with touch-up techniques.
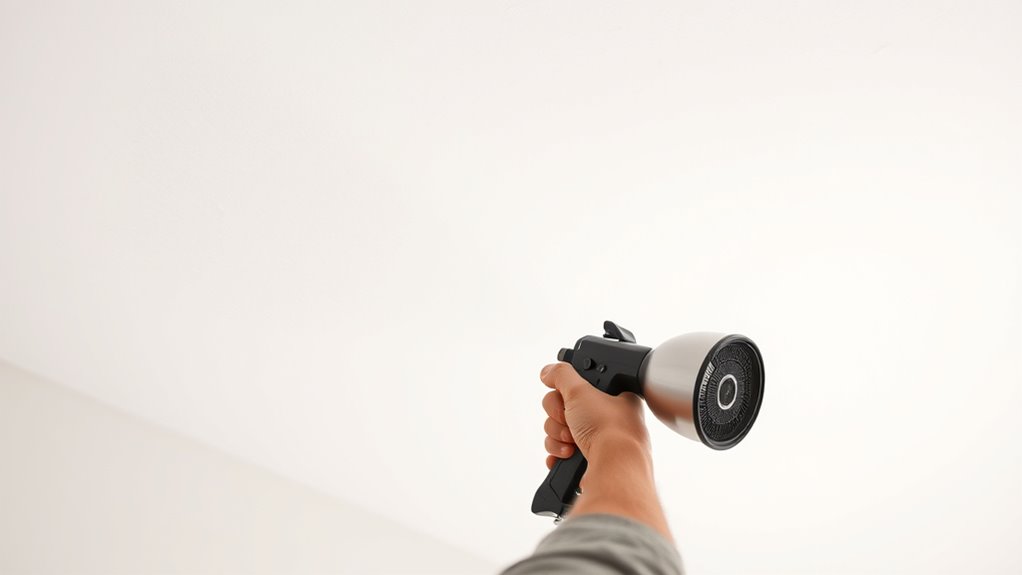
Selecting the Right Equipment and Settings
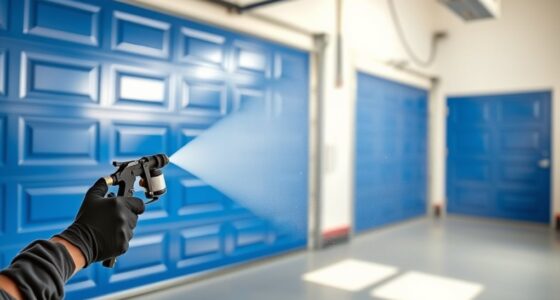
Choosing the right equipment and settings is essential for achieving a smooth, professional finish when painting ceilings with an airless sprayer. Start by ensuring your sprayer is properly calibrated; this guarantees even paint flow and consistent coverage. Proper sprayer calibration involves adjusting pressure and flow rate to match your paint type and ceiling size. Next, focus on nozzle selection—use a wide spray tip, typically around 515 or 615, to cover large ceiling areas efficiently. A nozzle with a larger orifice produces a broader spray pattern, reducing the risk of drips and uneven coats. Keep in mind that the correct combination of calibration and nozzle choice helps you maintain a steady, controlled spray, avoiding over-application and ensuring a flawless finish. Additionally, understanding the tuning options for different Hyundai models can help you optimize your vehicle’s performance, much like selecting the proper spray settings optimizes your ceiling painting.
Preparing the Ceiling Surface for Smooth Application
Before spraying, make sure your ceiling is clean and free of dust to guarantee even coverage. Inspect for cracks or holes, then repair and patch any imperfections you find. A smooth, clean surface helps achieve the best possible finish with your airless sprayer. Additionally, understanding proper surface preparation can significantly impact the quality of your paint job.
Clean and Dust Ceiling
To guarantee a smooth and professional finish when painting ceilings with an airless sprayer, you need to start by thoroughly cleaning and dusting the surface. Removing ceiling dust is essential for proper surface preparation, ensuring the paint adheres evenly and avoiding drips. Use a damp cloth or vacuum with a brush attachment to eliminate loose dust and debris. Inspect the ceiling for any stubborn spots and wipe them clean. Proper cleaning prevents imperfections from showing through the paint. Additionally, maintaining a clean workspace can help prevent dust from settling during the painting process.
Repair and Patch Imperfections
If your ceiling has cracks, holes, or other imperfections, addressing them before painting is essential for a smooth finish. Use brush techniques to carefully fill cracks and holes with patching compound, ensuring an even surface. Once dry, sand the patched areas smoothly to blend them with the surrounding ceiling. When it’s time to repaint, pay attention to color matching; choose a primer or paint that closely matches your ceiling color to prevent visible patches. For larger repairs, you might need to apply multiple coats, feathering the edges for seamless blending. Properly repairing and patching imperfections guarantees your airless sprayer applies paint evenly, reducing drips and achieving a professional-looking finish. Taking these steps saves time and effort in the long run. Additionally, understanding the importance of surface preparation can significantly enhance the durability and appearance of your finished paint job.
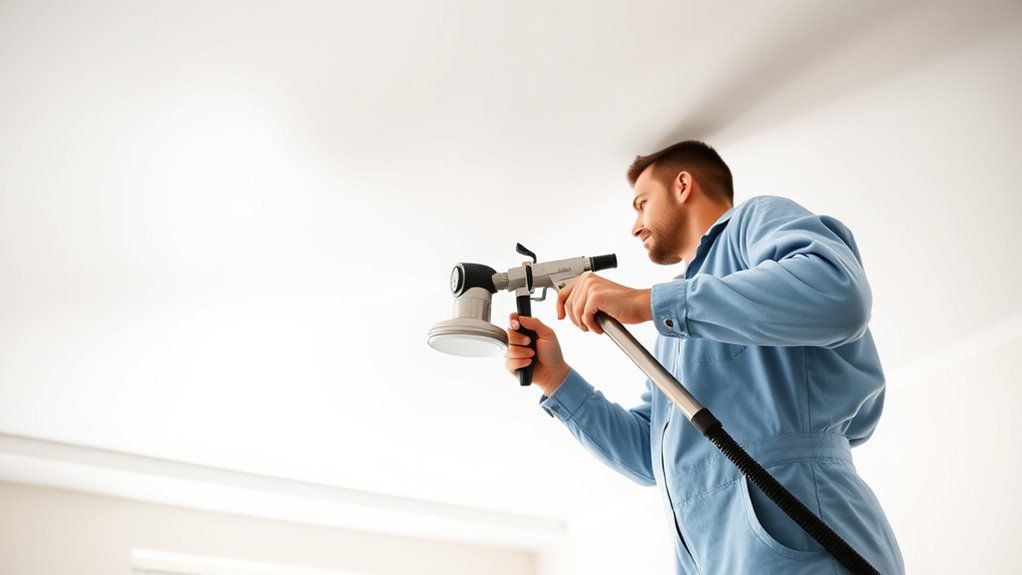
Proper Technique for Moving the Sprayer
To get a smooth finish, you need to move the sprayer steadily across the ceiling. Keep your speed consistent and maintain a steady distance from the surface. Use overlapping passes to make certain of even coverage without streaks or missed spots. Incorporate cozy textiles like blankets and throws to create a comfortable environment during your painting project.
Maintain Consistent Speed
Maintaining a steady, consistent speed is essential for achieving a smooth, even finish when using an airless sprayer. Your sprayer’s ergonomics play a role here—keeping a comfortable posture helps you stay steady. Focus on moving the sprayer at a uniform pace to prevent uneven coats and drips. Adjust your speed based on paint viscosity; thicker paint needs a slightly slower movement to avoid over-application. Consistency in speed minimizes lap marks and ensures even coverage across the ceiling. Practice smooth, deliberate motions, avoiding sudden stops or accelerations. By controlling your pace and considering your sprayer’s ergonomics, you’ll improve efficiency and achieve a professional-looking finish. Staying steady with your movement is key to avoiding drips and getting a flawless ceiling coat. Additionally, effective technique can further enhance your results by ensuring optimal paint application.
Keep a Steady Distance
Keeping a steady distance between the spray tip and the ceiling is essential for even coverage and avoiding runs or overspray. Maintain a consistent gap, usually about 12 inches, to ensure a uniform coat. Use your brush techniques to smooth out any uneven spots and control edge details, especially near corners or fixtures. Lighting considerations matter too—bright lights reveal uneven spray patterns or drips, so adjust your lighting to spot imperfections early. As you move the sprayer, keep your hand steady and avoid rushing, which can cause fluctuations in distance. Practicing a slow, steady motion helps you stay consistent. Remember, a steady distance combined with smooth, controlled movement results in a professional finish free of drips and uneven textures. Additionally, paying attention to proper technique for moving the sprayer can further improve application quality and minimize paint waste.
Use Overlapping Passes
Using overlapping passes is essential for achieving a smooth, even coat when spraying ceilings. Keep your strokes consistent, moving the sprayer in a steady, controlled manner. As you work, remember to periodically check your paint mixing to prevent drips or uneven coverage. To help visualize proper technique, consider this table:
| Step | Tip | Common Mistake |
|---|---|---|
| Start with a light pass | Maintain even distance from ceiling | Overlapping too little |
| Keep a steady pace | Use smooth, consistent brush-like motions | Moving too fast |
| Overlap each pass | Cover edges without extra paint buildup | Gaps or excess paint |
| Check your work | Adjust spray pattern as needed | Uneven texture |
Proper overlapping ensures an even finish, so practice your brush techniques and paint mixing to avoid drips and achieve professional results. Additionally, understanding the importance of contrast ratio can help you evaluate your project’s overall quality and appearance.
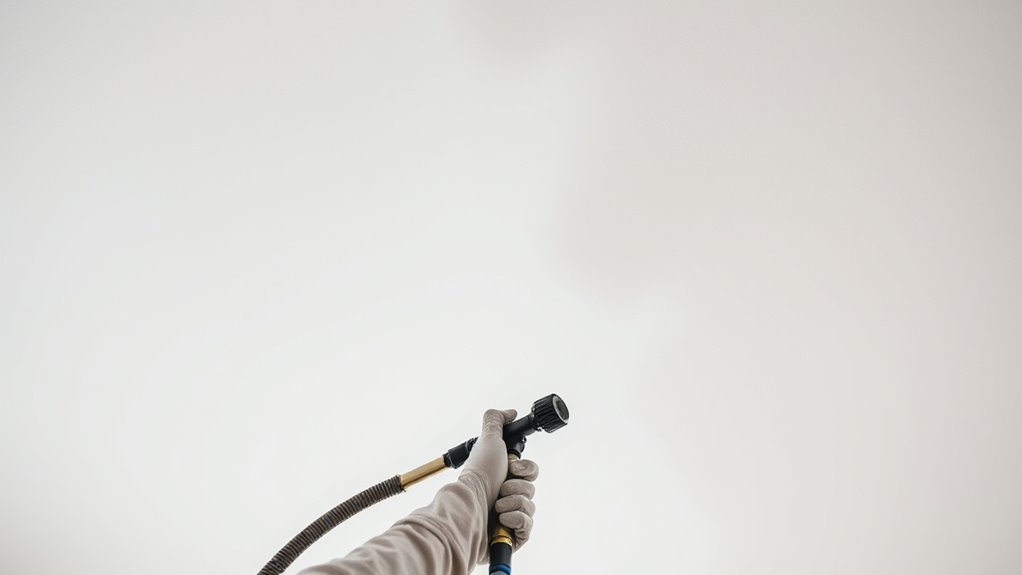
Maintaining Consistent Distance and Spray Pattern
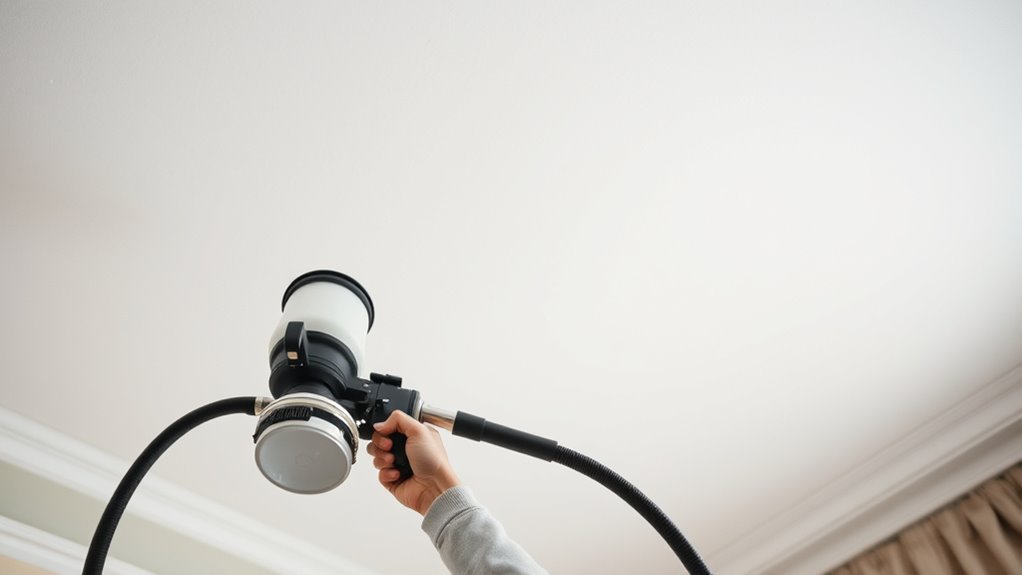
To achieve a smooth, even ceiling coat, you need to hold the spray gun at a consistent distance from the surface. Proper airless sprayer calibration ensures you’re applying paint evenly and prevents drips. Before starting, check and adjust the spray pattern for uniform coverage; a well-adjusted spray pattern produces consistent results. Keep the gun steady and maintain the same distance—usually 12 to 18 inches—regardless of your movement. Moving too close can cause runs, while too far reduces coverage. Practice on a scrap surface if needed to fine-tune your technique. Consistent distance and proper spray pattern adjustment are key to avoiding uneven coats and drips, making your ceiling look professional and flawless.
Managing Paint Flow and Pressure
Controlling paint flow and pressure is vital for achieving a smooth, even ceiling finish. Adjusting your airless sprayer’s pressure ensures the paint is atomized properly, preventing drips and uneven coverage. Pay attention to paint viscosity; if it’s too thick, thin it according to manufacturer instructions to avoid clogging the spray tip. Properly managing flow rate helps you maintain a consistent spray pattern, which is essential for even application. Lower pressure produces finer, more controlled spray, reducing overspray and drips. Conversely, increasing pressure can speed up the job but risks uneven coverage if not carefully managed. Always test your spray pattern and make small adjustments to find the best balance, ensuring a professional finish without drips or runs. Additionally, understanding your sprayer settings allows for better control over the paint delivery, leading to more efficient and cleaner painting results.
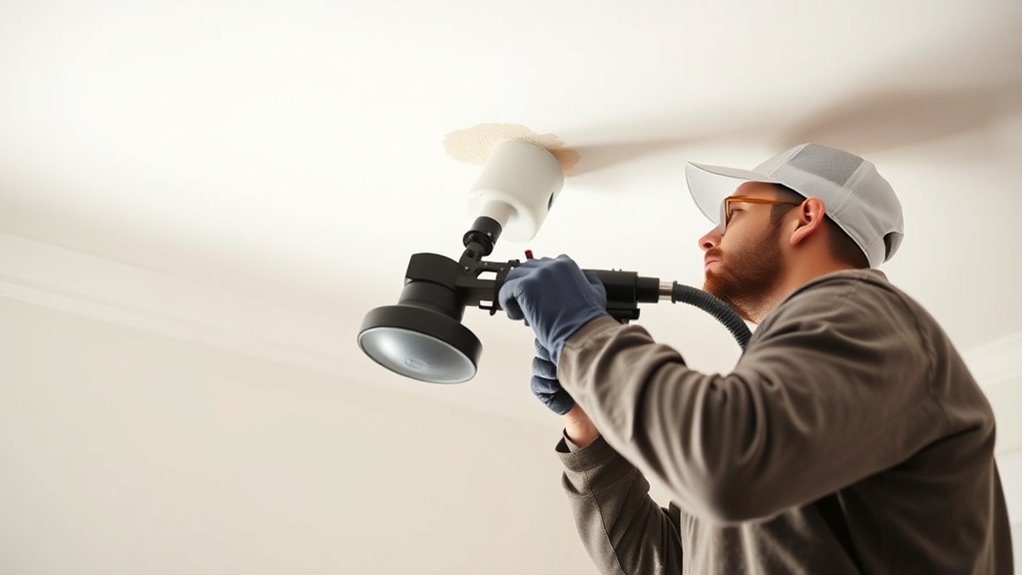
Tips for Troubleshooting and Fixing Drips During Painting
Drips often occur when paint flows too quickly or the spray pattern isn’t properly adjusted. To troubleshoot, start by reducing your spray pressure and adjusting the tip to create a more uniform pattern. If drips persist, switch to brush techniques for touch-ups in affected areas, blending carefully to match the surrounding ceiling color. When fixing drips, take your time with color matching to ensure the repaired spots blend seamlessly. Keep a damp cloth handy to wipe excess paint before it dries, preventing further drips. Always double-check your spray settings before resuming to maintain consistent flow. Properly adjusting your equipment, combined with precise brush techniques and accurate color matching, helps you fix drips effectively and achieve a smooth, professional finish. Additionally, understanding paint flow control can help you prevent drips from occurring in the first place.
Frequently Asked Questions
How Can I Prevent Overspray on Walls and Fixtures?
To prevent overspray on walls and fixtures, you should use proper masking techniques, like taping off edges and covering fixtures with plastic sheets. Additionally, improve ventilation strategies by opening windows and using fans to direct overspray away from other surfaces. This approach helps control paint particles, keeps your workspace clean, and guarantees a professional finish. Always double-check your masking and ventilation before starting your project.
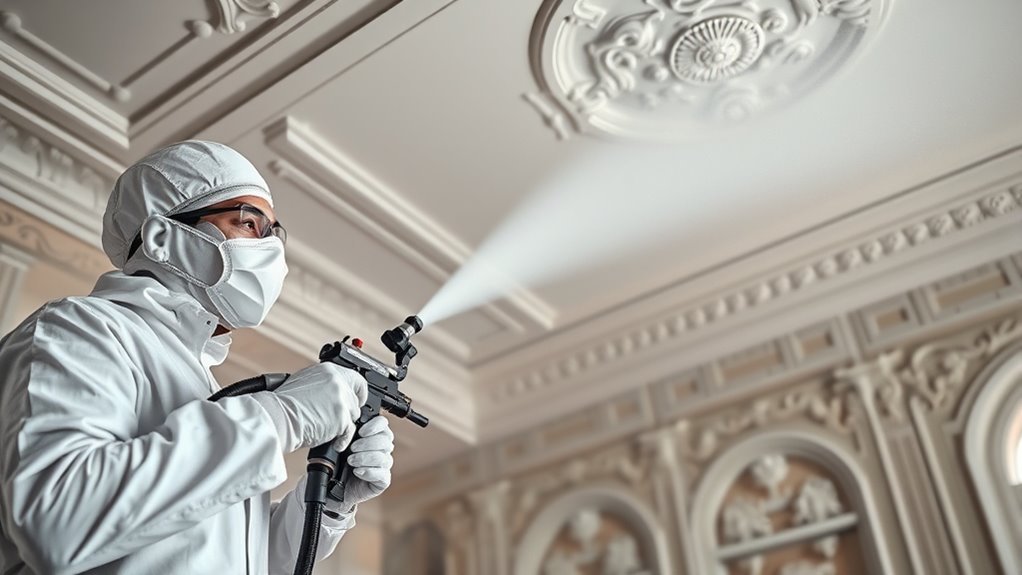
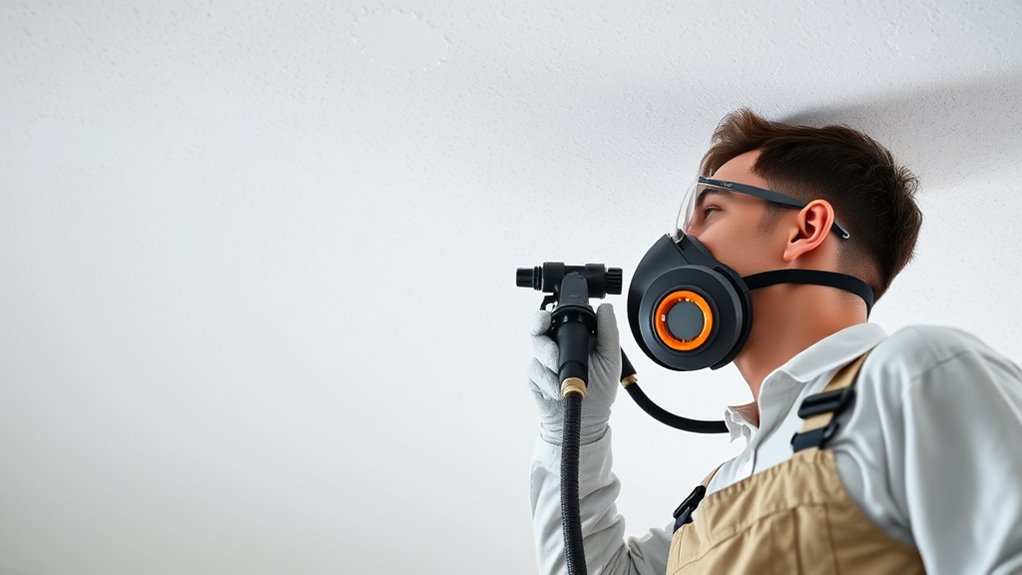
What Safety Gear Is Recommended When Using an Airless Sprayer?
Imagine a cloud of paint swirling toward you—safety gear is your shield. You should wear protective gear like goggles, a mask, and gloves to guard your eyes, lungs, and skin. Make sure proper ventilation strategies are in place to keep fumes at bay and reduce inhalation risks. Don’t underestimate the power of these precautions; they’re essential for a safe, efficient painting session with your airless sprayer.
How Long Should I Wait Between Coats for Ceilings?
You should wait about 2 to 4 hours between coats on ceilings, but always check the paint’s drying time specified on the label. Make sure the paint consistency is smooth and even, which helps it dry faster and prevents drips. Rushing the process can cause uneven coverage or drips. Patience is key; wait until the first coat is fully dry to achieve a professional, drip-free finish with your airless sprayer.
Can I Use a Different Paint Type With an Airless Sprayer?
Yes, you can use a different paint type with an airless sprayer, but you need to verify paint compatibility first. Not all paints spray well; some may clog or cause uneven coverage. Also, consider whether a primer is necessary for the new paint to adhere properly. Always follow the manufacturer’s instructions for thinning or mixing, and test spray on a small area to ensure good results before full application.
How Do Weather Conditions Affect Indoor Ceiling Painting?
Weather conditions can critically impact indoor ceiling painting. High humidity impacts how the paint dries, potentially causing longer drying times or uneven finishes. Temperature considerations are also vital; if it’s too cold, paint may not adhere properly, and if it’s too hot, it can dry too quickly, leading to drips or uneven coverage. Make sure proper ventilation, maintain a consistent temperature, and wait for ideal weather conditions to get the best results.
Conclusion
By choosing the right equipment and mastering your technique, you guarantee a flawless ceiling finish. While controlling paint flow prevents drips, rushing your process may undo your efforts. Precision and patience become your allies, turning a messy job into a masterpiece. In the end, it’s not just about avoiding drips but about trusting your skills and embracing the process—where careful planning meets artful execution, transforming a challenging task into a rewarding achievement.