
When painting popcorn or textured ceilings, you should start by preparing the space—covering floors and furniture, cleaning the texture, and masking off edges. Use a roller with a ¾-inch nap or a sprayer for even coverage, applying paint gently to avoid disturbing the texture. Opt for flat or matte finishes to hide imperfections, and take your time with each coat, allowing it to dry fully. For more helpful tips, keep exploring how to achieve a professional finish.
Key Takeaways
- Use a roller with a ¾-inch nap or a sprayer for even coverage without disturbing the popcorn texture.
- Clean the textured ceiling thoroughly before painting to ensure proper adhesion and a smooth finish.
- Opt for flat or matte ceiling paints in whites, off-whites, or light shades to hide imperfections and enhance texture.
- Apply paint in small sections with a light touch, allowing each coat to dry fully before adding another.
- Carefully remove painter’s tape and inspect lighting to spot missed areas, ensuring a polished, professional look.

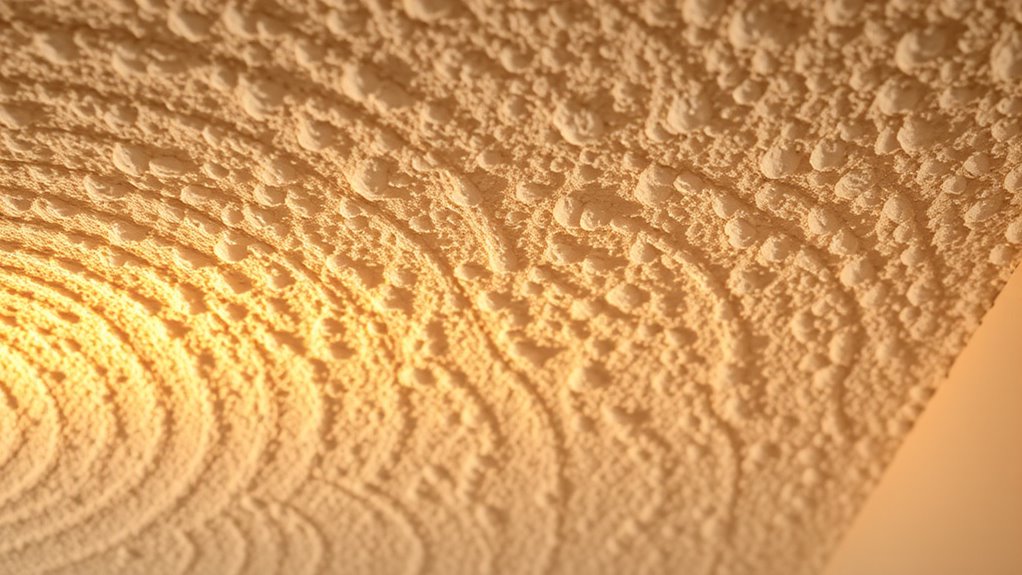
Have you ever wondered how to achieve a smooth, professional-looking finish when painting ceilings? When tackling textured finishes like popcorn or other textures, your approach needs to be slightly different from standard ceiling painting. These finishes are designed to hide imperfections, but they also require specific techniques to guarantee the best results. Using effective DIY techniques can help you manage this project confidently, and understanding your ceiling color choices plays a vital role in achieving the desired aesthetic.
Achieving a flawless ceiling finish requires tailored techniques, especially with textured surfaces and thoughtful color choices.
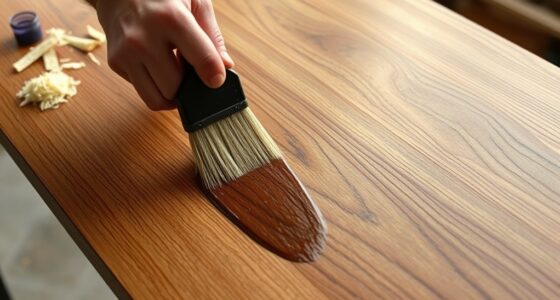
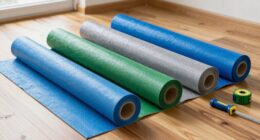
First, prepare your space properly. Cover the floors and furniture with drop cloths, and use painter’s tape to mask off walls and fixtures. Since textured ceilings tend to trap more paint and debris, it’s important to clean the surface thoroughly before you start. Lightly vacuum or dust the ceiling to remove dust and cobwebs. For popcorn or textured finishes, you’ll want to use a thick nap roller or a sprayer to apply the paint evenly. Rollers with a ¾-inch nap are ideal because they can reach into the crevices of textured surfaces and deposit paint uniformly. If you’re using a sprayer, practice on a scrap piece or a small section first to get a feel for the spray pattern and pressure.
When choosing your ceiling paint, opt for a flat or matte finish. These finishes do a better job of hiding imperfections and give your ceiling a smooth, uniform look. As for ceiling color choices, sticking to classic whites or off-whites can brighten the room and make the space feel larger. If you prefer a bit of contrast or warmth, soft beiges or light grays work well, but keep in mind that darker shades tend to highlight imperfections in textured ceilings rather than hide them.
Applying paint to textured ceilings requires patience; it’s best to work in small sections, ensuring you don’t overload your roller or sprayer, which can cause drips or uneven coverage. Use a light touch, and go over each section gently to avoid disturbing the texture more than necessary. For popcorn ceilings, avoid over-rolling, as this can flatten or damage the texture. Instead, focus on applying an even coat with your roller or sprayer, allowing each coat to dry completely before applying another if needed.
Additionally, proper technique is essential for maintaining the texture’s integrity and achieving a professional finish. Finally, pay attention to lighting. Good lighting helps you spot any missed spots or uneven areas. Once finished, carefully remove painter’s tape and clean your tools thoroughly. With these DIY techniques and thoughtful ceiling color choices, you’ll be able to elevate your textured ceiling project, achieving a polished look that enhances your entire space.
Frequently Asked Questions
Are Popcorn Ceilings More Prone to Mold or Mildew?
Popcorn ceilings are more prone to mold and mildew growth because their textured surface traps moisture and dust. To prevent mold, you should regularly inspect and clean your ceiling, improve ventilation, and control humidity levels. Using mold-resistant paints can also help. Address any leaks or water issues promptly to prevent moisture buildup. These steps will substantially reduce the risk of mold prevention and keep your ceiling healthier.
Can Textured Ceilings Be Painted Over Existing Wallpaper?
Think of your ceiling as a canvas awaiting transformation. You can paint over existing wallpaper, but first, you need to remove it carefully, just like peeling away old layers of paint to reveal a fresh surface. After ceiling wallpaper removal, thoroughly clean and lightly sand the textured ceiling. This ensures proper adhesion and a smooth finish, making your project a success and giving your ceiling a renewed, vibrant look.
What’s the Best Way to Remove Popcorn Texture Safely?
To remove popcorn texture safely, start by wearing safety goggles and a dust mask to protect your eyes and lungs. Use a spray bottle to dampen the ceiling with water, which helps loosen the texture. Gently scrape the popcorn off with a putty knife, applying removal techniques carefully to avoid damaging the drywall. Always work in a well-ventilated space and dispose of debris properly to guarantee safety throughout the process.
How Do I Repair Damaged Textured Ceilings Before Painting?
Don’t worry about damaged textured ceilings; you can fix them easily. Start by patching cracks with joint compound, smoothing it out for a seamless finish. Once dry, sand lightly and apply a primer specifically designed for textured surfaces to guarantee proper adhesion. This step helps your paint blend in smoothly, making your ceiling look like new. With these simple steps, your repair will be flawless and ready for painting.
Are There Eco-Friendly Options for Textured Ceiling Paints?
Yes, you can choose eco-friendly paints for textured ceilings. Look for products labeled as eco-friendly paints, which contain low or zero VOCs, reducing harmful emissions. These paints often use sustainable textures and environmentally safe ingredients. By selecting sustainable textures, you guarantee your ceiling’s finish is both beautiful and eco-conscious. Always check the product labels and reviews to confirm the paint’s environmental benefits before starting your project.
Conclusion
Painting textured ceilings is like giving your room a fresh coat of personality. I once helped a homeowner who hesitated, fearing the mess, but once finished, their ceiling transformed from dull to dazzling—like a canvas coming alive. Just as a painter adds the final stroke, your effort turns a simple ceiling into a stunning feature. Don’t shy away from the challenge; with patience, your space will shine brighter than you imagined.