
To prepare your airless sprayer for long-term storage, start by disconnecting it from power, relieving pressure, and draining leftover paint from all parts. Clean everything thoroughly and inspect for damage or wear, tightening fittings and replacing seals if needed. Store the equipment in a cool, dry place, preferably upright, and cover it to keep dust out. Applying rust inhibitors and lubricants can protect metal parts. For detailed steps to make certain your sprayer stays in top condition, continue exploring this guide.
Key Takeaways
- Thoroughly clean all components, including hoses, gun, and pump, to remove residual paint and prevent clogs.
- Drain any remaining paint or coating and ensure all parts are completely dry before storage.
- Store the sprayer in a cool, dry, and protected location, preferably in a vertical position.
- Apply rust inhibitors and lubricate metal parts to prevent corrosion during long-term storage.
- Cover the equipment with a clean cloth or plastic, and perform final inspections to confirm proper sealing and dryness.
Properly preparing your airless sprayer for long-term storage guarantees it stays in good condition and ready for use when you need it again. Taking the right steps now helps prevent damage, clogs, or corrosion that can occur if the equipment isn’t properly cared for during periods of inactivity. The key is to follow specific storage precautions and focus on thorough equipment maintenance.
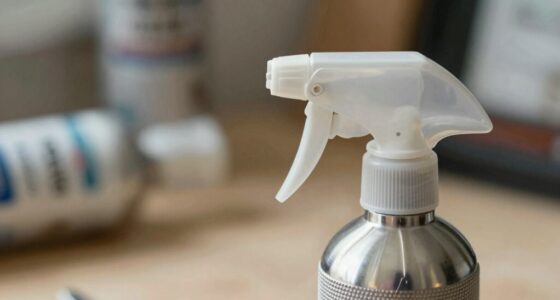
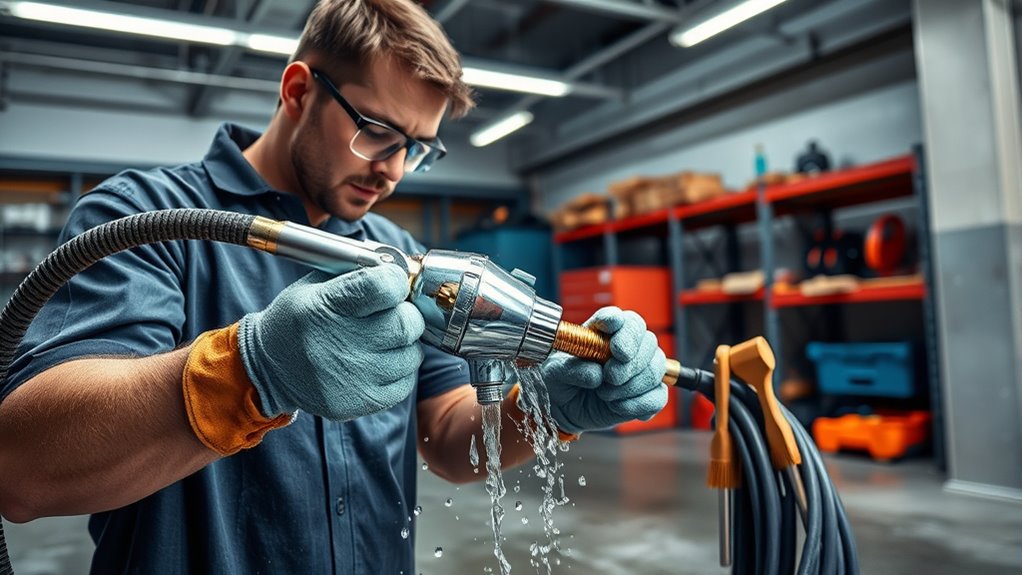
Start by disconnecting the sprayer from the power source and relieving pressure from the system. Once depressurized, drain any remaining paint or coating from the hoses, gun, and pump. This prevents hardened material from clogging the system and makes cleaning easier later on. Next, clean all components meticulously with the appropriate cleaning solutions, ensuring you remove any residual paint, debris, or buildup. Failing to clean thoroughly can lead to corrosion or blockages that may be difficult to fix later on.
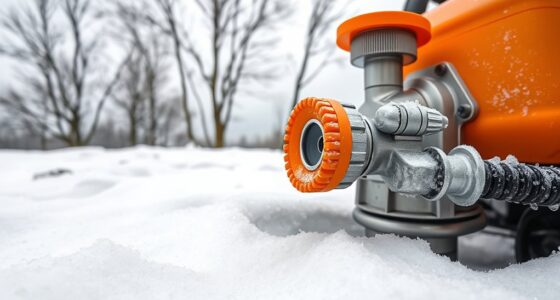
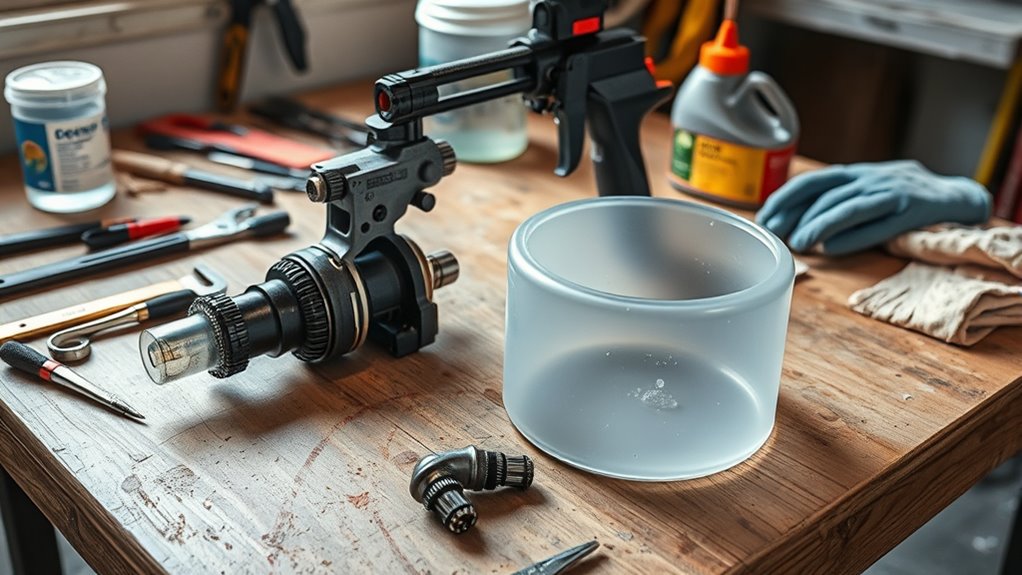
After cleaning, inspect your equipment for any signs of wear or damage. Tighten loose fittings, replace worn seals, and check hoses for cracks or leaks. Proper equipment maintenance during storage not only extends the lifespan of your sprayer but also ensures it functions smoothly when you’re ready to use it again. When it comes to storage precautions, choose a cool, dry, and protected location, away from direct sunlight, extreme temperatures, and moisture. Store the sprayer in a vertical position if possible, to prevent fluid from settling and causing internal damage. Cover the equipment with a clean cloth or plastic cover to shield it from dust and debris, but avoid airtight containers that could trap moisture and promote rust.
Additionally, it is beneficial to use appropriate storage practices such as applying rust inhibitors or corrosion-resistant sprays on vulnerable components, to further enhance protection during inactivity. If your sprayer has removable parts, consider applying a light coating of oil or lubricant to metal surfaces to prevent rust. For added protection, you might also want to use rust inhibitors or corrosion-resistant sprays on vulnerable components. Before shutting down for an extended period, double-check that all parts are dry and properly stored. This extra effort during the storage process pays off by reducing the chances of future repairs and ensuring your equipment remains in prime condition.
Frequently Asked Questions
Can I Store My Airless Sprayer Outdoors Safely?
You should avoid storing your airless sprayer outdoors safely because outdoor exposure can damage it. Weather protection is essential; if you must store it outside, make sure it’s in a covered, dry area, like a shed or garage. Protect it from rain, snow, and extreme temperatures to prevent corrosion and damage. Proper weather protection extends your sprayer’s lifespan and keeps it ready for use whenever you need it.
How Do I Prevent Corrosion During Long-Term Storage?
Think of your sprayer as a knight preparing for a long quest—armor must be maintained. To prevent corrosion and guarantee rust protection, thoroughly clean and dry all parts, then apply a rust-inhibiting solution or oil to metal surfaces. Store in a dry, climate-controlled environment, avoiding moisture exposure. Regularly inspect and rotate the equipment to spot early signs of corrosion, keeping your sprayer battle-ready for future projects.
Is It Necessary to Replace Seals Before Storage?
Yes, you should consider seal replacement during storage preparation. Replacing seals ensures they remain flexible and leak-free, preventing damage caused by dried-out or cracked seals. Fresh seals also help maintain the sprayer’s integrity over time. Always inspect your seals before storage, and if they show signs of wear, substitute them to avoid issues when you’re ready to use the sprayer again. Proper storage preparation keeps your equipment in top shape.
What Are the Signs of Residual Paint Issues After Storage?
Paint problems post-storage often present as persistent patches or peculiar peels. You’ll notice paint drying unevenly, with residual buildup causing blockages or blemishes. These signs suggest residual paint issues after storage. Carefully inspect your sprayer for clogs, crusts, or crusty coatings. If you spot any, clean thoroughly to prevent future problems. Addressing these issues promptly guarantees your sprayer stays smooth, spotless, and ready for your next project.
How Often Should I Perform Maintenance Checks During Storage?
You should perform maintenance checks on your airless sprayer every few months during storage. Inspect the storage container for signs of rust and make certain all moving parts are lubricated. Check for residual paint or debris that could cause clogs later. Regular checks help prevent rust formation and keep your equipment in good condition, ready for use when you need it. Don’t forget to clean and store the sprayer properly after each inspection.
Conclusion
Now that you’ve prepared your airless sprayer for long-term storage, you’re all set to avoid future headaches. Properly cleaning and storing it guarantees it’ll be ready to go when you need it again—saving you time and money. Think of this as giving your sprayer a little TLC so it doesn’t become a paperweight. With these simple steps, you’ll keep your equipment in tip-top shape and avoid the hassle of starting from scratch next time.