To test your sprayer’s pressure control valve, turn off the system, relieve pressure, and inspect for damage or buildup. Use a pressure gauge to verify if the valve maintains consistent pressure and responds smoothly. If you notice fluctuations, leaks, or irregular spray patterns, replace the faulty valve. Follow proper safety steps and assembly instructions carefully. Keep going to learn detailed steps on removing, installing, and ensuring your sprayer functions perfectly again.
Key Takeaways
- Turn off the sprayer, relieve pressure, and perform a visual inspection for wear, damage, or debris on the valve.
- Use a pressure gauge to test if the valve maintains consistent pressure during operation.
- Clean the valve and surrounding components to remove dirt, buildup, or obstructions affecting performance.
- Disconnect the faulty valve carefully, noting connection type, and replace it with a compatible, properly adjusted new valve.
- After installation, conduct pressure tests and observe spray pattern to ensure proper function and secure all connections.
Identifying Signs of a Faulty Pressure Control Valve
A faulty pressure control valve often shows itself through noticeable performance issues with your sprayer. You might notice pressure fluctuation during operation, causing the spray pattern to vary unexpectedly. This instability leads to inconsistent spraying, making it difficult to achieve even coverage. If your sprayer suddenly loses pressure or the flow seems erratic, it’s a clear sign something’s off. You may also observe frequent pressure drops or surges, which disrupt the spraying process. These issues typically stem from a malfunctioning pressure control valve failing to regulate pressure properly. Recognizing these signs early helps prevent further damage and ensures your sprayer functions efficiently. Don’t ignore irregular spray patterns or sudden pressure changes, as they indicate your pressure control valve may need inspection or replacement. Additionally, understanding how the pressure ratio affects the overall performance can help diagnose underlying issues more accurately. Regular maintenance and inspection of the pressure regulation system can help prevent these symptoms from occurring unexpectedly. Moreover, consulting the Glycolic Acid Benefits for Skin guidelines can provide insights into maintaining optimal system performance and longevity. For example, inspecting system components regularly can aid in early detection of potential faults before they escalate, especially when considering the pressure fluctuation that impacts spray consistency.
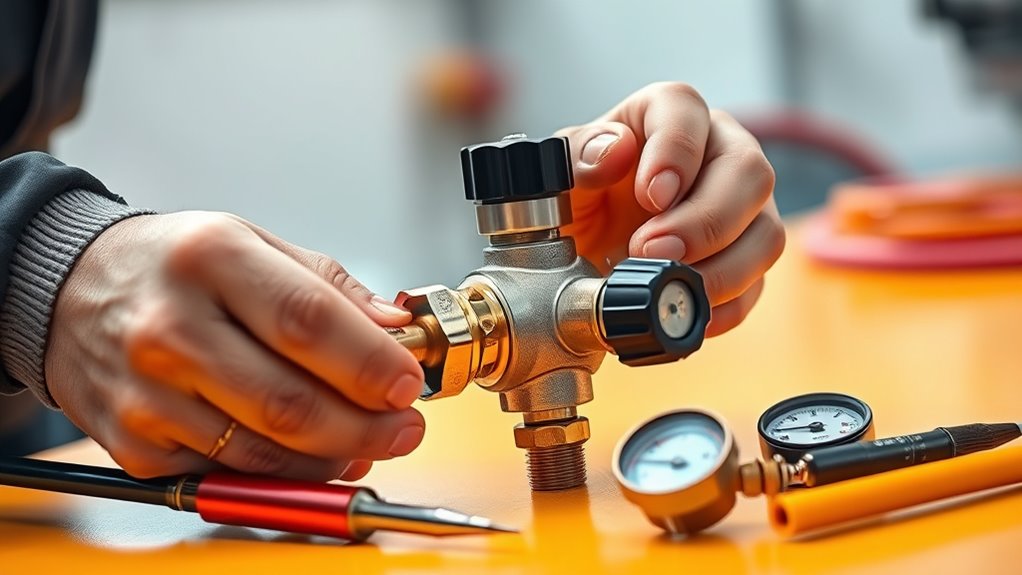
Gathering Tools and Safety Equipment
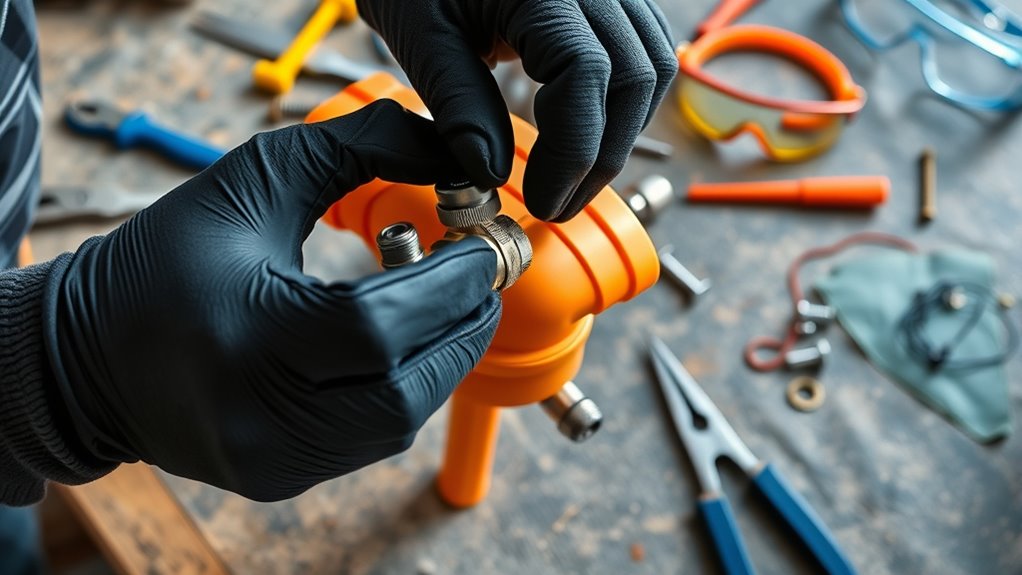
Before you start inspecting or replacing your sprayer’s pressure control valve, gather the necessary tools and safety equipment. You’ll need basic toolbox essentials like screwdrivers, wrenches, and pliers. Safety goggles are essential to shield your eyes from splashes or debris. Having these items ready prevents delays and guarantees a safe working environment. Use the table below to organize your tools:
| Tool/Equipment | Purpose | Notes |
|---|---|---|
| Screwdrivers (Phillips & Flathead) | Remove fittings and covers | Select appropriate sizes |
| Adjustable Wrench | Loosen or tighten fittings | Ensure proper grip |
| Safety Goggles | Eye protection | Wear at all times |
| Gloves | Protect hands from chemicals | Use if handling chemicals |
Additionally, understanding the pressure control valve’s function can help you diagnose issues more effectively before starting repairs. It’s also helpful to familiarize yourself with common anatomy of sprayer parts to streamline the repair process. Knowing the different types of sprayer valves can aid in selecting the correct replacement part. Proper preparation ensures safety and efficiency when working with sprayer components, which are vital for optimal performance. Being aware of AI discoveries related to hardware manipulation can provide insights into troubleshooting advanced equipment. Gather these essentials before starting to work on your sprayer.
Preparing Your Sprayer for Inspection
Before inspecting your sprayer, gather all necessary tools and safety equipment to guarantee you’re prepared. Next, drain the system completely and clean out any residual chemicals or debris. This step is crucial for maintaining the integrity of the pressure control valve and ensuring accurate inspection results. Additionally, understanding the performance upgrades available for equipment like sprayers can help you identify issues more effectively. Knowing how different fatherhood qualities influence a child’s development can also improve your approach to maintenance and care, ensuring your equipment functions optimally for the long term.
Gather Necessary Tools
To effectively inspect your sprayer’s pressure control valve, you need to gather the right tools beforehand. Having the proper equipment ensures a smooth process and helps avoid damage. First, check that your tools are compatible with your sprayer model to prevent issues during inspection. Store your tools properly to avoid loss or damage; appropriate storage tips include keeping small parts organized in containers. Use a wrench set for loosening fittings, a screwdriver for removing covers, and replacement parts if needed. Here’s a quick reference:
| Tool | Purpose |
|---|---|
| Adjustable Wrench | Loosening fittings and valves |
| Flathead Screwdriver | Removing covers or panels |
| Replacement Valve | Swapping out faulty components |
| Cleaning Brush | Removing debris from parts |
| Towel or Cloth | Wiping surfaces for inspection |
Additionally, ensure your pressure control valve is free of debris and corrosion before beginning the inspection.
Drain and Clean System
Ensuring your sprayer is free of residual chemicals and debris is essential for an accurate inspection. Start by draining the tank completely to remove any remaining chemical residue, which could interfere with testing or damage components. Next, flush the system with clean water to eliminate leftover residues and dirt that might clog or impair the pressure control valve. Be thorough, paying attention to all spray lines, nozzles, and filters. Properly draining and cleaning helps prevent environmental hazards caused by leftover chemicals and guarantees safe handling during inspection. After cleaning, dry all parts to avoid corrosion. This preparation not only improves the accuracy of your inspection but also extends the lifespan of your equipment, reducing the risk of malfunctions caused by chemical buildup. Additionally, inspecting for proper sealing and ensuring all connections are secure can help prevent leaks and maintain optimal pressure control. Incorporating tuning principles from Volkswagen enthusiast modifications can also be beneficial in maintaining the overall performance and reliability of your sprayer system. Recognizing the importance of material and meaning in the design of your components can further enhance their durability and efficiency. Regularly inspecting your durable survival gear essentials and ensuring their functionality can also contribute to safe operation and readiness in emergency situations. Also, understanding symptoms of pressure issues can help diagnose potential problems early, ensuring your sprayer functions correctly.
Testing the Pressure Control Valve for Proper Function
To guarantee your pressure control valve works correctly, start with a visual inspection for any signs of damage or leaks. Next, perform pressure testing to see if the valve maintains proper pressure levels, following the recommended procedures. Watch for malfunction signs like inconsistent pressure or unusual noises, which indicate it may need replacement. Additionally, consulting essential oil safety guidelines can help ensure proper handling during maintenance. Regularly checking the oil quality and ensuring proper lubrication can also prevent premature wear of the valve components. Incorporating remote work principles such as setting up a dedicated workspace and maintaining a routine can further improve your maintenance efficiency. Being aware of juice preservation methods can also help you understand how to handle components that affect the longevity and performance of your equipment.
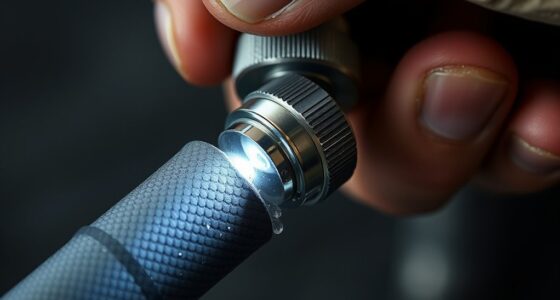
Visual Inspection Techniques
When inspecting your sprayer’s pressure control valve visually, start by turning off the system and relieving any remaining pressure to guarantee safety. Look for signs of wear, corrosion, or buildup around the valve and its components. Check the valve seat for cracks or damage, which can affect sprayer calibration and overall performance. Make certain the valve is properly lubricated; dry or sticky parts can hinder operation. Clean any debris or dirt that may obstruct the valve’s movement. Examine the connections and hoses for leaks or damage. Proper lubrication helps maintain smooth valve function and prolongs its lifespan. If you notice any irregularities during your visual inspection, it might be time to contemplate replacing the valve or performing further testing to ensure your sprayer operates at peak efficiency.
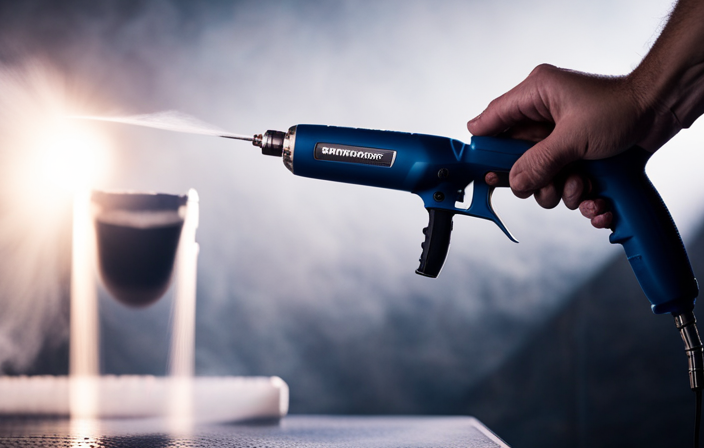
Pressure Testing Procedures
Before testing your pressure control valve, make sure the sprayer is pressurized according to the manufacturer’s specifications. This ensures accurate pressure calibration during the test. Begin by gradually releasing pressure and observing the valve’s response. Check if the valve maintains consistent pressure settings and activates smoothly without sticking. If needed, lubricate the valve lightly with a manufacturer-approved lubricant to ensure smooth operation. Use a pressure gauge to verify the pressure reading matches the desired setting. If the valve doesn’t hold pressure or responds inconsistently, it may be faulty. Proper pressure testing helps identify whether the valve is functioning correctly or needs replacement, ensuring your sprayer operates reliably and efficiently.
Identifying Malfunction Signs
If your pressure control valve isn’t functioning properly, you’ll notice certain signs during testing that indicate a malfunction. During sprayer calibration, inconsistent spray patterns or sudden pressure drops reveal issues with fluid dynamics, suggesting the valve isn’t regulating pressure correctly. You might observe fluctuating pressure levels or the sprayer failing to maintain steady flow, which can lead to uneven application. If the valve doesn’t respond to adjustments or continually leaks, it’s a clear sign it’s malfunctioning. These symptoms can cause inaccurate calibration and poor spray performance. Recognizing these signs early helps prevent further damage and ensures your sprayer operates efficiently. Properly functioning valves are essential for consistent fluid dynamics and effective application.
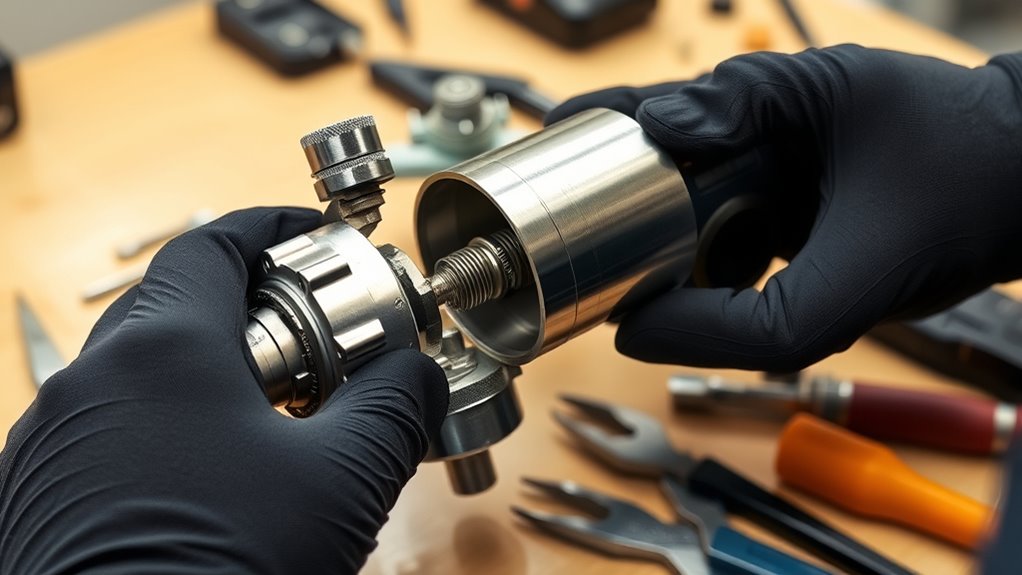
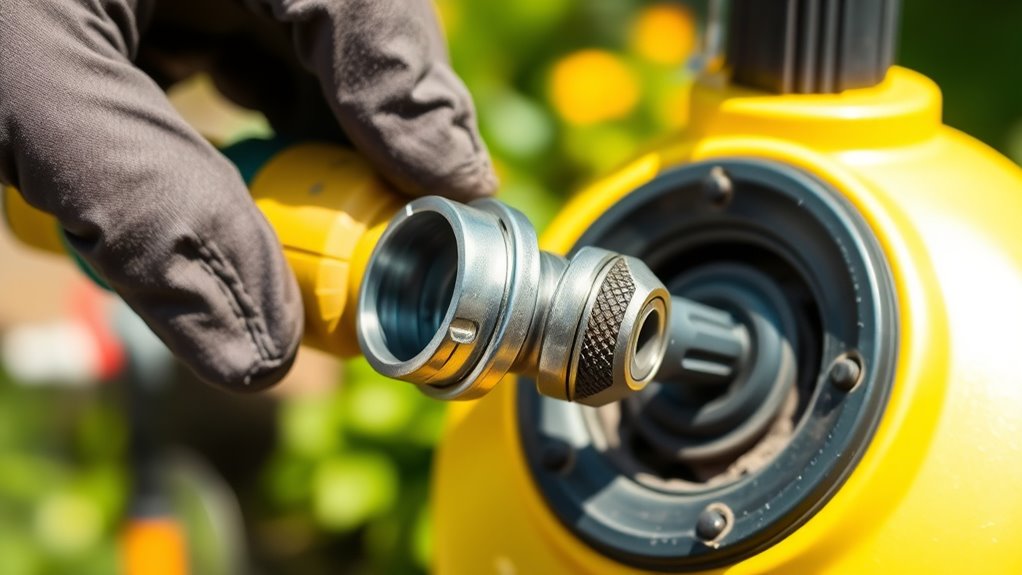
Disconnecting and Removing the Old Valve
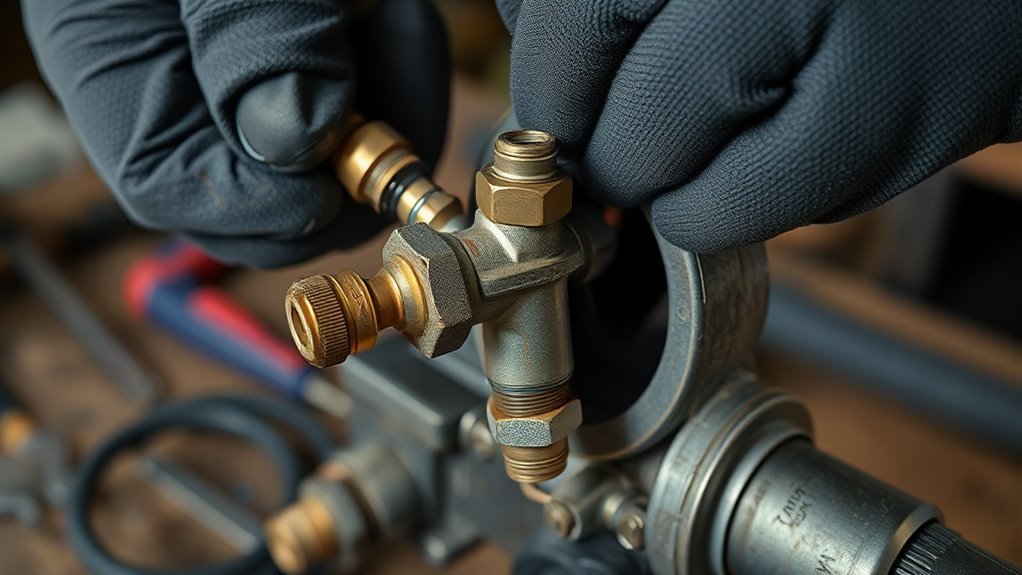
To disconnect and remove the old pressure control valve, start by turning off the sprayer and releasing any built-up pressure to prevent accidents. Next, identify the connection types—whether threaded, quick-connect, or compression—and prepare the appropriate tools. Refer to the valve specifications to ensure compatibility with your sprayer model. Carefully loosen the fittings, noting any differences in connection types to avoid damage. Use the table below to guide your removal process:
| Connection Type | Tools Needed | Precautions |
|---|---|---|
| Threaded | Wrench | Avoid over-tightening |
| Quick-Connect | Pliers or disconnect tool | Handle gently to prevent damage |
| Compression | Adjustable wrench | Check for leaks after removal |
| Other | Appropriate specialized tool | Follow manufacturer instructions |
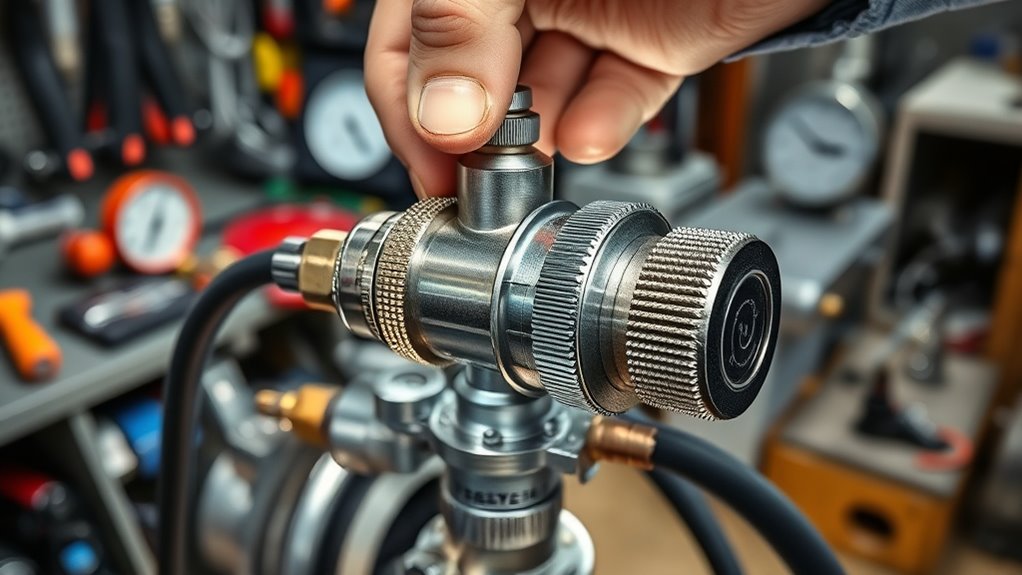
Installing the New Pressure Control Valve

After removing the old pressure control valve, carefully prepare the new one for installation. Begin by inspecting it for any damage or debris, ensuring it’s clean and ready for proper valve calibration. Position the new valve in line with the pressure regulation system, aligning it precisely with the connecting ports. Secure it tightly, but avoid over-tightening, which could damage the components. As you install, double-check that the pressure regulation settings are correctly adjusted for your sprayer’s specifications. Proper installation ensures consistent pressure control and ideal spray performance. Remember, correct valve calibration during installation is essential to maintain the right pressure levels, preventing leaks or pressure drops. Once installed, proceed to test the system’s pressure regulation to confirm the new valve functions correctly.
Verifying the Repair and Ensuring Optimal Performance

Once you’ve installed the new pressure control valve, it’s essential to verify that the repair works correctly and that your sprayer performs at its best. Start by testing the sprayer’s pressure settings, using calibration techniques to ensure accurate output. Adjust the pressure control valve as needed, checking for consistent spray patterns and flow rates. Confirm chemical compatibility by inspecting for leaks or material incompatibilities that could affect performance. Run the sprayer through a few cycles with the intended chemicals to observe how it handles different solutions. This process helps you identify any issues early, guaranteeing your sprayer operates safely and efficiently. Proper verification guarantees that your repair maintains peak performance and prolongs the lifespan of your equipment.
Frequently Asked Questions
How Often Should I Inspect My Sprayer’S Pressure Control Valve?
You should follow your sprayer’s maintenance schedule for inspecting the pressure control valve. Typically, inspection frequency depends on usage and conditions, but a good rule is to check it before each spraying session and perform a thorough inspection every few months. Regular inspections help catch issues early, ensuring peak performance and preventing costly repairs. Staying consistent with your maintenance routine keeps your sprayer functioning smoothly and safely.
Can I Replace the Pressure Control Valve Myself, or Should I Hire a Professional?
Sure, you could try DIY maintenance on your sprayer’s pressure control valve, but do you really want to turn your weekend into a science experiment? Replacing it yourself can be tricky, and a mistake might cost more than a professional repair. Unless you’re confident in your skills, hiring a pro guarantees the job’s done right, saving you time, hassle, and potential damage.
What Are Common Causes of Pressure Control Valve Failure?
You might wonder what causes pressure control valve failure. Common issues include valve corrosion, which happens over time due to exposure to moisture or chemicals, and improper calibration, leading to inconsistent pressure regulation. These problems can cause your sprayer to malfunction or lose efficiency. Regular maintenance, such as cleaning and checking calibration, helps prevent these failures. If corrosion or calibration issues occur, replacing or repairing the valve is often necessary to restore proper operation.
How Long Does It Typically Take to Replace the Pressure Control Valve?
Replacing your sprayer’s pressure control valve usually takes about an hour, depending on your experience and the sprayer model. The pressure valve lifespan varies, but regular maintenance can extend it. Expect the replacement cost to range from $50 to $150, including parts and labor. If you notice inconsistent spray pressure or leaks, it’s time for a replacement to guarantee peak performance and avoid costly repairs later.
Are There Specific Brands or Models of Pressure Control Valves Recommended?
When selecting a pressure control valve, you should consider brand recommendations and model comparisons to guarantee compatibility and durability. You might find that certain brands like Graco, TeeJet, or Hypro offer reliable options. Comparing models based on pressure range, ease of installation, and reviews helps you pick the best fit for your sprayer. Always prioritize quality and compatibility to avoid issues and assure peak performance.
Conclusion
By testing and replacing your sprayer’s pressure control valve, you guarantee it operates efficiently and reliably. Remember, regular maintenance can prevent costly repairs and downtime. Some might think that ignoring minor issues won’t cause problems, but evidence shows that small faults can lead to bigger system failures over time. So, take action early. Properly maintaining your equipment isn’t just about fixing what’s broken—it’s about preventing future issues and maximizing performance.