To prevent overspray messes, choose the right equipment, use protective barriers, and prepare your workspace carefully. Apply paint in ideal conditions with steady, controlled techniques, and mask non-target areas properly. If overspray occurs, act quickly with gentle cleaning methods suited for each surface. Regular maintenance of tools also helps minimize future issues. By following these steps, you can keep overspray under control—learn more about effective cleanup and prevention strategies as you explore further.
Key Takeaways
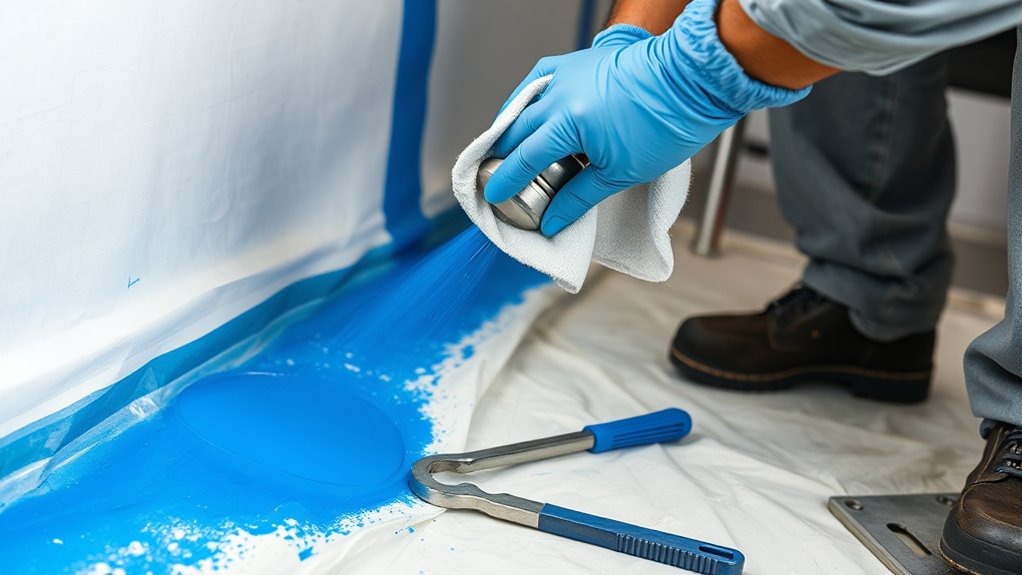
- Use protective barriers, masking tape, and plastic sheeting to shield non-target surfaces from overspray.
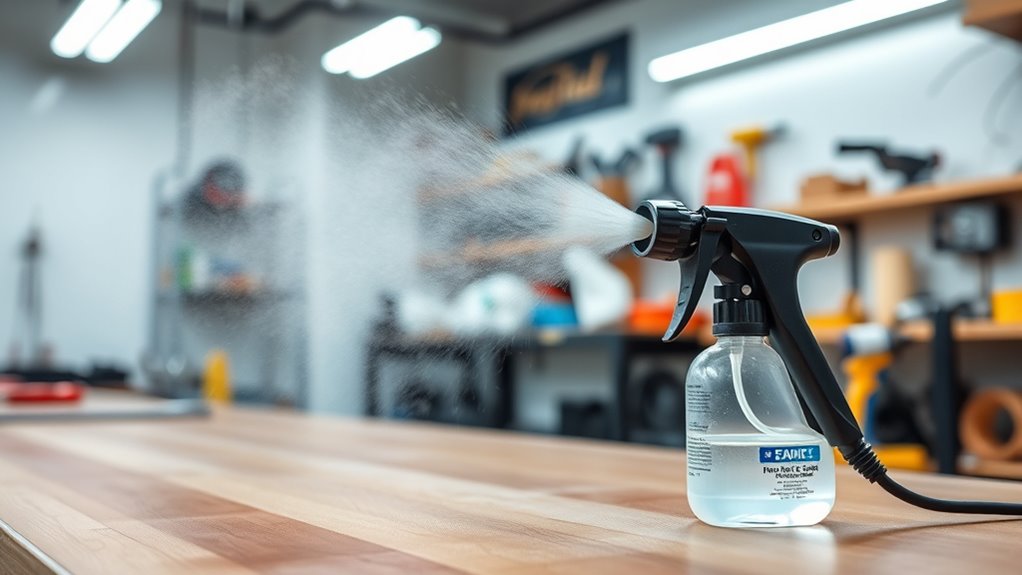
- Choose appropriate spray equipment and maintain proper technique to minimize airborne paint particles during application.
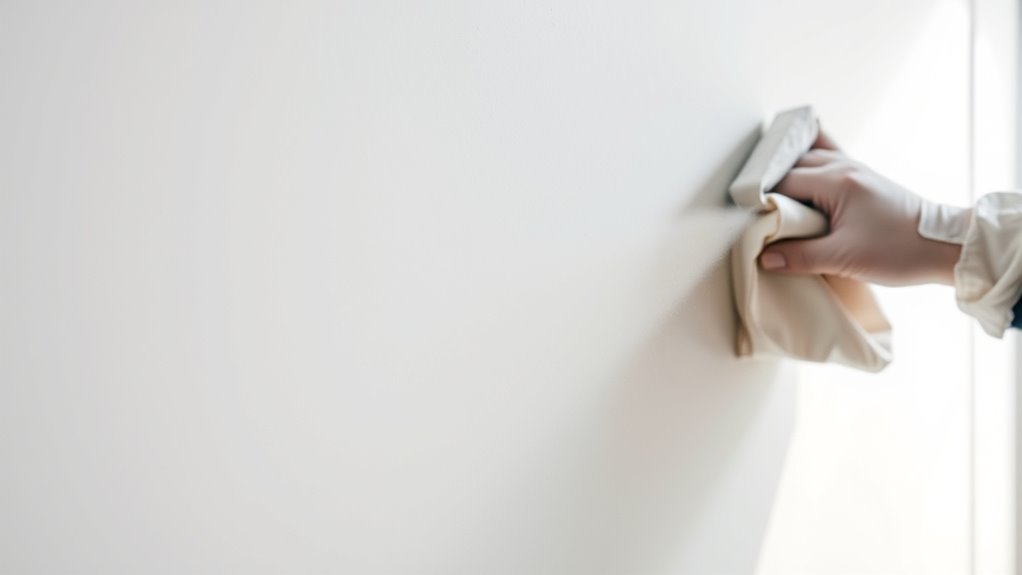
- Act quickly to remove overspray before it dries using gentle cleaners and soft tools suited to the surface type.
- Prepare your workspace with drop cloths, good ventilation, and organized tools to prevent overspray spread and facilitate cleanup.
- Regularly inspect and maintain spray equipment to ensure optimal performance and reduce future overspray messes.
Understanding How Overspray Happens
Overspray occurs when paint particles drift beyond the intended surface, often due to improper technique or environmental factors. One key factor is paint consistency; if the paint is too thick or too thin, it can cause uneven spray and overspray. Ensuring the paint is properly mixed helps produce a smooth, controlled spray pattern. Equipment calibration is equally important—if your sprayer isn’t calibrated correctly, it can disperse paint improperly, leading to excess overspray. Regularly checking and adjusting your equipment ensures the spray pattern is even and predictable. Proper technique, combined with the right paint consistency and well-calibrated equipment, minimizes overspray. Understanding these factors helps you control the spray process, reduce mess, and achieve a cleaner, more professional finish.
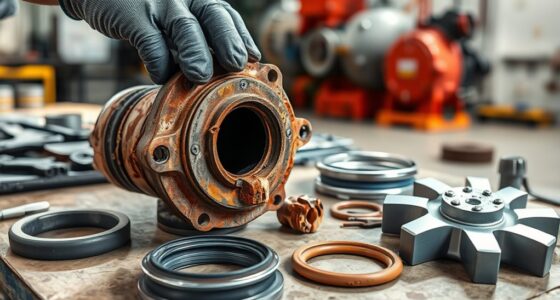
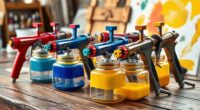
Choosing the Right Equipment and Materials
Selecting the appropriate equipment and materials is essential for achieving a clean, controlled paint job. If you’re using an airless sprayer, choose the right spray nozzles to control spray pattern and reduce overspray. A nozzle with a smaller orifice provides more precise application, minimizing messes and waste. Consider the type of project and surface to determine the best equipment; for detailed work, a fine spray nozzle is ideal. Additionally, high-quality materials, such as compatible paints and primers, ensure smooth flow and reduce clogging, which can cause uneven spraying and overspray. Properly selected tools and materials help you achieve a professional finish while keeping overspray to a minimum. Using the right airless paint sprayer can also improve efficiency and result in a more consistent application.
Preparing Your Workspace for Painting

Before you start painting, it’s essential to prepare your workspace to guarantee a smooth and mess-free job. First, clear the area of any objects that could interfere with your work or be damaged by overspray. Cover nearby furniture and floors with drop cloths to catch any stray paint. Ensure your ventilation systems are functioning properly to remove fumes and reduce overspray spread, creating a safer environment. If color matching is critical, organize your paints and tools nearby for quick access, minimizing unnecessary movement that could cause overspray. Keep your workspace well-lit so you can see your progress clearly. Additionally, understanding Gold IRA Rollovers can help you plan for future investments and secure your financial stability beyond painting projects. By taking these steps, you set a solid foundation for precise painting, reducing cleanup time and preventing messes from spreading beyond your target area.
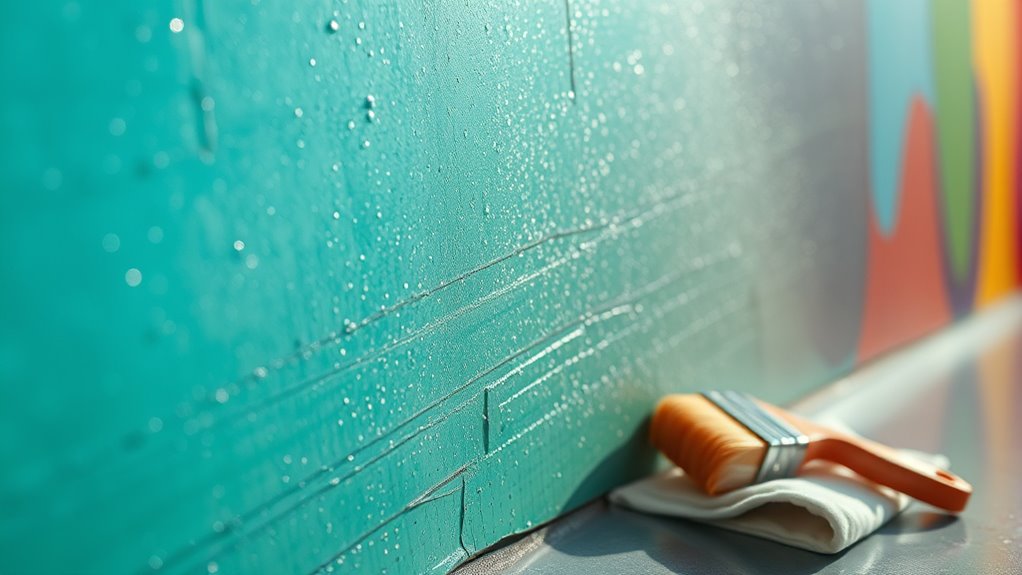
Using Protective Barriers and Masking Techniques

To effectively prevent paint from reaching unintended surfaces, you should use protective barriers and masking techniques. Start by covering nearby areas with painter’s tape and plastic sheeting, ensuring all edges are sealed tightly. When applying paint, use proper brush techniques to control the paint flow and avoid drips that can cause overspray. Adjust your spray patterns to maintain a consistent, narrow stream, minimizing unnecessary spread. Keep a steady hand and maintain a consistent distance from the surface to prevent uneven coverage and overspray. Masking allows you to protect trim, fixtures, and other non-target areas efficiently. Proper barriers and masking are essential steps in a professional-looking finish. Using correct equipment can further improve your control and reduce overspray, ensuring a cleaner and more efficient painting process.
Applying Paint in Optimal Conditions

Applying paint in ideal conditions is essential for achieving a smooth, durable finish. To do this, pay attention to your brush techniques, ensuring you use even, consistent strokes to avoid streaks or drips. Maintaining proper paint consistency is equally important; it should neither be too thick nor too runny. If the paint is too thick, it can cause uneven coverage and splattering. If it’s too thin, it may drip or run, ruining your work. Ensure the environment is free of excessive humidity, dust, and temperature fluctuations, as these factors can affect drying time and finish quality. Work in well-ventilated, stable conditions to optimize your results. Proper application conditions allow your techniques to shine, giving you a professional-looking, long-lasting paint job. Additionally, understanding paint properties can help you select the best type and formulation for your specific project, ensuring optimal results.
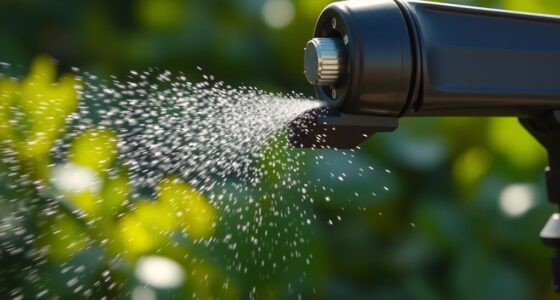
Techniques for Precise Spray Application
Mastering precise spray application requires you to maintain consistent distance and motion throughout each pass. This ensures even coverage and minimizes overspray. Pay close attention to your spray patterns, keeping them steady and uniform. Regular equipment calibration is essential to maintain proper spray consistency and prevent uneven application. Adjust your spray gun to achieve the desired pattern, whether circular, fan, or cone-shaped, depending on your project. Controlled, overlapping passes help avoid gaps or excess buildup. Keep your hand steady and move at a consistent speed. Use the table below to visualize different spray patterns and calibration tips:
| Spray Pattern | Calibration Tip |
|---|---|
| Circular | Adjust nozzle for even spray |
| Fan | Test on scrap before use |
| Cone | Maintain consistent distance |
| Rectangular | Overlap slightly for coverage |
Additionally, practicing on scrap material can help improve your technique and achieve professional results.
Spotting and Addressing Overspray During Work
You need to recognize overspray early so you can act quickly. Using immediate cleanup techniques can prevent it from spreading further, saving you time later. Implementing preventative measures during work also helps keep overspray under control from the start. Being aware of website performance metrics can help identify areas where overspray issues may arise, improving overall site management.
Recognizing Overspray Early
Recognizing overspray early can save time and prevent costly mistakes. As you work, stay alert for signs that overspray is spreading beyond your target area. Keep an eye on paint color coordination; if colors start bleeding into unintended surfaces, it’s a clear indicator. Regularly check your ventilation system maintenance, as poor airflow can cause overspray to drift into adjacent spaces. Staying vigilant helps you catch issues before they become difficult to manage. Adjust your spraying technique immediately if you notice an uneven or overly fine mist, which increases overspray risk. Proper workplace safety practices, including wearing protective gear and setting up barriers, can also help contain overspray. By maintaining awareness during application, you can address problems early and minimize cleanup. Recognizing overspray signs promptly ensures a smoother project and better results.
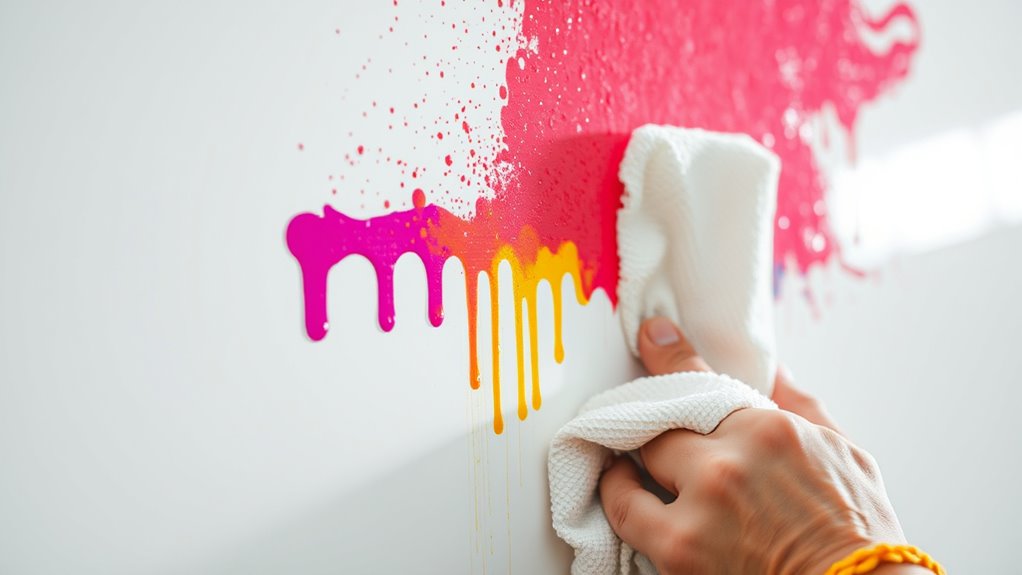
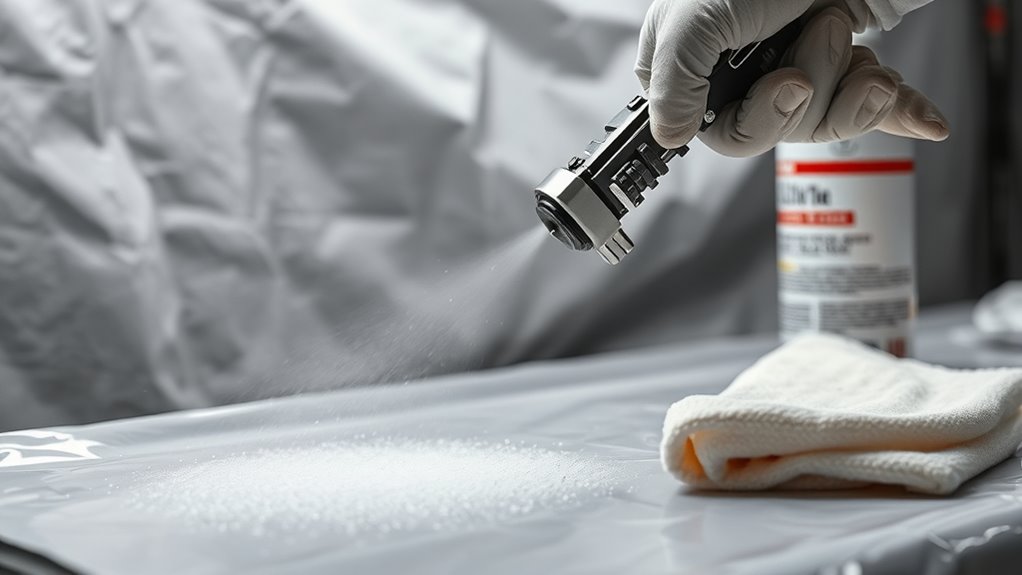
Immediate Cleanup Techniques
When overspray appears during painting, addressing it promptly is essential to prevent it from spreading further. Use brush techniques to carefully spot-clean or gently blend the overspray onto the painted surface, minimizing damage. Keep a clean, damp cloth nearby to wipe away excess before it dries. Acting quickly is vital because drying times vary depending on the paint type; the longer overspray sits, the harder it becomes to remove. If you notice overspray early, avoid spreading it by working from the outside edges inward. Regularly inspect your work and adjust your brush techniques as needed. Monitoring paint drying times and staying attentive can help you respond swiftly. By staying attentive and acting immediately, you can greatly reduce cleanup efforts and maintain a professional finish.
Preventative Measures Implemented
Implementing preventative measures during painting is vital to minimizing overspray issues before they occur. You should use proper brush techniques to control paint flow and reduce airborne particles. Maintaining steady, controlled motions helps prevent excess paint from becoming overspray. Additionally, ventilation strategies are essential; ensure windows and doors are properly opened to create airflow that pulls overspray away from surfaces and into extraction systems. Using fans or exhaust systems can further improve air circulation, keeping overspray localized and preventing it from settling on unintended areas. Regularly monitoring your workspace allows you to spot overspray early, so you can adjust your techniques or ventilation settings promptly. These proactive steps help you maintain a cleaner work environment and produce a more professional finish.
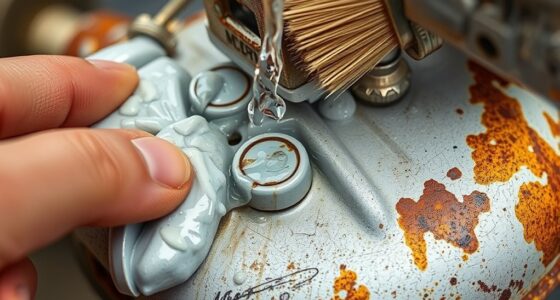
Cleaning Up Overspray on Different Surfaces

Cleaning overspray requires different techniques depending on the surface, so knowing the right approach is key. You need to contemplate delicate materials that can be easily damaged and stubborn overspray that resists removal. By choosing the correct methods, you can restore surfaces without causing harm or leaving residue. Utilizing appropriate cleaning tips ensures efficient removal and preserves the integrity of the surfaces involved.
Surface-specific Cleaning Techniques
Different surfaces require tailored approaches to effectively remove overspray without causing damage. For textured surfaces, use gentle texture techniques like soft brushes or sponges to lift paint without ruining the surface. Smooth surfaces, such as glass or metal, respond well to wiping with a damp cloth and a mild cleaner. When cleaning porous materials like wood or drywall, avoid excessive moisture—drying methods like air drying or using a fan help prevent warping or staining. Keep these points in mind:
- Use soft tools for textured surfaces to avoid damage
- Opt for gentle cleaning agents to protect delicate finishes
- Employ proper drying methods to prevent moisture issues
Adjust your techniques based on the surface type to ensure effective, damage-free cleanup while maintaining the integrity of the material.
Delicate Material Considerations
When dealing with delicate materials, such as glass, soft plastics, or thin metals, you must exercise extra caution to avoid damage while removing overspray. Surface protection is essential; cover or mask areas to prevent unintended contact. Use gentle cleaning methods, like soft cloths and mild solvents, to preserve the surface and maintain paint adhesion where needed. Avoid abrasive tools or harsh chemicals that could scratch or weaken delicate surfaces. Test your cleaning method on a small, hidden area first to make certain it won’t cause harm. Taking careful steps ensures you remove overspray effectively without compromising the integrity of the material or the paint’s ability to adhere properly in the future. Additionally, understanding the vetted cleaning products suitable for delicate surfaces can help prevent further issues.
Stubborn Overspray Removal
Stubborn overspray can be challenging to remove, especially when it’s adhered firmly to various surfaces. To tackle this, consider specific texture techniques that break down the overspray without damaging the underlying material. Proper color matching is vital to restore the surface’s original look after cleaning. When dealing with different surfaces, keep these tips in mind:
- Use gentle solvents suited for the surface type to avoid damage.
- Test texture techniques on a small, inconspicuous area first.
- Focus on matching the original color to ensure a seamless repair.
- Understanding the air quality in your environment can help you choose the most effective cleaning methods and avoid spreading overspray particles to other areas.
Patience is key; rushing can worsen the mess. Carefully selecting the right tools and methods helps guarantee effective removal while preserving the surface’s integrity and appearance.
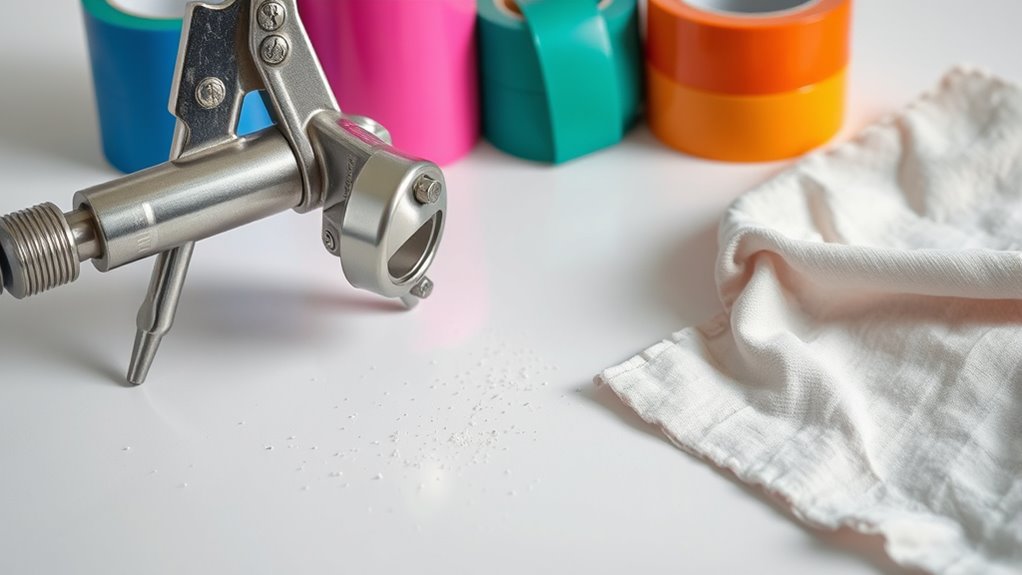
Tools and Products for Effective Overspray Removal
To effectively remove overspray, choosing the right tools and products is essential. Airless sprayers can help you apply paint evenly and reduce overspray during the project, but having the right cleanup tools is equally important. Use high-quality masking tapes to protect surfaces you don’t want painted, making removal easier afterward. For overspray removal, consider applying specialized overspray removal products that dissolve paint without damaging surfaces. Scrapers and plastic putty knives are useful for scraping off dried overspray gently. Soft cloths or microfiber towels work well for wiping surfaces after applying cleaning solutions. For stubborn overspray on delicate surfaces, gentle solvents or commercial overspray removers are effective, but always test a small area first to prevent damage. Additionally, understanding the contrast ratio of your projectors can help you better assess the visibility of overspray on different surfaces.
Maintenance Tips to Minimize Future Messes
Implementing regular maintenance practices can drastically reduce overspray messes in future projects. Start by refining your masking techniques; use high-quality tape and coverings to protect surrounding areas effectively. Consistently check and replace worn or damaged masking materials to prevent leaks. Additionally, adopt proper ventilation strategies—ensure your workspace has adequate airflow to disperse overspray particles quickly. Good ventilation reduces buildup and minimizes cleanup time. To maintain a clean environment: – Inspect masking materials before each project – Keep ventilation systems well-maintained and operational – Clean spray equipment regularly for even application and reduced overspray. Regular cleaning of equipment can also help control overspray spread and improve overall application consistency.
Frequently Asked Questions
How Can I Tell if Overspray Has Settled on Unintended Surfaces?
You can tell if overspray has settled on unintended surfaces by inspecting for paint transfer or surface contamination. Look closely for any fuzzy or uneven paint layers that feel different from the original surface. Use a clean cloth or your fingers to gently feel for residue. If you notice any paint transfer or suspect contamination, it’s a sign that overspray has settled, and you’ll need to clean or address those areas promptly.
Are There Eco-Friendly Products for Removing Overspray Safely?
You can find eco-friendly products for removing overspray safely, like biodegradable solvents and plant-based removers. These options break down naturally, reducing environmental impact. When choosing a product, check labels for these keywords to guarantee they’re safe and effective. Always test a small area first to avoid damage, and follow instructions carefully. Using biodegradable solvents and plant-based removers helps keep your space clean while protecting the environment.
What Are the Best Methods for Preventing Overspray During Outdoor Painting?
They say a stitch in time saves nine, so focus on prevention. You should carefully calibrate your spray gun to make certain of even application and avoid excess overspray. Use masking techniques diligently to protect surrounding surfaces. By doing these, you minimize paint drift and mess. Proper preparation and attention to detail help you achieve a clean, professional finish, making cleanup easier and preventing costly mistakes.
How Often Should I Inspect for Overspray During a Project?
You should inspect for overspray regularly throughout your project, ideally following your inspection schedule. Check frequently, especially after weather changes or when using new equipment, to catch issues early. This helps you stay on top of safety precautions and minimizes mess. Consistent inspections ensure you spot overspray promptly, reducing cleanup time and maintaining a safe work environment. Remember, proactive monitoring keeps your project smooth and efficient.
Can Overspray Damage Underlying Finishes or Materials Permanently?
Overspray can damage underlying finishes or materials permanently if it affects paint adhesion or surface compatibility. When overspray settles on delicate surfaces, it may cause staining, peeling, or a compromised finish that’s hard to restore. To avoid lasting damage, you should carefully inspect surfaces during painting and take immediate action if overspray appears, ensuring your work maintains its quality and durability without risking long-term harm.
Conclusion
Remember, a clean workspace is a safe workspace. By understanding how overspray happens and using the right tools and techniques, you can prevent most messes from happening. When overspray occurs, tackle it promptly with the proper cleaning methods for each surface. Keep your equipment maintained and your workspace prepared, and you’ll find painting becomes much easier. As the saying goes, “A stitch in time saves nine”—acting quickly keeps your project neat and stress-free.