If your pump shows signs like unusual noises, vibrations, leaks, or reduced flow, it’s time to check for worn or damaged parts. Inspect visually for cracks, corrosion, or debris, and listen for grinding or knocking sounds. Safety first—shut off power, drain fluid, and gather tools. Carefully remove old parts, then install and test new components. Want a detailed step-by-step guide? Keep going for all the essential tips.
Key Takeaways
- Recognize signs of wear such as unusual noises, vibrations, leaks, and decreased performance during pump operation.
- Conduct regular inspections to identify cracks, corrosion, debris buildup, and surface damage on pump components.
- Safely shut down and depressurize the pump before removing faulty parts, following manufacturer guidelines.
- Use proper tools and ensure seals and gaskets are correctly seated during replacement to prevent future leaks.
- Verify pump performance after installation by checking for leaks, vibrations, and proper flow and pressure levels.
Common Symptoms of Pump Wear and Tear
When a pump starts to wear out, you’ll notice certain signs that indicate it’s time for maintenance. One key symptom is unusual noises or vibrations, which often result from inadequate pump lubrication or worn bearings. You might also see decreased efficiency or inconsistent flow, signaling internal component wear. Regular filter maintenance is vital; if filters become clogged or dirty, the pump has to work harder, leading to overheating or early failure. Keep an eye on temperature fluctuations and pressure drops, as these can also point to worn parts. Addressing these signs early helps prevent further damage, saving you time and money in the long run. Proper pump lubrication and routine filter maintenance are essential for keeping your pump running smoothly and extending its lifespan. Additionally, understanding relationships within the pump system can help you diagnose issues more accurately and implement effective solutions.
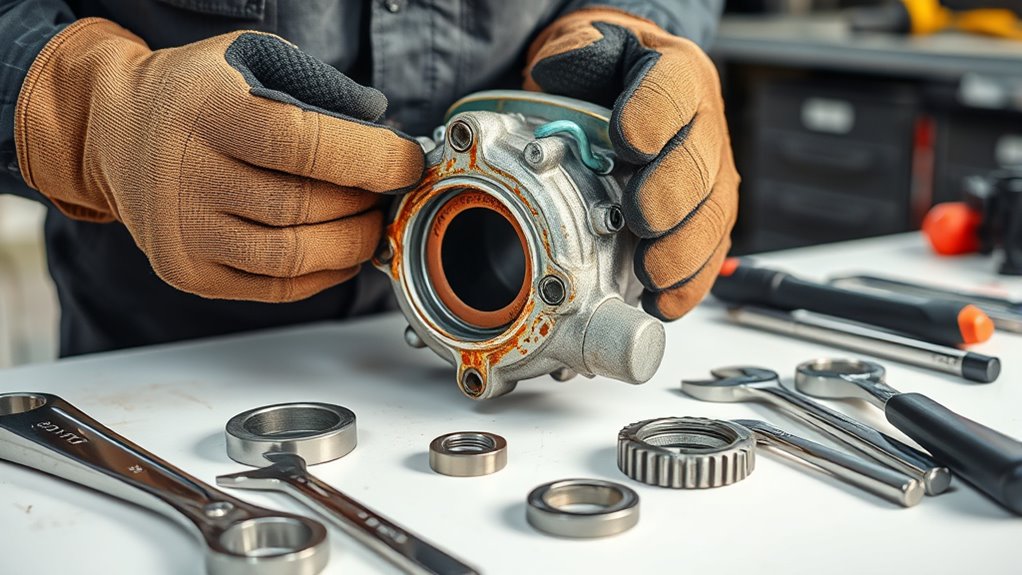
Visual Inspection for Signs of Damage
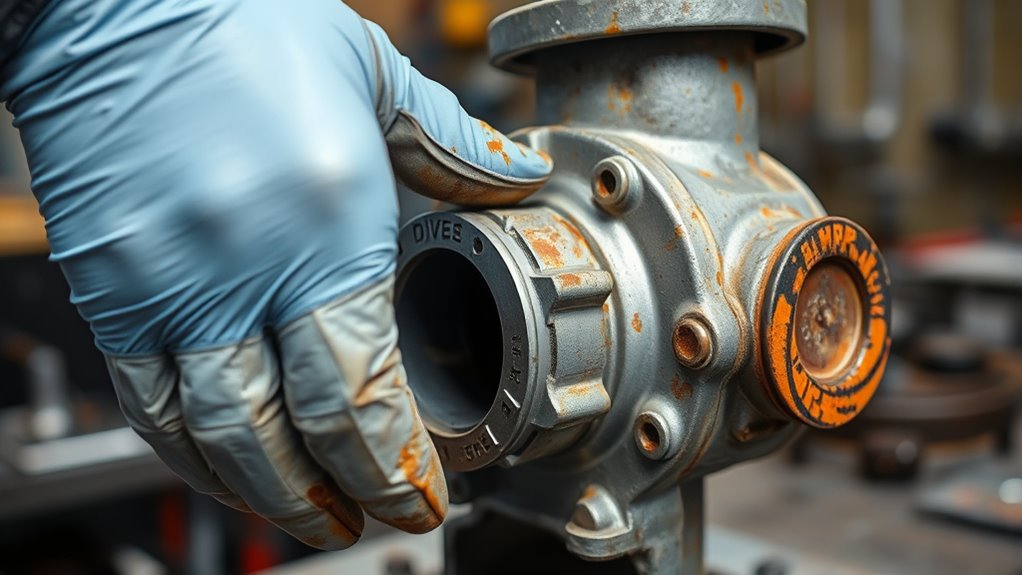
Conducting a visual inspection is a vital step in identifying early signs of pump damage. By examining the pump’s exterior and components, you can detect issues that affect pump fluid dynamics and influence maintenance scheduling. Look for:
- Cracks or corrosion on the casing that may lead to leaks or structural failure.
- Leaking seals or joints indicating seal wear or damage.
- Accumulation of debris or buildup that disrupts fluid flow.
- Worn or chipped impellers that hinder pump efficiency.
Regular inspections help you catch problems early, preventing costly repairs and downtime. Focus on these signs to ensure your pump maintains *crucial* performance and aligns with your maintenance schedule. A proactive approach keeps your pump operating smoothly and extends its lifespan.
Unusual Noises and Vibrations
Unusual noises and vibrations are often early warning signs that your pump needs attention. During routine pump maintenance, listen carefully for knocking, grinding, or rattling sounds, and feel for excessive vibrations. These issues can indicate worn bearings, misaligned components, or loose parts. Noise troubleshooting helps identify the source of problems before they escalate, reducing potential damage. If you notice abnormal sounds or vibrations, stop the pump and inspect for loose bolts, damaged impellers, or misaligned shafts. Addressing these issues promptly can prevent costly repairs or complete pump failure. Regularly monitoring noise and vibrations is essential for maintaining ideal pump performance and extending its lifespan. Don’t ignore these signs; they’re your first clue to necessary part replacements. Additionally, understanding pump tuning can help optimize performance and prevent issues related to worn components.
Reduced Pump Performance and Flow Rate

If you notice your pump isn’t delivering the expected flow rate or seems to be operating less efficiently, it could be a sign of underlying issues that need attention. Reduced pump performance often stems from worn or damaged parts affecting pump efficiency and flow regulation. To diagnose and address this, consider these factors:
Watch for reduced flow or efficiency indicating worn parts needing attention.
- Blockages or debris in the impeller or inlet, restricting flow.
- Worn impeller blades reducing flow capacity.
- Misaligned or damaged seals causing pressure loss.
- Pump cavitation, disrupting smooth operation and flow stability.
- Proper maintenance routines can help prevent premature wear and extend the lifespan of your pump components.
Monitoring these signs helps you identify when parts need replacement. Addressing worn components restores ideal flow regulation and pump efficiency, ensuring reliable performance and preventing further damage.
Leaking or Dripping Pump Components
You might notice water or fluid pooling around your pump, which signals a leak. Leaks can stem from worn seals, loose fittings, or cracks in components. Identifying the cause helps you decide whether to repair or replace the faulty parts efficiently. Regularly inspecting and maintaining air purifier filters can prevent buildup that contributes to leaks.
Detecting Leaking Signs
Detecting leaking signs in pump components is essential for maintaining ideal performance and preventing costly damage. Look for visible fluid around seals, fittings, or joints, which indicates leaks. Unusual drops in pressure or flow rates can also signal a leak, especially near pump lubrication points. Inspect electrical wiring for signs of moisture or corrosion, as leaks can cause electrical issues. Additionally, listen for dripping sounds or irregular operation, which may point to internal leaks. Regularly check these indicators to catch problems early. Staying vigilant about leaking signs ensures your pump remains reliable and functional over its lifespan. Recognizing early warning signs can help you address issues before they lead to significant repairs or downtime.
Causes of Drips
Drips from pump components often stem from a variety of mechanical and sealing issues. In pumps used in agriculture and industrial pump maintenance, worn or damaged seals are a common cause of leaks. Over time, seals can degrade due to constant pressure, temperature fluctuations, or chemical exposure, allowing fluid to escape. Loose fittings or bolts can also cause drips, especially if they loosen from vibration or improper installation. Cracks or corrosion in pump casings or components may develop, creating pathways for leaking. Additionally, worn-out or misaligned impellers can cause pressure imbalances that lead to drips. Regular inspection during industrial pump maintenance helps identify these issues early, preventing more significant damage and ensuring the pump functions efficiently without leaks. Proper seal maintenance is essential to prevent leaks and extend the lifespan of your pump.
Repair and Replacement
When a pump component starts leaking or dripping, timely repair or replacement becomes essential to restore proper function and prevent further damage. Leaks disrupt pump fluid dynamics, reducing efficiency and risking component failure. To address this effectively:
- Identify the source of the leak quickly to determine if it requires a simple seal replacement or a full part swap.
- Follow proper replacement scheduling to prevent recurring issues and maintain ideal performance.
- Use compatible parts designed for your pump to ensure seamless integration and reliable operation.
- Conduct the repair promptly to minimize downtime and avoid escalating damage that could compromise the entire system.
Overheating and Excessive Heat Generation
Overheating and excessive heat generation in pump systems can lead to serious component failures and reduced efficiency. When fluid temperature rises beyond normal levels, it causes thermal expansion of pump parts, which puts extra stress on seals and bearings. This heat buildup often indicates issues like improper lubrication or clogged cooling channels. If you notice the pump running hotter than usual, it’s essential to inspect for signs of worn-out parts that can’t dissipate heat effectively. Over time, sustained high temperatures weaken components, increasing the risk of leaks or breakdowns. Addressing overheating early helps prevent costly repairs and maintains ideal performance. Regular maintenance and monitoring of fluid temperature are crucial to keep your pump operating safely and efficiently.
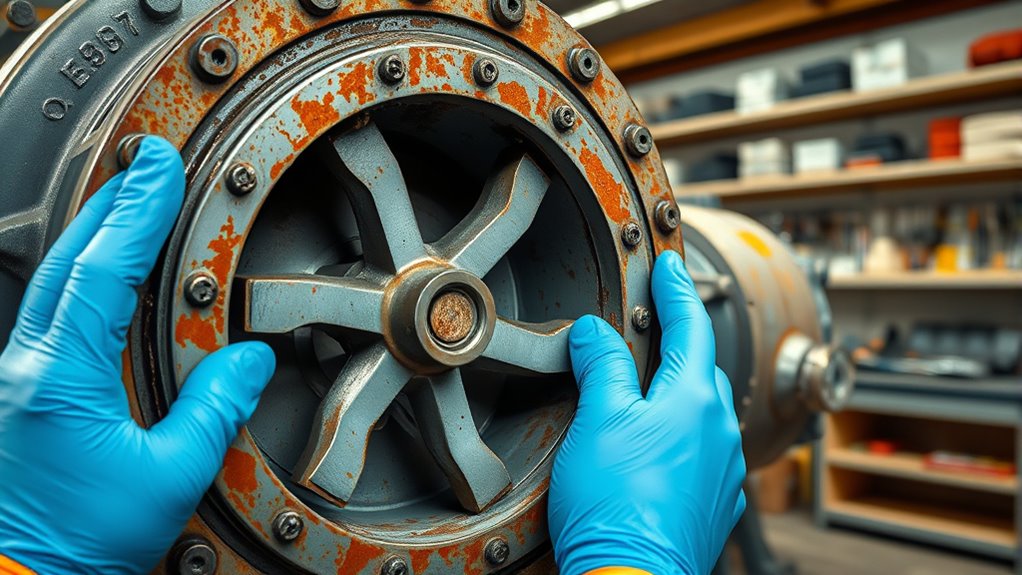
Checking for Corrosion and Rust

Corrosion and rust can silently compromise your pump’s integrity, making it essential to inspect for these issues regularly. Look for discoloration, pitting, or flaky surfaces on metal parts, which signal corrosion or rust. To maintain peak performance, consider these steps:
- Examine all accessible metal components for early signs of rust or corrosion.
- Use a soft brush to gently remove surface rust, aiding in rust removal.
- Apply corrosion prevention treatments to protect vulnerable areas from future damage.
- Schedule regular inspections to catch issues before they worsen, ensuring the longevity of your pump.
- Remember that proper installation and venting are crucial for preventing moisture buildup that can accelerate corrosion.
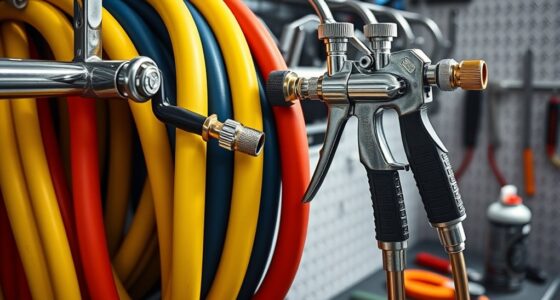
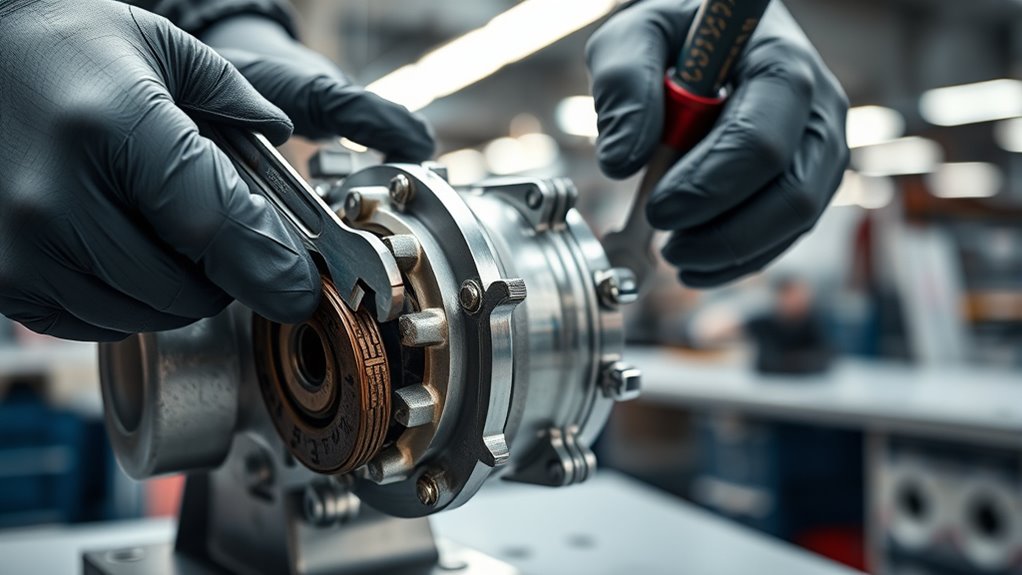
Tools and Safety Precautions Before Replacing Parts
Before you start replacing pump parts, make sure you have the right tools on hand, like wrenches and screwdrivers. You also need to wear proper personal protective equipment, such as gloves and safety goggles, to stay safe. Finally, verify your work area is clean and well-lit to prevent accidents and make the process easier. Additionally, understanding the repairing headphones process can help you identify potential issues early and ensure proper handling.
Tools Needed for Replacement
To safely replace pump parts, you need to gather the right tools and follow essential safety precautions. Proper tools streamline pump maintenance and guarantee troubleshooting procedures go smoothly. First, a set of adjustable wrenches allows you to loosen and tighten fittings securely. Second, screwdrivers—both flathead and Phillips—are indispensable for removing panels or securing components. Third, pliers help grip or manipulate small parts during replacement. Finally, a clean, lint-free cloth is crucial for wiping down parts and preventing debris from entering the pump. Having these tools ready minimizes damage and keeps your troubleshooting procedures efficient. Remember, using the correct tools also reduces the risk of injury and helps maintain the pump’s integrity during repair. Additionally, understanding lifestyle factors can influence how you approach maintenance routines, making them more effective and less stressful.
Personal Protective Equipment (PPE)
Ensuring your safety during pump part replacement starts with the right personal protective equipment (PPE). Before you begin, make sure you wear appropriate PPE, including gloves, safety goggles, and protective clothing. Check that your gloves are chemically compatible with the fluids you’ll be handling to prevent skin irritation or damage. Safety goggles protect your eyes from splashes or debris, while a respirator may be necessary if fumes are present. Always inspect your PPE for damage or wear before use. Proper PPE not only shields you from hazardous chemicals but also minimizes the risk of injury. Remember, investing in the correct PPE is essential for safe, effective pump maintenance and helps prevent accidents during the replacement process. Additionally, reviewing safety protocols for chemical handling can further enhance your safety measures.
Work Area Safety Measures
A clean and organized work area is essential for safe pump part replacement. It helps prevent accidents and guarantees you can monitor pump fluid dynamics effectively. Before starting, review your maintenance scheduling to confirm the pump is properly shut down and depressurized. Use the following safety measures:
- Secure the area: Keep tools and parts organized to avoid spills or misplaced components.
- Wear PPE: Goggles, gloves, and protective clothing shield you from splashes and debris.
- Drain fluids safely: Properly contain and dispose of pump fluids to prevent environmental hazards.
- Disconnect power sources: Ensure the pump is disconnected from electrical supply to avoid accidental startup.
Additionally, understanding the mechanics of the pump can help you troubleshoot and ensure proper reassembly after parts are replaced.
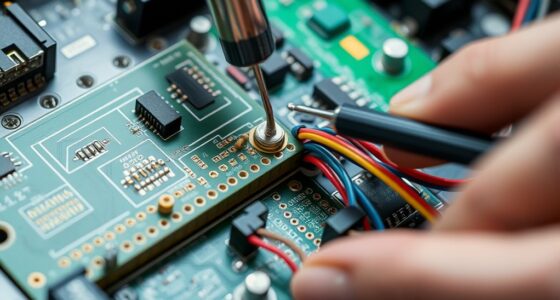
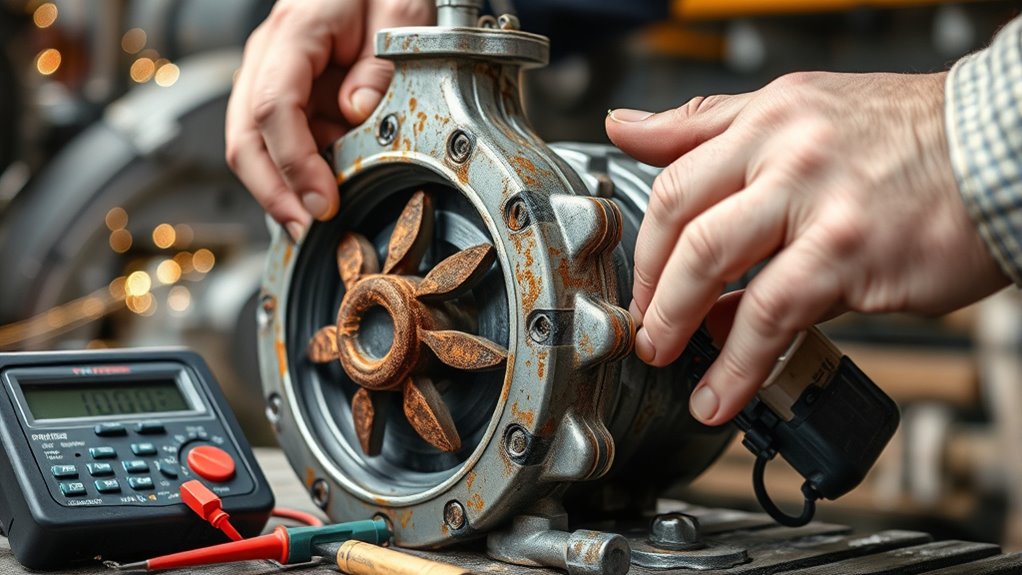
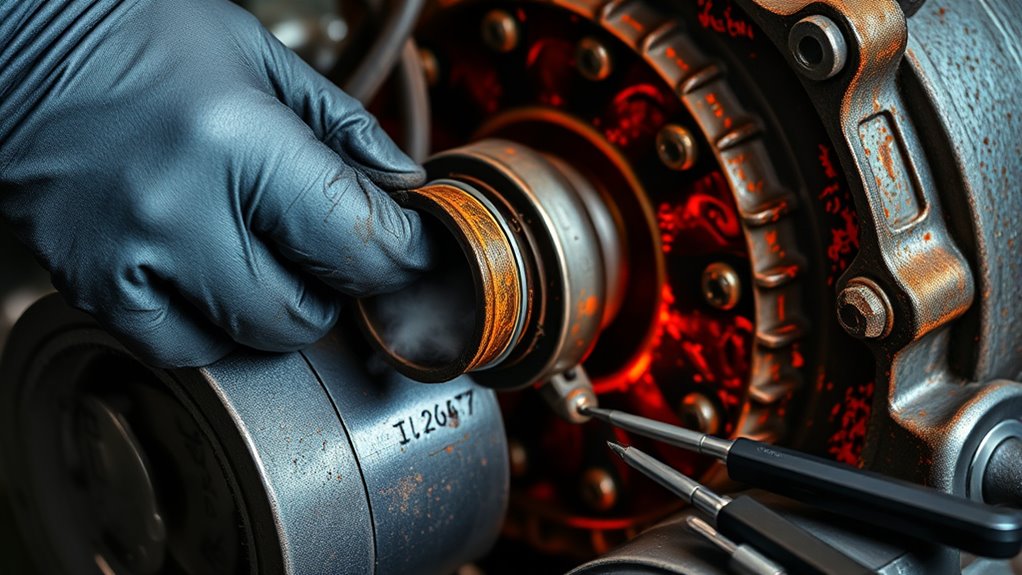
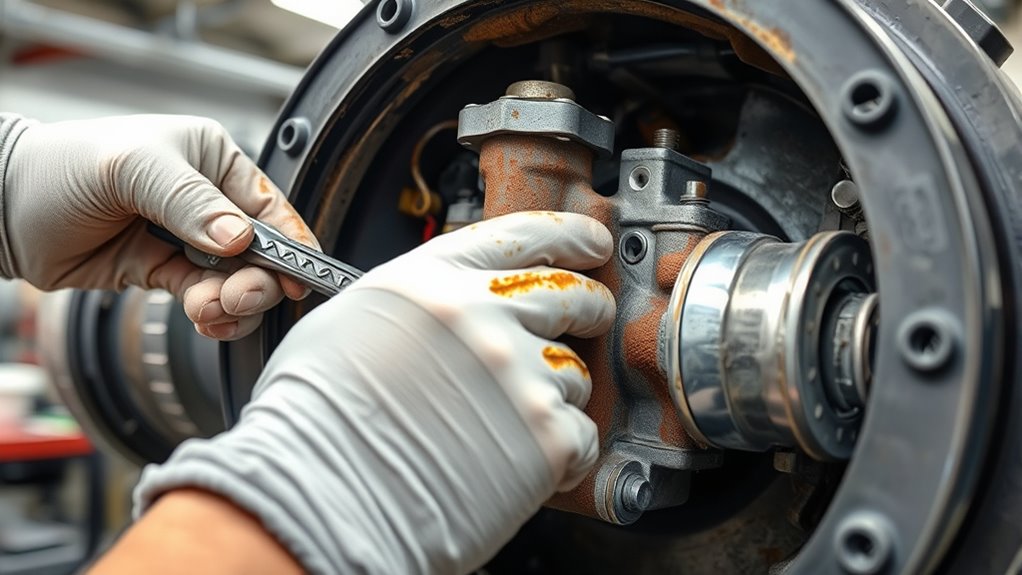
Step-by-Step Guide to Removing Old Pump Parts
Removing old pump parts is a straightforward process that requires careful preparation and attention to detail. Start by turning off the power supply and draining any residual fluids to prevent spills. Use the appropriate tools to loosen bolts and fasteners holding the worn components in place. Carefully detach the parts, noting their orientation for easier installation later. During pump maintenance, keep track of each component’s condition to assess which need replacing. Be gentle to avoid damaging adjacent parts, ensuring the pump’s component longevity. Clean the surrounding area to prevent debris from entering the system. Always wear safety gear and follow manufacturer instructions. Taking your time during removal ensures you don’t damage other parts and simplifies the installation of new components. Additionally, inspecting the pump system for signs of wear can help prevent future failures and maintain optimal performance.
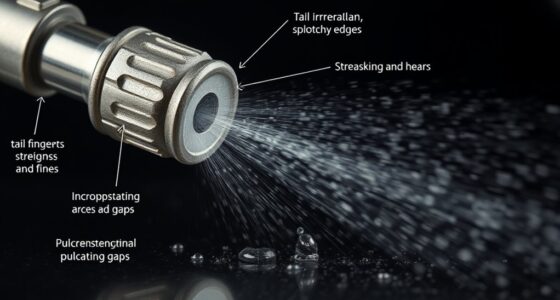
Installing and Testing New Pump Components
Now that you’ve removed the old parts, it’s time to install the new components correctly. Focus on proper techniques to guarantee everything fits and functions as intended. Once installed, verify the system’s performance to catch any issues early and ensure peak operation. Remember to monitor the spray pattern and flow during testing to confirm the adjustments are successful.
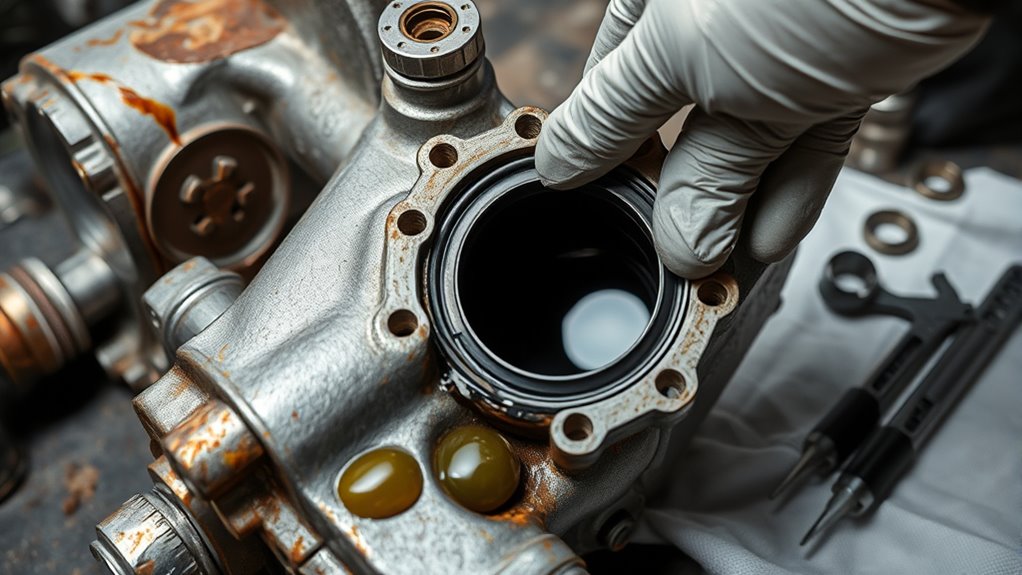
Proper Installation Techniques
To guarantee the new pump components function correctly, you must carefully follow proper installation procedures. First, ensure all parts are clean and free of debris, which is vital for accurate pump calibration. Next, align components precisely to maintain ideal fluid dynamics and prevent turbulence. Third, tighten all fasteners according to manufacturer specifications to avoid leaks or misalignment. Finally, perform a thorough inspection to confirm that seals and gaskets are properly seated. Proper installation impacts fluid flow, minimizing vibrations and ensuring efficient operation. Additionally, verifying the family background and cultural heritage can provide better insight into the specific design needs of certain pump components. Taking these steps helps your pump operate smoothly, extending its lifespan and maintaining optimal performance. Always consult the manufacturer’s guidelines for specific installation details related to your pump model.
System Performance Verification
Have you thoroughly tested your pump after installation to guarantee it performs as expected? Start by verifying pump calibration to ensure the system delivers accurate flow rates. Check for proper flow adjustment by monitoring output and making necessary tweaks to match specifications. Observe the pump’s operation for abnormal noises, vibrations, or leaks that could indicate issues. Use measuring instruments to confirm pressure and flow consistency across different operating points. If flow rates are off, fine-tune the flow adjustment controls until the desired performance is achieved. Always run the pump for a sufficient period to observe steady operation. This verification process helps identify any need for further calibration or adjustments, ensuring your pump runs efficiently and reliably long-term. Additionally, inspecting system components for wear or damage can prevent future failures and optimize performance.
Frequently Asked Questions
How Often Should Pump Parts Be Replaced Proactively?
You should follow a proactive replacement schedule for pump parts based on their expected lifespan, which varies by pump type and usage. Typically, inspect and replace components every 1 to 3 years to prevent unexpected failures. Regular maintenance helps extend the pump’s lifespan and guarantees peak performance. Keep track of your pump’s condition, and don’t wait for signs of wear—schedule replacements early to avoid costly downtime.
Can I Replace Pump Parts Without Professional Help?
You can attempt a DIY repair if you’re comfortable with basic tools and follow clear instructions, but don’t hesitate to seek professional service for complex issues. Replacing pump parts yourself can save money, but improper repair might cause further damage or safety risks. If you’re unsure or encounter difficulties, it’s best to contact a professional to guarantee the job’s done correctly and safely.
What Are the Costs Associated With Replacing Pump Components?
Imagine you’re assembling a puzzle; each piece has a price. When replacing pump components, you’ll face cost estimation for parts and labor, which varies based on the pump’s complexity. Some repairs might be covered under warranty, reducing your expenses. Consider these factors to budget wisely. Keep in mind, professional help can add to the cost but often guarantees quality, saving you money in the long run.
How Do I Choose Compatible Replacement Parts?
When choosing compatible replacement parts, you need to consider material compatibility to ensure the new components work effectively with your pump. Check that the parts match the specifications of your existing pump model. Additionally, opt for parts from reputable suppliers with a solid reputation, as this guarantees quality and reliability. Doing so helps prevent future issues and guarantees the best pump performance, saving you time and money in the long run.
Are There Maintenance Tips to Extend Pump Lifespan?
Your pump’s lifespan could rival that of a legendary phoenix if you follow simple maintenance tips. Stick to proper lubrication schedules to keep parts smoothly running and prevent unnecessary wear. Also, practice storage best practices—keep your pump in a clean, dry environment and protect it from extreme temperatures. Regular inspections and timely adjustments will help you avoid costly repairs, ensuring your pump stays strong and efficient for years to come.
Conclusion
When wear and tear worsen, don’t delay—detect, diagnose, and replace diligently. By following these simple steps, you guarantee your pump performs perfectly and prolongs its lifespan. Remember, regular checks and careful craftsmanship can prevent costly repairs. Stay attentive to sounds and signs, and swiftly swap worn-out parts with confidence. Keep your pump pristine, powerful, and problem-free by promptly prioritizing prevention and proper part replacement. Your pump’s peak performance depends on your proactive care!

Whether it’s a step-by-step tutorial on achieving flawless finishes or an in-depth analysis of the latest airless paint sprayer models, Joe’s ability to articulate complex ideas in a simple and engaging manner resonates with our diverse audience. His practical tips and techniques empower readers to tackle their projects with confidence.