
A serious paint setup blends spraying, rolling, sanding, and cleaning to guarantee a smooth, professional finish that lasts. Spraying covers large areas quickly, while rolling adds control and texture. Sanding smooths imperfections and boosts adhesion; cleaning keeps tools free of debris. Combining these techniques saves time and prevents mistakes, giving you a flawless result. Mastering this integrated approach ensures durability and quality. Keep going to discover how each step connects for perfect results.

Get business pricing on tools and workshop supplies
- Business-only prices and quantity discounts
- Tax-exempt purchasing
- Multiple users, one account, clear invoices
Key Takeaways
- Combining spraying, rolling, sanding, and cleaning ensures a smooth, durable, and professional-quality finish.
- The integrated approach enhances efficiency by leveraging the strengths of each technique.
- Sanding improves surface adhesion, reducing imperfections that can cause future issues.
- Proper cleaning prevents cross-contamination, ensuring consistent color and texture.
- Blending these methods creates a seamless workflow for long-lasting, visually appealing results.
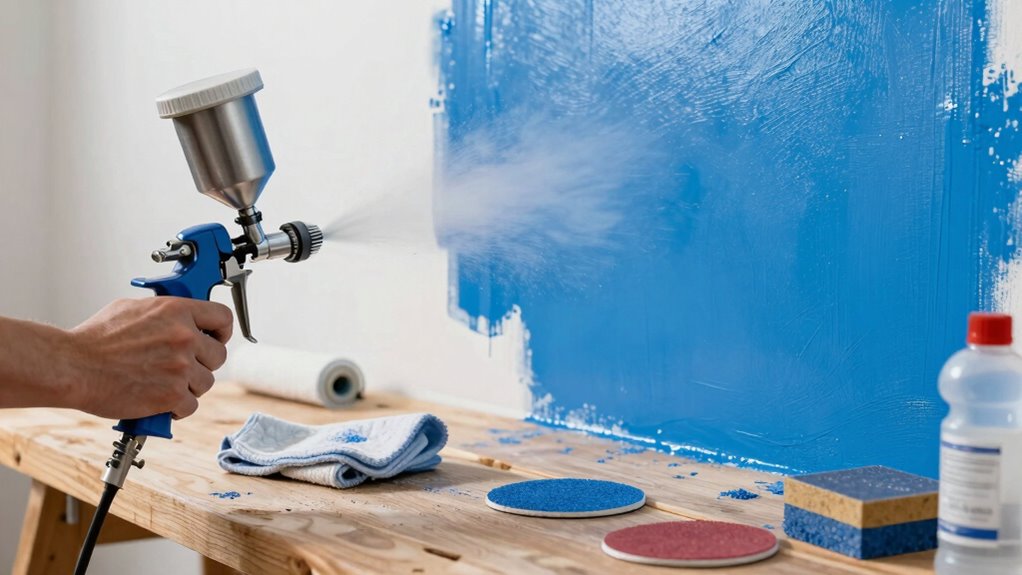
Getting your paint setup right from the start can make a big difference in the quality and efficiency of your project. When you’re serious about achieving professional results, blending spraying, rolling, sanding, and cleaning becomes essential. Each step plays an *indispensable* role in creating a smooth, durable finish, and when they’re combined effectively, your work will stand out. To start, understanding the importance of correct brush techniques and paint color selection helps set a solid foundation for the entire process. Using proper brush techniques ensures even coverage and minimizes streaks, especially when applying multiple coats or working on detailed areas. Picking the right paint colors from the outset prevents mismatched hues and reduces the need for touch-ups later, saving you time and effort.
Integrating spraying and rolling into your workflow offers versatility and speed. Spraying accelerates large surface coverage and delivers a sleek, uniform look, while rolling is perfect for textured finishes or areas that require more control. However, to achieve a seamless blend between these methods, you need to prepare surfaces thoroughly with sanding. Sanding smooths out imperfections, creates a better key for the paint, and *guarantees* that subsequent layers adhere properly. It’s a step that can’t be skipped if you want a flawless finish, and it helps prevent issues like peeling or uneven texture down the line.
Cleaning your tools and workspace regularly is just as *vital* as the other steps. Proper cleaning between different phases — especially after spraying or rolling — prevents cross-contamination and keeps your tools in top condition. Dirty brushes or rollers can introduce debris or uneven patches, undermining your efforts. When you’re switching between techniques, take the time to clean thoroughly so that each phase works in harmony. This discipline also extends to preparing your workspace, protecting surfaces, and maintaining a clutter-free environment, which streamlines your workflow and minimizes mistakes.
Ultimately, the reason serious paint setups blend spraying, rolling, sanding, and cleaning is that each step complements the others. Brush techniques and paint color selection set the stage, while spraying and rolling cover large areas efficiently. Sanding creates a perfect surface, and cleaning *guarantees* that no contamination messes up your work. When these elements work together seamlessly, your project not only looks better but also lasts longer. It’s this integrated approach that separates amateur results from professional finishes. When you treat each step with care and precision, your paint setup becomes a powerful tool to deliver a flawless, durable, and visually stunning outcome.
professional paint sprayer for walls
As an affiliate, we earn on qualifying purchases.
As an affiliate, we earn on qualifying purchases.
Frequently Asked Questions
How Do I Choose the Right Paint Type for My Project?
To choose the right paint type, consider your project’s surface and desired finish. Guarantee the paint has the right consistency for easy application, whether spraying or rolling. Proper surface preparation is essential—clean, sand, and prime the surface before painting. Use water-based paints for interior walls and oil-based for durability on furniture or exterior surfaces. Matching paint to your project’s specific needs guarantees a lasting, professional-looking result.
What Safety Gear Is Recommended During Painting?
You need protective gear like gloves, goggles, and a mask to stay safe during painting. While it may seem like overkill, these items shield you from fumes and splatters. Don’t forget ventilation tips—open windows and use fans—to guarantee fresh air flows. Combining safety gear with proper ventilation keeps your workspace safe and comfortable, transforming a potentially hazardous task into a manageable, even enjoyable, project.
How Long Should I Wait Between Coats?
You should wait at least 2 to 4 hours between coats, but always check the paint’s drying times on the label. Use proper brush techniques to apply an even coat, which helps it dry faster. Rushing this step can cause issues like streaks or peeling. Patience guarantees a smooth finish. If you’re unsure, wait a little longer to guarantee each coat fully dries before applying the next.
Can I Use the Same Tools for Different Paint Finishes?
You can’t usually use the same tools for different paint finishes because of tool compatibility and finish versatility. For example, a high-quality sprayer works well with smooth, glossy finishes, but may not be suitable for textured or matte surfaces. Switching tools guarantees you get a professional look for each finish, preventing contamination or uneven results. Always clean tools thoroughly between uses, and choose equipment designed for the specific paint type and finish.
What Are Common Mistakes to Avoid During Painting?
You should avoid rushing surface preparation, as skipping this step leads to uneven paint application and peeling later. Always clean and sand surfaces thoroughly before painting to guarantee proper adhesion. Don’t apply paint in thick coats; instead, use multiple thin layers for a smooth finish. Keep your tools clean during application to prevent drips and uneven coverage. Paying attention to these details helps you achieve professional results and a durable finish.
Conclusion
Blending spraying, rolling, sanding, and cleaning isn’t just about achieving a flawless finish—it’s about efficiency and durability. Did you know that improper prep and technique can reduce paint lifespan by up to 30%? By mastering these combined methods, you guarantee your project lasts longer and looks better. Keep these tips in mind, and you’ll save time, effort, and money in the long run. A well-blended setup truly transforms your painting experience—so don’t skip the essential steps!
Halloween Picks
halloween
As an affiliate, we earn on qualifying purchases.