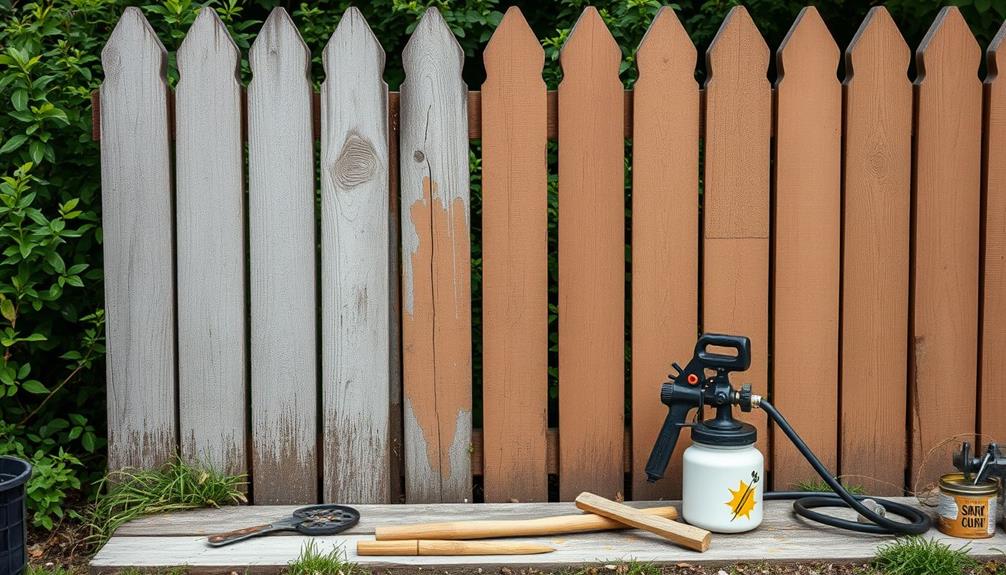
Using an airless paint sprayer to paint brick can really streamline your project. First, clean and repair the brick surface thoroughly. Next, assemble and configure the sprayer with the appropriate tip size for masonry paint. Maintain 8-10 inches from the surface while spraying and use horizontal strokes for the first coat, followed by vertical strokes for the second to guarantee even coverage. Allow each coat to dry before adding the next. Finally, don't forget to clean the sprayer after use. There's plenty more to evaluate for a flawless finish if you want to enhance your painting skills even further.
Key Takeaways
- Clean and dry the brick surface thoroughly, ensuring no moisture is trapped before painting for optimal adhesion.
- Assemble the airless paint sprayer according to the manufacturer's instructions and select the appropriate spray tip size for masonry paints.
- Maintain a distance of 8-10 inches from the brick while using a consistent side-to-side motion for even coverage.
- Apply the first coat with horizontal strokes, then follow with vertical strokes for the second coat, overlapping by 50%.
- Clean the sprayer components after use and store them in a dry environment to prevent residue buildup.

VEVOR 750W Stand Airless Paint Sprayer, 3000PSI High Efficiency Electric Airless Sprayer, Fine and Even Painting Effect, Handheld Paint Sprayers for Home Interior and Exterior Furniture and Fences
- Powerful Motor: 750W motor with 3000 PSI pressure
- Fast Coverage: Up to 5x faster than rolling
- Smooth Painting: Flow rate of 1.2 LPM for continuous work
As an affiliate, we earn on qualifying purchases.
As an affiliate, we earn on qualifying purchases.
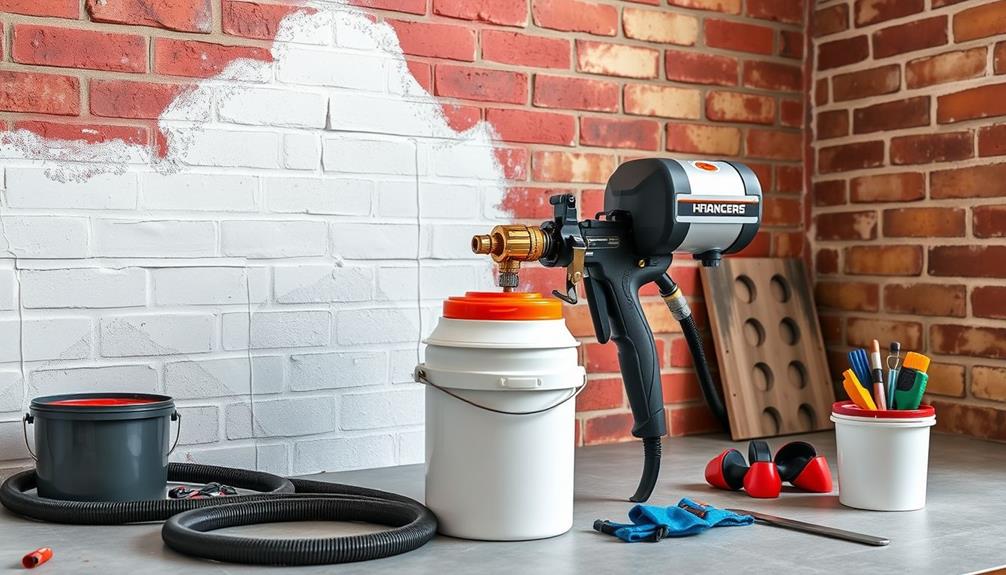
Tools and Supplies Needed
When you're ready to tackle painting brick with an airless sprayer, having the right tools and supplies makes all the difference. Start with a high-quality airless paint sprayer, like the Wagner Control Pro 130, specifically designed for masonry surfaces to achieve professional results.
Airless paint sprayers use high pressure to guarantee an even finish, making them ideal for your project. Next, you'll want to use Behr Masonry, Stucco & Brick Paint, as it covers a substantial area per bucket—consider getting 10 gallons for larger projects.
Gather essential tools and supplies: pre-taped plastic simplifies taping windows, while small paint brushes are perfect for touch-ups. Multiple paint shields will help you maintain clean lines during application.
Don't forget to opt for appropriate spray tips; sizes between 519-525 work well for dilution, while larger sizes like 535-543 are suitable for silicate paints on mineral substrates.
Before you begin painting, prepare the surface by power washing the brick and filling any holes. Masking areas not to be painted will guarantee a clean application, preventing any accidental overspray.
With the right tools and supplies in hand, you're set for a successful painting project!
Choosing the Right Paint
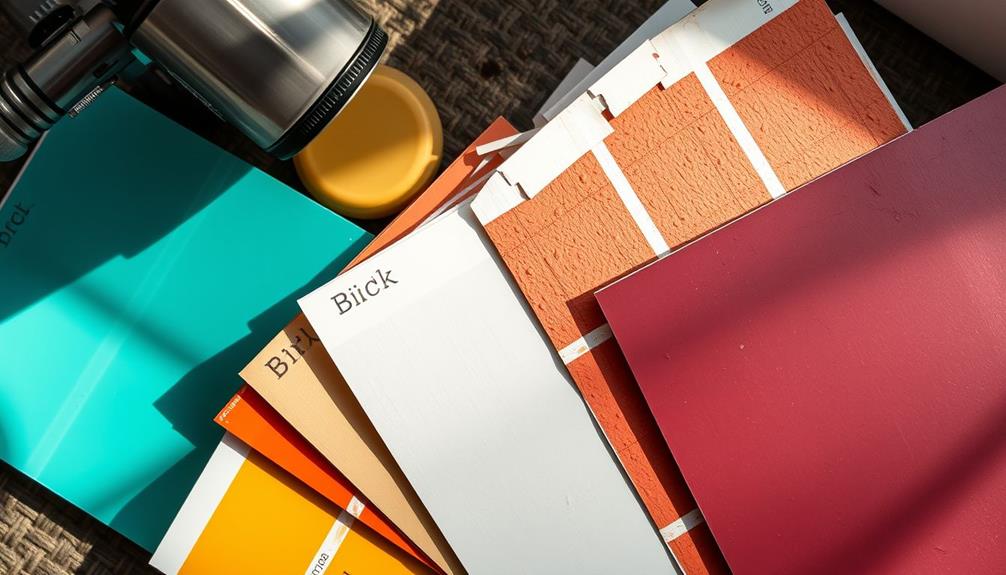
Choosing the right paint is vital for achieving a durable and visually appealing finish on your brick surfaces. Start by selecting a masonry paint that contains organic binders, like silicone resin or silicate dispersion, to guarantee durability and water resistance.
It's important to choose paint specifically formulated for airless sprayers, as this assures ideal application and coverage on the porous brick surface. Additionally, consider the benefits of using air purification systems to maintain a clean working environment while painting, as this can enhance your overall painting experience.
For better adhesion and long-lasting results, consider using a combination of paint and primer. This approach helps the paint bond effectively to the brick, enhancing overall durability.
Additionally, check the compatibility of the paint with your sprayer's recommended tip sizes; you'll typically need larger tips (535-543) for silicate paints on mineral substrates.
Before committing to a color, always test paint samples in various lighting conditions on the brick surface. This step helps you see how the paint appears under different lights, making sure you achieve the desired look.
Preparing the Brick Surface
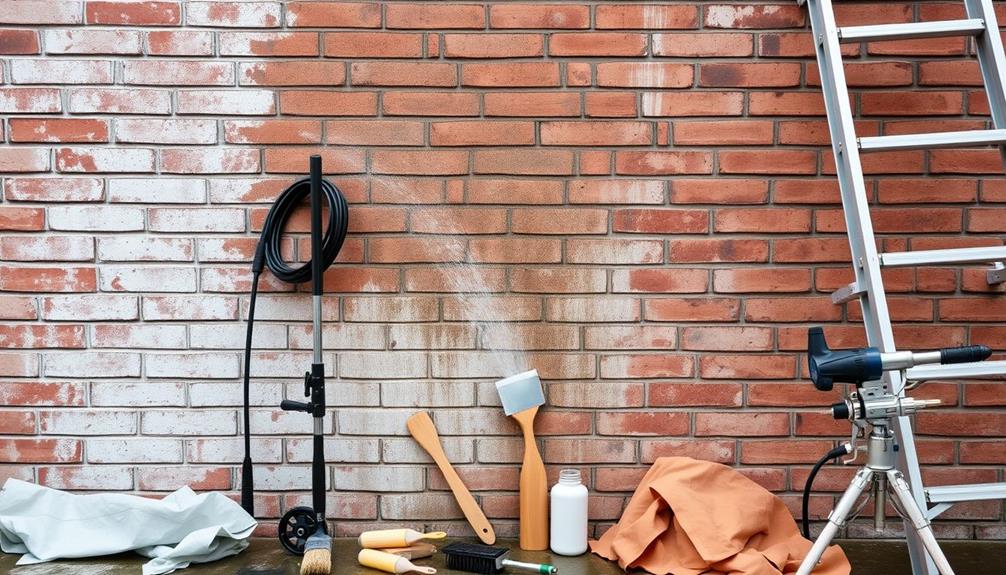
Before you start painting, you need to clean the brick surface to remove any dirt or debris. This step is essential, as a clean surface guarantees better adhesion of the paint.
Repair any damaged areas to guarantee a smooth foundation, and make sure the brick dries completely before applying paint. This preparation sets you up for a successful and even finish.
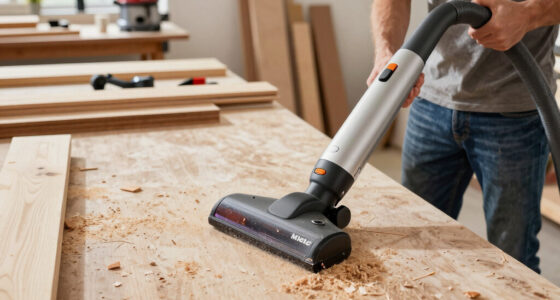
Additionally, consider using a vacuum cleaner with appropriate attachments to effectively remove dust from the crevices of the brick.
Clean the Brick Surface
Preparing the brick surface is vital for achieving a smooth and long-lasting paint finish. Start by power washing the brick to clean the brick surface thoroughly, removing dirt, mildew, and any loose paint. This step is essential for guaranteeing proper paint adhesion, as regular updates to content can enhance the overall quality and effectiveness of your project.
After washing, let the brick dry for at least 24-48 hours to avoid moisture-related issues during painting.
Once the surface is dry, inspect the brick for any cracks or damage. If you find any, fill them with a suitable caulk or masonry filler to create a smooth surface.
Next, you'll want to remove any peeling paint using a scraper or wire brush. This will guarantee a clean substrate for the new paint application.
Before applying paint, consider using a primer specifically formulated for masonry. This will enhance paint adhesion and improve the durability of your final finish.
With the surface properly prepped, you're now ready to use your airless paint sprayer for an even application. Taking these steps will help you achieve a professional-looking result that lasts.
Repair Damaged Areas
After confirming your brick surface is clean and dry, it's time to focus on repairing any damaged areas. Start by inspecting the surface for cracks, holes, or other imperfections. For small gaps, use a masonry filler or patching compound, following the manufacturer's instructions for application. For larger cracks, hydraulic cement works best, as it expands while drying to create a durable repair.
Once you've filled the damaged areas, let them dry completely. Then, sand down the repairs to create a smooth surface, which will improve paint adhesion and give your wall an even appearance.
Finally, grab your power washer to remove any dust or debris from the entire brick surface before painting. This step confirms that your new paint adheres properly and looks great.
Here's a quick overview of the repair process:
| Step | Description |
|---|---|
| Inspect | Check for cracks, holes, and damaged areas. |
| Fill | Apply masonry filler or hydraulic cement as needed. |
| Smooth | Sand down repaired areas for a smooth finish. |
| Power Wash | Clean the surface to remove dust and debris. |
| Prepare for Painting | Confirm a clean, smooth surface for paint adhesion. |
Allow Proper Drying Time
Allowing the brick surface to dry completely is vital for achieving a smooth and lasting paint finish. After power washing, you should allow proper drying time of at least 2-3 days. This period guarantees peak paint adhesion and prevents issues like peeling or bubbling that can arise from trapped moisture beneath the paint layer.
Additionally, confirming that the surface is free from any debris or residue, similar to maintaining a clog-free toilet, will further enhance the paint's longevity.
Keep in mind that drying time may vary based on weather conditions. High humidity or low temperatures can prolong the drying process, so it's important to monitor the moisture level in the brick. Using a moisture meter can help you confirm that the brick is adequately dry before you begin painting.
Setting Up the Sprayer
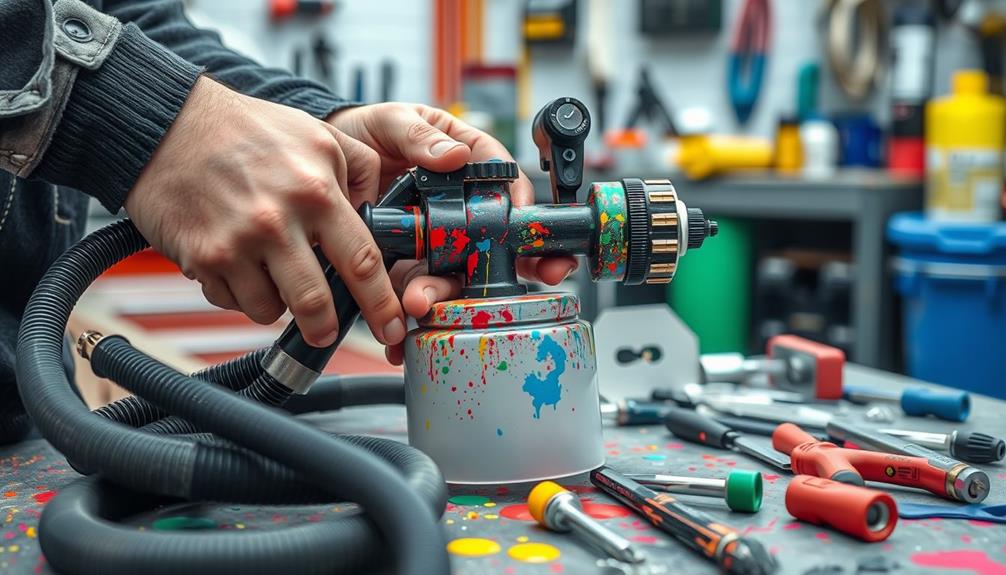
Setting up your airless paint sprayer is essential for achieving a smooth and even finish on your brick surfaces. Start by following the assembly instructions provided by the manufacturer, making certain every component is securely connected.
For peak performance, consider using a Graco FFLP Fine Finish Low Pressure Reversible Tip which is designed to reduce overspray and improve control. Next, select the appropriate spray tip size, usually between 519-525, which is ideal for dispersion paints and guarantees peak paint application on brick surfaces.
Once your sprayer is assembled, mix your paint and primer, if required, and fill the paint container. Perform a test spray on cardboard to fine-tune your pressure settings. Set the sprayer's pressure to a medium level; this prevents overspray while providing enough force to cover the porous brick effectively.
For better maneuverability, attach a long hose. This allows you to move around the brick surface easily, reducing the need for frequent repositioning of the sprayer.
With everything set up, you're ready to achieve a professional-looking finish on your brick surfaces. Make certain you have everything in place before you start spraying to make the process smoother and more efficient.
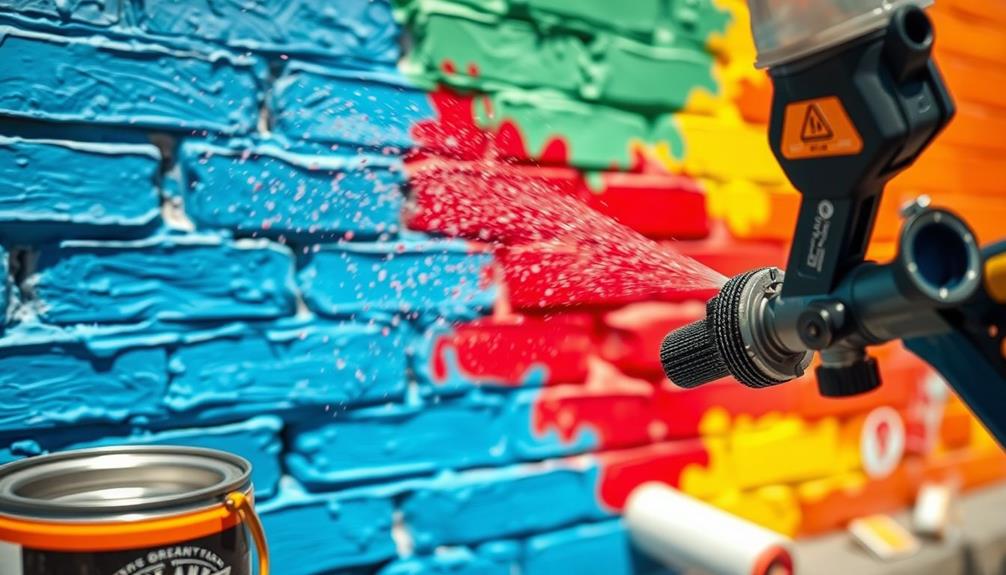
Spraying Techniques
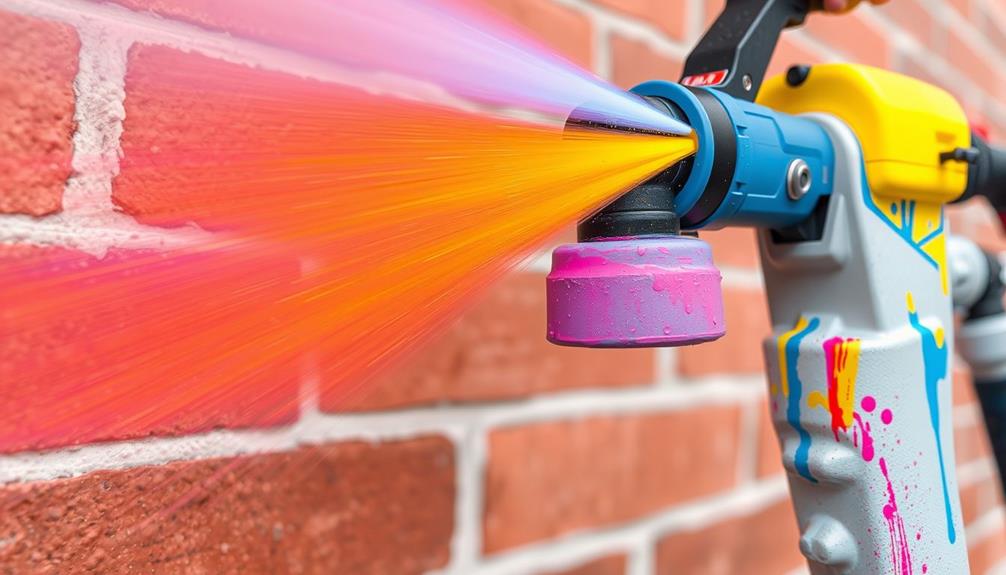
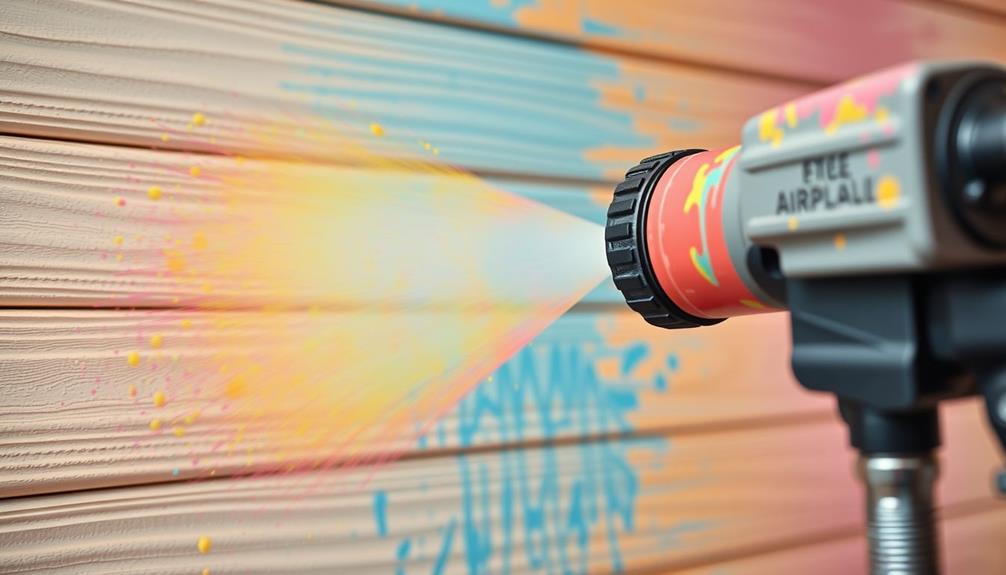
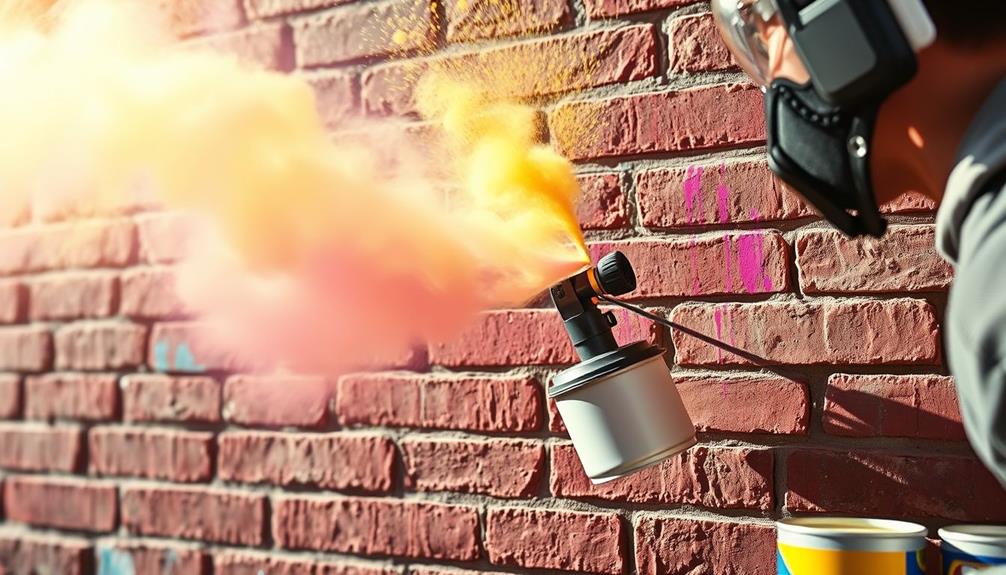
When using your airless paint sprayer, keep a distance of 8-10 inches from the brick surface for even coverage.
It can be helpful to verify your equipment is in top shape, similar to how garage door openers enhance home security with modern technology.
Employ a cross-hatching technique by applying the first coat horizontally and the second vertically to fill in gaps effectively.
Experiment with different angles to ensure you coat all edges and corners of the brick.
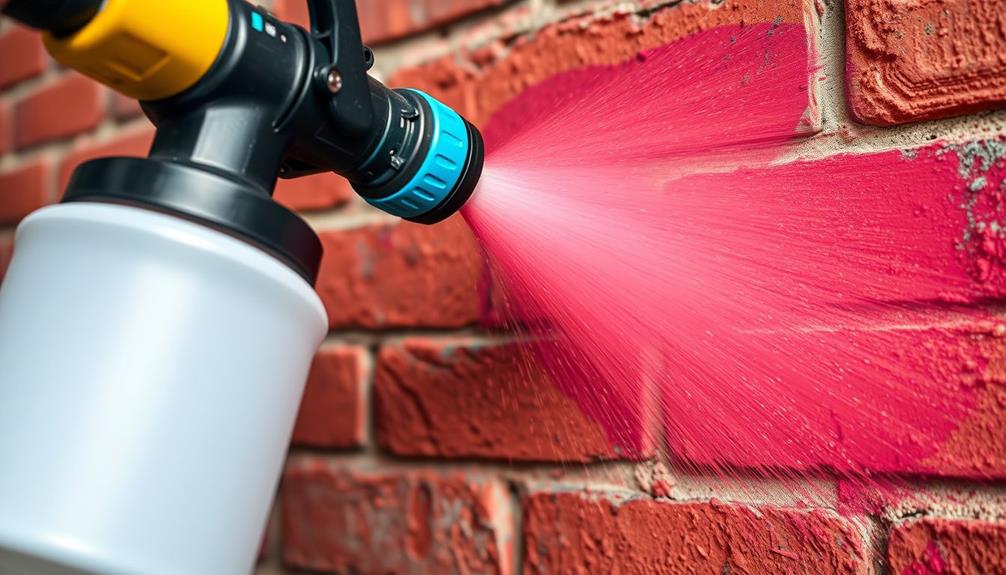
Optimal Distance and Angles
How can you guarantee an even finish when using an airless paint sprayer? Start by maintaining an ideal distance of 8-10 inches from the brick surface. This distance helps you achieve even coverage without excessive overspray.
When applying the first coat, spray from the base up to prevent drips and run-off, assuring a smooth application on the porous surface. For those seeking inspiration in their home renovation projects, consider exploring island getaways for a revitalizing perspective on design aesthetics.
For the second coat, you'll want to adjust your spray technique. Apply horizontally first, then use vertical strokes to fill in gaps. This method assures thorough coverage while also allowing you to coat edges and crevices effectively for a complete finish.
Remember to overlap each spray pass by about 50%. This overlap is vital to avoid missed spots and maintain uniformity across the brick surface.
Adjusting the nozzle angle can also enhance your results. By spraying from different directions, you'll be able to reach all areas of the brick.
Following these guidelines won't only improve your spraying technique but also contribute to a flawless look for your project. So, take your time and be precise for the best results!
Cross Hatching Technique
To achieve a flawless finish on textured surfaces, mastering the cross hatching technique is essential. This method involves applying your initial coat horizontally, followed by a second coat vertically. This approach guarantees thorough coverage of uneven surfaces, especially on textured materials like brick.
For those dealing with pet hair, utilizing a vacuum with a self-cleaning brush roll can greatly enhance your cleaning efficiency.
Here's how to effectively implement the cross hatching technique:
- Maintain a distance of 6 to 8 inches from the wall for an even application.
- Adjust the nozzle on your airless sprayer to create a wide spray pattern for the initial coat.
- Focus on edges and mortar to fill in gaps and nooks effectively.
Applying the First Coat
Applying the first coat with an airless paint sprayer requires careful attention to detail for best results. Start by maintaining an ideal distance of 8-10 inches from the brick surface. This helps guarantee even coverage while preventing overspray.
To enhance the aesthetic of your painted brick, consider using a neutral color palette that complements the natural surroundings, similar to popular modern farmhouse decor trends. Begin spraying from the base of the wall and work your way up, using a consistent side-to-side motion to effectively cover the porous texture of the brick.
Choose a spray tip size between 519-525 for optimal dispersion, as it's designed for rough surfaces like brick. Apply the first coat in a horizontal pattern, making sure to overlap each pass by approximately 50%. This technique promotes uniform coverage, allowing the paint to fill in any uneven areas effectively.
Once you've completed the first coat, allow adequate drying time, typically a few hours. This is essential to guarantee that the first coat is fully adhered before moving on to the second coat.
Applying the Second Coat

Once the first coat is completely dry to the touch, you can move on to applying the second coat. This typically takes about 1-2 hours, but keep an eye on environmental conditions that might affect drying time.
For the second coat, use a slightly larger spray tip size, like 525-543, to improve coverage on the porous brick surface.
To guarantee an even application, maintain a consistent distance of 8-10 inches from the wall as you spray. Use the cross-hatching technique by spraying horizontally first, then vertically, to fill in any gaps and achieve complete coverage.
Remember these key points:
- Use a larger spray tip size for better coverage.
- Keep a consistent distance for an even application.
- Allow 4-6 hours of drying time before removing protective coverings.
Following these steps will help you achieve a smooth, professional finish.
Once you've finished applying the second coat, be sure to wait the appropriate drying time before touching up or removing any tape to keep those edges clean. Enjoy your newly painted brick!
Cleanup and Maintenance
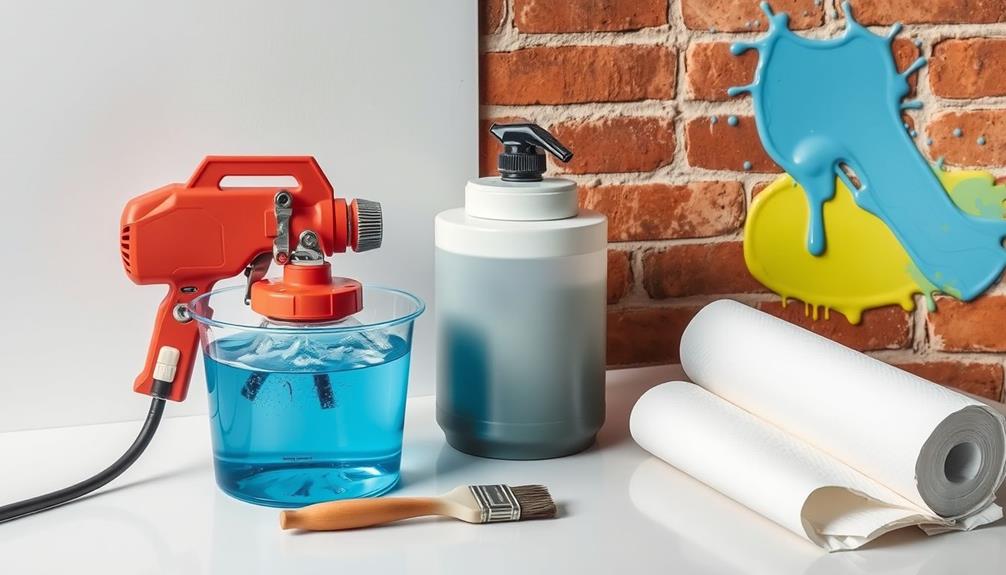
After you've finished your painting project, cleaning your airless paint sprayer promptly is vital to guarantee it continues to operate smoothly. Start by disassembling the sprayer components, including the nozzle and filter. Soak them in a cleaning solution to effectively remove any paint residue. This step is essential to prevent clogs that could hinder performance.
Here's a quick reference table for your cleanup and maintenance routine:
| Task | Frequency | Notes |
|---|---|---|
| Disassemble sprayer | After each project | Prevent paint residue buildup |
| Clean components | After each project | Use manufacturer's guidelines |
| Check for worn parts | Monthly | Replace worn parts as necessary |
| Store sprayer | After cleaning | Keep in a dry environment |
Regularly check your airless sprayer to replace worn parts, like seals and filters, to maintain peak performance. Following the specific maintenance schedule outlined in your sprayer's manual will extend its lifespan and reliability for future projects. Finally, verify any leftover paint is properly sealed and stored according to the manufacturer's guidelines.
Tips for Future Projects
Proper cleanup and maintenance set the stage for your next painting project, guaranteeing your airless sprayer is ready when you are.
As you plan future endeavors, keep these essential tips in mind for the best results on brick surfaces:
- Test paint colors: Always test your chosen paint colors on a small area to see how they look in different lighting. This helps you avoid any surprises.
- Calibrate your sprayer: Confirm your airless sprayer is calibrated with the right tip size and pressure settings according to the type of paint you're using.
- Allow sufficient drying time: Especially on porous brick, letting each coat dry properly enhances adhesion and improves finish quality.
Additionally, consider using a cross-hatch technique for better coverage—apply the first coat horizontally and the second coat vertically to catch any missed spots.
Don't forget to wear protective gear like masks and goggles to guard against hazardous overspray.
Frequently Asked Questions
Is It Better to Roll or Spray Paint Brick?
When deciding whether to roll or spray paint brick, you'll find that spraying offers faster application, better coverage, and improved adhesion. It also reduces your physical strain, making it a more efficient choice for large projects.
Can You Use a Sprayer to Paint Brick?
Yes, you can use a sprayer to paint brick. It efficiently covers porous surfaces, but make certain you choose the right tip size, clean the surface, and maintain proper distance for even application and better adhesion.
Can You Spray Masonry Paint With an Airless Sprayer?
Yes, you can spray masonry paint with an airless sprayer. Make sure to choose the right tip size, dilute the paint if needed, and always test your settings beforehand for the best results.
Do You Dilute Paint When Using an Airless Sprayer?
You wouldn't want your paint to resemble thick molasses, would you? Diluting it can enhance flow and coverage when using an airless sprayer. Always check the manufacturer's guidelines for the best dilution practices.
Conclusion
Using an airless paint sprayer to paint brick is like giving your home a fresh coat of armor. With the right tools, prep, and techniques, you can achieve a smooth, professional finish that'll last for years. Remember to take your time, follow each step, and clean your equipment afterward to keep it in top shape for future projects. Now you're ready to transform your brick surfaces and make a bold statement in your space!