
To spray paint your kitchen cabinets for a smooth finish, start by removing doors and hardware, then thoroughly clean and lightly sand surfaces to create a nice base. Protect surrounding areas and hardware with painter’s tape and drop cloths. Choose high-quality, durable spray paint, and practice your spray technique on scrap material. Apply multiple thin coats with even, overlapping passes, letting each dry completely. If you keep going, you’ll discover tips for flawless, professional results.
Key Takeaways
- Prepare surfaces thoroughly by cleaning, sanding, and repairing imperfections for optimal paint adhesion.
- Use high-quality, suitable spray paint and practice consistent, overlapping passes for even coverage.
- Maintain a steady spray distance of 10-12 inches and apply multiple thin coats rather than one thick layer.
- Sand lightly between coats to achieve a smooth, professional finish and ensure proper drying time.
- Reassemble cabinets carefully after painting, and consider sealing with a clear topcoat for extra durability.
Gathering the Necessary Supplies and Tools
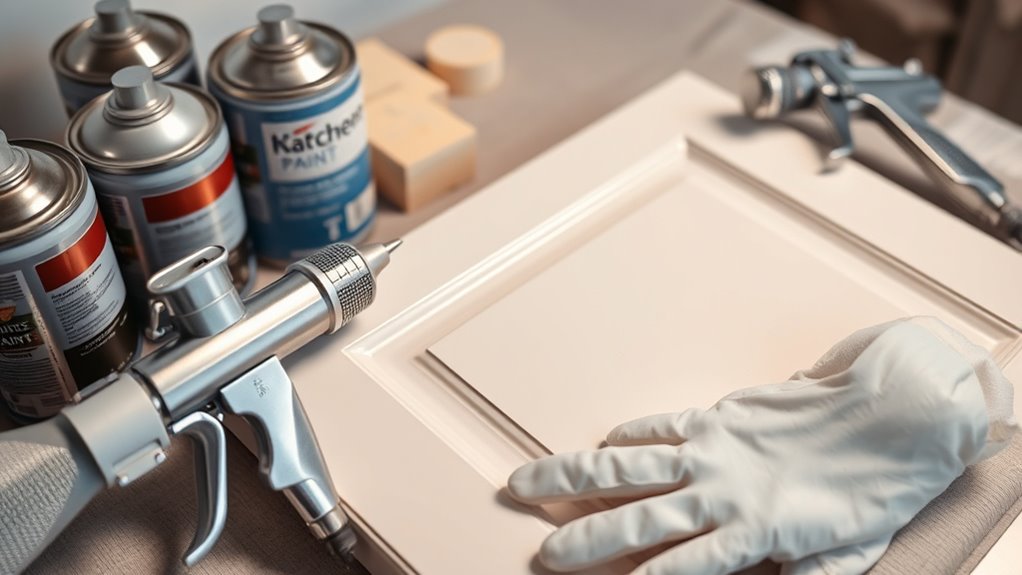
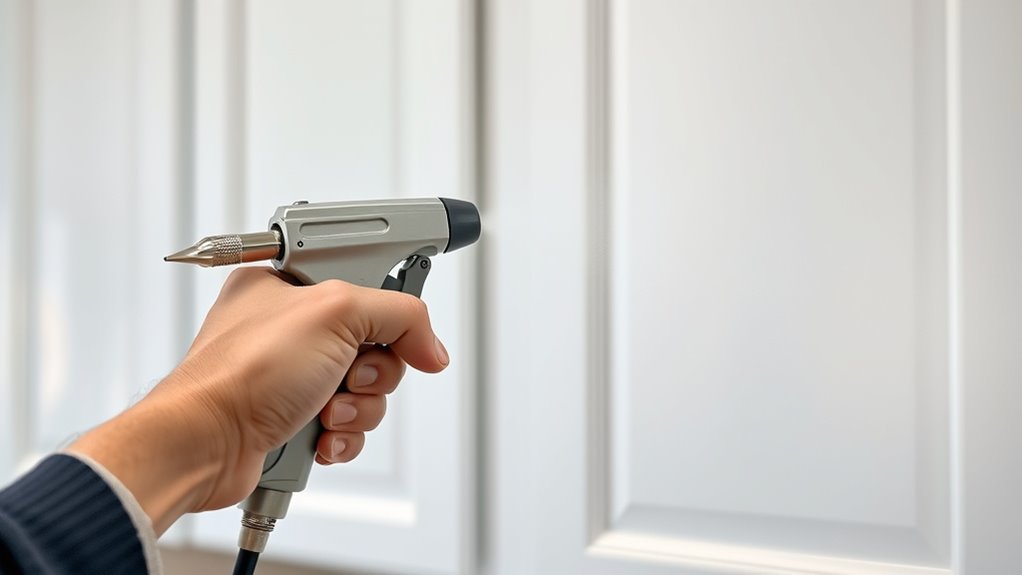
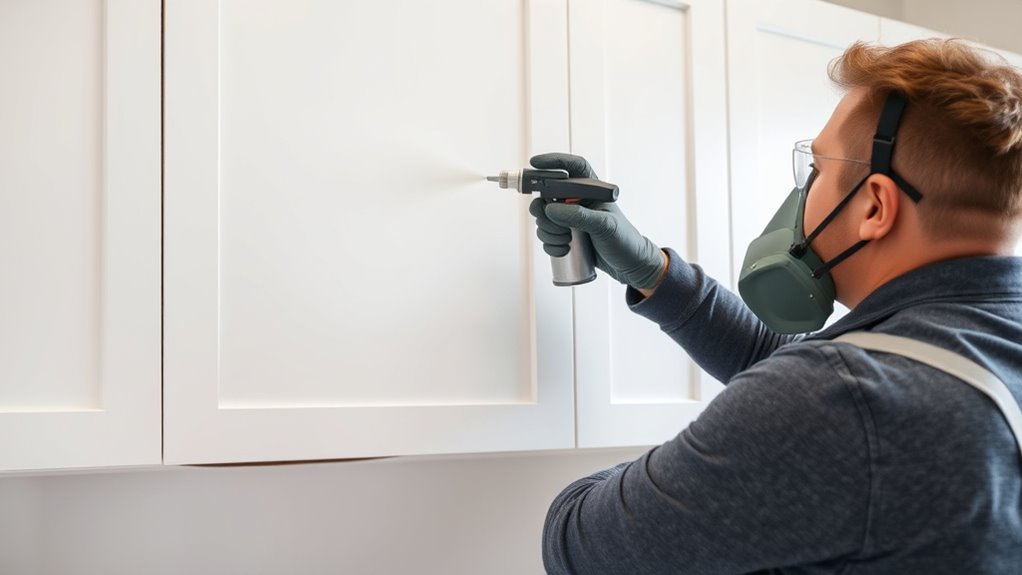
Before you begin spray painting your kitchen cabinets, acquiring all the necessary supplies and tools is vital. Start with high-quality spray paint suitable for cabinetry and make sure you have enough to cover all surfaces evenly. You’ll also need painter’s tape, drop cloths, and fine-grit sandpaper for surface preparation. Don’t forget to gather your cabinet hardware, which you’ll remove before painting and reinstall afterward. Safety is key, so prioritize spray paint safety by working in a well-ventilated area and wearing a mask and gloves. A spray gun or aerosol cans both work, but a spray gun offers more control. Having these supplies ready ensures a smooth process and helps you achieve a professional-looking finish while keeping safety at the forefront. Additionally, understanding color accuracy can help in selecting the right paint shades to match your desired aesthetic.
Removing Cabinets and Preparing the Workspace
To guarantee a smooth spray painting process, you need to remove the cabinets from your walls and workspace first. Start with cabinet removal by carefully detaching each piece, keeping screws and hardware organized for easy reinstallation. Once all cabinets are removed, clear the area of any clutter or furniture that might interfere with your work. Proper workspace organization is vital; create a clean, well-lit zone where you can freely move around and work efficiently. Cover floors and nearby surfaces with drop cloths to protect against overspray. Removing cabinets and tidying your workspace not only makes the painting process smoother but also helps ensure a professional-looking finish. Vetted – Halloween Product Reviews Taking these steps beforehand saves time and prevents accidental damage during spray painting.
Cleaning and Sanding the Cabinet Surfaces
Before you start painting, you need to clean the cabinets thoroughly to remove grease and dirt. Then, sand the surfaces to create a smooth, even base for the paint. If you notice any flaws, repair them so your finish looks flawless. Incorporating goal setting techniques can help you stay motivated throughout your painting project.
Remove Grease and Dirt
Removing grease and dirt is a essential step to guarantee your cabinets are properly prepared for painting. If you skip this, grease residues can prevent paint from sticking and cause uneven drying. Start by removing cabinet hardware to access all surfaces. Use a degreasing cleaner or a mixture of warm water and mild dish soap to wipe down the cabinets thoroughly. Pay special attention to edges and corners where grime tends to build up. Ensure the surfaces are completely dry before moving on; moisture can interfere with paint drying and adhesion. Proper surface preparation can also benefit from understanding water-based cleaners, which are effective and environmentally friendly options for cleaning kitchen surfaces.
Sand to Smooth Surface
Once the cabinets are clean and dry, sanding is vital to create a smooth, even surface for painting. Use light, consistent brush techniques or sanding motions to avoid gouging the wood. Focus on removing any remaining bumps, rough patches, or old paint. Sand with fine-grit paper to guarantee a gentle, effective finish. This step improves paint adhesion and enhances paint durability, helping your finish last longer. Be thorough but careful, applying even pressure and checking your progress regularly. Removing dust and debris afterward is essential to prevent imperfections in the final coat. Proper sanding creates a uniform surface that makes spray painting easier and results in a professional-looking, smooth finish. Incorporating sound vibrations into your preparation process can also aid in achieving a flawless surface.
Repair Surface Flaws
After sanding the surfaces, it’s time to address any remaining flaws that could affect your paint job. Inspect your cabinets carefully, especially around edges and corners, for scratches, dents, or chips. Use a putty or wood filler compatible with your cabinet materials to repair these imperfections. Once the filler dries, sand smooth to guarantee an even surface. Properly cleaned surfaces are essential for good adhesion, so wipe down everything with a tack cloth to remove dust and grease. Choosing the right spray paint brands depends on your cabinet materials—some are better suited for laminate, wood, or MDF. Repairing surface flaws now ensures a smooth, professional-looking finish and helps the spray paint adhere properly, preventing future peeling or chipping. Additionally, understanding Halloween themed decorating techniques can inspire creative finishing touches if you’re updating your kitchen with seasonal decor.
Repairing Any Damages or Imperfections
Before you start spray painting your kitchen cabinets, addressing any damages or imperfections is essential. Inspect your cabinets carefully for cracks, dents, or chipped paint. Repair minor damages with wood filler, sanding smooth once dry. If you notice issues with cabinet hinges or hardware, remove the hardware first for a cleaner finish. Check hinges for rust or misalignment; tighten or replace them if needed before painting. Repair any deep scratches or gouges with appropriate filler, then sand smooth. Ensuring all surface imperfections are fixed prevents them from showing through the new paint, resulting in a sleek, professional look. Additionally, understanding the benefits of proper surface preparation, such as smooth application, can significantly improve your results. Taking these steps helps guarantee a flawless, durable finish once you’ve completed the spray painting process.
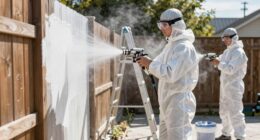
Protecting Surrounding Areas and Hardware
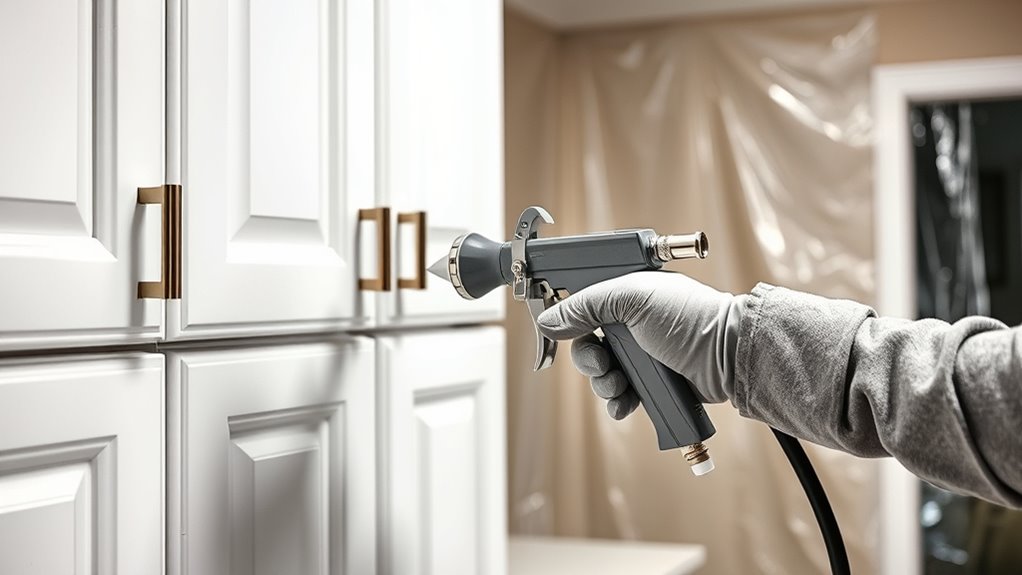
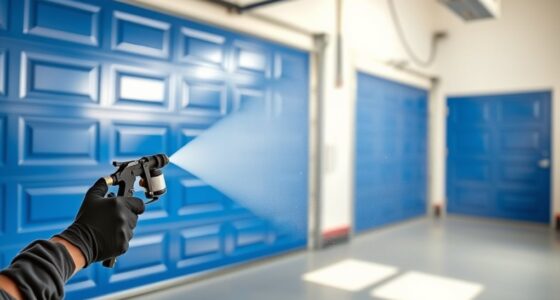
To achieve clean, professional-looking results, you need to protect your surrounding area and hardware from overspray and paint drips. Start by covering nearby surfaces with painter’s tape, plastic sheeting, or drop cloths to shield walls, countertops, and floors. Use painter’s tape to secure hardware, such as handles, hinges, and knobs, making certain they’re fully covered or removed if possible. Hardware protection is essential to prevent paint from sticking to these components, making cleanup easier later. Carefully tape around edges and joints to avoid accidental overspray. Keep your workspace organized so you can easily access areas that need protection. By safeguarding your surrounding area and hardware, you’ll guarantee a smooth, professional finish without unwanted paint splatters or damage.
Priming the Cabinets for Better Paint Adhesion
Priming your cabinets is a crucial step that guarantees your paint adheres smoothly and lasts longer. Proper priming creates a uniform surface, helping to hide imperfections and prepare for your chosen paint color. Before priming, remove or cover cabinet hardware to prevent overspray. Here are three essential tips: 1. Choose a high-quality primer suited for your cabinet material to ensure maximum adhesion. 2. Lightly sand the surface after cleaning to promote better paint grip. 3. Consider your paint color selection—using a neutral primer can make color choices more vibrant and true to your vision. Additionally, selecting the right farmhouse-style decor can enhance the overall look of your space once the cabinets are finished.
Choosing the Right Spray Paint and Settings
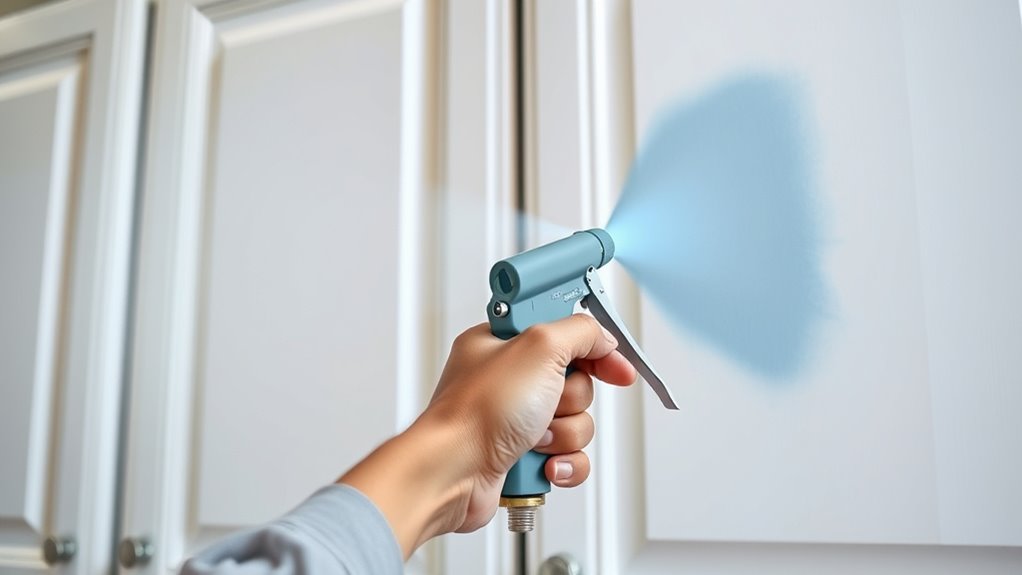
To get professional-looking results, you need to pick the right spray paint for your cabinets and set your sprayer correctly. Consider the type of paint that works best on wood and your desired finish, and adjust your spray settings for even coverage. Make certain the surface is properly prepared to ensure the paint adheres smoothly and lasts longer. Using a best airless paint sprayer can help achieve a high-quality, smooth finish efficiently.
Paint Type Selection
Choosing the right spray paint and adjusting your settings are essential steps for achieving a flawless kitchen cabinet finish. When selecting paint, focus on durability to withstand daily wear and tear. Also, consider your color choice to match your kitchen’s style and brighten the space. Here are three tips to guide your decision:
- Opt for high-quality, epoxy or alkyd-based paints for better paint durability.
- Choose a color that complements your countertops and backsplash for a cohesive look.
- Select a finish—matte, satin, or semi-gloss—that suits your desired level of shine and ease of cleaning.
Additionally, understanding the importance of proper space organization can help you prepare your kitchen effectively before painting, ensuring a smoother process and better results.
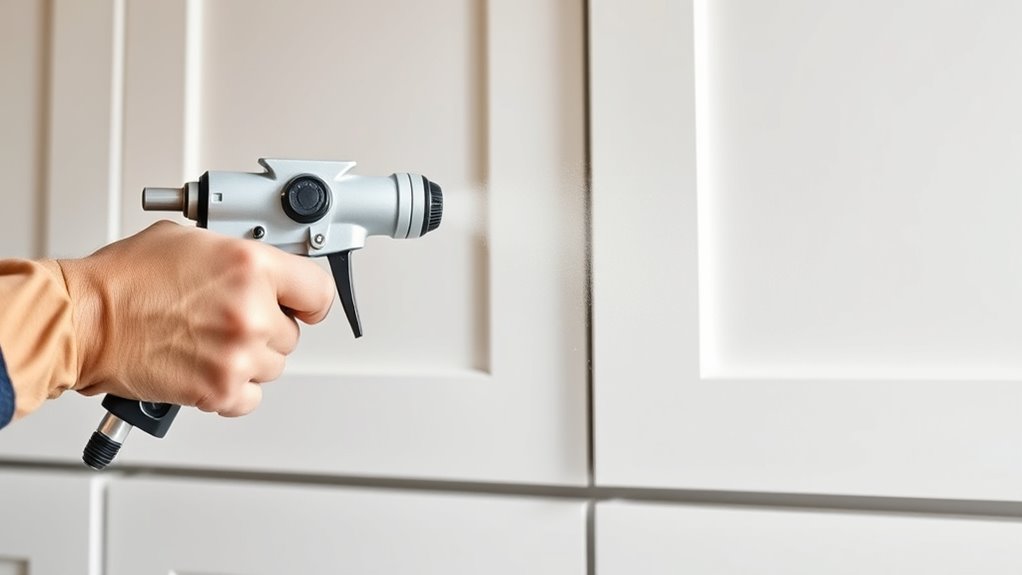
Optimal Spray Settings
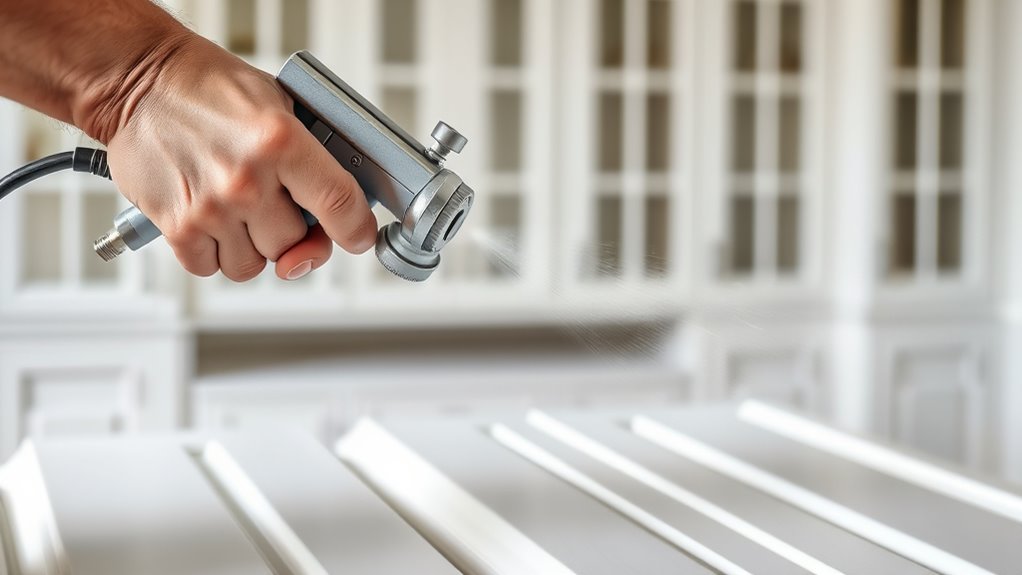
Ever wondered how to get a smooth, professional finish when spray painting your kitchen cabinets? The key is adjusting your spray gun settings correctly. Start with a spray gun pressure around 20-30 PSI, depending on your paint and equipment. Use a nozzle size between 1.3mm and 1.5mm for even coverage without drips. Proper settings ensure a fine mist and minimal overspray. Ensuring your equipment is properly calibrated can prevent cybersecurity vulnerabilities that could compromise your project data or safety. Fine-tune these based on your paint type and desired finish. Testing on a scrap piece helps perfect your settings before tackling the cabinets.
Surface Preparation Tips
Selecting the right spray paint and adjusting your settings are essential steps for a professional finish on your kitchen cabinets. To guarantee a smooth, even coat, consider these surface preparation tips:
- Choose the right paint—use a high-quality, durable spray paint designed for cabinets, which will adhere well and resist chipping.
- Prep cabinet hinges and hardware—remove or cover hinges and handles, and use painter’s tape or paint brushes for detailed areas.
- Test your spray—practice on a scrap piece to fine-tune your spray pattern and pressure, preventing overspray or uneven coverage.
Proper preparation guarantees a sleek finish, minimizes touch-ups, and keeps your cabinet hinges and surfaces looking flawless.
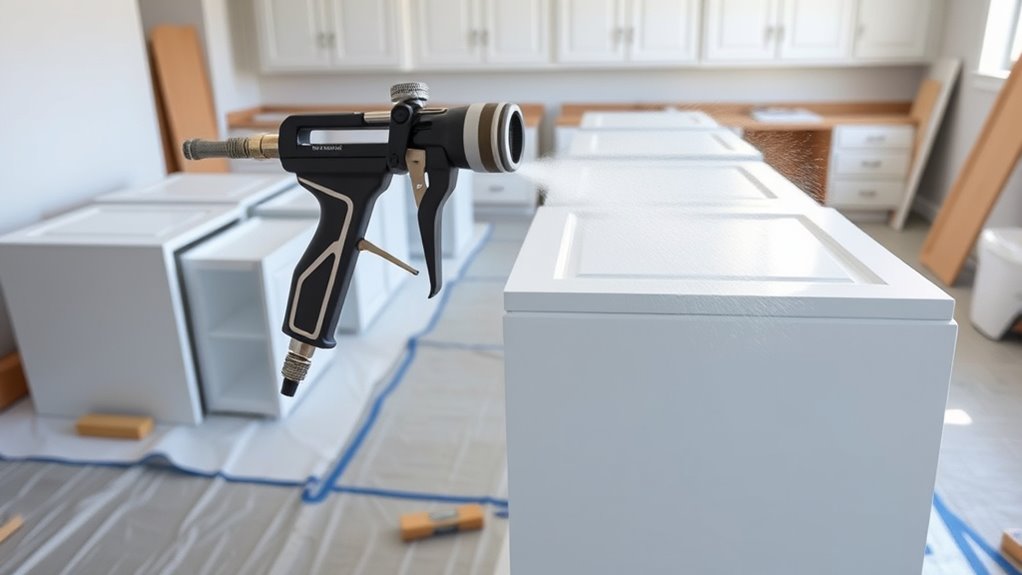
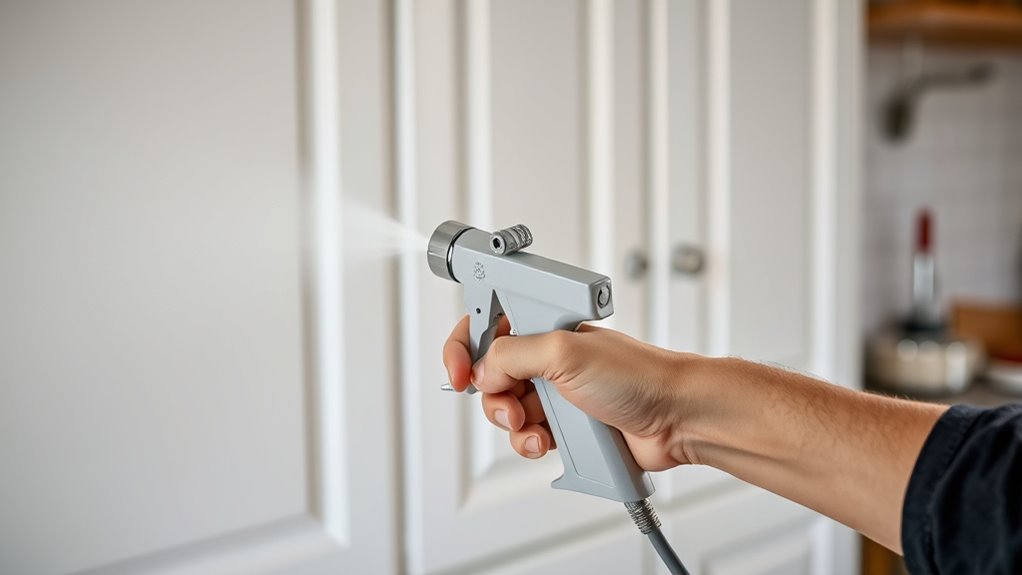
Applying the First Coat of Spray Paint
Before applying the first coat of spray paint, make certain your cabinets are thoroughly prepared and the area is well-ventilated. Shake the spray can well and test spray on a scrap surface to guarantee even flow. Keep the can at a consistent distance, about 10-12 inches from the surface, and use smooth, even brush techniques to avoid drips and uneven coverage. Work in light, overlapping passes, and don’t linger too long in one spot. Proper paint storage is essential; keep unused spray cans upright in a cool, dry place to prevent clogging. Remember, patience during this first coat helps achieve a smooth, professional finish. Allow the paint to dry completely before moving on to subsequent coats.
Achieving a Flawless Finish With Additional Coats
To get a flawless finish, apply multiple thin coats instead of one thick layer. Make sure to let each coat dry completely and lightly sand between layers to smooth out imperfections. These steps help achieve a smooth, professional-looking result every time. Using high-quality paint and primer can also improve durability and finish quality.
Multiple Thin Coats
Achieving a flawless finish when spray painting kitchen cabinets relies on applying multiple thin coats rather than one or two heavy layers. This approach prevents drips, uneven texture, and color inconsistencies. To guarantee quality results, focus on these key steps:
- Use smooth brush techniques during touch-ups to blend edges seamlessly and avoid visible brush marks.
- Carefully select your color, considering how multiple coats will deepen or alter the hue.
- Maintain consistent spray distance and speed to distribute paint evenly across all surfaces.
Applying thin coats allows each layer to dry properly and reduces the risk of runs. Remember, patience is essential—building up color gradually results in a smoother, more professional finish.
Proper Drying Time
Ensuring each coat of spray paint dries thoroughly is vital for a smooth, professional finish on your kitchen cabinets. The right drying environment plays a critical role; keep the area well-ventilated, warm, and free from humidity to prevent issues like smudging or tackiness. Patience is key during the curing process, which can take up to 24 hours or longer depending on your paint type and conditions. Rushing this step can lead to uneven finishes or damage to the layers you’ve applied. Avoid touching or stacking the cabinets prematurely. Instead, allow ample drying time before applying additional coats. Proper drying ensures each layer bonds well, resulting in a durable, flawless finish that enhances your kitchen’s overall look. For the best results, consider the drying time recommended by your paint manufacturer, as this can vary based on paint type and environmental factors.
Sand Between Layers
After allowing each coat of spray paint to dry thoroughly, sanding between layers helps smooth out imperfections and creates a better surface for the next coat. This step guarantees your finish remains flawless and consistent. Use light, circular brush techniques with fine-grit sandpaper to avoid damaging the paint sheen. Here are three tips to perfect this process:
- Gentle Pressure: Apply light pressure to prevent removing too much paint or creating scratches.
- Focus on Imperfections: Target any bumps or drips to achieve an ultra-smooth surface.
- Maintain Consistency: Sand evenly across all surfaces for uniformity, which helps the final coat look seamless.
– Regular sanding and proper technique can also help improve the overall paint adhesion for a more durable finish.
Reassembling and Final Touches

Once the paint has fully dried, it’s time to reassemble your kitchen cabinets and add the finishing touches. Start by carefully reinstalling the cabinet hardware, ensuring each piece fits securely and aligns properly. Before reattaching doors and drawers, organize your paint storage to keep everything accessible and neat. Check that all paint supplies, brushes, and touch-up tools are within reach for quick fixes. When reassembling, confirm that hinges and handles are tightened snugly but not overtightened, which could damage the paint. Consider giving your cabinets a final inspection, wiping away any dust or smudges, and making minor touch-ups where needed. This step guarantees your cabinets look polished, professional, and truly refreshed with a smooth, flawless finish. Additionally, reviewing proper maintenance techniques can help preserve your freshly painted cabinets and ensure their longevity.
Frequently Asked Questions
How Long Should I Wait Between Spray Paint Coats for Best Results?
You should wait about 1 to 2 hours between spray paint coats, allowing the drying time to pass. This guarantees each layer properly adheres without runs or drips. Keep in mind, the curing process takes longer—usually 24 hours—before handling or applying a second coat. Rushing this step can compromise your finish. Patience helps achieve a smooth, professional look on your cabinets.
Can I Spray Paint Cabinets Outside to Avoid Fumes Indoors?
Thinking about spraying your cabinets outside to dodge indoor paint fumes? It might seem like a smart move, but beware—outdoor ventilation isn’t foolproof. Wind can carry fumes far and wide, risking neighbors’ homes and your environment. Plus, weather can ruin your finish or cause uneven coating. Protect your space and finish by setting up proper indoor ventilation, using masks, and working in a well-ventilated area designed to handle paint fumes safely.
What Temperature and Humidity Levels Are Ideal for Spraying Kitchen Cabinets?
When spraying kitchen cabinets, aim for temperatures between 65-75°F and humidity levels below 70%. These conditions help guarantee a smooth, even finish. Before you start, maintain your spray gun properly, focusing on spray gun maintenance to prevent clogs. Also, select the right paint nozzle to achieve a fine mist. Proper temperature, humidity, nozzle choice, and equipment upkeep work together for professional-looking results.
How Do I Prevent Paint Drips and Runs During Application?
To prevent drips and runs, focus on maintaining proper drip prevention techniques. Keep your paint at the right consistency—thinner is often better—to avoid excess buildup. Use a high-quality spray gun and apply thin, even coats, holding the spray wand at a consistent distance. Slowly move across the surface, overlapping slightly, and avoid lingering in one spot. These steps help guarantee a smooth, drip-free finish on your cabinets.
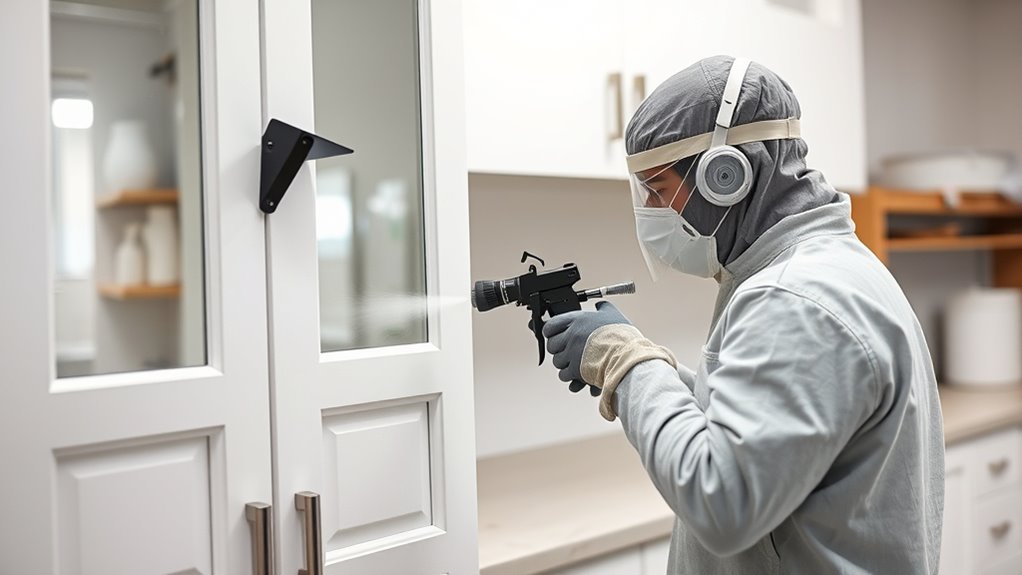
What Safety Precautions Should I Take When Spray Painting Cabinets?
Thinking about spray painting cabinets is like preparing for a big adventure—you need to be ready. Always wear protective gear like masks, goggles, and gloves to guard against fumes and overspray. Set up good ventilation, like opening windows and using fans, to clear out harmful vapors. This keeps you safe and guarantees a smooth, enjoyable painting experience. Stay cautious, and your project will turn out beautifully!
Conclusion
With patience and attention to detail, you can transform your kitchen cabinets into a stunning showcase. Follow each step carefully, and you’ll have a smooth, professional-looking finish that’s worth its weight in gold. Remember, Rome wasn’t built in a day, so don’t rush the process. When you step back to admire your handiwork, you’ll see that every stroke has paid off and your kitchen is truly shining brighter than a diamond.