To spray cabinets effectively, start by thoroughly sanding and cleaning surfaces to guarantee smoothness and adhesion. Choose the right spray gun with suitable nozzle sizes—smaller nozzles for primer and finish coats for a fine, even spray. Apply thin, overlapping coats with consistent speed and pressure, maintaining a proper distance from the surface. Taking these steps will help you achieve a sleek, professional look, and there’s more to master if you keep exploring the process.
Key Takeaways
- Properly clean and sand cabinets to remove dust, grease, and imperfections before applying primer.
- Use a compatible primer suited for your cabinet material to promote adhesion and smooth finish.
- Select an appropriate spray gun and nozzle size based on paint type and desired detail level.
- Apply thin, even coats of primer and finish, allowing proper drying time and lightly sanding between coats.
- Maintain consistent spray technique and workspace conditions for a smooth, professional-looking finish.
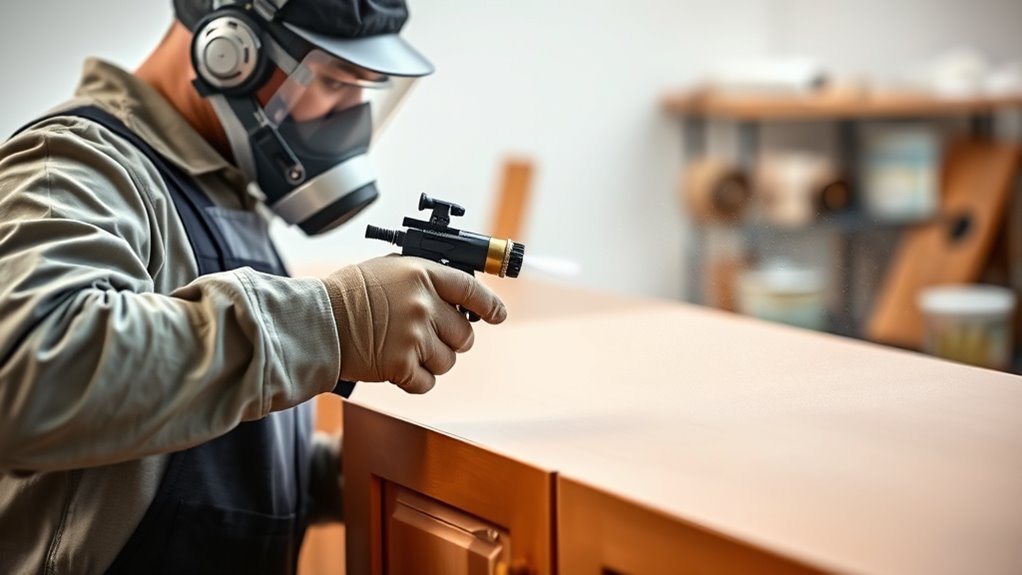
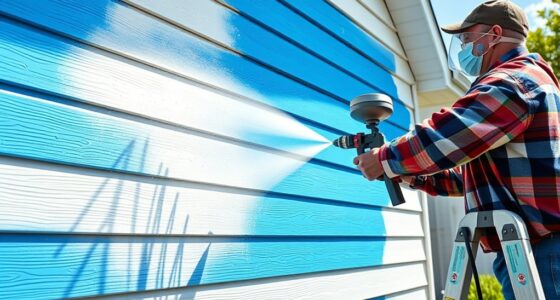
Have you ever wondered how professional painters achieve a smooth, flawless finish on cabinets? It all starts with understanding the right finishing techniques to get that perfect look. One of the most important aspects is spray gun selection, which directly impacts the quality of your finish. Choosing the right spray gun depends on the type of paint you’re using and the detail you want to achieve. For cabinets, a HVLP (High Volume Low Pressure) spray gun is often recommended because it provides a fine, controlled spray that minimizes overspray and runs, resulting in a smoother coat. This type of gun is ideal for detailed cabinetry work, allowing you to apply an even layer without excessive paint buildup. When selecting a spray gun, consider factors like nozzle size, which influences the spray pattern and atomization. A smaller nozzle (around 1.3mm to 1.4mm) is suitable for lacquer or thin paints, while larger nozzles (1.7mm to 2.0mm) work better with thicker paints or primers. Proper spray gun selection guarantees you can apply finishing coatings evenly, reducing the need for sanding or touch-ups later. Using the correct spray gun type can significantly improve your results and efficiency.
Once you’ve picked your spray gun, mastering the right finishing techniques is key. Start by setting up a clean, dust-free workspace to prevent debris from marring your finish. Before spraying, practice on a scrap piece to get comfortable with the spray pattern and flow rate. Consistent movement and steady hand are essential; move the gun smoothly and keep a consistent distance from the surface—usually about 6 to 12 inches—to ensure an even coat. Overlapping passes by about 50% help avoid streaks and uneven coverage. Adjust the pressure and fluid flow on your spray gun to match the paint’s viscosity; too much pressure can cause runs, while too little may lead to uneven coverage. Maintain a steady speed, and don’t linger in one spot too long, which can cause drips or pooling.
In addition, proper finishing techniques include applying multiple thin coats rather than one thick layer. Thin coats dry faster, reduce the risk of drips, and produce a more durable, professional finish. Sand lightly between coats with a fine-grit sandpaper to smooth out any imperfections and promote adhesion for subsequent layers. When you combine a suitable spray gun with effective finishing techniques—such as consistent motion, proper distance, and multiple light coats—you’ll see your cabinets transform into a sleek, flawless surface. Achieving professional results is about patience, preparation, and understanding your tools, especially how to select and utilize your spray gun effectively. With practice, your cabinets will have that smooth, high-quality finish that looks like it was done by a pro.
Frequently Asked Questions
What Safety Gear Is Required for Spraying Cabinets?
You should wear protective gear like a respirator or mask, safety goggles, and gloves to shield yourself from fumes and splashes. Confirm proper ventilation requirements are met by working in a well-ventilated area or using fans and exhaust systems. This gear keeps you safe from inhaling harmful chemicals and reduces skin contact. Always follow safety guidelines and manufacturer instructions to protect yourself during the spraying process.
How Long Should I Wait Between Coats?
A stitch in time saves nine, so patience is key. You should wait at least the recommended drying time between coats, usually 2-4 hours, but always check your product’s recoat interval. Rushing the process can lead to uneven finishes or peeling. Allow each coat to fully dry before applying the next to ensure a smooth, durable finish that lasts.
Can I Spray Over Existing Paint or Stain?
Yes, you can spray over existing paint or stain, but guarantee proper paint adhesion and stain compatibility first. Clean the surface thoroughly to remove grease and dirt, then lightly sand to create a rough texture for better adhesion. If you’re spraying over stain, use a stain-blocking primer to prevent bleed-through. Always test in a small area first to check for compatibility and adhesion before proceeding with the entire project.
What Environmental Conditions Affect Spray Painting?
Environmental conditions like humidity levels and temperature fluctuations markedly impact your spray painting results. High humidity can cause paint to dry slowly or form a rough finish, while low humidity speeds up drying but may cause uneven coats. Temperature fluctuations can lead to inconsistent curing, resulting in blemishes or bubbles. To achieve the best finish, aim for a controlled environment with stable temperature and humidity levels, ideally between 50-70°F and 40-50% humidity.
How Do I Clean Spray Equipment Properly?
Imagine your spray equipment as a trusted partner that needs care. To clean it properly, disassemble parts and rinse them with appropriate solvents, ensuring paint compatibility. Use brushes or rags for stubborn residue, then run clean water or solvent through the system. Regular equipment maintenance prevents clogs and maintains spray quality. Always follow manufacturer instructions to keep your tools in top shape and ready for flawless finishes.
Conclusion
Now that you’ve learned the steps to spray cabinets—prep, prime, and finish—you’re all set to transform your space. It’s funny how a simple project like this often coincides with just the right weekend or a sudden burst of inspiration. With your new skills, you might find yourself tackling more DIY upgrades, turning everyday furniture into stunning focal points. Sometimes, the best transformations happen when you least expect it, and now, you’re ready for yours.