
Using an airless sprayer makes staining your deck quick and easy, providing smooth, even coverage. It helps you apply the stain efficiently, reducing streaks and missed spots for a professional finish. Proper preparation, including cleaning and repairing your deck, guarantees the stain adheres well. Adjust your sprayer’s settings based on the stain type, and move steadily with overlapping passes. Keep equipment well-maintained for best results—learn more about techniques and tips to perfect your stain job.
Key Takeaways
- Thoroughly prepare the deck surface by cleaning, repairing, and sanding for optimal stain adhesion and smooth application.
- Calibrate and test the airless sprayer on a small area to ensure proper pressure, pattern, and flow before full application.
- Use steady, overlapping passes at the recommended distance to achieve even coverage and prevent streaks or missed spots.
- Apply multiple light coats instead of one heavy coat to enhance durability and color vibrancy.
- Clean and maintain the sprayer after use, and follow safety guidelines to ensure a safe, professional finish.
Benefits of Using an Airless Sprayer for Deck Staining

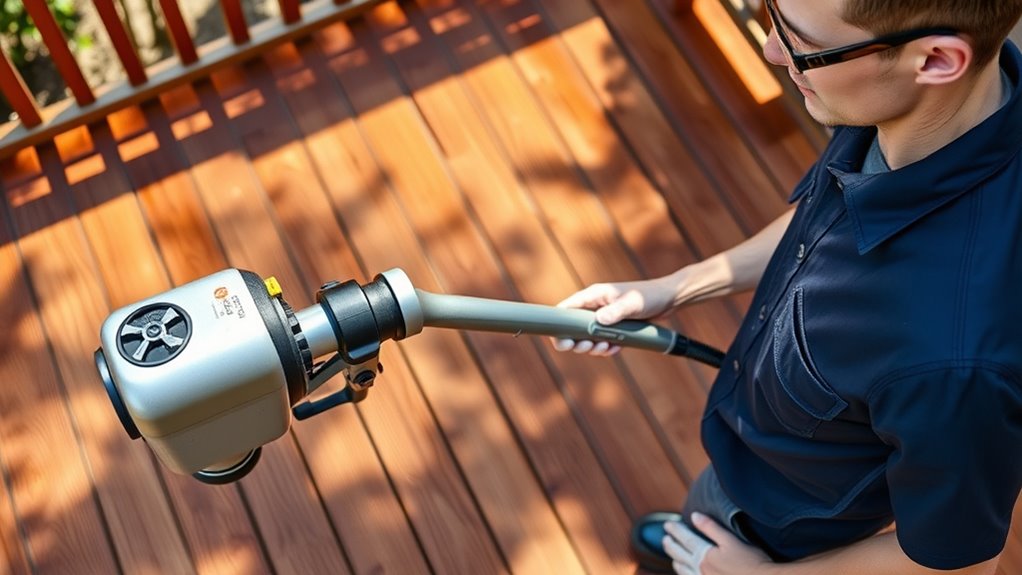
Using an airless sprayer for deck staining offers several advantages that can make your project easier and more efficient. It guarantees even coverage, which is essential for maximizing deck durability and preventing uneven wear over time. The sprayer’s powerful delivery system allows you to cover large surfaces quickly, saving you time and effort. Additionally, it enhances color depth and vibrancy, providing a more uniform and professional-looking finish. Unlike brushes or rollers, an airless sprayer minimizes streaks and missed spots, resulting in a smoother appearance. This consistent application not only boosts the aesthetic appeal but also helps protect your deck from weather damage, extending its lifespan. Proper use of an airless sprayer can also reduce material waste, making your project more cost-effective. Overall, using an airless sprayer streamlines the staining process while delivering durable, beautifully enhanced results.
Essential Tools and Materials for Successful Staining
To get great results, you need to choose the right stain that suits your deck and your goals. Make sure you have the necessary sprayer equipment, like a high-quality airless sprayer and proper nozzles. Don’t forget protective gear such as gloves, goggles, and respirators to keep yourself safe during the project. Proper storage of your sprayer after use ensures its longevity and reliable performance, especially when working with specific paint types.
Quality Stain Selection
Have you chosen the right stain for your deck? Selecting a high-quality stain ensures better color longevity and stain durability, which are essential for a lasting finish. Look for products designed specifically for outdoor wood, offering UV protection to prevent fading. Consider stains with added preservatives for enhanced stain durability against weathering and foot traffic. The right stain also matches your desired color and transparency; transparent stains showcase the wood grain, while solid stains provide more coverage. Investing in a reputable brand might cost more upfront but saves you money long-term by reducing the need for frequent reapplications. Ultimately, choosing a quality stain tailored to your deck’s needs helps you achieve an even, beautiful finish that endures through seasons. Proper stain selection can significantly impact the overall appearance and longevity of your deck finish.
Necessary Sprayer Equipment
Equipping yourself with the right sprayer tools and materials is essential for achieving a smooth, even stain application on your deck. Start with a quality airless sprayer suited for large surfaces, ensuring it provides consistent pressure for even coverage. You’ll also need a selection of spray tips to match your stain and surface. Keep brushes handy for touch-ups and practicing brush techniques to blend edges seamlessly. Proper color matching is crucial, so test your stain on a small area before starting. Use extension wands to reach difficult spots and maintain steady hand control for consistent results. Having everything organized and ready minimizes interruptions and helps you achieve professional-looking, uniform staining across your deck. Additionally, understanding automation in business can inspire innovative approaches to streamline your staining process and improve efficiency.
Protective Gear Essentials
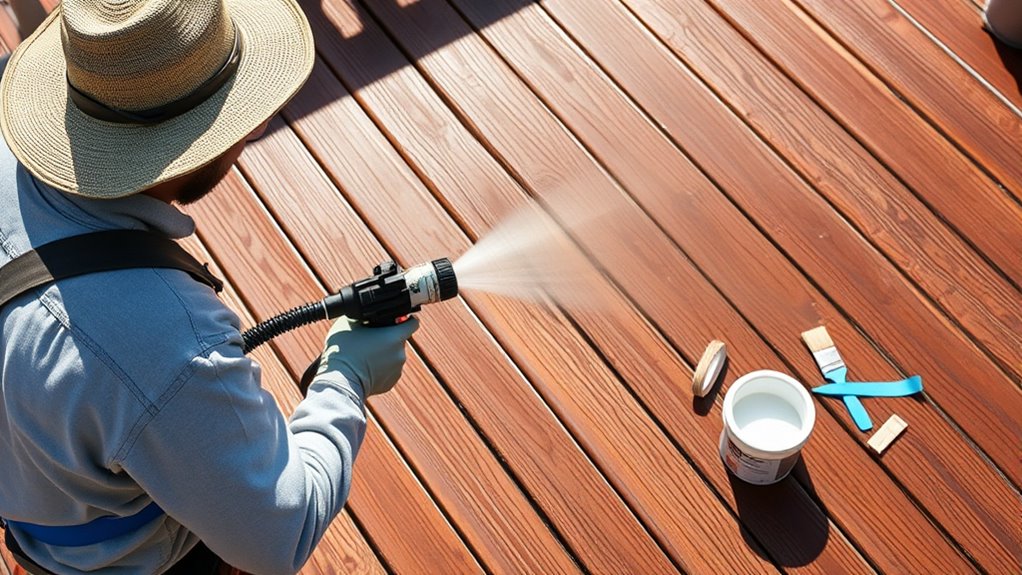
Protective gear is essential for a safe and effective staining process, helping you avoid skin and eye irritation from chemicals and stains. Make sure to wear safety equipment like gloves, goggles, and a respirator to protect yourself from fumes and splashes. Long sleeves and pants add a layer of defense against accidental contact with stain or splatters. A hat or cap can shield your face from drips, while a mask or respirator prevents inhaling harmful fumes. Always choose protective gear suited for staining projects, ensuring a proper fit for comfort and safety. This safety equipment not only keeps you protected but also allows you to focus on your work confidently, achieving professional results with less worry about hazards. Incorporating proper safety protocols ensures a more efficient and worry-free staining experience.
Preparing Your Deck Surface for Optimal Results

Before staining, you need to make certain your deck is clean and free of debris. Take the time to repair any damaged boards and sand rough spots for a smooth surface. Proper preparation will help you achieve the best, long-lasting stain results. Additionally, ensuring your deck is free from dirt and grime can improve stain adhesion and overall appearance.
Clean and Remove Debris
To guarantee your stain adheres evenly and lasts longer, start by thoroughly cleaning your deck and removing any debris. Effective deck cleaning is essential to achieve a smooth, even finish. Use a stiff brush or a power washer to remove dirt, mold, and algae, paying close attention to corners and tight spots. Debris removal involves clearing away leaves, twigs, and trash that can interfere with the staining process. Make sure the surface is completely dry before proceeding. Removing debris not only helps the stain absorb properly but also prevents uneven coverage or drips. Additionally, understanding the Water Parks in your area can provide ideas for fun activities to enjoy after completing your project. Taking the time to clean and clear your deck ensures a professional-looking result and extends the life of your stain. A clean surface is the foundation for a flawless, long-lasting finish.
Repair and Sand Surface
If your deck has any cracks, splinters, or loose boards, addressing these issues before staining is crucial for a smooth finish and long-lasting results. Proper repair and sanding are key steps in deck maintenance that guarantee even stain absorption. Repair any damaged boards, fill cracks with wood filler, and tighten loose nails or screws. Once repairs are complete, sand the surface to remove rough spots and splinters, creating a uniform base. Consider weather conditions—avoid staining if rain or high humidity is forecasted, as moisture can affect adhesion. Properly prepared surfaces allow the stain to penetrate evenly, enhancing durability and appearance. Additionally, understanding the importance of vibrational energy can help you approach your project with a positive mindset, ensuring a more satisfying outcome.
Choosing the Right Stain and Equipment Settings
Choosing the right stain and equipment settings is essential for achieving a smooth, even finish on your deck. Start by selecting a stain with the desired color matching and opacity. Higher opacity stains provide more coverage, hiding imperfections, while transparent stains highlight wood grain. Adjust your sprayer’s pressure and tip size to suit the stain’s consistency and your deck’s surface. Use the table below to guide your choices:
| Stain Opacity | Recommended Pressure | Tip Size |
|---|---|---|
| Transparent | Low (1500-2000 PSI) | 413 or 415 |
| Semi-Transparent | Medium (2000-2500 PSI) | 415 or 517 |
| Solid | High (2500+ PSI) | 517 or 619 |
Matching stain opacity with correct equipment settings guarantees even coverage and a professional finish. Additionally, ensure your airless sprayer is properly calibrated for consistent flow and pressure during application.
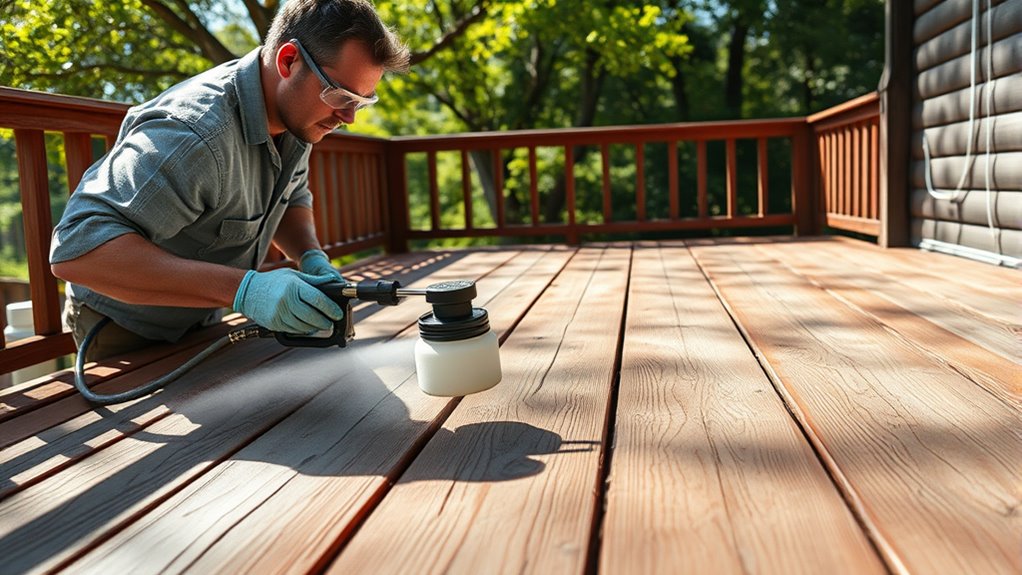
Step-By-Step Guide to Applying Stain With an Airless Sprayer
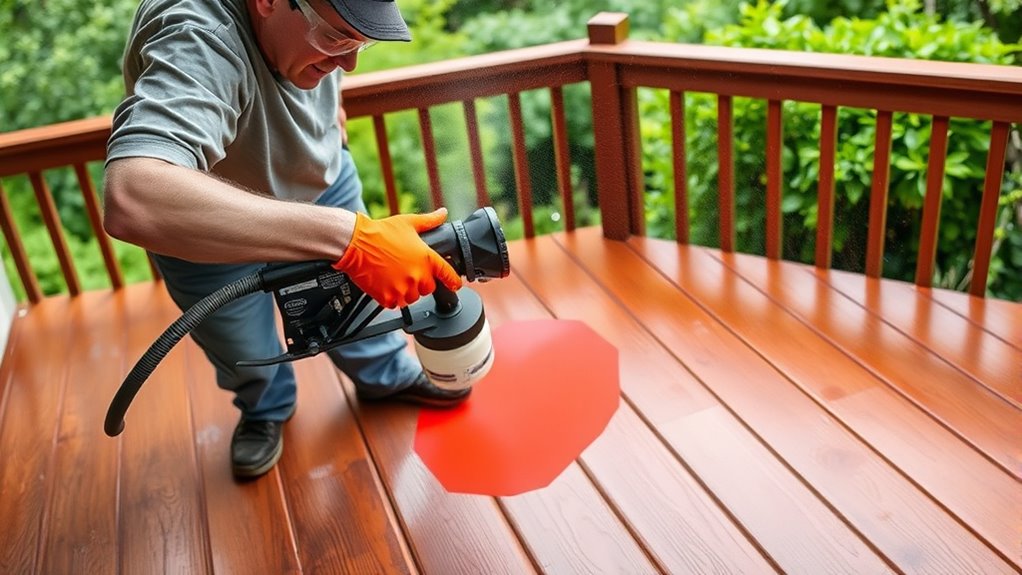
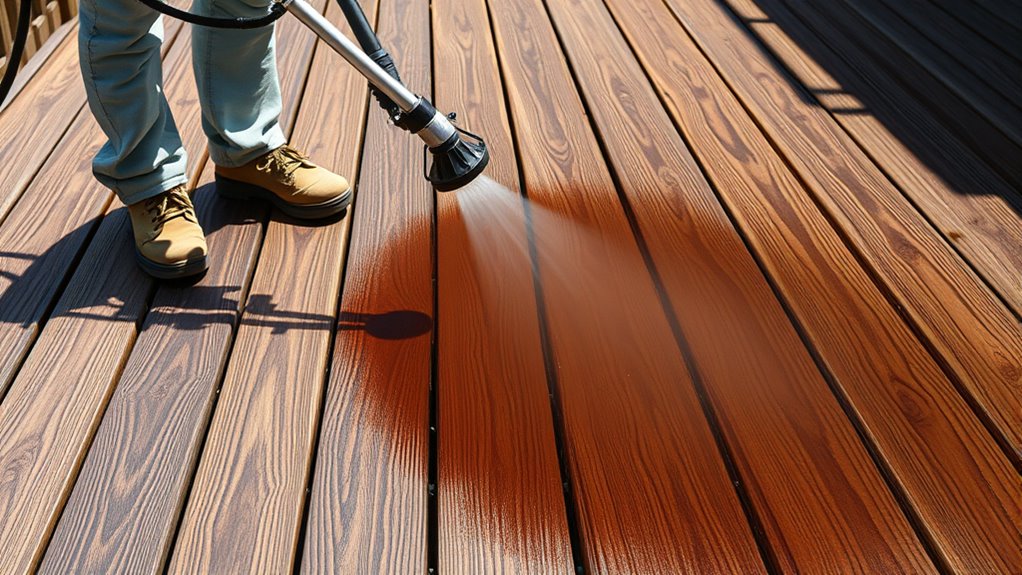
Before you start spraying, make sure your deck is clean, dry, and free of debris. This guarantees proper adhesion and even coverage. Begin by testing your sprayer on a small area to adjust spray pressure and pattern. When applying stain, hold the sprayer about 12 inches from the surface, moving steadily to prevent streaks. Use smooth, overlapping strokes for consistent coverage, paying attention to color options that enhance your deck’s appearance. Keep the nozzle at a steady pace to avoid pooling. For maximum stain durability, apply multiple light coats rather than one heavy coat. Remember to clean your sprayer thoroughly after use to maintain its performance. This method simplifies the staining process, resulting in a beautiful, long-lasting finish.
Additionally, AI safety measures are increasingly important when using automated tools like spray systems to ensure safe operation.
Techniques for Achieving Even Coverage and Avoiding Streaks
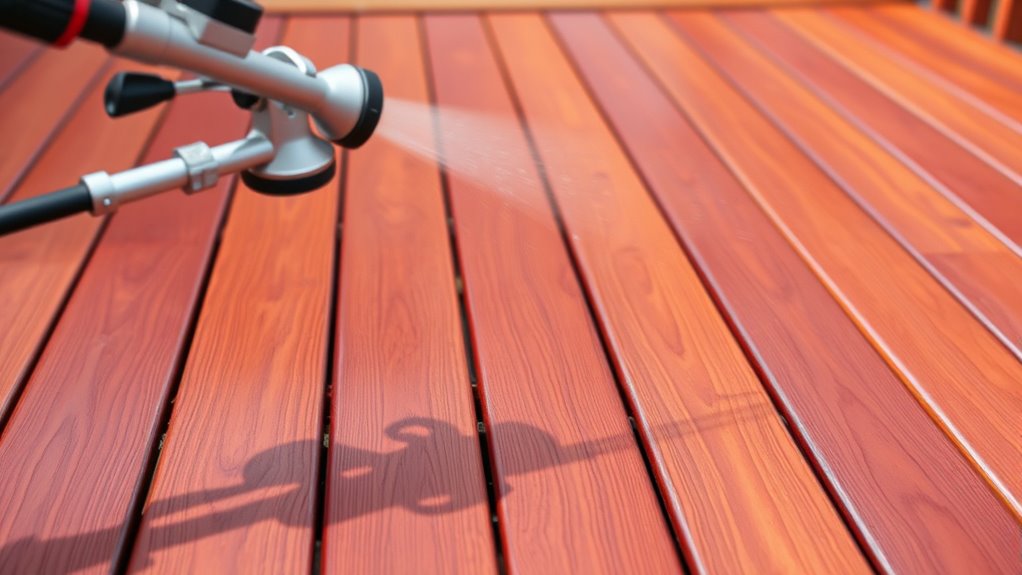
Achieving even coverage and avoiding streaks when spraying stain requires careful technique and attention to detail. To guarantee consistency, maintain a steady speed and overlapping passes, about half the spray width. Consider weather conditions—avoid spraying in direct sunlight or high humidity, which can cause uneven drying or color mismatches. For color matching, test your stain on a small area first to see how it settles. Use consistent distance and angle to prevent streaks, and keep the sprayer moving smoothly. The table below highlights key techniques for ideal results:
| Technique | Purpose | Tips |
|---|---|---|
| Steady movement | Prevents streaks | Keep a constant speed |
| Overlapping passes | Ensures even coverage | Overlap by 50% with each pass |
| Weather considerations | Avoid uneven drying or color mismatch | Spray during mild, consistent weather |
| Test stain beforehand | Match color accurately | Try on sample wood |
| Consistent distance | Maintain uniform application | Keep sprayer 12-18 inches from surface |
Additionally, adjusting your spray pattern based on the technology of your sprayer can help achieve a more uniform finish.
Tips for Maintaining Your Equipment During and After the Job
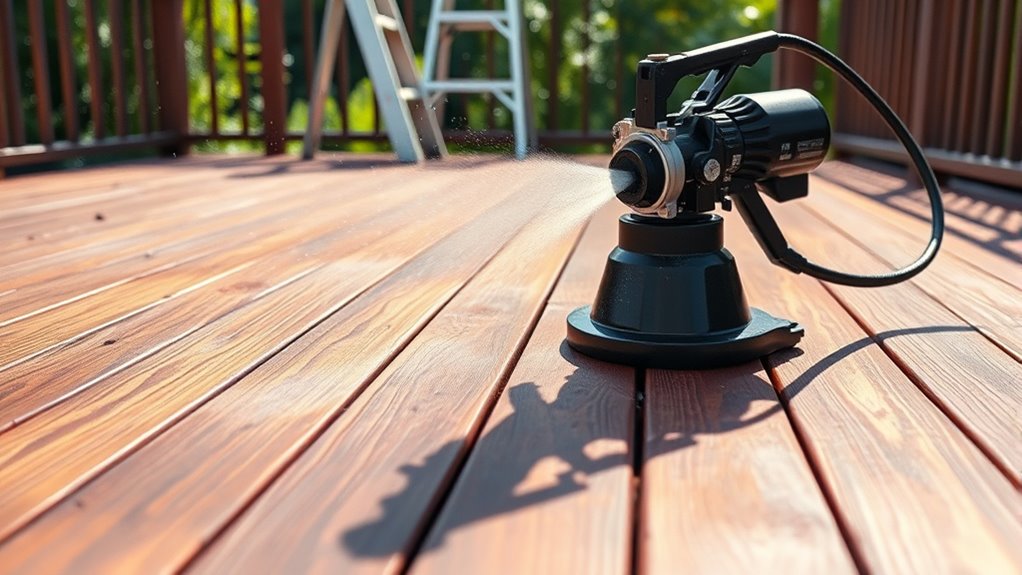
Proper maintenance of your airless sprayer during and after staining is essential to keep it functioning efficiently and extend its lifespan. Regularly check equipment calibration to ensure consistent spray patterns and paint flow. After finishing, clean all parts thoroughly to prevent paint buildup and clogging. Store your sprayer using proper storage solutions—rinse and dry components, then keep in a dry, protected area. Inspect hoses and filters for wear and replace as needed. Lubricate moving parts to prevent rust. Keep a maintenance log to track service intervals. Proper upkeep minimizes downtime, improves performance, and preserves your equipment’s value. Additionally, inspecting hoses and filters regularly helps prevent unexpected malfunctions and prolongs equipment life for long-term durability. Follow these tips to make each project smoother and ensure your sprayer stays ready for the next job.
Safety Precautions and Best Practices for a Smooth Staining Process
Maintaining your equipment is just one part of a successful staining project; prioritizing safety guarantees you protect yourself and achieve the best results. Always wear protective gear like goggles, gloves, and a mask to prevent fumes and splatters from affecting your health. Proper ventilation is essential, especially when working with strong stain colors or solvents. Keep a fire extinguisher nearby, as fumes can be flammable. Use the table below to highlight key safety practices:
| Safety Practice | Benefit |
|---|---|
| Wear protective gear | Prevents injuries and inhalation risks |
| Work in well-ventilated areas | Reduces fumes buildup |
| Handle equipment carefully | Maintains stain quality and safety |
| Follow manufacturer instructions | Ensures even coverage & stain longevity |
Additionally, understanding local regulations related to chemical safety can prevent legal issues and ensure a safe working environment.
Frequently Asked Questions
How Long Does It Typically Take to Stain a Deck With an Airless Sprayer?
Staining your deck with an airless sprayer usually takes a few hours, depending on the deck’s size and your application speed. Weather conditions play a big role—dry, mild days help you work faster and guarantee proper drying. If you prep well and move steadily, you can complete the job efficiently, but always leave enough drying time after application for the stain to set properly.
Can I Use an Airless Sprayer on Textured or Uneven Deck Surfaces?
Imagine a magic wand for your deck, but can an airless sprayer truly tame textured surfaces and uneven decks? Yes, it can. With proper technique, you can effectively stain textured or uneven decks, ensuring even coverage. Just keep the spray at an appropriate distance, use steady, overlapping strokes, and adjust pressure as needed. This approach helps you achieve a professional finish, even on challenging surfaces.
What Are Common Mistakes to Avoid When Spraying Stain on a Deck?
When spraying stain on your deck, avoid common mistakes like skipping surface preparation, which can cause uneven absorption. Make certain your paint consistency is right—too thick or thin leads to drips or missed spots. Don’t rush; maintain steady movement and keep the sprayer at a consistent distance. Test spray on a small area first. These steps help you achieve even coverage and a professional finish.
How Do I Clean and Store My Sprayer After Staining?
Imagine finishing your project and wanting your sprayer ready for next time. After staining, you should clean your sprayer thoroughly with appropriate cleaning supplies, like solvent or water, depending on the stain. For storage tips, make certain all parts are dry to prevent rust or clogs. Store in a cool, dry place, and keep the spray tips and filters protected. Proper cleaning and storage keep your sprayer in top shape for future use.
Is It Necessary to Wear Protective Gear During the Spraying Process?
You should definitely wear protective gear during the spraying process. Safety precautions, like goggles, masks, and gloves, protect you from harmful fumes and overspray. Even if you’re experienced, it’s easy to underestimate potential hazards. Wearing the right gear guarantees you stay safe and avoid skin or eye irritation. Always prioritize safety precautions, and don’t skip protective gear—your health and well-being depend on it during spraying projects.
Conclusion
So there you have it—staining your deck with an airless sprayer is so easy, even a squirrel could do it… if it had opposable thumbs. With a little patience and the right technique, you’ll enjoy a flawlessly stained deck that’s the envy of all your neighbors—who will surely be too busy marveling at your newfound DIY skills to notice your questionable dance moves. Happy staining, and remember: perfection is just a spray away!