To set the right pressure on your airless sprayer, consider the surface texture, paint type, and environmental conditions. For smooth surfaces, lower pressures (around 1500-1800 PSI) work best, while rough surfaces need higher pressures (up to 2200 PSI). Adjust based on paint viscosity and spray pattern. Regular testing and calibration help achieve even coverage and a professional finish. Keep exploring for detailed tips to perfect your setup and results.
Key Takeaways
- Adjust pressure based on paint type, viscosity, and surface texture for optimal atomization and finish.
- Follow manufacturer recommendations for your specific spray tip and paint sheen.
- Use testing on scrap surfaces to determine the ideal pressure before starting the project.
- Typical pressure ranges: 1500-1800 PSI for flat finishes, up to 2400+ PSI for gloss, depending on conditions.
- Monitor and maintain consistent pressure throughout to prevent spray defects like overspray, bubbles, or uneven coverage.
Understanding the Basics of Airless Sprayer Pressure
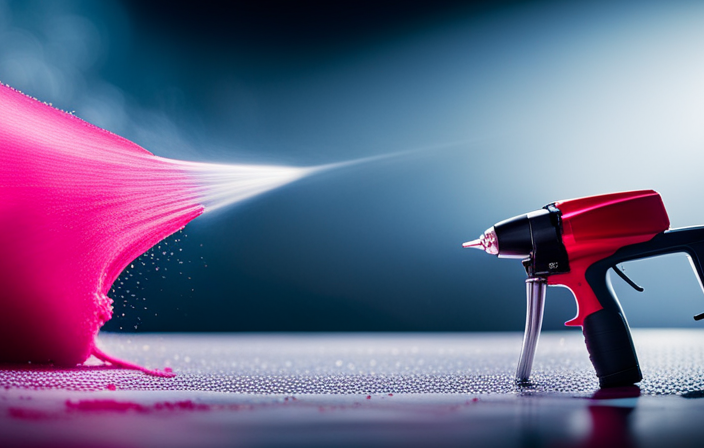
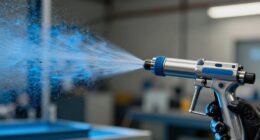
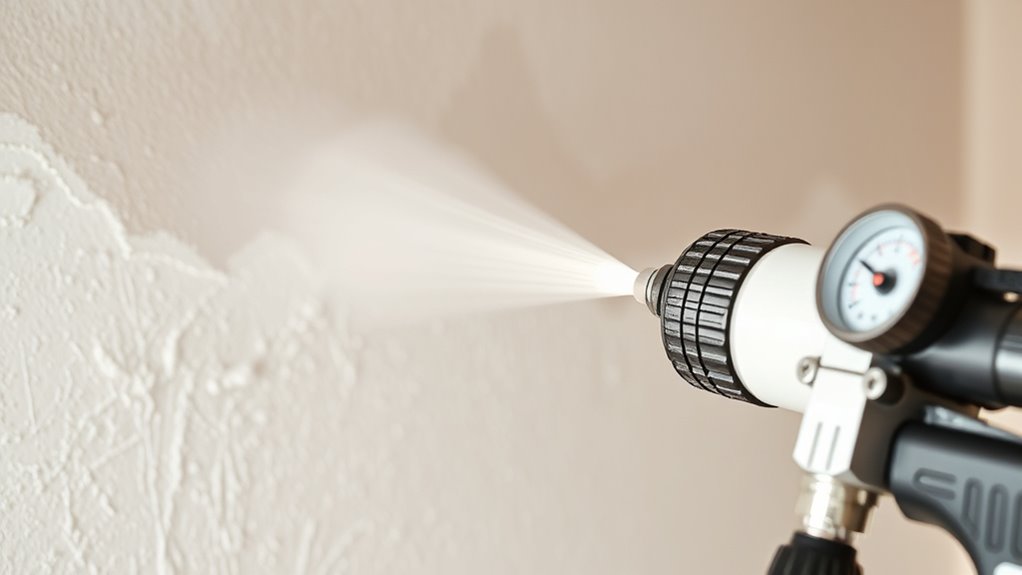
To achieve a smooth and even paint finish, understanding how airless sprayer pressure works is essential. Proper sprayer calibration guarantees you set the right pressure for your project, preventing uneven coverage or overspray. Pressure regulation is how you control the force at which paint is forced through the tip, directly affecting the spray pattern and finish quality. When you adjust the pressure, you’re effectively managing the paint flow rate and atomization, which impacts how smoothly the paint lands on surfaces. High pressure can lead to overspray and waste, while low pressure might cause uneven coverage. Learning to fine-tune your pressure settings through sprayer calibration helps you achieve professional results with less effort and material waste. Additionally, understanding airless paint sprayer reviews can help you choose the right equipment for your specific needs.
Factors That Influence Proper Pressure Settings
Your pressure settings depend on several key factors, including the surface texture you’re working with and the type of paint you’re using. The equipment and nozzle size also play a vital role in achieving the best results. Adjusting these elements guarantees you get a smooth, even finish without overspraying or waste. Properly managing pressure settings can also help prevent common issues like drips and uneven coverage.
Surface Texture Requirements
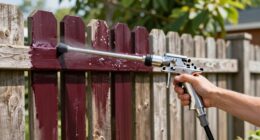
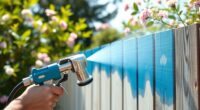
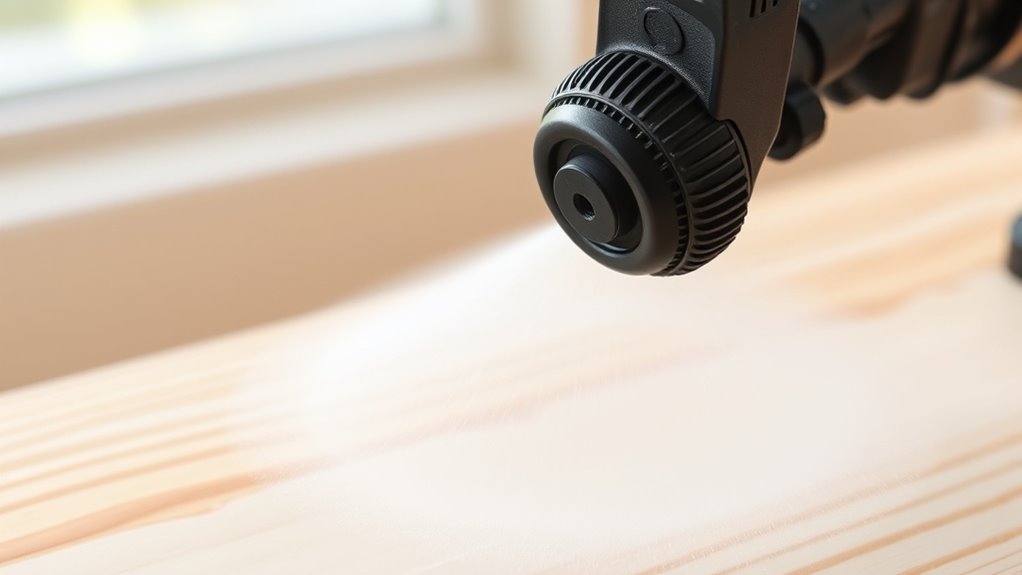
Surface texture plays a crucial role in determining the ideal pressure settings for an airless sprayer. If the surface has significant texture variation or roughness, you’ll need to increase the pressure to guarantee the paint penetrates crevices and covers uneven areas evenly. Smoother surfaces require lower pressure to prevent overspray and drips, achieving a clean, even finish. Rough surfaces tend to absorb more paint and may cause uneven spray patterns at lower pressures, so adjusting upward helps maintain consistent coverage. Conversely, delicate or smooth surfaces benefit from lower pressure to avoid damaging the material or creating a splattered look. Always observe the surface’s surface roughness and texture variation to fine-tune your pressure, ensuring ideal paint flow and a smooth, professional finish.
Paint Type Compatibility
Different types of paint require different pressure settings to achieve ideal coverage and finish. Latex paints often need lower pressure to prevent over-spraying, while thicker, oil-based paints may require higher pressure to ensure proper atomization. Your brush techniques also influence pressure choices; for example, heavier coatings or textured surfaces might demand adjustments for smooth application. Using the correct pressure minimizes overspray and uneven coverage, which can extend drying times and affect the final look. Always test a small area first, paying attention to how the paint flows and dries. Proper pressure settings tailored to your paint type help you avoid issues like runs or thin spots, ensuring a professional finish with efficient drying times and best results. Additionally, understanding paint type compatibility can guide you in selecting the right pressure for different coatings, leading to optimal application outcomes.
Equipment and Nozzle Size
The type of equipment and nozzle size you choose directly impacts the ideal pressure settings for your airless sprayer. Smaller nozzles require higher pressures to atomize paint effectively, while larger nozzles operate better at lower pressures. Your equipment compatibility also matters; using a nozzle incompatible with your sprayer can lead to poor spray patterns or damage. Always check the manufacturer’s recommendations for nozzle size and pressure range to ensure peak performance. Adjusting pressure appropriately based on your nozzle size helps you achieve smooth, even coats and minimizes overspray or drips. Proper equipment and nozzle selection are key to successful spraying. Additionally, understanding how nozzle size influences spray pattern and atomization can help optimize your results.
How to Determine the Right Pressure for Different Surfaces
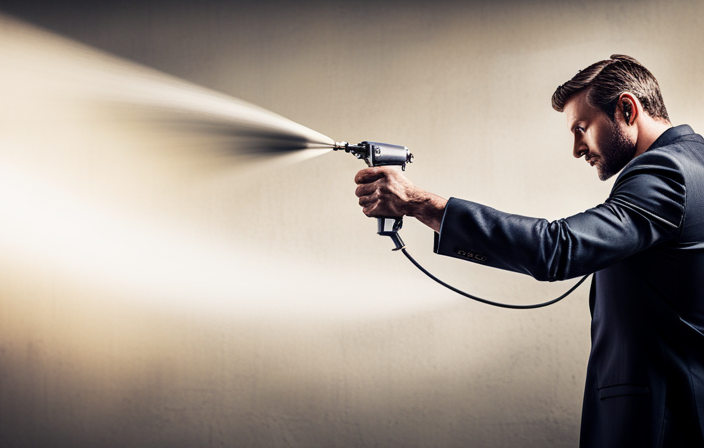
Choosing the right pressure for your airless sprayer depends on the material you’re applying and the desired finish. Proper surface preparation is key—clean, smooth surfaces allow for lower pressures, while rough or textured surfaces may need higher settings. Start by selecting the appropriate nozzle size, as nozzle selection impacts spray pattern and pressure requirements. For delicate surfaces like drywall or wood, use lower pressure to prevent damage and achieve a smooth finish. For rougher surfaces like brick or stucco, higher pressure helps ensure proper coverage. Always test on a small area first, adjusting the pressure until you see even, consistent spray without overspray or runs. Fine-tuning based on surface type ensures efficiency and a professional-looking finish. Additionally, understanding your pressure settings can help optimize spray performance and prevent surface damage.
Adjusting Pressure Based on Paint Viscosity
When working with paints of varying viscosity, adjusting your airless sprayer’s pressure is essential to achieve a smooth, even coat. Thicker paints require higher pressure to flow properly, ensuring consistent paint application without sputtering or clogging. Conversely, thinner paints need lower pressure to prevent overspray and drips. To get this right, you should calibrate your sprayer by testing spray patterns and adjusting pressure accordingly. Proper sprayer calibration helps you find the ideal pressure for each paint type, resulting in a professional finish. Always monitor the spray pattern and adjust the pressure as needed during the paint application process. Additionally, understanding how automation’s role in business intelligence can optimize your workflow may help you make more informed adjustments during your painting projects, leading to better results. This approach ensures you optimize your sprayer’s performance and achieve a flawless, even coat every time.
Tips for Achieving a Smooth Finish With Correct Pressure
To achieve a smooth finish with your airless sprayer, maintaining the correct pressure throughout the application process is essential. Proper pressure helps ensure even spray patterns, preventing paint runs and uneven coverage. Pay close attention to color matching; consistent pressure helps blend colors seamlessly, especially when touch-ups or multiple coats are involved. Environmental factors like wind, temperature, and humidity can influence how the paint sprays, so adjust pressure accordingly—higher pressure may be needed in windy conditions, while lower pressure works better in humid environments. Testing your spray on a scrap surface before starting guarantees your pressure setting produces a smooth, professional finish. Additionally, understanding how contrast ratio affects image quality can be helpful when selecting a projector for your home theater setup. Staying attentive to these factors will help you achieve a flawless, consistent coat every time.
Common Mistakes to Avoid When Setting Pressure
One common mistake to avoid when setting pressure on your airless sprayer is using too high a pressure, which can cause overspray, paint runs, and uneven coverage. This also affects the final paint sheen, making it look uneven or too glossy. Environmental conditions like humidity and temperature can influence your pressure choice; ignoring these factors may lead to poor results. To help you decide, consider this table:
| Paint Sheen | Recommended Pressure | Environmental Conditions |
|---|---|---|
| Flat | Low (1500-1800 PSI) | Humid, cool days |
| Eggshell | Moderate (1800-2000 PSI) | Mild weather |
| Satin | Higher (2000-2200 PSI) | Dry, warm days |
| Semi-gloss | High (2200-2400 PSI) | Windy conditions |
| Gloss | Very high (2400+ PSI) | Ideal conditions |
Avoid over-pressurizing to ensure smooth, even coverage. Additionally, always calibrate your sprayer regularly to maintain consistent performance and prevent uneven application.
Troubleshooting Spray Issues Related to Pressure Settings
When your spray pattern isn’t consistent, or the finish looks uneven, your pressure settings might need adjustment. If you notice spray bubbles or uneven surface texture, these issues often stem from incorrect pressure levels. Let’s explore how to identify and fix these common spray problems effectively.
Identifying Inconsistent Spraying
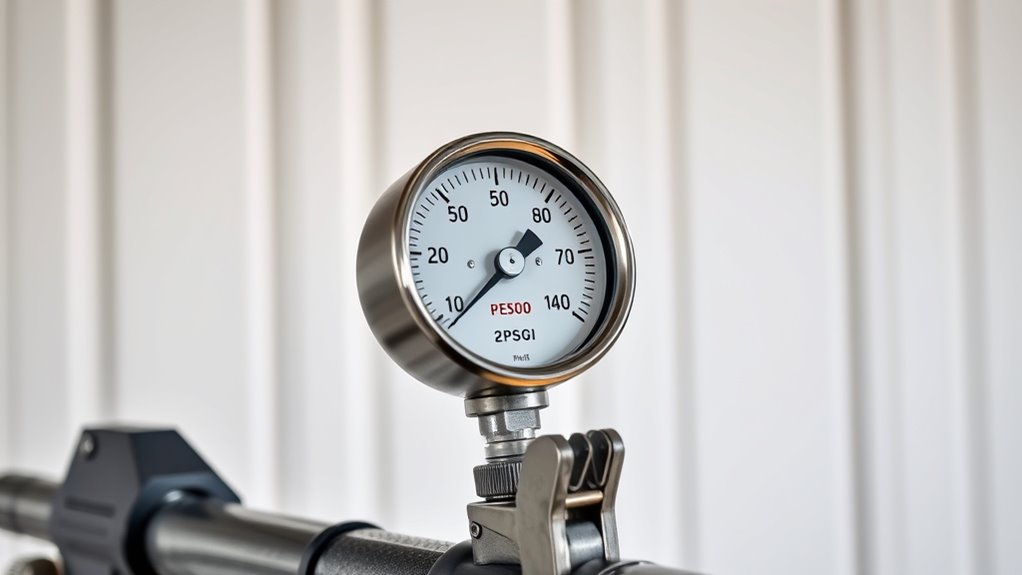
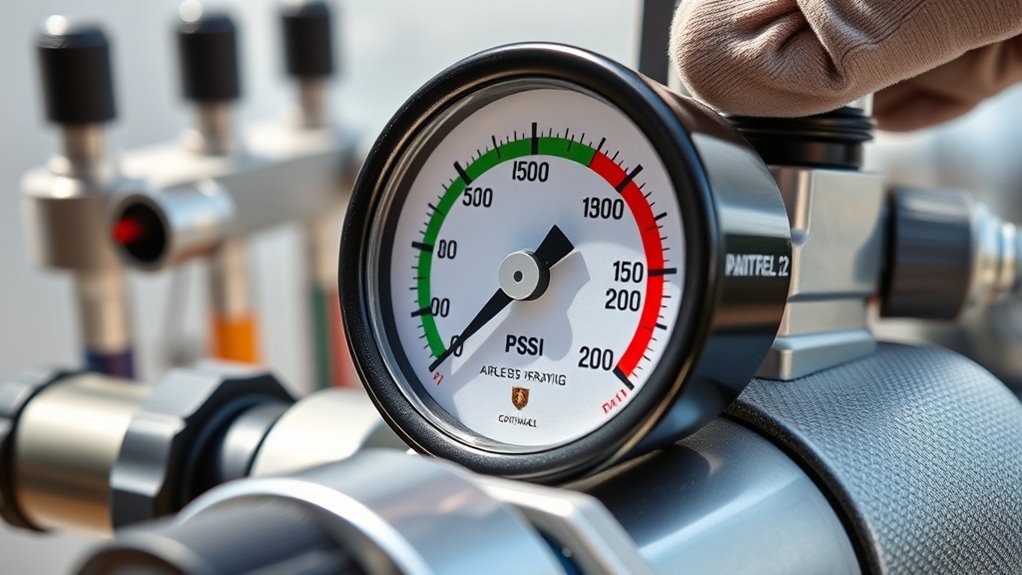
Inconsistent spraying often signals issues with pressure settings on your airless sprayer. To identify the problem, start with sprayer calibration—ensure your equipment is properly set up. Check your pressure gauges to verify the pressure matches your desired settings. If you notice uneven spray patterns, drips, or sputtering, it indicates pressure fluctuations. These inconsistencies can stem from improper calibration or pressure drops caused by hose length or blockages. Always monitor pressure gauges during operation to catch sudden changes. If the pressure isn’t steady, it’s a sign you need to troubleshoot your setup. Correct calibration and consistent pressure readings are key to achieving a smooth, uniform spray. Addressing these issues early helps prevent uneven coating and saves you time and paint. Additionally, understanding system security assessments can help prevent equipment malfunctions caused by external interference or tampering.
Adjusting for Surface Texture
Adjusting your pressure settings can substantially improve spray quality when dealing with different surface textures. Properly calibrated pressure helps manage surface patterning and enhances texture, ensuring a smooth, even finish. For rough surfaces, increase pressure slightly to improve penetration and achieve better texture enhancement. Conversely, lower pressure works well on smooth surfaces to prevent overspray and drips. Fine-tuning pressure prevents unwanted surface patterning, maintaining a consistent appearance. Remember, the right pressure minimizes spray issues related to surface irregularities, leading to professional results. To optimize your spray, consider these factors:
- Surface roughness and material type
- Desired texture and finish quality
- Spray pattern consistency
- Manufacturer’s recommended pressure ranges
Additionally, understanding the importance of attention in creative practice can help you focus on precise adjustments, resulting in a more uniform and professional spray finish.
Overcoming Spray Bubbles
Spray bubbles are a common issue caused by improper pressure settings that disrupt the flow of paint and create foam or air pockets. One spray bubble cause is using too high or too low pressure, which can cause inconsistent atomization. Additionally, nozzle clogging often leads to spray bubbles, as debris restricts paint flow and traps air. To overcome spray bubbles, start by adjusting your pressure to a recommended range for your paint and surface. Check the nozzle for clogs and clean it thoroughly if needed. Maintaining proper pressure prevents air from mixing into the paint, reducing foam and bubbles. Regularly inspecting and cleaning your nozzle ensures smooth operation. Correct pressure and nozzle maintenance are key to achieving a bubble-free, smooth spray finish. Ensuring proper pressure regulation is essential for consistent spray performance and minimizing issues like bubbles and uneven coating.
Frequently Asked Questions
Can I Change Spray Pressure Mid-Job Without Affecting Quality?
Yes, you can change spray pressure mid-job, but it may affect pressure stability and spray consistency. Adjusting pressure can cause fluctuations that impact the finish quality. To maintain a smooth application, make small, gradual changes and monitor the spray closely. Always test adjustments on a scrap area first. Consistent pressure helps guarantee even coverage and professional results, so plan your settings ahead of time when possible.
How Does Temperature Impact the Optimal Pressure Setting?
You should consider temperature effects when adjusting your airless sprayer’s pressure because they influence spray consistency. Higher temperatures can cause the paint to thin, requiring lower pressure to prevent overspray, while cooler temperatures might demand higher pressure for proper atomization. By monitoring temperature and understanding its impact, you guarantee ideal spray quality and a smooth finish, avoiding drips or uneven coats caused by improper pressure adjustments.
Is Higher Pressure Always Better for Faster Coverage?
You might think cranking up the pressure will make your job lightning-fast, but that’s not always true. Higher pressure isn’t always better because it can ruin your spray pattern and ruin pressure consistency. Too high, and you risk overspray and uneven coats. The key is finding the perfect balance—using enough pressure to cover quickly without sacrificing a smooth, even spray pattern. Adjust carefully for the best results!
What Safety Precautions Should I Take When Adjusting Pressure?
When adjusting your airless sprayer’s pressure, prioritize safety by wearing appropriate safety gear like goggles, gloves, and a mask. Always use the pressure gauge to monitor and set the correct pressure carefully, avoiding sudden increases that could cause accidents. Before making adjustments, release any built-up pressure, and double-check connections for leaks. Staying cautious guarantees safe operation, protecting you from potential hazards during setup and use.
Do Different Brands of Sprayers Require Different Pressure Settings?
You might think all sprayers need the same pressure, but brand compatibility and pressure calibration actually vary. Different brands often have unique nozzles and components, meaning you can’t just copy settings from one to another. To get the best results, always check the manufacturer’s guidelines and calibrate your pressure accordingly. This ensures peak spray quality, reduces waste, and prevents equipment damage. So, adapt your pressure settings to each specific sprayer brand.
Conclusion
Think of your airless sprayer as a painter’s brush—setting the right pressure is like choosing the perfect stroke. When you find that sweet spot, you’re guiding your project smoothly to completion, avoiding drips and uneven coats. Like a steady hand guiding a brush, your pressure settings bring your vision to life with precision. Trust your instincts, adjust thoughtfully, and watch your work transform into a masterpiece, painted with confidence and care.