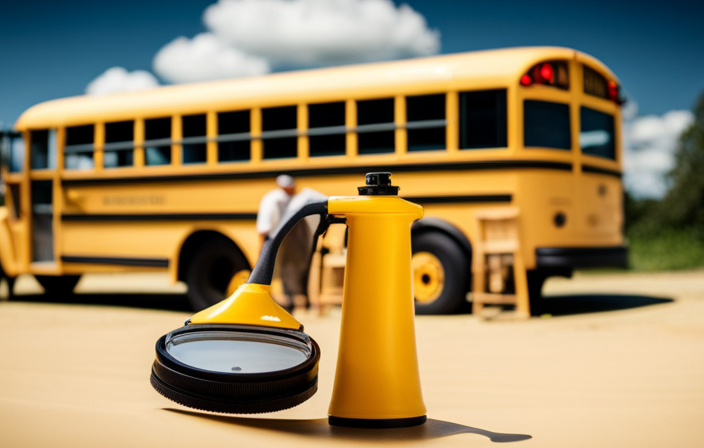
There I was, completely ready to start my latest painting project, equipped with my trusty airless paint sprayer. All was set, and I was looking forward to seeing my walls transform with those perfect, evenly applied coats of paint.
But to my dismay, when I pulled the trigger, nothing happened. No paint was being thrown from the sprayer. Frustration set in as I tried to troubleshoot the issue.
Thankfully, I found some helpful tips and solutions that I want to share with you in this article. Whether you’re a DIY enthusiast like me or a professional painter, encountering a paint sprayer that isn’t throwing any paint can be a real headache. But fear not!
By following these steps, you’ll be able to identify and fix the problem, getting your paint sprayer back up and running in no time.
Let’s dive in and get those paint sprayers back in action!
Key Takeaways
- Professional assistance is beneficial for troubleshooting airless paint sprayer issues as it provides quick diagnosis and solution, saves time and frustration, and offers expertise in identifying air leaks or blockages and understanding different parts and their interactions.
- Understanding the different parts of an airless paint sprayer is important as it ensures proper paint flow, aids in troubleshooting, and enables effective maintenance and repair.
- Professionals play a crucial role in diagnosing airless paint sprayer issues as they have expertise in identifying problems, familiarity with common troubleshooting techniques, and the ability to pinpoint air leaks or blockages using specialized tools.
- Promptly addressing difficulties with airless paint sprayers is significant to avoid project delays, prevent further damage, find cost-effective solutions, maintain the paint sprayer’s longevity, and ensure optimal performance.

Lithitech 750W Airless Paint Sprayer for Interior & Exterior House Painting
- High-Pressure Spraying: 3000 PSI for fast coverage
- Efficient Flow Rate: 1.1 LPM for continuous painting
- Uniform Spray Pattern: Professional tips for smooth finish
As an affiliate, we earn on qualifying purchases.
Check the Paint Flow
To check the paint flow, follow these steps:
-
Inspect the spray tip for clogs or build-up. Use a small brush or toothpick to remove any dried paint or debris that may be blocking the flow.
-
Check the paint hose for kinks or blockages that could hinder the flow.
-
Ensure that the paint viscosity is within the sprayer’s recommended range.
-
Perform regular maintenance techniques such as cleaning the filters and lubricating the pump to improve paint flow.
By addressing these troubleshooting tips and performing routine maintenance, you can ensure optimal performance of your airless paint sprayer.
Now, let’s move on to cleaning the spray tip.
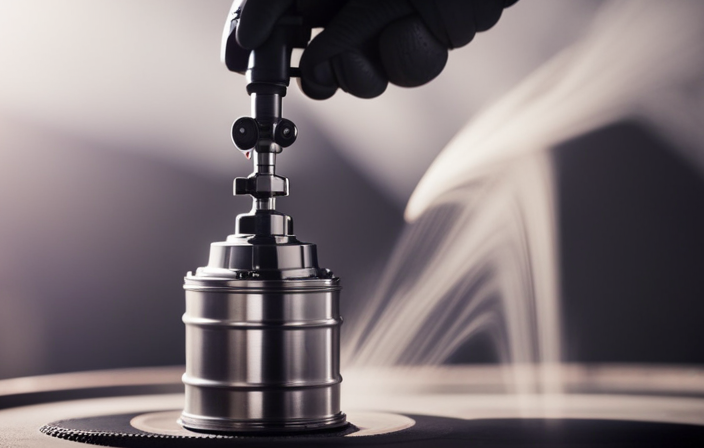
Clean the Spray Tip
To get the paint flowing, the first step is to ensure the spray tip is clean and free from any clogs or blockages. Cleaning the spray tip is essential for proper paint flow in an airless paint sprayer. Here are some troubleshooting techniques and maintenance tips to help you with this task:
- Use a small brush or toothpick to remove any dried paint or debris from the spray tip.
- Soak the spray tip in warm soapy water to loosen any stubborn clogs.
- Use a toothbrush or pipe cleaner to scrub the tip and remove any remaining residue.
- Rinse the spray tip thoroughly with clean water to ensure it is completely clean.
- Inspect the tip for any signs of damage or wear and replace it if necessary.
By following these steps, you can ensure that your airless paint sprayer’s spray tip is in optimal condition, allowing the paint to flow smoothly.
Now, let’s move on to unblocking the filter.
Unblock the Filter
Clearing any blockages in the filter is crucial to ensuring a smooth flow of paint through the airless paint sprayer system. To clean the filter, start by turning off the sprayer and removing the filter from the sprayer housing. Rinse the filter with warm water and gently scrub it with a soft brush to remove any built-up paint or debris. If the filter is severely clogged, it may be necessary to replace it with a new one.
A clean or new filter will prevent any obstructions that could hinder the paint flow and result in the sprayer not throwing any paint.
Now, let’s move on to the next step and check the pressure setting to troubleshoot any further issues.
Check the Pressure Setting
Make sure you check the pressure setting on your airless paint sprayer to troubleshoot any further issues and ensure a smooth and efficient flow of paint. Adjusting the pressure setting is one of the key troubleshooting techniques to address common problems with airless paint sprayers. Incorrect pressure can lead to issues such as uneven spray patterns, paint splattering, or the sprayer not throwing any paint at all. To check the pressure setting, refer to the user manual as different models may have different pressure adjustment mechanisms. Once you have located the pressure adjustment knob, turn it clockwise or counterclockwise to increase or decrease the pressure accordingly. Remember to make small adjustments and test the sprayer after each change to find the optimal pressure for your paint job. Getting the pressure setting right will ensure a successful paint application. Now, let’s move on to the next step, which is to prime the pump.
Prime the Pump
To ensure a smooth and efficient flow of paint, it is important to prime the pump. This involves removing any air bubbles or blockages that may be preventing the paint from flowing. When troubleshooting why your airless paint sprayer isn’t throwing any paint, one of the first things to check is if the pump is properly primed.
To prime the pump, start by disconnecting the spray gun and turning on the sprayer. Slowly increase the pressure until paint starts to flow through the pump. It is recommended to keep the sprayer running for a few minutes to ensure all air is pushed out of the system. This maintenance technique will help ensure that your pump is ready to deliver a consistent stream of paint.
Now, let’s move on to the next step and check the hose and connections.
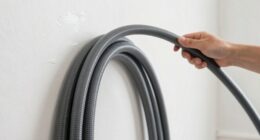
Check the Hose and Connections
To check the hose and connections, follow these troubleshooting techniques:
-
Examine the hose for kinks or bends that could block the paint flow. Straighten any kinks and ensure proper connection to the sprayer and gun.
-
Inspect the connections for loose fittings or leaks. Tighten any loose connections and fix leaks to maintain a consistent paint flow.
-
Clear debris or dried paint from the hose and connections. Use a brush or cleaning tool to remove obstructions.
By troubleshooting these common issues, you can ensure a successful painting experience. Now, let’s move on to unclogging the paint hose.
Unclog the Paint Hose
To clear the path for a smooth and vibrant painting experience, it’s time to roll up your sleeves and tackle the task of unclogging that stubborn paint hose.
When your airless paint sprayer isn’t throwing any paint, it could be due to a clogged hose. The first troubleshooting step is to disconnect the hose from the sprayer and remove any excess paint or debris.
Next, run a cleaning solution through the hose to break up any dried paint or blockages. Use a brush or a flexible rod to manually agitate and remove any remaining clogs.
Once the hose is clear, reattach it to the sprayer and give it a test run. If the issue persists, it’s time to move on to the next maintenance tip: clearing the gun and nozzle.
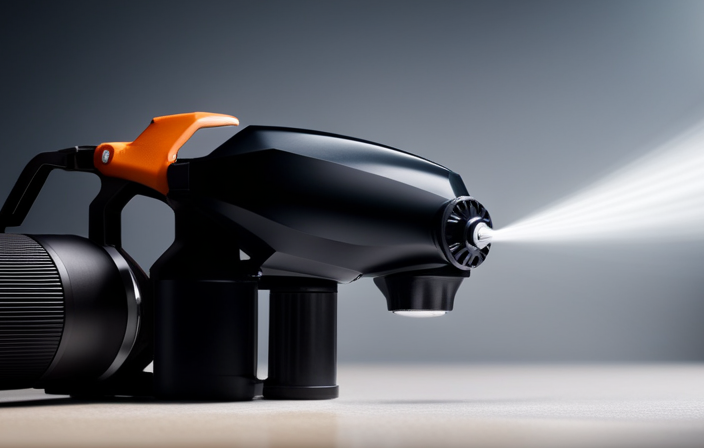
Clear the Gun and Nozzle
Now it’s time to give the gun and nozzle a thorough cleaning, so they can be as clear and smooth as a pristine mountain stream. To clear any blockages and ensure optimal performance, follow these troubleshooting techniques:
-
Remove the nozzle: Unscrew the nozzle from the gun using a wrench. Rinse it under running water to remove any dried paint or debris. Inspect for any damage, such as a clog or worn-out parts.
-
Clean the gun: Disconnect the gun from the paint hose and disassemble it. Use a clean cloth or brush to wipe away any excess paint or dirt. Pay close attention to the trigger and internal components. If necessary, use a mild cleaning solution to remove stubborn build-up.
-
Check for blockages: Reassemble the gun and nozzle, ensuring all parts are tightly secured. Connect the gun back to the paint hose. Test the paint sprayer by spraying water or a cleaning solution. If the paint still doesn’t come out, there may be blockages in the hose or pump system.
To transition into the subsequent section about checking for air leaks, we need to ensure that the gun and nozzle are completely clear before moving forward.
Check for Air Leaks
To ensure optimal performance of your gun and nozzle, it’s important to check for air leaks. These leaks can disrupt paint flow and prevent the sprayer from working properly. Here’s what you need to do:
- Inspect the paint supply to ensure it is properly connected and not blocked.
- Remove the nozzle and clean it thoroughly to check for any clogs.
- Examine all connections and seals for signs of air leakage.
- Tighten any loose fittings or replace damaged seals to eliminate leaks.
If you’re unable to identify or fix the issue, it’s recommended to seek professional assistance.
Seek Professional Assistance if Necessary
If you’re unsure about fixing the issue yourself, it’s worth considering seeking professional assistance. Troubleshooting common issues with an airless paint sprayer can be challenging, especially if you’re not familiar with the different parts and how they work.
A professional can quickly diagnose the problem and provide a solution, saving you time and frustration. They have the expertise to identify any air leaks or blockages that may be causing the paint sprayer to not throw any paint.
Additionally, they can help you understand the different parts of an airless paint sprayer, such as the pump, hose, and gun, and how they interact to ensure proper paint flow.
Don’t hesitate to seek professional help if you’re facing difficulties with your airless paint sprayer.
Frequently Asked Questions
What are the common reasons for airless paint sprayers not throwing any paint?
Some common paint flow issues that may cause an airless paint sprayer to not throw any paint include clogged nozzle, insufficient pressure, worn-out parts, or inadequate paint thinning. Here are some troubleshooting tips to address these problems.
How can I troubleshoot if the paint flow is not consistent?
To troubleshoot inconsistent paint flow in a paint sprayer, I would start by ensuring proper paint sprayer maintenance. This includes checking for clogs, cleaning the nozzle, and adjusting the pressure settings. Additionally, inspect the paint viscosity and ensure the sprayer is properly primed.
What should I do if the spray tip gets clogged while using an airless paint sprayer?
To prevent clogs and clear nozzle blockages while using an airless paint sprayer, I recommend following these steps: 1) Use a filter to remove debris from the paint, 2) Clean the spray tip regularly, and 3) Use the appropriate paint viscosity for the sprayer.
How do I identify and resolve issues related to air leaks in the sprayer?
To troubleshoot airless paint sprayer issues, start by checking for air leaks. Inspect the hose connections, inlet valve, and pump packing. Tighten or replace any damaged parts. This will ensure proper paint flow and resolve any issues.
When should I seek professional assistance for fixing my airless paint sprayer?
If you are experiencing persistent issues with your airless paint sprayer, such as it not throwing any paint despite trying common troubleshooting techniques, it may be time to seek professional assistance to diagnose and resolve any potential malfunctioning.
Conclusion
In conclusion, troubleshooting an airless paint sprayer that isn’t throwing any paint can be frustrating. However, by following the steps outlined in this article, you can easily identify and fix the issue.
First, check the paint flow. Make sure the paint container is properly connected and not empty. If the paint is too thick, it may need to be thinned. Additionally, check the pressure settings to ensure they are appropriate for the type of paint being used.
Next, clear the gun and nozzle. Remove any clogs or debris that may be obstructing the flow of paint. Clean the nozzle thoroughly to ensure it is free from any residue or buildup.
If the issue still persists, it may be necessary to check the pump. Ensure that the pump is functioning properly and that there are no leaks or blockages in the system. If needed, replace any damaged or worn-out parts.
Remember, if all else fails, don’t hesitate to seek professional assistance. Sometimes, complex issues may require the expertise of a trained technician.
With a little patience and the right knowledge, you’ll be back to painting in no time. Happy painting!