When replacing and calibrating a pressure control valve, start by depressurizing your system and carefully removing the old valve. Confirm the new valve matches your system specifications, then install it and tighten fittings properly. Connect a pressure gauge and adjust the valve incrementally, observing pressure changes to fine-tune it to the designated range. Regular testing and calibration help ensure your system remains safe and efficient—continue to explore for detailed steps and tips.
Key Takeaways
- Depressurize the system and carefully remove the old valve, inspecting surrounding components for damage.
- Install the new valve correctly, tightening fittings to prevent leaks without overtightening.
- Connect a pressure gauge and gradually adjust the valve, monitoring pressure readings for accuracy.
- Fine-tune the valve to maintain the designated pressure range, ensuring system safety and performance.
- Test the system under normal conditions, observe pressure stability, and recalibrate periodically for ongoing accuracy.
Replacing and calibrating the pressure control valve is a critical task to guarantee your system operates safely and efficiently. Proper pressure regulation is necessary to prevent damage, ensure peak performance, and maintain safety standards. When you focus on valve adjustment, you’re directly influencing how well your system manages pressure, which impacts overall operation. Whether you’re replacing a faulty valve or calibrating an existing one, understanding the importance of precise adjustments helps you avoid costly errors and downtime.
Proper pressure valve adjustment ensures system safety, performance, and prevents costly downtime.
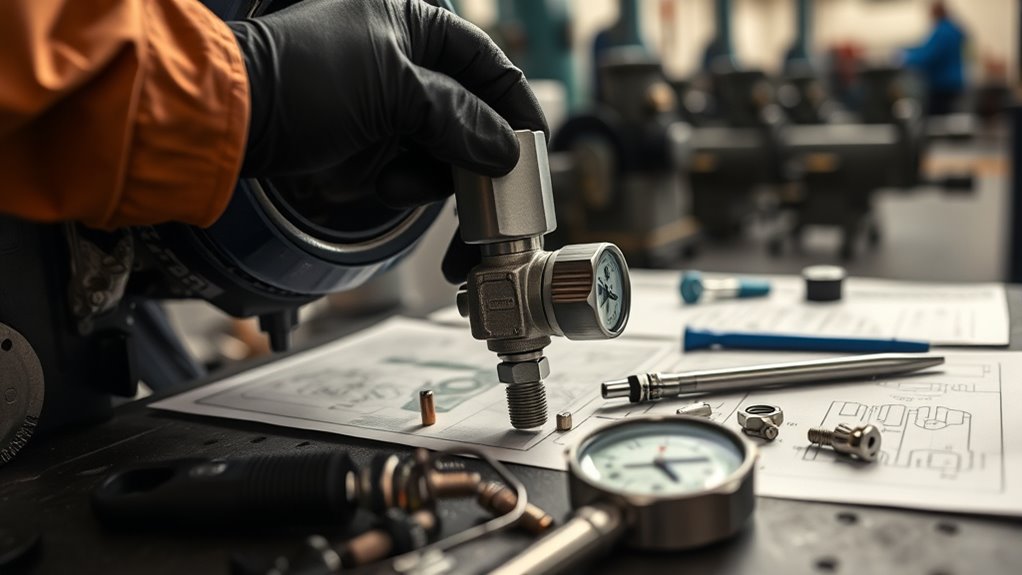
The first step in this process involves removing the old pressure control valve carefully. Make sure your system is depressurized before starting to prevent accidents. Once the valve is disconnected, inspect the surrounding components for any signs of wear or damage. When installing the new valve, ensure it’s compatible with your system specifications. Proper installation is essential for effective pressure regulation, so follow the manufacturer’s instructions closely. Tighten fittings correctly to avoid leaks, but be cautious not to overtighten, which could damage threads or deform the valve.
Calibration is the next necessary phase. Your goal is to set the valve so it maintains the designated pressure range. Typically, you’ll connect a pressure gauge to monitor system pressure during adjustment. Adjustments usually involve turning a screw or knob on the valve—this is where valve adjustment comes into play. As you make small turns, watch the pressure readings carefully. The key is to bring the system to its peak set point without exceeding safety limits. Fine-tuning may require multiple attempts, but patience ensures accuracy. Remember, a well-calibrated valve ensures reliable pressure regulation, preventing fluctuations that could harm your equipment. Additionally, accurate calibration**** plays a crucial role in maintaining system safety and efficiency over time.
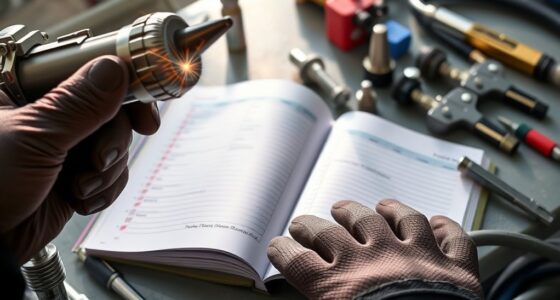
Regular testing after installation is essential. Once calibrated, run the system under normal operating conditions and observe how the pressure holds. If you notice consistent deviations, you may need to revisit the valve adjustment. Periodic recalibration helps maintain the integrity of pressure regulation over time, especially if your system experiences temperature changes or other environmental factors that can impact performance. Keep a log of calibration settings and maintenance activities for future reference.

WADEO Low Pressure LPG Propane Gas Fireplace Fire Pit Flame Failure Safety Control Valve Kit, Low Pressure Propane Fire Pit Replacement Part with 3/8" Flare Inlet & Outlet
- Material: High-quality brass for durability
- Application: Compatible with grills, fire pits, fireplaces, heaters
- Thermocouple Length: 600mm / 23.62 inches
As an affiliate, we earn on qualifying purchases.
As an affiliate, we earn on qualifying purchases.
Frequently Asked Questions
How Do I Identify a Faulty Pressure Control Valve?
You can identify a faulty pressure control valve by performing pressure testing and valve inspection. If the system’s pressure fluctuates unexpectedly or doesn’t maintain the set level, it’s a sign of trouble. During inspection, look for leaks, corrosion, or debris around the valve. If the valve doesn’t respond correctly during testing or shows signs of damage, it’s time to substitute it to ensure proper system functioning.
Can I Replace the Valve Myself Without Professional Help?
While a DIY repair might seem tempting, replacing the pressure control valve requires careful attention to safety precautions. You can attempt it if you’re comfortable with mechanical work and have the right tools, but keep in mind that improper installation can cause issues. Always follow manufacturer instructions, wear protective gear, and guarantee the system is depressurized before starting. When in doubt, consulting a professional guarantees safety and proper functioning.
What Tools Are Needed for Calibration?
To calibrate the pressure control valve, you’ll need a reliable pressure gauge to measure the output accurately. Additionally, a calibration kit is essential; it typically includes tools like a test pump, adapters, and calibration software or instructions. You should guarantee the pressure gauge is suitable for your specific application. Using these tools, you can precisely adjust the valve to maintain proper pressure settings and assure optimal performance.
How Often Should the Pressure Control Valve Be Calibrated?
You should calibrate your pressure control valve at least every six months, but if you notice pressure fluctuations or instability, do it sooner. Regular calibration ensures ideal pressure stability and extends your valve’s lifespan, preventing costly failures. Neglecting calibration can cause unpredictable system behavior and damage. So, keep a close eye on performance, and don’t wait—calibrate proactively to maintain peak operation and avoid catastrophic breakdowns.
What Are the Signs of an Improperly Calibrated Valve?
You’ll notice signs of an improperly calibrated valve through valve wear and pressure fluctuation. If the valve isn’t calibrated correctly, it may cause inconsistent pressure, leading to equipment stress or failure. Watch for irregular pressure readings or sudden drops, which indicate calibration issues. Additionally, excessive valve wear can signal that the pressure isn’t maintained properly, so regular checks help prevent damage and guarantee maximum system performance.
Conclusion
Remember, a well-calibrated pressure control valve guarantees smooth operation and prevents costly breakdowns. When you replace and calibrate it properly, you’re taking control of your system’s performance. Don’t forget, “A stitch in time saves nine,” so addressing issues early keeps your equipment running efficiently. Stay attentive to your valve’s needs, and you’ll avoid bigger problems down the road. Keep up the maintenance, and your system will thank you for it.